All about polycarbonate carports
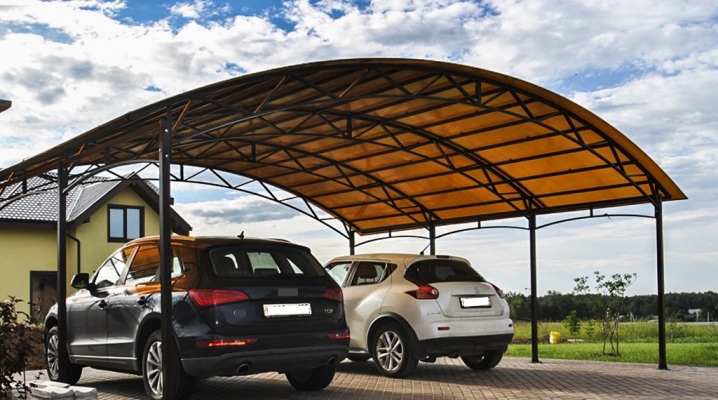
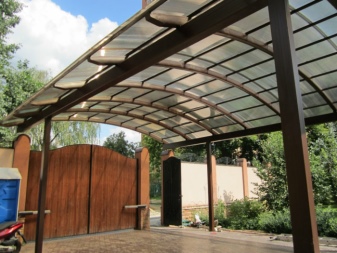
Not every car enthusiast has the opportunity to build his own garage for a car. A polycarbonate canopy is a practical replacement. This design will protect the equipment from the negative effects of atmospheric phenomena: rain, snow, hail and sunlight.
Peculiarities
To build a canopy in the country, you do not need to obtain special permits - you just need to choose a suitable place where the structure will not cast a shadow on the neighboring area or strongly shade its own.
To install a canopy, it is enough to allocate 3-4 meters of territory. It can be of any shape, adjacent or free-standing.
A carport made of polycarbonate has such positive qualities as:
- ease;
- strength;
- elasticity;
- resistance to atmospheric phenomena (rain, snow, sun rays);
- wear resistance;
- the material is translucent (high level of illumination), does not burn, easy to clean.
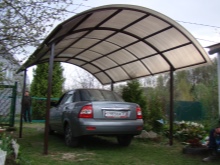
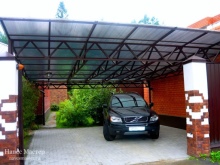
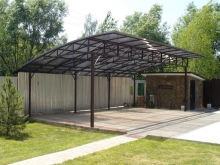
There is no greenhouse effect under a polycarbonate canopy, as the air does not heat up. During the day, lighting is also not required - due to the transparency of the material, it transmits light well.
Besides the pluses, polycarbonate also has disadvantages, the very first is installation. During fastening, you need to look behind the film that covers the material. It cannot be damaged, because it serves as protection against external factors.
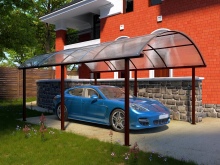
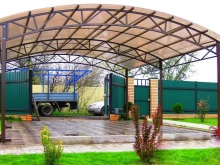
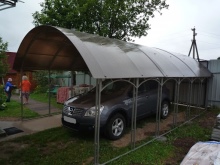
What are they?
As stated above, a carport is an alternative garage option. It can be installed on your own in the courtyard of the house or in the country, the canopy does not take up much space and does not require large investments.
Polycarbonate is a modern thermoplastic polymer that has no analogues. It is a reliable material, resistant to combustion, not afraid of impacts, and corrosion does not occur on the surface.
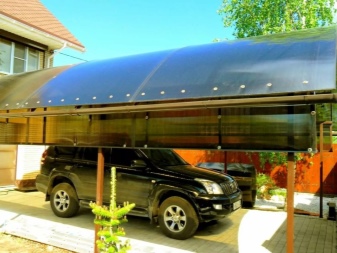
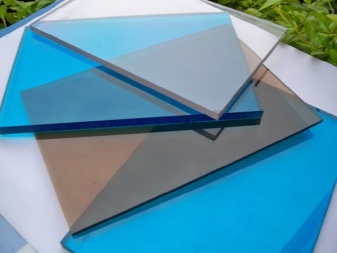
There is also a fairly new type on the Russian market - profiled monolithic polycarbonate or wave. The most popular area of application is the construction of awnings or canopies.
In total, there are many types of canopies: arched or semicircular, with a straight shed or gable roof, attached or free-standing. The autonomous canopy has 4 supports, the attached one has 2. There is also a new special design - cantilever canopies. Such structures have only two supports on one side. Their main convenience is that the car can be parked from three sides. Most often, cantilever canopies are sold ready-made, but you can also build it yourself.
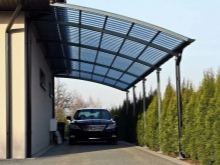
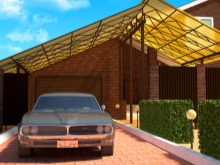
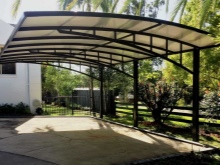
For those who do not want to convert the canopy into the category of real estate, there are collapsible structures. Usually, this option consists of a prefabricated frame, and a special fabric treated with water-repellent agents acts as a roof. Polycarbonate in this mobile form is used because of its lightness, flexibility and portability.
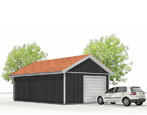
The construction of a carport for one car does not cause problems - it is enough to allocate an area of 3x4 meters. To save materials, it is better to make a parking spot near the wall of the house. Such a structure will be closed on one side from rain, wind and snow.
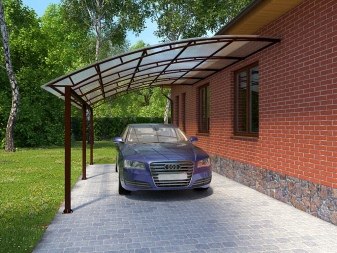
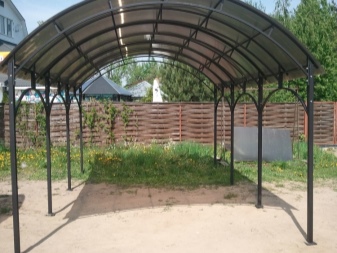
A carport for two cars must meet the following parameters:
- an area of 5x6 meters is enough for two small cars;
- for SUVs - 6x6 meters;
- if this is a guest shed, then 7x11 meters.
Important! When installing the canopy near the wall, you need to observe the angle of inclination of the roof - 12-14 degrees.In winter, when snow falls from the roof of the building onto the canopy, such a slope will prevent it from breaking.
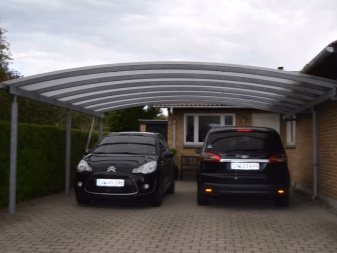
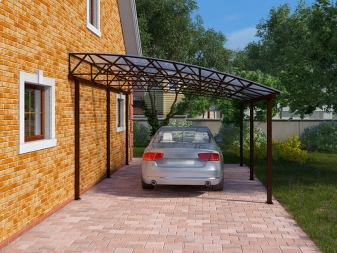
By location
By location, the canopy can be autonomous or attached. For a stationary structure, more space will be required. A freestanding canopy must have at least four supports, they are installed at a distance of up to one meter.
The attached one will take up a minimum of area. The structure looks like an extension to a private house or garage, the rest is attached to two or more supports.
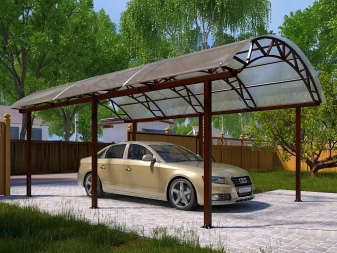
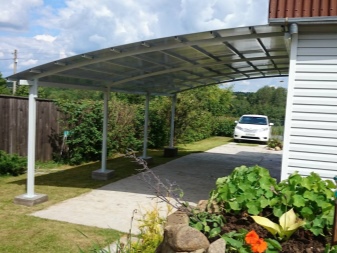
To make the support more stable, it is poured with concrete or a special concrete platform is prepared.
For accurate calculations, it is necessary to take into account the dimensions of the car: length, width and height. The roof of the shed should not be too high, otherwise the garage structure may not withstand strong gusts of wind, and precipitation will fall inside.
By the shape of the roof
The lower part of the sheds practically does not differ in design from each other - these are pillars dug in or embedded in concrete. The main difference is the roof. It has three main types.
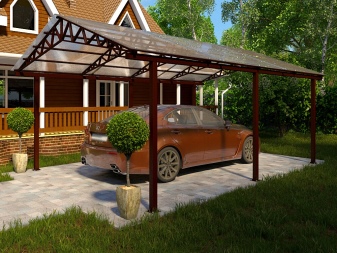
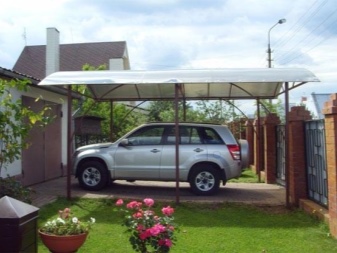
- Single slope is the easiest option. A pitched roof is a polycarbonate sheet laid on supports of different sizes. The natural slope prevents the accumulation of water and snow. It is also necessary to build gutters near the canopy. The pitched roof type is suitable for a small parking space and is designed to fit the vehicle. The attached canopy can also have such a roof.
Machine protection will be better and material costs will be lower. Construction does not require special skills and training.
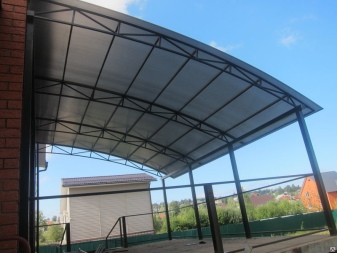
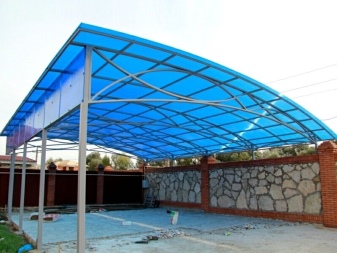
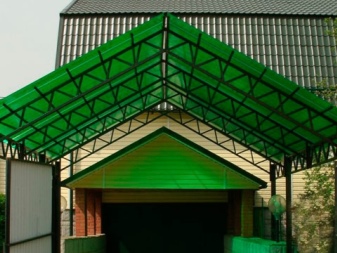
- Gable - the roof consists of two components, connected by a ridge. A gable roof is best suited for large areas. The structure of the canopy allows you to place a large car under it. Unlike the previous type, the structure is most often located separately.
A gable roof is more reliable and resistant to wind, but it is more difficult and costly to install it - more material is needed.
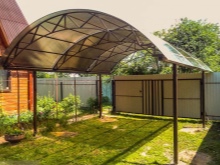
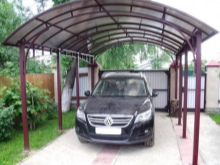
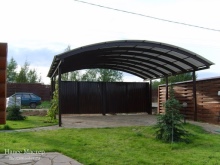
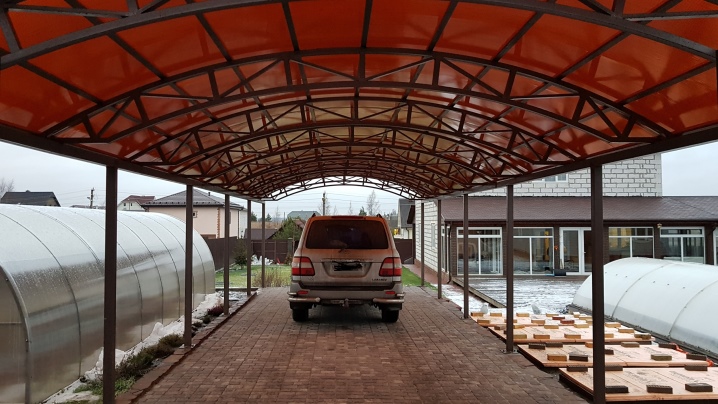
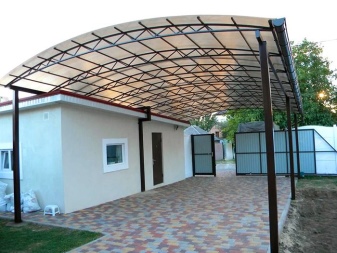
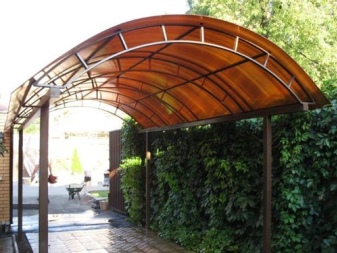
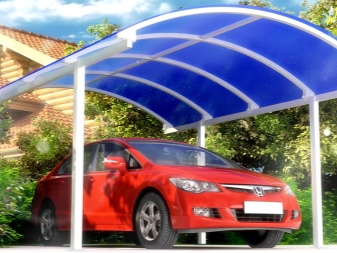
- Arched - such a roof has a special round-type frame, and is covered with material from above. On ordinary buildings, such a roof is not made; most often it is used for sheds. The advantages of this design are integrity and the almost complete absence of construction waste (polycarbonate is packed in a whole sheet). Since the material for installation is not cut, an additional load is created due to bending - the polycarbonate can burst.
The frame for an arched roof is created according to preliminary calculations. Typically, such a roof acts as a design element.
By rack material
For the construction of a canopy, you can use almost any building materials: brick, lumber, metal profile and more. Most often, the rack is built from wood or from a metal profile pipe. They have become popular due to their availability, low cost, and ease of use.
Whether the stand is made of wood or metal, both materials require care and maintenance. Since the canopy is located outdoors, it is exposed to atmospheric stress.
To avoid rapid wear of the material, the metal is painted, and the wood is treated with special antiseptics.

Which polycarbonate to choose?
Polycarbonate is a highly durable building material. In appearance, it may seem fragile and weightless, but it simply has unique strength indicators: it is 7 times stronger than plain plastic, and glass is 200 times stronger.
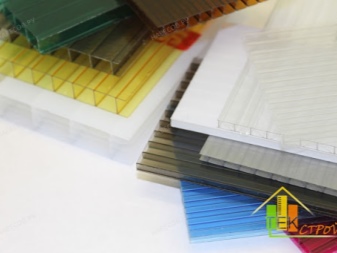
At first glance, polycarbonate appears to be the same. There are a large number of brands that differ in thickness and purpose. The characteristics of the material depend on the polymer included in the composition.
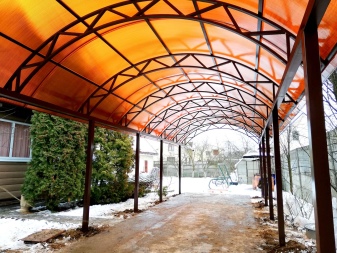
Polycarbonate has many advantages:
- UV protection;
- long service life;
- it is easy to mount and process the material, it does not take a lot of time;
- thanks to the flexibility of the roof, you can give any desired shape;
- fireproof - polycarbonate does not burn;
- able to withstand increased loads;
- large selection of shades;
- ability to transmit light.
When choosing a roofing material, you need to take into account the thickness, quality, color and ability to transmit light. You also need to remember about the load from snow and wind.
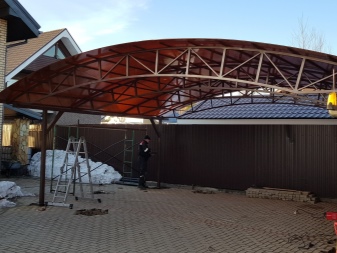
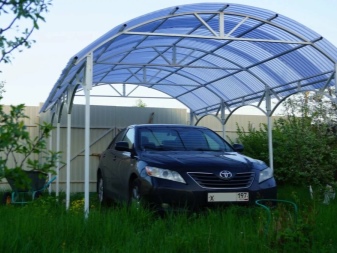
For a canopy, you need to use polycarbonate of at least 4 millimeters - it is better if the thickness is 8-10 millimeters. And darker colors provide better protection from the sun.
Thickness and density of polycarbonate
The thickness of the sheets are as follows:
- 4 millimeters - used for greenhouses and advertising stands;
- 6-8 millimeters - this thickness is suitable for simple roofing and installation of partitions;
- 10 millimeters - suitable for vertical installations.
- 16 millimeters - it is better to cover roofs with a very large area with polycarbonate with this thickness.
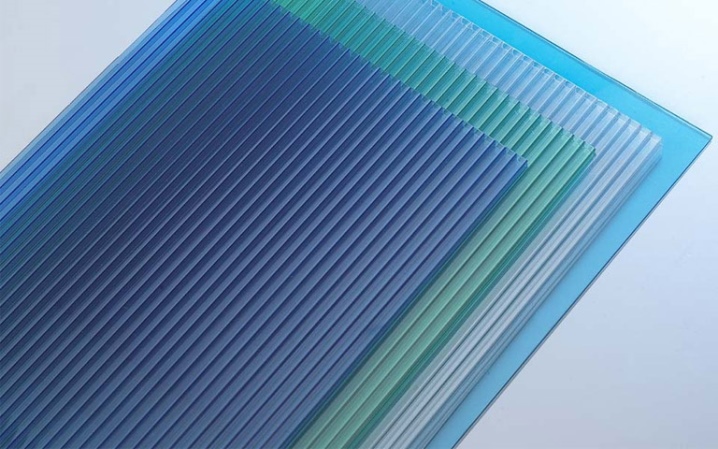
The use of too large a thickness for the roof of the canopy is uneconomical. And due to the small thickness, the sheet can bend.
The higher the density of the polycarbonate, the heavier the sheets will be. A monolithic roof will be more expensive: according to its characteristics, it has a higher density than a honeycomb, it bends worse - therefore, the price is higher. The density of cellular polycarbonate should be higher than 0.72 g / m3. A material with a lower index may not even withstand hail.
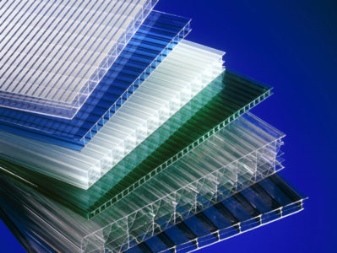
Polycarbonate color
Only trusted manufacturers can guarantee that polycarbonate will not transmit ultraviolet rays. Such material is produced taking into account all requirements and quality standards, and the surface is protected by a special polymer film. The polycarbonate produced in this way has a long service life, does not lose color, does not emit harmful substances, and the structure does not deteriorate over time.
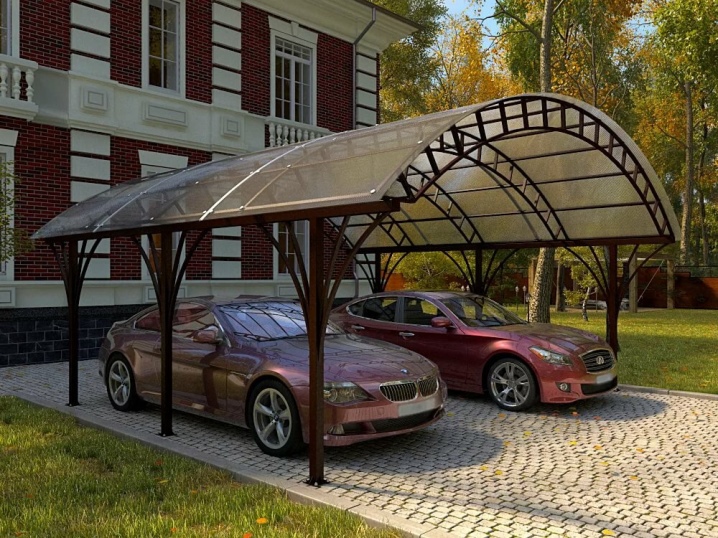
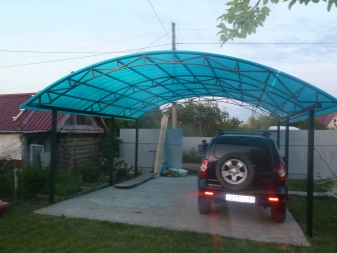
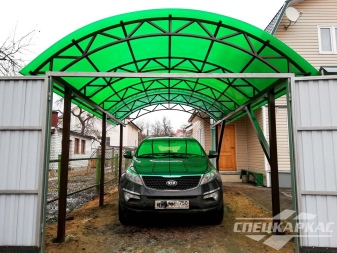
The shade of polycarbonate is selected taking into account your own preferences. There is only one piece of advice that can be given here - the colors should be combined with the rest of the architecture of the site.
It is better to mount a carport from a material with a matte finish so that the sun does not heat the car.
How to do it yourself?
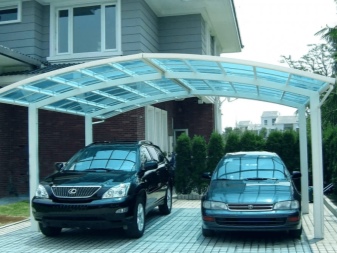
Approximate parameters for a carport should be as follows: width by 1–2 meters, and length by 1 meter more than the car itself. If you need shelter for two cars, then you need to add 80 centimeters to the width between the vehicles and another 1 meter from the sides. The height of the polycarbonate structure is up to 2.5 meters.
If the roof of the building is higher than this level, then the car will not be protected from bad weather.
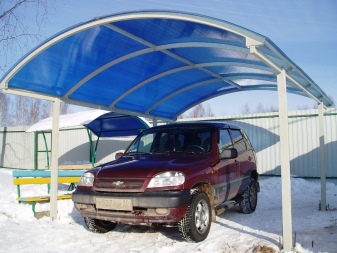
What materials will be required?
Supporting structure or arch. If there is such a tool “in stock” - a pipe bender, you can build it yourself. If not, then all the necessary parts can be ordered from a construction company:
- metal profile 20x40 mm - for lathing;
- metal profile 60x40 or 60x60 millimeters - for purlins;
- metal profile 80x80, 60x60 and 100x100 millimeters - for supporting pillars;
- crushed stone, gravel or a mixture of cement and sand;
- press washers;
- self-tapping bolts;
- if the canopy will be installed on a solid platform, then anchor bolts will be needed;
- polycarbonate 10 millimeters thick.
Even without experience and special skills, it is realistic to build a polycarbonate carport with your own hands. To do this, you need to follow the advice and instructions of professionals, then the structure will fully fulfill its functions and will last a very long time.
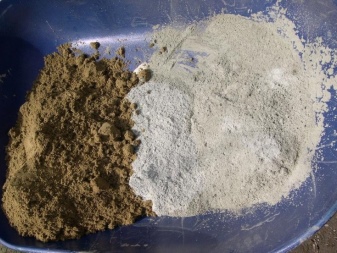
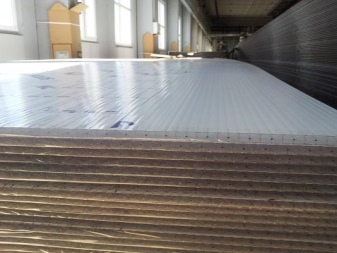
Where to begin?
The construction of a canopy, like any other object, must be carried out according to a special plan. Even for a small polycarbonate visor, you need to plan in advance the sequence of actions. This will help you not to make mistakes, not to skip any stage, and also you will not have to spend time analyzing the structure and funds to buy damaged materials.
Important! It is necessary to take into account and remember all the nuances: the estimated size, the shape of the building, the thickness and type of material, the desired shade, the light transmittance of the polycarbonate, the weather that prevails in a particular region, the direction and strength of the wind.
First of all, all your ideas and plans need to be depicted in the picture, that is, draw up a schematic drawing of a carport for the car. Of course, it will turn out to be approximate, but it will already become clear what you want and whether there is a real opportunity to bring the project to life.
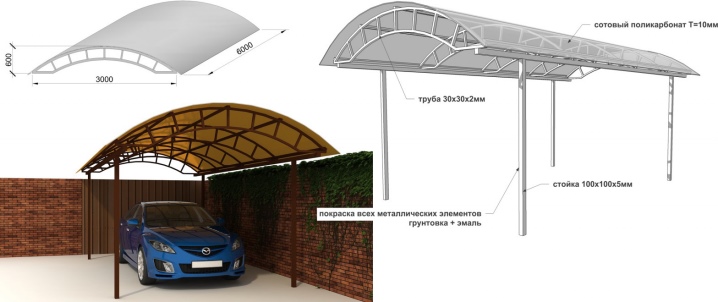
How to draw up a drawing?
The main job of building a carport begins with a blueprint. Further actions and the final result, as well as the reliability and safety of the structure, will depend on the accuracy of the calculations.
Polycarbonate is a fairly popular building material, and this fame has played a big role. There are many photographs and drawings for car canopies on the net. There is no need to acquire special engineering and technical knowledge - it is enough to choose the option that meets the request.
It also does not hurt to pay attention to the climatic conditions of a particular region and the chosen scheme (for what weather the canopy was intended).
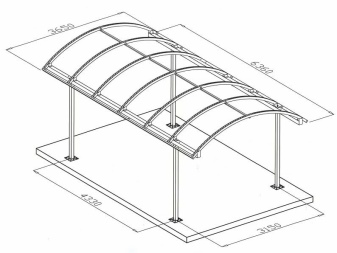
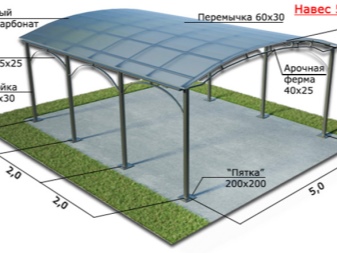
How to choose sizes?
The found scheme may also contain ready-made calculations for materials. In another case, it will have to be corrected on its own, here it is worth considering that the canopy has no walls, which means that the roof should be "with a margin":
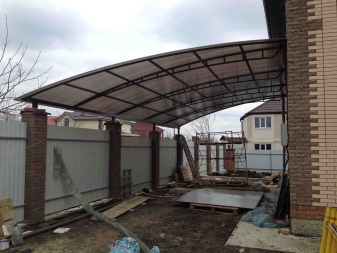
- for an attached structure, the roof should protrude 30 centimeters beyond the support;
- for a stationary canopy, a margin of 30-40 centimeters is also required;
- the optimal height is 2.2 meters, but not more than 2.5, and the lowest point of the structure is not less than 1.8 meters.
How to assemble a canopy frame and lathing?
First you need to make a markup where the vertical supports will be located. For example, if a fence is located nearby, which will become one side of the canopy, and the fence posts are located at a distance of two meters, then on the opposite side the supports will be located at the same distance.
At the extreme markings, you need to drive in small wooden pegs and pull a thread or rope between them.
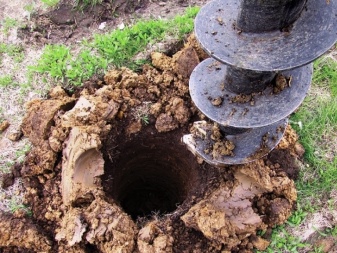
Next, you need to make holes for the supports. There is a special tool for this - a motor-drill. With him, work will be easier and faster, but since he has a high price, it is unprofitable to buy equipment for several pits. The motor-drill can be rented or borrowed from friends. The depth of the pit for the support should be approximately 1.2 meters, and the width should be 10 centimeters. The hole must be in a strictly vertical position. To make the "drilling" process easier, experts recommend removing the tool several times in order to clear it of the ground.
Metal poles are installed in the finished pits, it is better to check the installation using a level or plumb line, then they are poured with concrete and kept for about 10 days until the mass gets stronger and hardens.
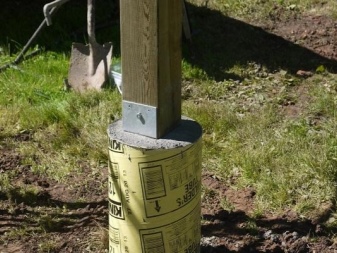
Advice! You can align the posts with a rope. Marking is applied to the extreme supports and a rope is pulled along it, then all other supports are cut along it.
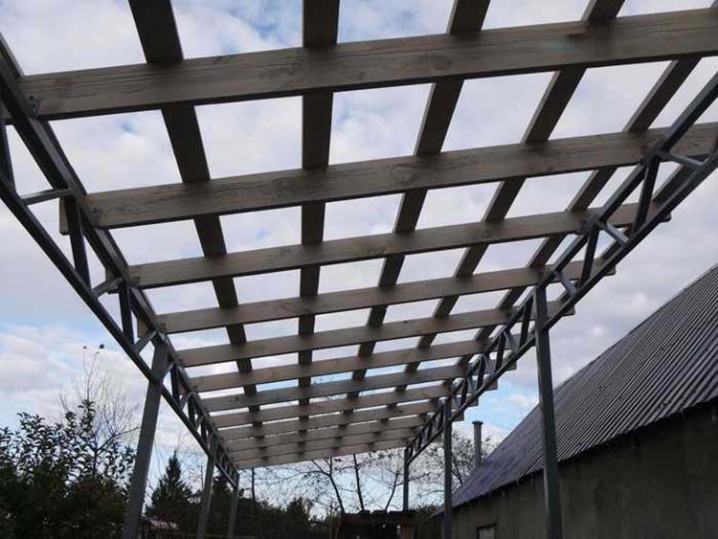
After the concrete has hardened, the installation of the frame can begin. The metal profile for the upper strapping is welded first.
After the frame is assembled, the arcs are installed under the roof. You can bend the metal profile yourself or contact the professionals. Firms specializing in such services have special machines, so the production will take place quickly and accurately, in compliance with all the specified parameters. Such arcs can be welded immediately, without preliminary fitting.
The next step is to create the lathing. The most optimal is the location of the arcs at the same distance from each other, the work becomes easier, since the jumpers are cut according to the same pattern.
How to fix polycarbonate?
After all metal pipes are welded, they are treated with a solution that prevents corrosion, primed and painted.After all the layers have dried, you can start installing the polycarbonate.
Important! If the choice fell on cellular polycarbonate, the material must be laid in such a way that no water gets inside. Failure to heed this advice will lead to the formation of bubbles inside the sheet. From the aesthetic point of view, it will look unattractive. As a result, cleaning will take a lot of time and effort.
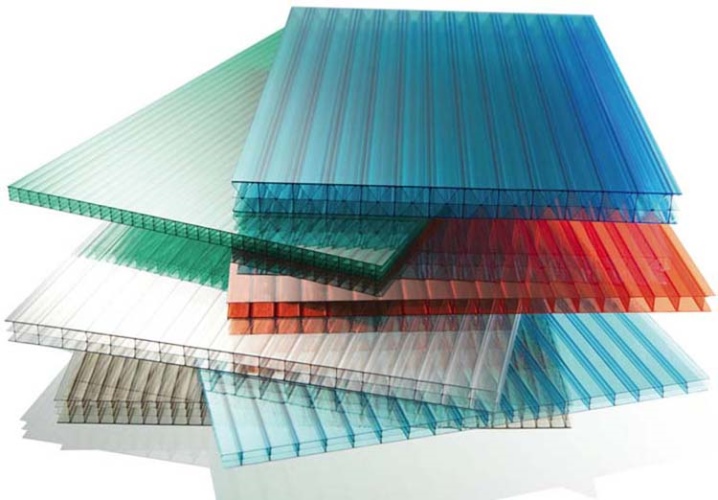
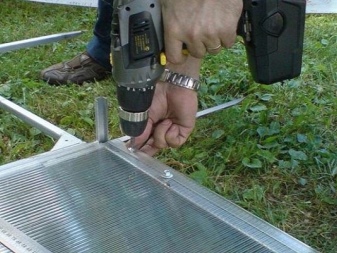
There are several methods for fixing polycarbonate, the very first is with screws. After the necessary markings are applied to the sheet, it is cut. This is done without removing the protective film, and the sheet is laid on the metal frame with the protected side up. When erecting an arched roof, polycarbonate is bent only along the channels. The roof is attached to the frame using self-tapping bolts. In order not to damage the material, you need to prepare the holes in advance, their size should be larger than the diameter of the fasteners. If you do not follow this rule, as a result of the temperature difference, the polycarbonate will expand or contract, and cracks will appear on the surface. The pitch between the bolts should be between 35 and 45 centimeters. Silicone coated washers with a diameter of 30 millimeters can be used for strength and sealing of the connection.
Also, for the installation of polycarbonate to different materials (wood, plastic, metal), a special adhesive is used. Epoxy glue is used to connect to the metal profile. If the structure will be affected by sudden changes in temperature, silicone glue will do. Its temperature range is –45 - +125 degrees.
Manufacturers produce many brands of glue, but for polycarbonate it is better to use solvent-free formulations, as they damage the surface of the material.
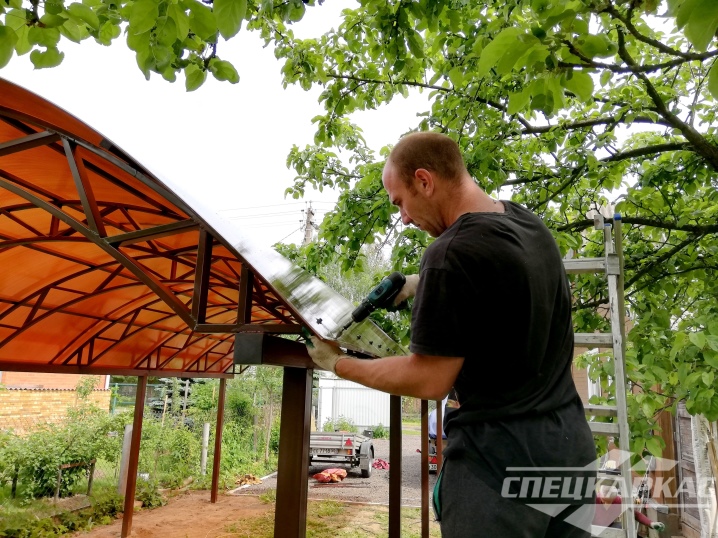
Here are some tips for working with polycarbonate.
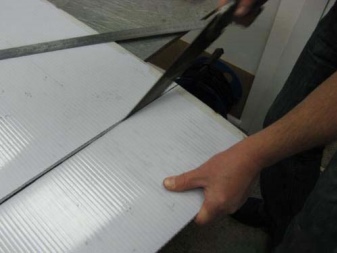
- If the sheet thickness does not exceed 8 millimeters, it is recommended to use a construction knife for cutting, for a larger value of this parameter - a circular saw with small teeth.
- So that the snow rolls down from the canopy, the sheets are mounted along the slope, and for an arched structure, they are bent in the direction of the polycarbonate ribs.
- So that after cutting there are no chipping, and the edges are even, it is necessary to cut the sheet on a hard surface.
- To create a hole for the bolts, it is better to take a drill with a metal drill. They need to be placed only between the ribs that stiffen the polycarbonate. This will allow condensation to drain better from the sheet.
- Cellular polycarbonate should be positioned so that its honeycomb is vertical. This is done so that water does not accumulate inside the material and subsequently it does not "bloom". Heat-resistant tape is not suitable for this case: moisture will still accumulate inside.
- For 10mm polycarbonate, fasteners should be spaced no more than 50 centimeters apart. For thicker material, the distance increases to 85 centimeters.
- The roof lathing on which the polycarbonate will be laid must meet several conditions. The flatter the roof, the smaller the distance between the lintels. This must be done in order to avoid pushing through the polycarbonate, because not only water after rain, but also snow can accumulate on the surface. The optimum slope is 50 degrees.
If possible, it is better to give preference to an arched structure: it has the ability to withstand heavy loads. If polycarbonate 16 millimeters thick is used for the arched canopy, you can do without the lathing. But the support pillars should be located no further than 2.3 meters from each other.
Many materials can be replaced with polycarbonate, it is durable, protects from ultraviolet rays, is plastic, and can be used for thermal protection. Having foreseen and calculated all the nuances, you can avoid serious costs and create a unique design.
When building a carport for a car, three main rules must be observed: accuracy of calculations, acceptability of materials and imagination.
For information on how to make a polycarbonate canopy, see the next video.






The comment was sent successfully.