How do I connect headphones with a microphone to my computer?
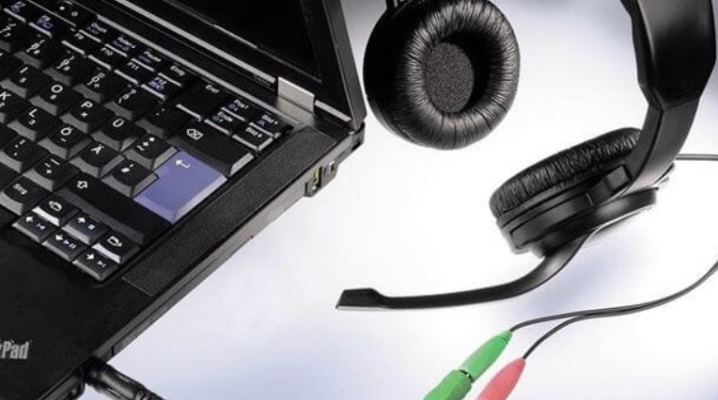
Nowadays, any self-respecting computer user will definitely have such a thing at his disposal as headphones with microphone. This technical device is especially in demand when playing online with a large number of people, where communication can significantly simplify not only the game process, but also improve the player's success.
But many, after purchasing such a headset, face various kinds of difficulties with its connection. And we will try to figure out how to connect headphones with a microphone to a computer and configure them to enjoy using them.
Fundamental rules
Before connecting the headphones with microphone and plugging in the plug, you should figure out if there is, in general, an audio card in your computer. Sometimes they forget to buy it if there is no built-in one. If it is, then it is usually either built into the motherboard, or a special connector should be allocated for it. But if you don't have an audio card, you definitely need to buy it, because there will be simply nowhere to connect headphones to a PC. After that, special drivers should be installed on the computer so that the sound card works correctly.
By the way, we add that if you only plan to communicate, and you do not have any serious sound requests, then you can purchase an inexpensive model. If only it had jacks for connecting the necessary headset.
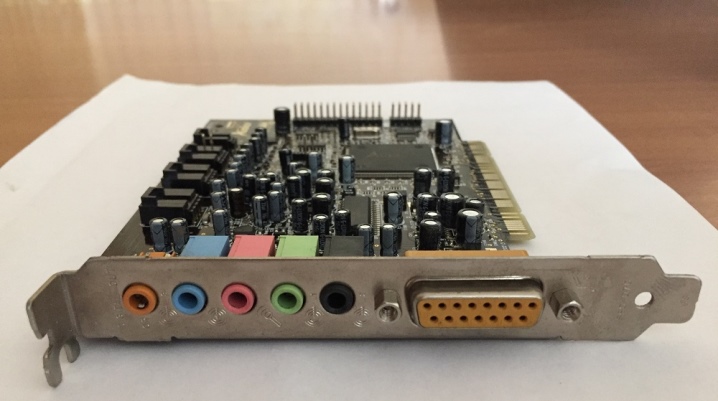
Usually a sound card has two connectors for plugs... One is green and the other is pink. Headphones are connected to the first, and a microphone to the second. By the way, if you have a laptop, then it may be that there will be only one connector, and the headphones have 2 plugs. In this case, to connect them, you will need to purchase a special adapter.
Let's consider the basic rules on how to connect headphones with a microphone to a computer.
To begin with, you should insert the headphone and microphone plugs into the desired jacks... After that you will need check if there is a driver in the system for the sound card. If the computer or laptop is running Windows 10, then some standard driver will be installed there. But it would be better to install the software offered with the device so that all the functionality is available to you, and so that both the microphone and headphones work normally.
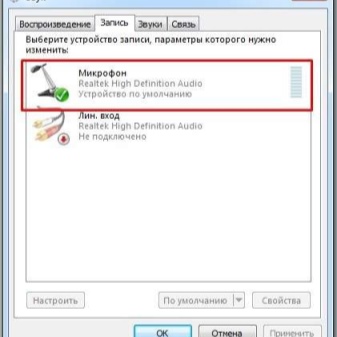
If for some reason the operation of the headset is incorrect, then you should go to the section of recording devices and make the microphone active by default. If the specified item is not in the list, then you need to right-click on an empty area, and then enable the item called "Show disabled devices".
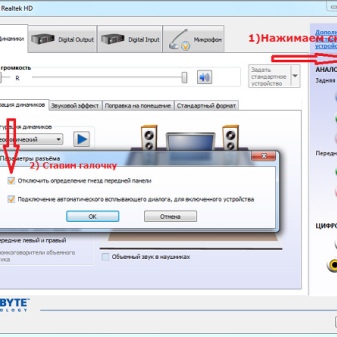
It is important that if you connected your headset through the front wall of the system unit, and you have installed a driver from Realtek, you should enter the audio card driver and find the section "Disabling front panel input definitions" there.
If you have equipment from Via, you should go into the front panel settings and specify AC97 instead of HD Audio... More details about connection options will be discussed below.
Connection options
If we talk about the various options for connecting the headset to a PC, then first you should note that a wired or wireless connection option can be selected. In the case of the wired option, it will be important which plug the headset has. It can be of several types.
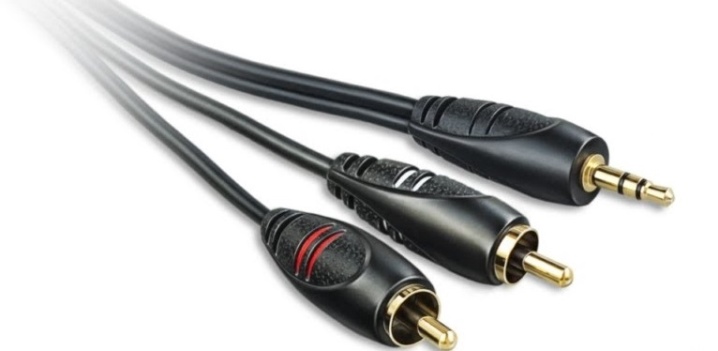
- Mini Jack 3.5 mm.Most headphones and headsets from the phone have this size.
- Standard Jack, the size of which is 6.5 mm. It is mainly used on monitor headphones and studio-type models.
- Standard Micro Jack that measures 2.5mm. These plugs were used to connect headphones to older mobile phones.
If we talk about wireless connection types, then the headphones can be easily connected to a PC without wires if there is an appropriate receiving device. We are talking about Bluetooth or Wi-Fi modules. After connecting, setting up the headset requires the installation of appropriate drivers or is performed in automatic mode. Laptops, as a rule, are already equipped with such built-in adapters, but PC users will have to buy them in addition.
In addition, there are 2 more connection methods, depending on which system unit you have:
- to the back panel;
- through the front connector.
Front connector options will be available depending on the design of the computer. Let's take a closer look at these options, and how the connection will be made in these cases.
To the back
This type of headset is quite popular due to the fact that a large number of users like to speak on Skype, using this type of equipment and for other programs of a similar nature.
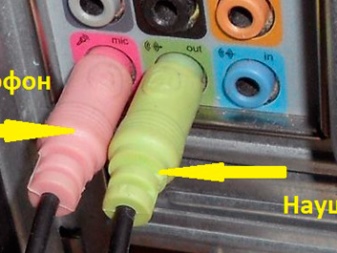
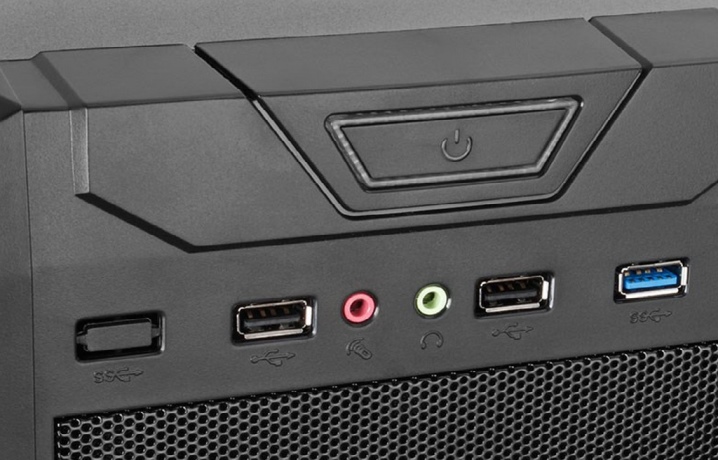
The motherboard has a panel for connecting a microphone and headphones, and the outputs from it, as a rule, are located on the back of the PC due to the location of the motherboard. We plug the headphone plug into the green jack, and the microphone into the pink jack. There is also a blue connector. Any audio device from which recording will be made can be connected to it.

In case we are dealing with a single-plug headset, it would be better to buy a special adapter, which will make it possible to separate the channels and connect the plugs as described above. In this case, no drivers are required.
There is another way to connect headphones with a microphone to the back. Its essence is using an external sound cardwhich will plug into the rear panel into the USB connector. It has two connectors - green and pink, so there should be no problems connecting headphones with a microphone to it.
For its correct operation, you need to install the drivers and software included in the kit.
Through the front connector
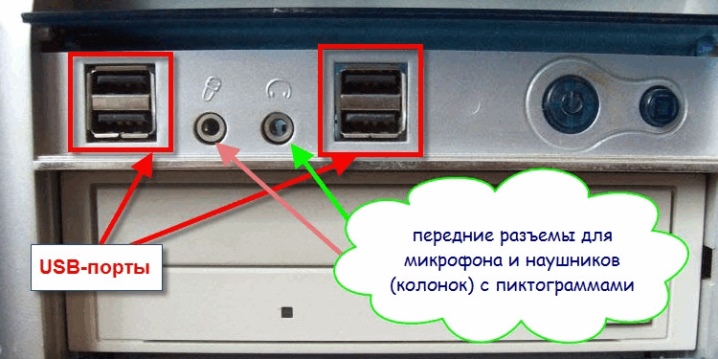
If speak about connecting a headset through the front connector, then this is possible only if the PC case provides for such a possibility and an output is made from the sound or motherboard to the front panel. This option will be more convenient, because all the connectors are in plain sight, and it is very easy to find the one you need. With this type of connection, before starting all actions, regardless of the version of the operating system that is installed on the computer, you need to install the Realtek sound drivers. After they are installed, a number of actions should be performed.
First you need to look at the nests. The fact is that it often happens that they are not marked with flowers, but under them there are small and unobtrusive icons of the microphone and headphones. And in accordance with these designations, you should also insert headphones and a microphone into the necessary jacks.
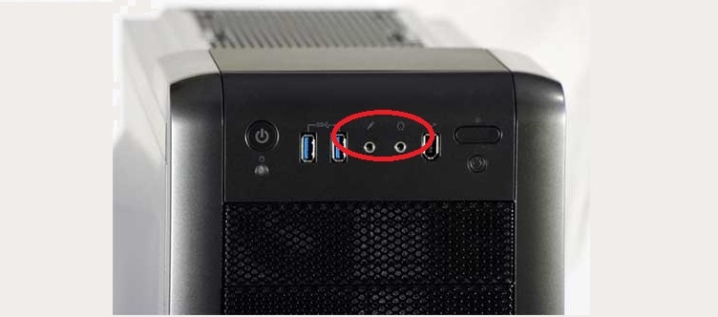
Launch the Realtek manager, the icon of which can be found in the tray. In the window that appears, you can see the jacks for connecting various kinds of audio devices. Connectors that are currently working will have a bright hue, while those that are inactive will be somewhat blurred.
To activate them, you need to open the folder with the parameters of the jack connectors, which is located at the top of this menu. After the user opens it, he can manage them.Now you should select the item "Disable the definition of front panel connectors", after which it will be possible to define the connectors where the headphones will be connected.
In the same way, you need to connect a microphone.

Now you need to open the "Select devices" item and select the microphone or headphones icon from the list. By the way, it will not be superfluous to check the headset on a smartphone before connecting to a computer. If it's faulty, you could waste a lot of time connecting the faulty audio device.
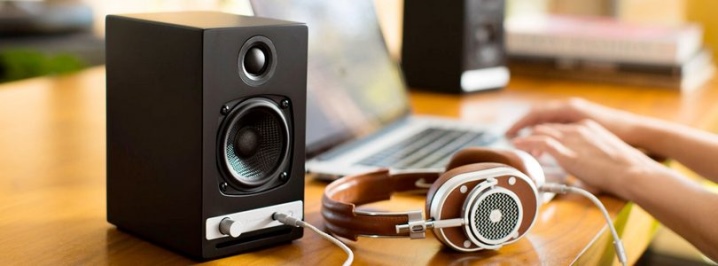
It so happens that I want for some reason to connect headphones and speakers to the computer at the same time. There is an opinion that this cannot be done. In truth, it is possible, but it requires purchasing a special adapter that is inexpensive. But before that, it will not be superfluous to make sure that your computer's amplifier can withstand such a voltage.
Customization
Now let's talk about setting up headphones and microphone on various operating systems. If your computer runs on Windows XP, 7, 8, 8.1, then after connecting to set up the headphones, you will need to perform a number of actions.
- Play any song or movie for sound check. If everything sounds good. If there are problems, then you should right-click on the speaker icon, which is located in the lower right corner of the monitor. There you need to find the item "Playback Devices".
- Several devices can be seen in the list. You need to make sure that there is a green checkmark next to the "Speakers" item.
- If it is absent, then you need to select this device by clicking on it with the right mouse button and select the "Use by default" item.
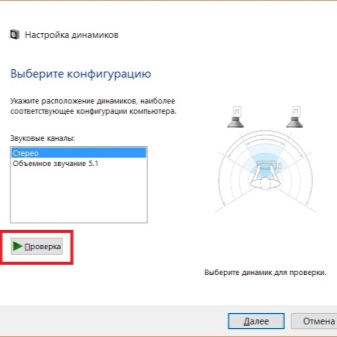
- Now you need to select the speakers, then click on the "Configure" item, which is located below, and select the "Stereo" sound channels. After that, you need to click on the "Test" button to hear the sound from each channel.
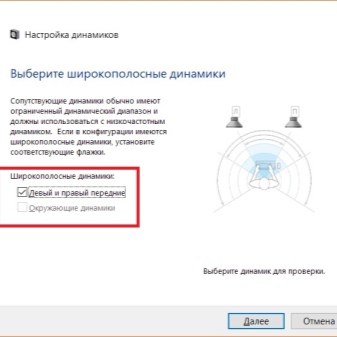
- And also you need to check the box in the settings "Broadband speakers" in the position "Front right and left", then click on the "Next" button, and then - "Finish".
- The speakers have a volume control. You should turn on the music, and if the scale does not fill up when it is played, and there is no sound, then something is wrong.
- If the scale fills up, but there is no sound, then you need to check the volume level.
- If the volume is set, the scale fills up, but there is no sound, then most likely you have either mixed up the plugs and sockets, or are using faulty headphones.
Now let's talk about configuring the microphone on the specified operating systems.
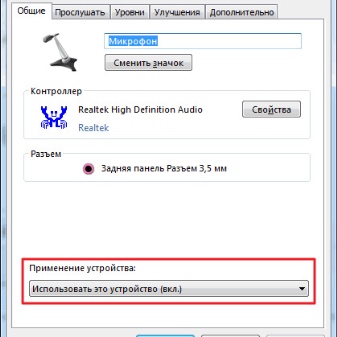
- To check it, you need to connect it and click on the speaker icon located in the lower right corner, then select the item called "Recorders".
- Select the microphone and make it the default device.
- Now we see a menu in front of us, in which the previously connected microphone should be displayed. It is quite simple to check its performance: you can say something or clap your hands and see if the sound scale fills up.
- If this does not happen, then right-click on the device name.
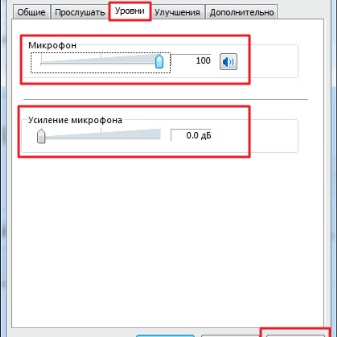
- Select the tab called "Levels" and then set the value to 80. Then we do this procedure one more time.
- If after these steps the scale does not fill, then there is a high probability that the microphone is simply connected to the wrong connector. Another reason for this behavior of the microphone is that it may simply be faulty.
If the scale is filled, then it remains to click on the item "Use default device" - and calmly use your connected headset.
By the way, if we talk about headphones that connect to USB connectors, then their configuration does not need to be carried out due to the fact that such devices, as a rule, are configured immediately after connection in automatic mode.
In general, it should be noted that When connecting headphones with a microphone to a computer through the back or front panel, there are certain pitfalls that can confuse even a fairly experienced user.
But at the same time, the action algorithms described above will make it possible to solve 90% of the most common problems, which in most cases will allow you to quickly connect and configure the headset.
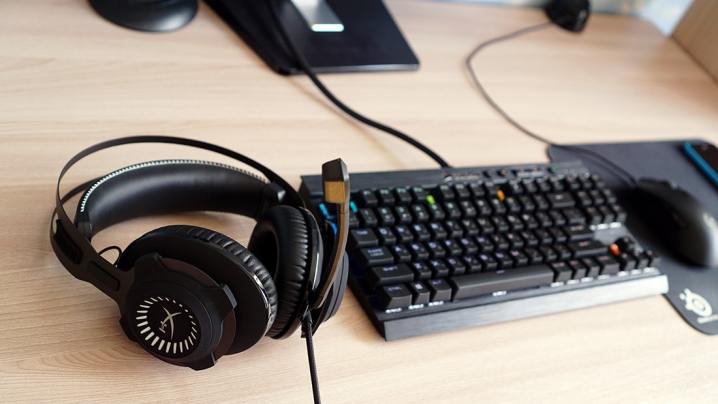
This means that you can enjoy high-quality sound, communicate with your family and friends in messengers, play online games, communicate with other players, and also just watch movies and listen to music using a high-quality headset equipped with a microphone.
For a video on how to connect headphones with a microphone to a computer, see below.


The comment was sent successfully.