How do I clean my headphones?
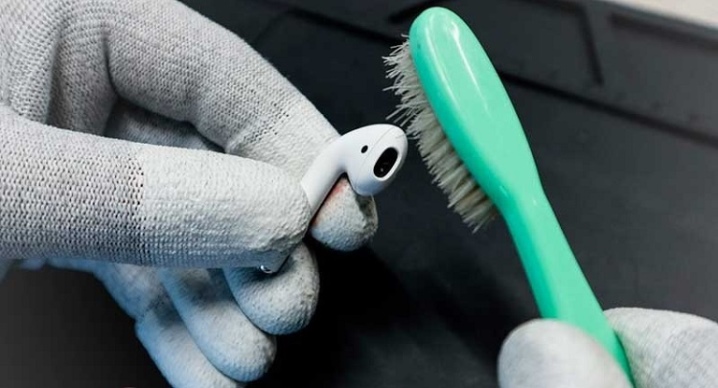
Any thing that comes into contact with the human body tends to quickly become dirty. This applies not only to items of clothing and jewelry, but also to technology, in particular, headphones. In order for the sound of music to remain at its best, and the product itself has served for a long time, you need to properly care for it. We will consider methods for cleaning such gadgets in our material.
Cleaning features
Regardless of which model of headphones you have, sooner or later they get dirty. Most often, dirt and earwax are clogged into products, which causes the following problems:
- sound deterioration;
- unsightly appearance of the device;
- breakage.
In addition, one should not forget that the accumulation of sulfur and dirt is quite capable of affecting the health of the ear canals. Contaminated headphones become a breeding ground for bacteria and all kinds of microorganisms, hence the constant itching in the ears, even when the headphones have been removed for a long time.
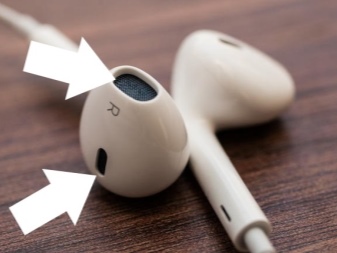
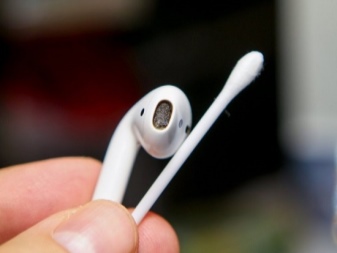
The good news is that in case of contamination, you don't have to go to service centers and don't look for a master. This problem can be solved independently, at home, without using expensive means. Cleaning will depend on the type of headphone used. For example, models that can be disassembled are the easiest to clean, requiring only peroxide and a cotton swab. In this case, it is advisable to remove the mesh and clean it separately.
Now let's consider some more features of the process:
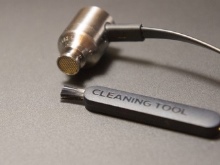
- cleaning can be carried out with special means, which are produced by the manufacturers themselves;
- it is recommended to clean not only the headphones, but also the jack into which the plug is included;
- in collapsible models, the toothpick can be replaced with a thick needle or a toothbrush;
- Do not allow water to get inside the device.
How can I clean my headphones?
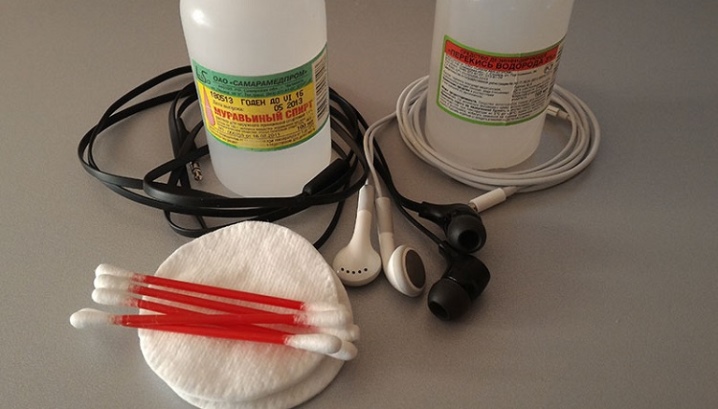
There are several tools that you can use to clean your headphones. All of them, most likely, you have in your home first-aid kit, and if not, you can buy them literally for a few rubles.
- Hydrogen peroxide. Anyone knows that before rinsing the ears, the doctor instills hydrogen peroxide into the ear, which perfectly softens the wax and helps it leave the ear canal. This quality of peroxide can be successfully applied when cleaning headphones from wax. Plus, the peroxide will do a great job on yellow spots on white models. But for leather goods, this product is not advised to use, since it can discolor the headphones.
- Alcohol. This is another good tool that can not only clean but also disinfect a gadget. Great for cleaning dirty mesh, membranes, ear pads. To wash the device, it is recommended to dilute the alcohol a little with water, and you can apply it on an ear stick or a twisted piece of cotton wool. In addition to alcohol, you can also use vodka, the effect will be the same. However, when using alcohol, you need to remember that it is unable to cope with yellow spots.
- Chlorhexidine. It is an antiseptic solution widely used in healthcare facilities for disinfection. It is softer than alcohol, but it disinfects the product just as well.However, chlorhexidine is only suitable for cleaning external parts; it should not get inside the headphones. They can effectively clean the ear pads, no more. But this solution is suitable for daily use. By slightly dampening a cotton pad with it, you can wipe the ear pads before using the gadget. This will keep your ear canals in order at all times.
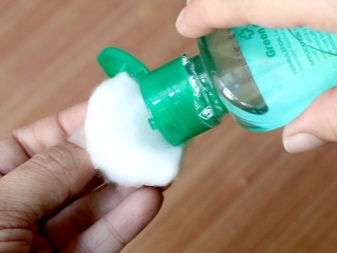
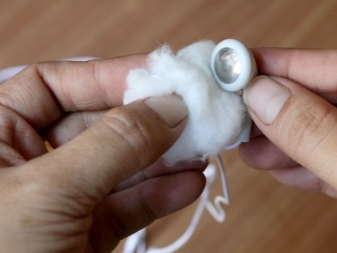
In addition to these products, you will need a few other items to clean your headphones.
- Toothpick. With the help of a toothpick, you can safely remove ear pads and nets, it will also help to quickly and effectively remove sulfur lumps. Will not scratch or damage your device. In some cases, the toothpick may be too thick, then experts recommend replacing it with a thin needle, but it should be used very carefully.
- Cotton swab. Thanks to this item, you can easily clean collapsible headphones, however, it is most often used to clean the socket. To do this, you just need to moisten it in peroxide, insert it into the socket, scroll it a couple of times and pull it out. The procedure can be repeated if necessary. It is not recommended to use a cotton swab on small parts, since microscopic hairs remain after it.
- Cotton pad. Of course, you can't get to the insides of the headphones with a cotton pad. However, he will cope with cleaning the external parts with dignity. It is convenient for them to wipe the ear pads and wires. It is believed that a cotton pad is much better than fabric materials because it does not leave lint, does not scratch or damage the surface of the headphones.
- Scotch. This item is convenient in that it can fix the earphone during cleaning to free your hands. This method is popular with many people, but not everyone knows that scotch tape leaves sticky streaks, to which dirt and crumbs quickly stick. This stickiness is difficult to clean, so it's best to use an alternative, such as a clothespin.
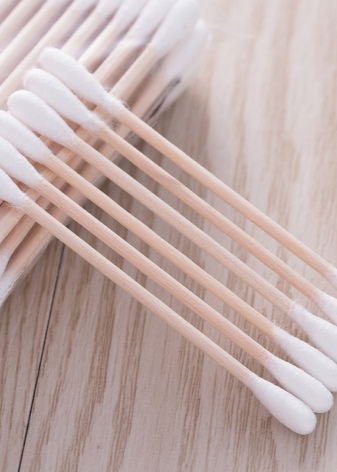
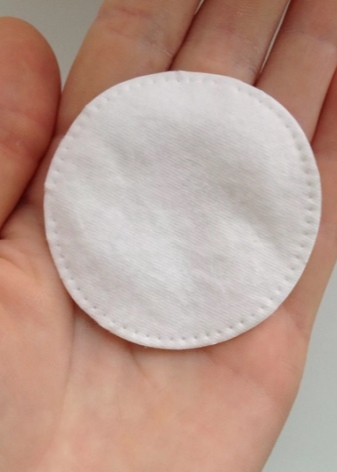
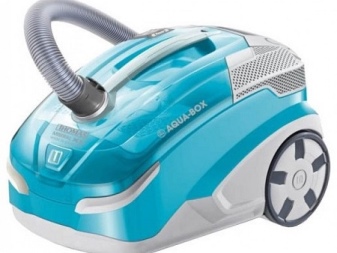
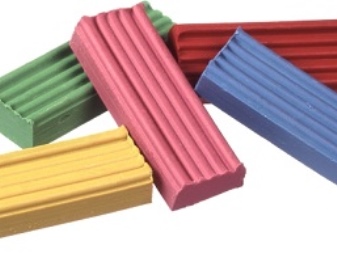
These are all items that may be needed when cleaning headphones, but I would like to mention one more technique that has recently been practiced among gadget lovers. This is using a vacuum cleaner. To use this technique, you need to mold a ball out of plasticine, the size of the pipe of the device. The ball is then inserted into the hose itself, completely covering it.
You will need to stick the body of a regular pen without a rod into the ball. The vacuum cleaner is turned on at the very minimum, and the tip of the pen is substituted for the headphones. It is difficult to judge how safe this cleaning option is.
Some say that this is the best idea, but you cannot insure that something inside the headphones breaks or breaks. Therefore, experts recommend still not to risk it, but to use this technique only for the mesh already removed from the gadget.
How do I clear different models?
The cleaning process depends on the type of earbuds and will look different for each model. Let's consider the main options.
Vacuum
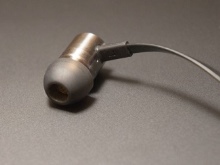
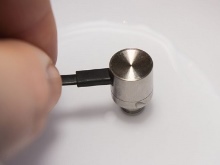
Such headphones are also called in-ear headphones. They are fully inserted into the ear, blocking extraneous sounds. As a rule, vacuum pads are present on any such model.
How to clean:
- remove the pads, wash with a light soapy solution and lay on a paper towel until completely dry;
- slightly moisten a cotton pad with alcohol, and then wipe the surface and wire of the device;
- these are non-separable headphones, so it will not be possible to remove the mesh, which means we act like this: pour a small amount of peroxide into a small container (you can cover the lid) and immerse the headphones so that the liquid touches the mesh, but does not go further;
- the duration of the procedure is a quarter of an hour, while you can hold the headphones with your hands or fix it with a clothespin (tape);
- remove the device from the peroxide and dry on a towel.
Earbuds
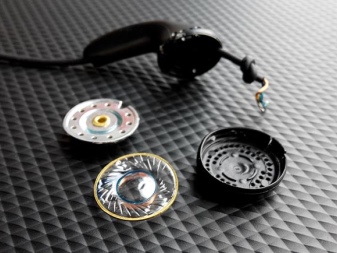
These are some of the simplest earbuds out there. They can be collapsible or not. If the headphones are collapsible, proceed as follows:
- wipe all external surfaces with alcohol or peroxide;
- on top there is an overlay that needs to be unscrewed by turning it a couple of times (most often clockwise);
- the pad must also be wiped with any disinfectant solution;
- pour a disinfectant into a small container and fold the nets there, carefully removing them from the device;
- remove the mesh, dry it and reinsert it into the product;
- screw back the plastic cover.
In the event that the product cannot be disassembled, just use a toothpick, remembering to wipe the outer surfaces with alcohol.
Overhead
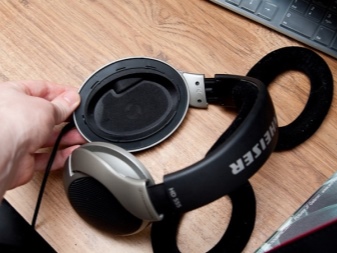
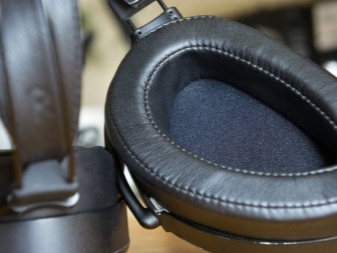
Large on-ear headphones that don't fit directly into the ear canal also tend to get dirty. Clean them like this:
- remove the pads, wipe them with a soft cloth or process with a mini vacuum cleaner;
- moisten a stiff brush a little in alcohol diluted with water, and wipe the surfaces and speakers;
- put the headphones on a towel and wait until they dry;
- put on the pads.
Apple earpods
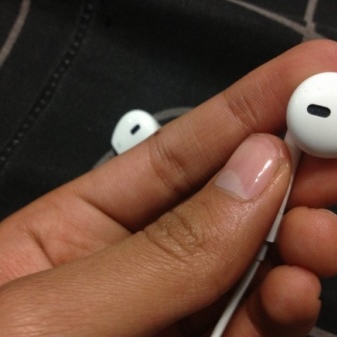
Headphones from the iPhone are positioned as collapsible, but this process is complicated and can in some cases end in failure. It is better not to disassemble the device unless absolutely necessary. If you still want to do this, use the following instructions:
- take a thin knife and pry off the speaker cover;
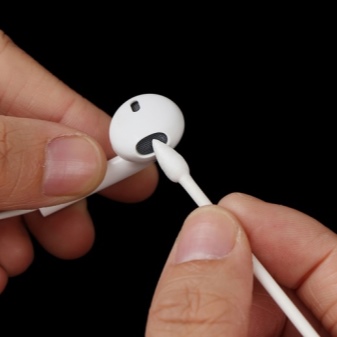
- remove sulfur and dirt with a toothpick;
- moisten a cotton swab in a disinfectant solution, squeeze and wipe the inside of the device;
- put the lid back in place by gluing it (you cannot do without gluing, the manufacturer provided it).
Apple EarPods are white headphones, so of course they get dirty quickly. If yellow spots appear on the product, it is quite easy to bleach them with peroxide. By the way, nail polish remover (without acetone) may be suitable for this purpose, but you must act carefully so that the composition does not get into the headphones themselves. As for the wires of any model, they are quickly cleaned with ordinary wet wipes or rags. If the dirt is ingrained, you can use alcohol, peroxide. The liquid is applied to the stain, and then rubbed with a sponge with light effort.
Important: The most dangerous liquid for headphones is water. If it gets inside, the system of the device may close and it will stop working. However, you can still take some measures to prevent this.
Shake the product well to drain the water, then dry it with a cotton pad. After that, you need to put the headphones in a warm place, and if you have no time to wait, you can simply blow them out with a hairdryer.
For information on how to clean Apple EarPods, see the following video.
What can't be used?
Many owners, looking to get an updated device, start looking for different cleaning methods, but they are not always the right one. The following remedies cannot be used unless you want to permanently ruin your item:
- water;
- soap, shampoo, shower gel, dishwashing liquid (a light soap solution can only be used to clean removed vacuum pads);
- bleaches and solvents;
- aggressive cleaning chemicals;
- washing powder, soda;
- nail polish remover with acetone.
In addition, there are a number of other requirements:
- if you do not know how to disassemble the device or suspect that this is completely impossible, you do not need to experiment;
- use only alcohol for the inside of the device;
- do not try to disconnect the wires inside, pull them, fix them in a different way;
- do not use force when cleaning the headphones: both the mesh and the speakers are fragile;
- make sure that there is good lighting during work.
And finally, here are some tips on how to care for your headphones:
- store the device in a special box (you can find it with any design, every headphone manufacturer produces them), then they will become less dirty;
- do not carry the device in your pocket, this causes tangled wires, which means quick breakdowns;
- do not set the device to maximum power, as the speakers "sit down" faster, and hearing deteriorates over time;
- if the model is permeable, there is no need to listen to music in the pouring rain;
- vacuum pads quickly fail, do not be lazy to change them in time;
- be sure to monitor the condition of the ear canals: if you often listen to music on headphones, your ears should be in order;
- clean the headphones once a month, even if there is no visible dirt on them;
- do not give your product to strangers, this is contrary to hygiene rules (however, if this does happen, do not forget to clean the device at home with peroxide or chlorhexidine).
Headphones are one of those things, without which many simply cannot imagine their life. Favorite music will always cheer you up, charge you with vivacity, soothe and evoke pleasant emotions in your memory.
But in order for the sound to be of different quality, and the device to serve for many years, it is important to take care of it. Only in this case it will have a decent appearance, and its owner will enjoy the melodies without interference.


The comment was sent successfully.