Grout for clinker tiles: subtleties of choice and use
Some time after laying the clinker tiles, additional processing of seams and joints is required. For this, a special building compound is used. Correctly selected grout will significantly improve the appearance of the surface, as well as protect the joints from damage and moisture ingress. After reading this article, you will learn about the intricacies of choosing and using grout mixes.
Functions
External processing of seams and joints of tiles with a special compound is carried out for the following reasons:
- Clinker grout will help to hide existing defects in laying tile plates or clinker steps. Treatment of seams with such a composition will give them a neat, aesthetic appearance.
- When using grout, the likelihood of partial tile chips is significantly reduced. This is a good protection against deformation of the tile plates.
- The resistance of the lined surface to the effects of various external factors is significantly increased: moisture, sunlight, temperature changes.
- Processing of tile joints and seams provides decorative effect.

Types of compositions
Materials for grouting clinker tile materials are of two types. They differ in the properties of the components on the basis of which the grout is made.
Cement based composition
Dyes and plasticizers are added to this mixture. Cement grout is the most popular, it is suitable for external and internal work. The composition reliably adheres to the surface of the seam, while its excess is easily removed from the surface of the tile itself.
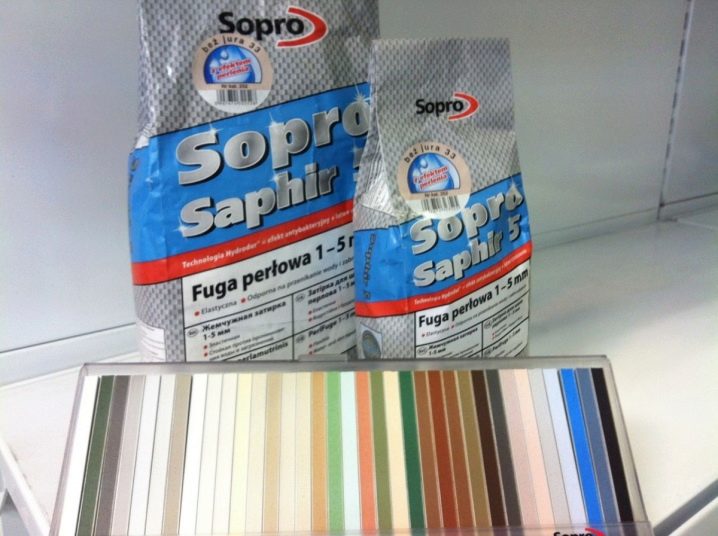
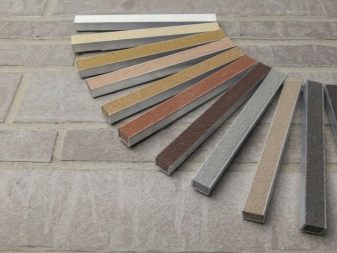
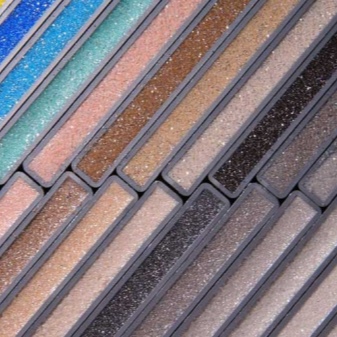
On sale there are grouting of different colors: white, reddish, black, brown, gray, yellowish, beige.
You can change the shade of the grout by combining two or more base colors.
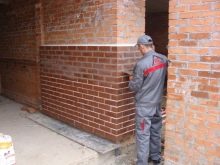
The variety of tones makes it possible to use the grout as a decorative touch in facade cladding or other surfaces. For processing wide joints (more than 5 mm), it is better to use a cement mixture with the addition of sand. Such a mixture spreads much better and fills wide inter-tile joints well.

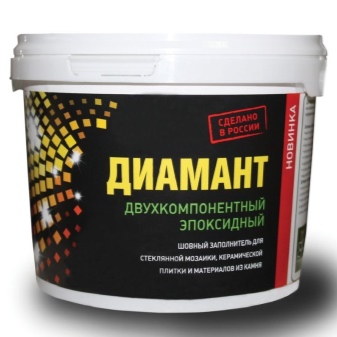
Epoxy grout
Grouts of this type are more expensive than cement ones, they consist of an epoxy base and a hardener. Before starting work, both components must be diluted in the ratio indicated in the instructions. Then the whole mass should be thoroughly mixed. The result of the work will largely depend on the quality of the batch and the observance of proportions.
The grout mixture, which belongs to this type, is especially resistant to external influences and can be used in difficult conditions. It is often chosen for the treatment of tile joints in swimming pools, bathrooms and showers.
The disadvantage of such a grouting composition is the impossibility of removing it from the tile itself when it hardens.
When applying such a grout to the seams, you will have to be extremely careful, and if material gets on the surface of the clinker tile, you should immediately remove it. For safety reasons, you can rub the surface of the tiles with wax.
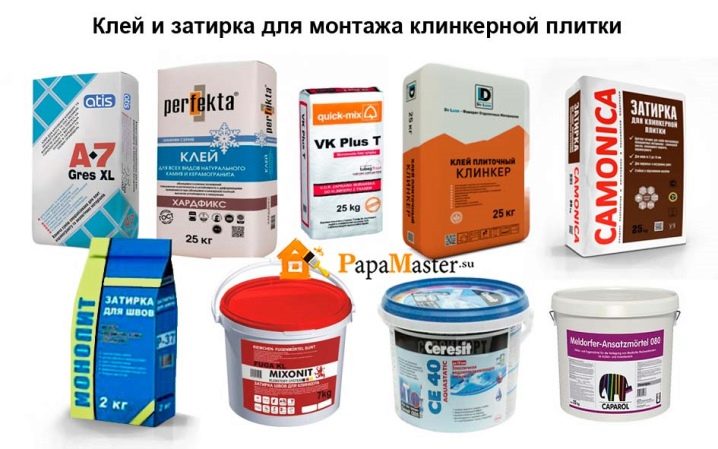
Experts recommend taking into account one rule when choosing a grout. The grout should be made by the same manufacturer as the clinker tile adhesive you are using.
Preparation
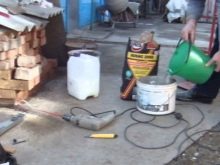
Before starting work, you need to prepare the grout of your choice. To do this, you should remember a few rules for working with such compositions:
- Be sure to use protective equipment: heavy rubber gloves, goggles and a respirator. Goggles and a respirator are needed to protect against powder dust, which inevitably forms when a dry substance is poured into a mixing container. Gloves will protect your hands from getting the ready-made mixture on the skin, which is painful and difficult to remove.
- You must first pour water into the mixing container (the amount is indicated in the instructions). Then dry powder can be added.
- Pay particular attention to mixing the composition. The mass should be uniform in consistency and color, it should not contain lumps or lumps of dye. After the first mixing step, leave the solution for 7-10 minutes, then mix it again.
- Remember that the grout mixture takes about half an hour of work. Try to calculate the right amount of grout, as it quickly loses its properties.
Application rules
After preparing the grouting mixture, you should start working on the processing of tile joints as soon as possible:
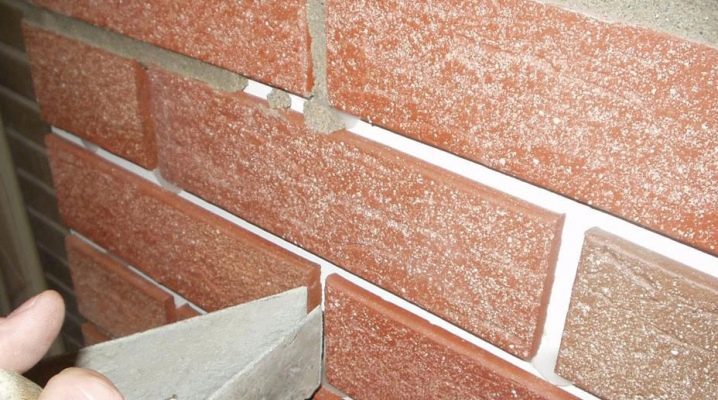
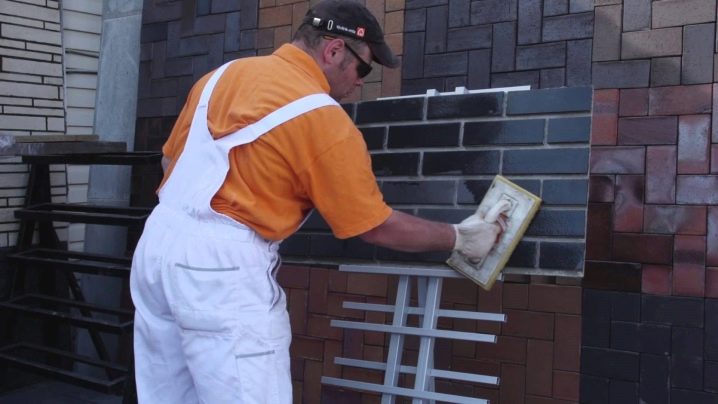
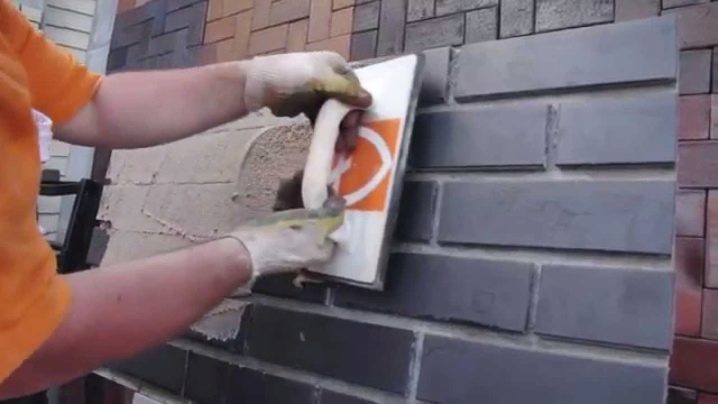
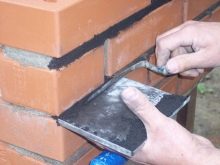
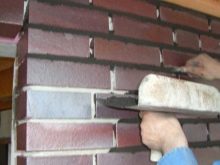
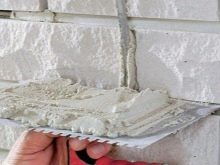
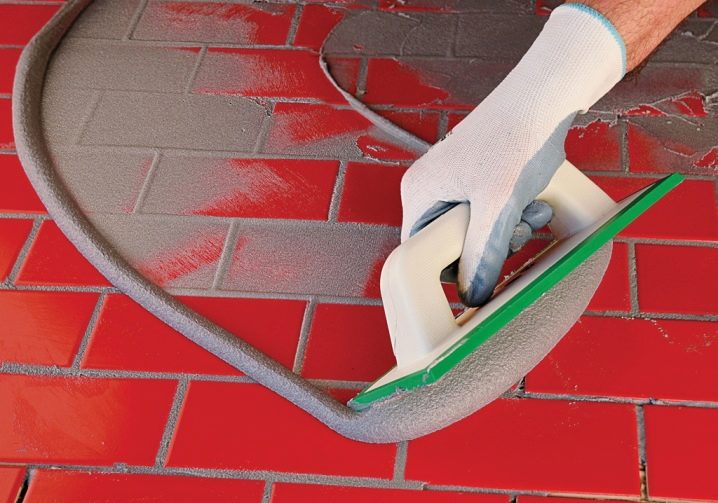
- It is very convenient to use a syringe gun to apply the grout mixture. The grout is drawn into a syringe and evenly applied to the surface of the tile joints. A rubber trowel will also work, but it is less comfortable. When using it, it is more likely to stain the surface of the tiles with the composition.
- If grouting mixture gets on the tile, remove it immediately. Keep a hard sponge or a few clean, heavy cloths handy.
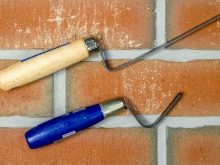
- After applying the grout to the joints, you need to distribute the applied composition. For this, the jointing of a bricklayer is used. The size of this tool is matched to the size of the seams. Make sure that no grooves are formed in the finished seams.
- After applying the material, it is necessary to avoid mechanical stress on the areas treated with grout (until the composition is completely dry). The manufacturer indicates in the instructions how long it will take for a particular grout to harden.
If the work is carried out in hot weather or in direct sunlight, the grout will harden faster.
Advice
Consider the following helpful tips:
- If the grout that got on the tile could not be removed in time (as a result of which it froze), try buying special solvents based on an alkaline or acid base at a hardware store. Many grouting materials can be dissolved with these products.
- Experienced finishers recommend that at the beginning of work, first of all, apply grout to the T-shaped joints. After processing them, it will be possible to fill in the rest of the tile gaps.
- When buying a grout mixture, be sure to pay attention to its properties: moisture resistance, resistance to temperature extremes, frost resistance, the curing time of the finished composition, the thickness of the joints for which this grout is designed.
- Before grouting, it is recommended to clean the joints of the glue that was used to fix the clinker tiles or steps. This can be done with a construction scraper or file.
For information on how to grout clinker tiles, see the video below.


The comment was sent successfully.