Juniper breeding methods

Juniper is one of the most popular plants in gardening. Depending on the variety, it can take a variety of forms, be used in rockeries, rabatkas, for decorating hedges, garden paths and flower beds. Every gardener who decides to plant this ephedra on his site will certainly wonder how best to propagate this unusual plant.
Which is the fastest and easiest way?
Juniper can be propagated in several ways:
- seeds;
- cuttings
- layering;
- dividing the bush;
- vaccination.
The last three methods are not suitable for all varieties of conifers: for example, layering is obtained from creeping varieties, and only young bushes can be divided, grafting is used only by professionals for breeding especially valuable plants.
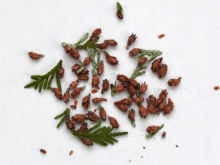
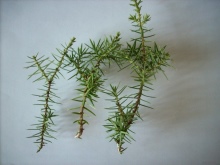
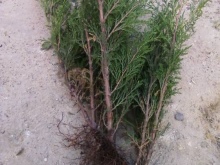
Seed propagation is a laborious and lengthy process:
- ripening of the cone lasts 2 years;
- the seeds obtained require continuous stratification;
- seed germination is low;
- the varietal qualities of the mother plant are not always preserved.
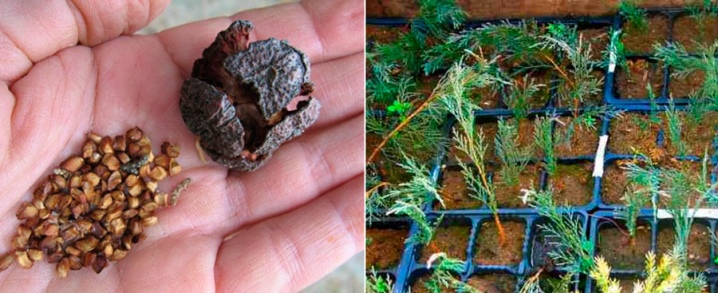
All these reasons have led to the fact that at home gardeners most often choose cuttings - this method is considered the simplest and most effective, it has a number of undeniable advantages over all the others:
- a young juniper seedling fully retains all varietal characteristics;
- a full-fledged bush can be obtained in 2-3 years after harvesting planting material, and it will take a couple of years less to reach the size of an adult plant than when propagating by seeds;
- seedlings obtained from cuttings quickly adapt to growing conditions;
- when cuttings, junipers are obtained that are resistant to external adverse factors;
- the method of propagation by branches is characterized by high efficiency and is suitable for the vast majority of ephedra varieties.
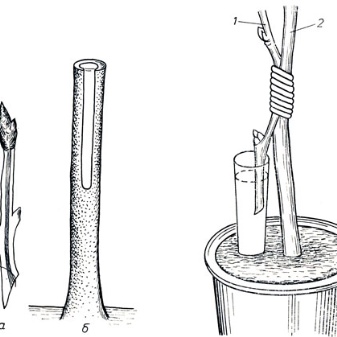
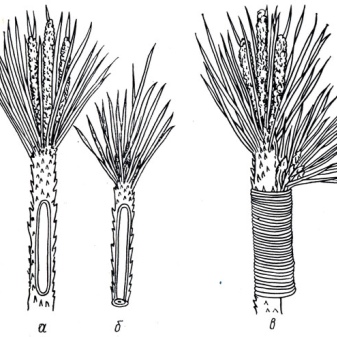
Vaccinations are the least common. As a rule, a particularly valuable variety of juniper is grafted onto a common one. For this purpose, the cut scion is pressed against the stock using the "core on cambium" or "cambium on cambium" method and tied with plastic wrap. However, the survival rate of the scion in this case is small, therefore this method has not received wide circulation.
How to grow from seeds?
The propagation of juniper by seeds is most often used by breeders - in this way they maintain the intraspecific diversity of the crop, which greatly contributes to an increase in the resistance of plants to unfavorable environmental factors, therefore, increases their survival and competitiveness.
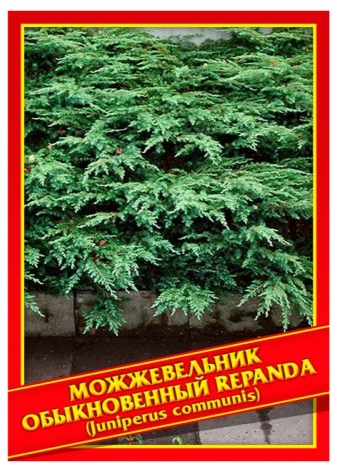
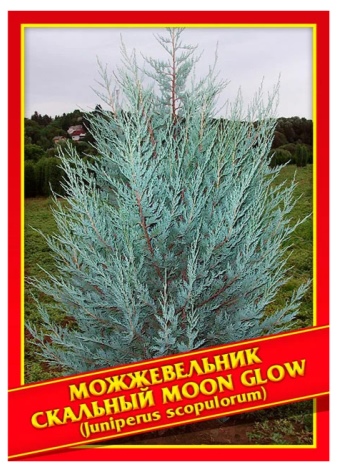
Seed material can be purchased at any specialty store, or you can take it from friends on whose site the juniper grows. Often they resort to the third option - they collect cones from a wild-growing bush. The last two methods are considered more reliable, as you can fully imagine how your plant will turn out. At the same time, when purchasing seeds in a store, there is always a choice of varietal material.
Seed propagation includes several stages.
Semen collection. To do this, from the tree you like in the wild, you need to pick several blue-black cones, you do not need to touch the green ones - the seeds in them have not yet reached the required degree of maturity.
Please note that juniper seed germination is low, so prepare as many cones as possible.
After harvesting, the cones should be soaked in warm water for several hours - this treatment allows the seed to get rid of the shell. After that, they must be thoroughly rinsed and placed for half an hour in a weakly concentrated solution of hydrochloric acid for stratification. The result of such manipulations is the destruction of the dense seed coat, which greatly accelerates germination.
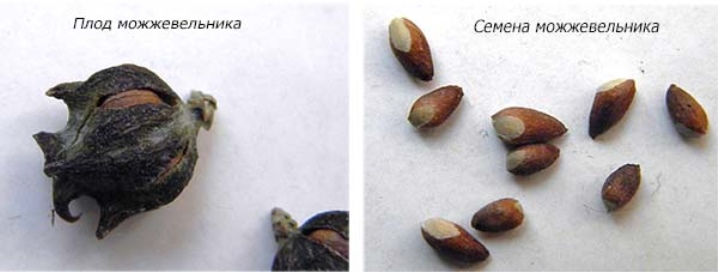
You can also break the shell mechanically. Of course, it is not worth pounding on it with a hammer, but it will be useful to rub it intensively with sandpaper. If you have such a rarity as a washboard, then you can rub the cones on its surface - this is how the cones themselves are destroyed, and with them the shell. By the way, this method is most often used by procurers in the taiga.
At the next stage, the box with seeds planted in soil mixture for conifers should be taken out into the street, this should be done in winter, so that they undergo final stratification in the snow in the frost.
If the seeds could survive the winter and sprout - in May, you can plant seedlings in the garden... It is extremely important to mulch the planting and protect it from direct sunlight for the first month so that weak shoots can form a root system and healthy shoots.
After a couple of years, the seedlings can be moved to a permanent place - by this time they become strong. However, all work must be carried out as carefully as possible so as not to damage the growth point and roots.

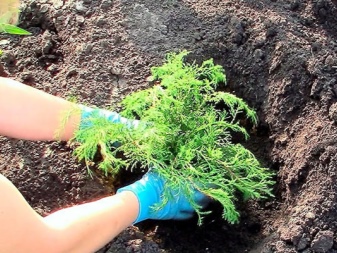
Breeding by branches
Propagation by layering is another popular method of grafting. Most often, work is carried out from early spring to mid-summer, at a later time the roots grow back worse.
Immediately before the formation of layering, it is necessary to prepare the ground around the bush. - it should be thoroughly dug up, loosened, diluted with river sand and peat, and then thoroughly moistened.
In order to prepare planting material, it is necessary to take a young green branch of a juniper near the ground, rid it of the needles and make an oblique cut with a sharp blade, carefully insert a match or a thin stick into it, fix the layering to the ground with a hairpin, and sprinkle it all with ordinary garden soil.
After 1.5-2 months, roots appear at the site of the cut, immediately after that you can cut off the branch with pruners or garden scissors and transplant to a permanent place - now it is already an independent ephedra.
In fact, propagation by layering is considered one of the variations of cuttings, with the only difference that the cutting is not cut from the parent plant, but is dropped into the soil.
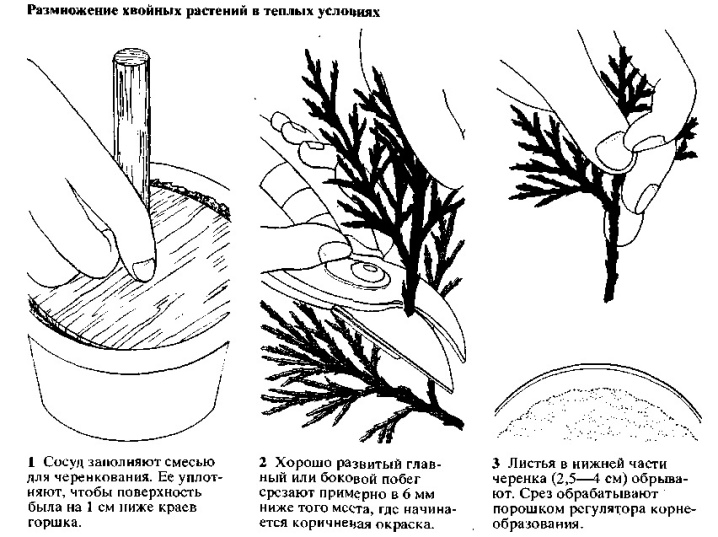
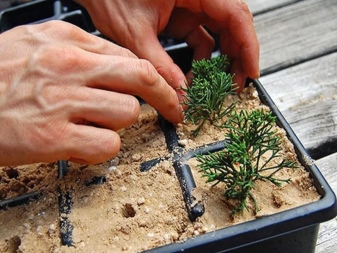
However, most often gardeners use the traditional twig breeding option. It is best to harvest rooting material in the spring. In order to get a healthy adult plant from a small piece of the shoot, you need to perform several actions.
Find a young shoot of the current year on a juniper, which has just begun to woody, and cut it off. If you are harvesting cuttings from a vertically located branch, then cut off the cutting from the middle and above. If you are dealing with creeping varieties, you can use any cuttings except vertical ones. Keep in mind: it is better to harvest early in the morning or in cloudy weather, otherwise the moisture from the place will immediately evaporate quickly and the cutting will die.
The cut must be done with a sharp blade. If you are cutting a branch no longer than 25 cm, then it is advisable to make an incision so that a small fragment of bark and old wood gets into the cutting.
The upper part of the selected cuttings in an area of 3-5 cm should be completely cleaned of needles and side branches.
It is advisable to plant the workpieces immediately after collection. If for some reason this is not possible, put the twig in the water, but you should know that after 3 hours the bark will begin to peel off, and then it will be impossible to get material for rooting.
Alternatively, you can wrap the twig in a wet cloth and place in a cool place.
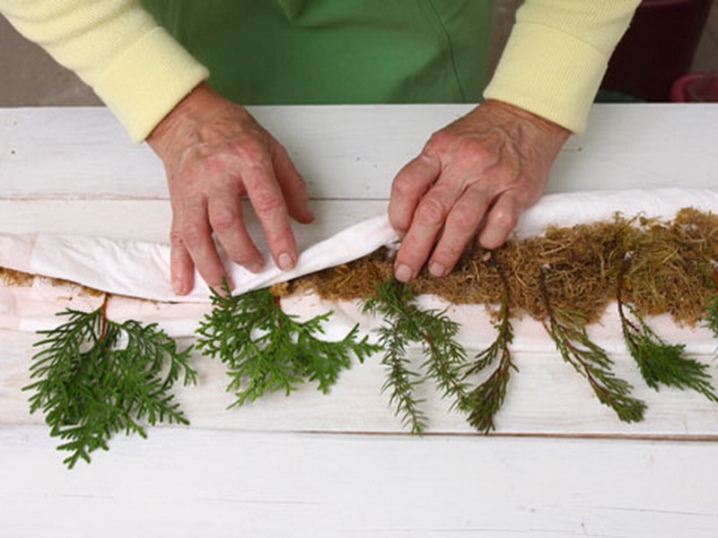
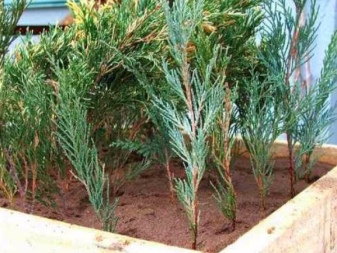
Cuttings are planted in a substrate consisting of humus and peat, taken in equal parts. This mixture is placed on the bottom on top of the drainage and covered with river sand with a layer of 3-5 cm. The cuttings are buried 20 cm, always with a slope. If you are planting several shoots, the distance between them should be at least 7 cm.
During the rooting period, you should not use root formation stimulants, as they can damage the delicate skin of the cuttings; if you plan to use Kornevin and other preparations of a similar action, it is better to sprinkle the cut site with powder before placing the shoot in the substrate.
The container with cuttings should be placed in a lighted place, but so that the light is diffused, since direct ultraviolet light is harmful to future seedlings. Watering is carried out as needed, excessive moisture is detrimental to these plants.
The period of cuttings can be chosen at your discretion. If you plan to start breeding juniper in early spring, then by the beginning of autumn the cuttings will give a powerful root system, and you can plant the seedlings in open ground, creating a shelter for wintering.
If the cuttings are planted in the summer, then they will not have time to grow the roots to the required size - in this case, it will be correct to leave them indoors until next spring.
Features of reproduction of different species
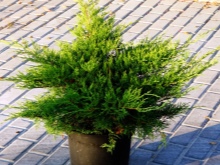
The vast majority of juniper varieties retain all their specific features only if they are rooted by cuttings. Successfully and quickly in this way, you can propagate varieties such as:
- Meyeri;
- Holger;
- Kurivao Gold;
- Mint Julep;
- Mordigan Gold;
- Wiltoni;
- Blue Arrow;
- Dream Joy;
- Gold Coast;
- Lime Glow;
- "Hit".

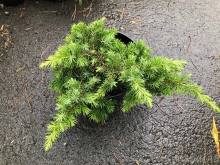
If you plan to propagate creeping juniper varieties at home, then it is better to give preference to the second most popular method - propagation by layering. The following varieties are suitable for this:
- Green Carpet;
- Blue Chip;
- Cossack;
- Canadian;
- "Tamariscifolia";
- horizontal;
- Icey Blue;
- Siberian;
- recumbent;
- Mint Julep;
- King of Spring;
- Gray Owl,
- as well as undersized Caucasian juniper.
Seed propagation is used extremely rarely for the most common varieties of ephedra, but grafts are used for especially valuable varieties.
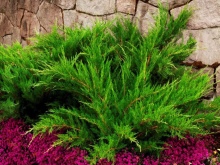
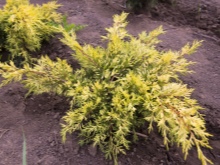
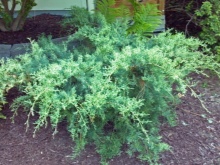
How to propagate a juniper vegetatively, see below.


The comment was sent successfully.