Features of plow adjustment on a walk-behind tractor
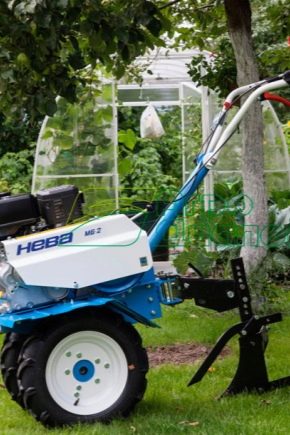
Every owner of a vegetable garden, a garden plot, a small farm understands what it is like to manually plow the beds and pull out weeds. To simplify plowing, a plow is used. However, using a tractor or animal traction for a small plot of land is not cheap and stupid. For such tasks, motor vehicles MB 90, "Oka", Brado Garden, "Neva" are used. In other words, it is a motor on wheels, on which a variety of attachments are mounted: from trailers to plows. Our article is devoted to the features of plow adjustment on a walk-behind tractor.
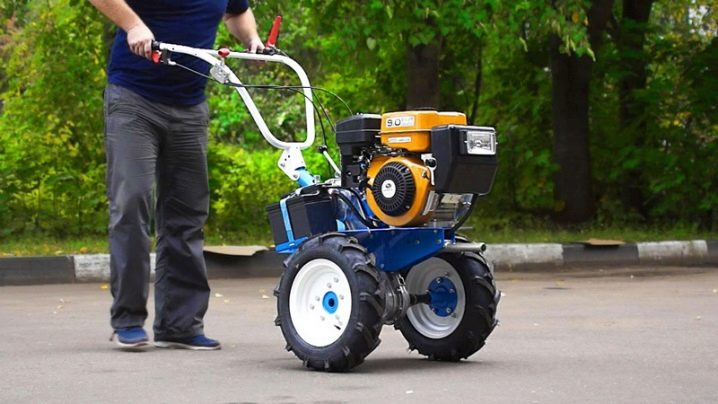
Varieties
In order to choose the right plow for motor vehicles of a suitable design, you need to find out what types of such devices generally exist. Depending on the direction of agricultural work, the following are practiced:
- monohull,
- 2-case;
- swivel;
- rotary;
- dump;
- moldboardless devices.
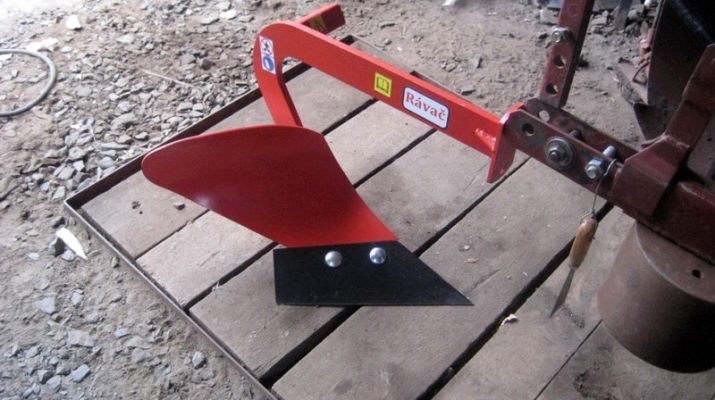
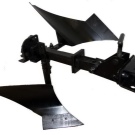
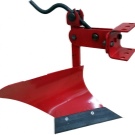
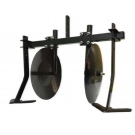
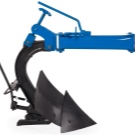
You can make a multifunctional plow for a walk-behind tractor on your own, which is suitable for many types of soils. The most successful solution for plowing a summer cottage and for use by people who do not have the proper skills is a lightweight single-body device.
Preparing to use the walk-behind tractor
Plowing the soil begins with the preparation of the walk-behind tractor. Let's figure out how to do this.
- Before plowing, motor vehicles must be uncompleted. The walk-behind tractor must be transported to the workplace without carts and other attachments. As a rule, the unit is transported to its destination by road. If the land that you intend to cultivate is located near your home, the motoblock must be mounted on a flat surface in any suitable place.
- Removal of transport wheels. After the walk-behind tractor has been delivered to the area that needs to be plowed, it is required to dismantle the transport wheels in order to change them to specialized lugs (iron wheels). To facilitate this work, tragus can be placed under the hitch located at the rear of the unit. Lugs are necessary for a more solid grip on the soil. They are irreplaceable equipment for plowing, planting beets, carrots, potatoes.
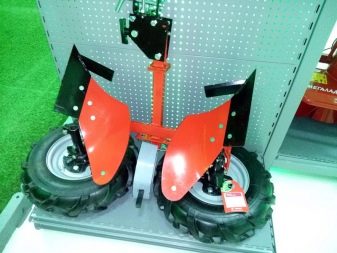
- Rotation of the hubs. At the next stage of the preparation of the machine before plowing, it is necessary to change the hubs on which the transport wheels stood for longer ones. This is necessary to increase the distance between the lugs. Such a solution will significantly improve the stability of the unit during operation.
- Installation of lugs. Moving on to the installation of iron wheels. It is essential that these elements are correctly mounted. Correct fit is determined by the directionality of the tread pattern. Narrowing the figure shows the direction of forward movement.
Installation
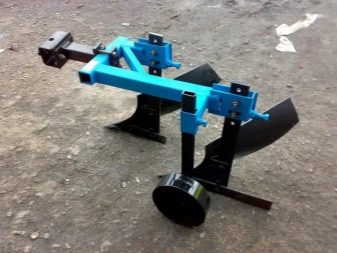
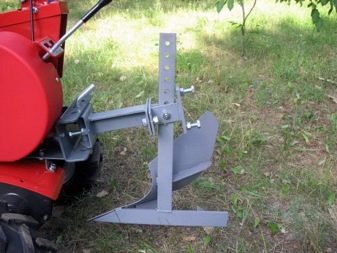
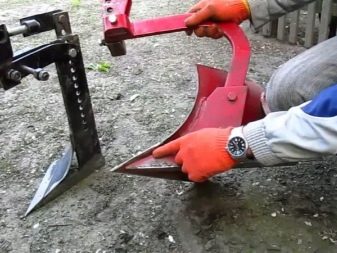
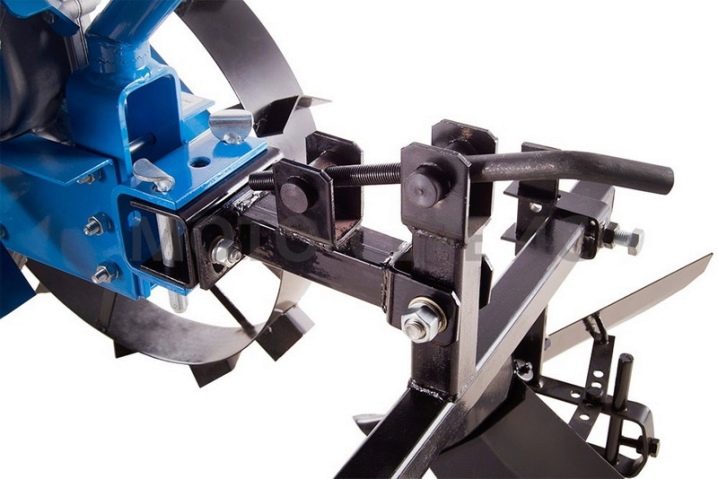
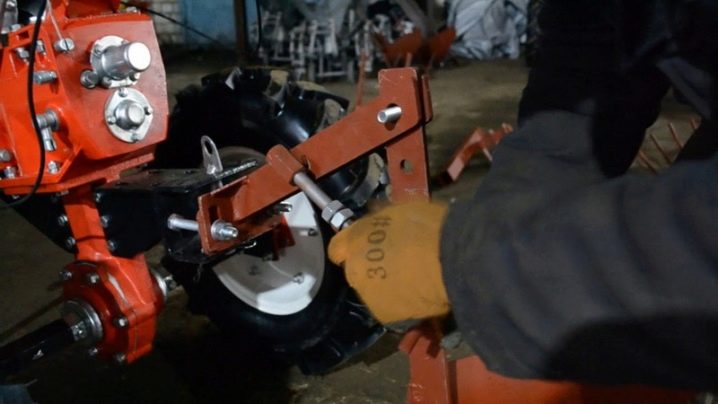
The trestles can now be removed and the plow can be assembled. It consists in mounting a coupling mechanism on the plow, which is called a coupling. The coupling mechanism is whereby the plow is fixed to the towing hitch (tow hitch, hitch) of the unit. It can be of 2 types: universal and stationary. One hitch makes it possible to use a variety of objects (harrows, diggers, plows, etc.)and the other is needed to pair the adapter and fixture.
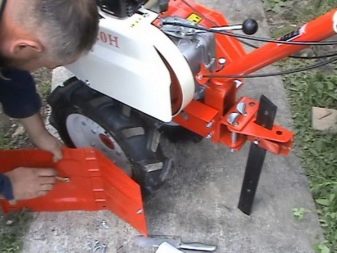
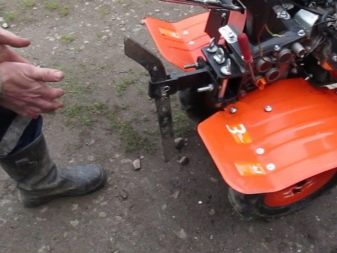
To make the installation of a plowing tool more comfortable, install motor vehicles on supports, the function of which can be performed by stones, bricks or boards. Fixing the plow is very simple - the hitch for the unit has its own place on the drawbar and is secured with a single kingpin. Many people believe that by fixing the plow firmly on the machine, things will go easier and faster. In practice, everything is exactly the opposite. Because in the process of plowing, the force is acting on the tool, concentrated vertically to the blade blade, there is a counteraction, which is trying to drag the entire walk-behind tractor to the side.
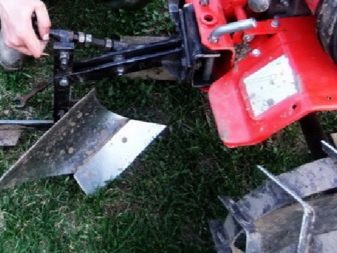
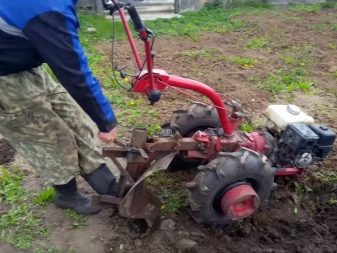
In case of "dead" fixation, the worker must apply force, literally crushing the machine into the soil - this is one of the most common mistakes. Therefore, a horizontal clearance of approximately 5 degrees is required.
Accessories for customization
You can create an assembly diagram of functional and structural elements and a detailed drawing of a plow yourself. Extreme accuracy will make it possible to eliminate assembly complications and the negative impact of errors on the working properties of the unit. It is necessary to take into account the overall characteristics of the elements. Even the smallest miscalculation can significantly affect the functional properties of the equipment. In the drawings with the dimensions of the attachment for the unit, 3 construction planes are connected:
- the surface of the runner is lateral;
- horizontal bottom;
- dump front.
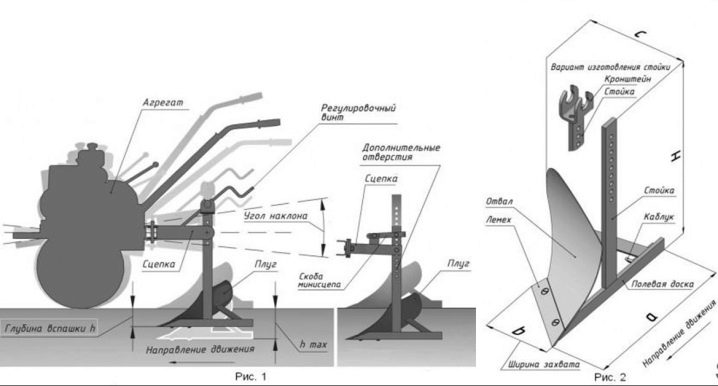
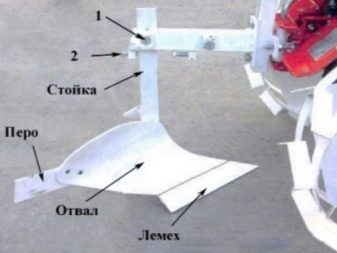
The scheme of the simplest handicraft plow consists of the following elements:
- 2 handles made of metal pipe;
- frame;
- rack stopper with a standard size screw M10 or M8;
- retaining fork for frame pivot;
- coupling device;
- bearing;
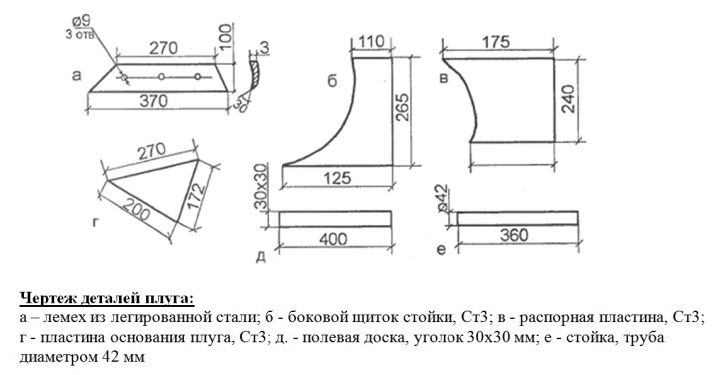
- beams between handles;
- crosspiece;
- locking nut;
- regulating washer;
- handle for coupling device;
- T-shaped connector.
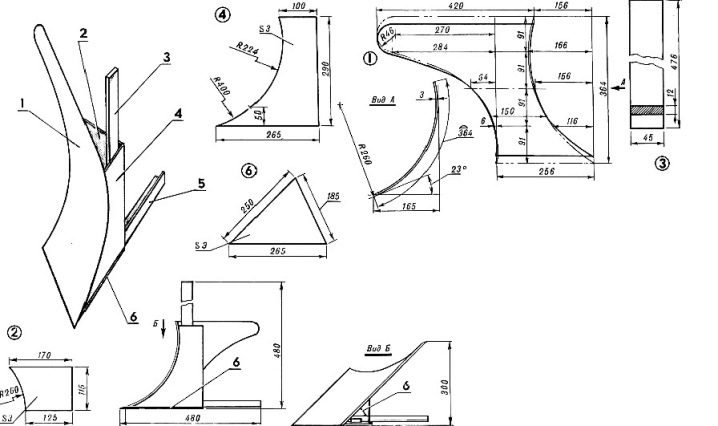
Depending on the type and purpose of the toolkit, this list may include other components.
How to adjust correctly?
The plowing depth is the distance the plow plunges into the soil while working. It is necessary to adjust it as far as the bayonet of the shovel takes. Otherwise, the following problems may occur.
- With insufficient depth, a considerable proportion of the roots of weeds will remain under the ground, which will require new strength to remove them.
- If the depth turns out to be deeper than required, the fertile soil layer will mix with what is located under it, and the vegetation will not have adequate nutrition. In this regard, you need to keep the golden mean.
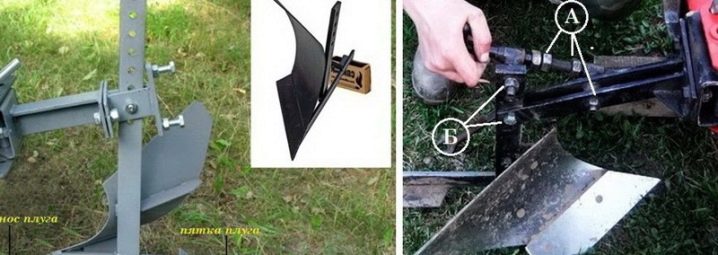
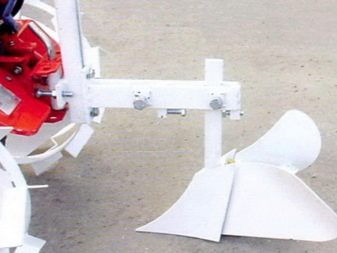
The required depth is adjusted by means of bolts that mate with each other the lock and the bearing part of the plow. Therefore, when moving the plow up and down, this debugging occurs. Inspect your plow design: if there is only one bolt connection and therefore a single hole, adjustment is not feasible on this modification.
Attack angle
For those who already have the practical skill of plowing the soil with motor vehicles, there is no need to explain what and how to perform at this stage. Further information is given for informational purposes to the one who encounters this case for the first time. The slope of the angle of attack, or, as it is also called, the slope of the angle of the field board, is the slope that indicates the height of the plowing plane in relation to a flat plane. Adjustment is carried out using a screw knob.
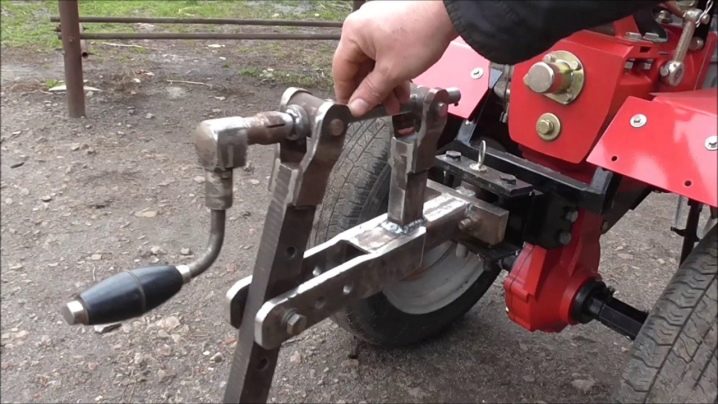
The order of operations is as follows:
- put the unit with the plow on the supports, which were already mentioned earlier;
- turn the adjustment knob to the limit so that the field board is completely laid down on the ground, without gaps;
- start rotating the handle in the opposite direction until the back of the board rises 2 to 3 cm above the ground.
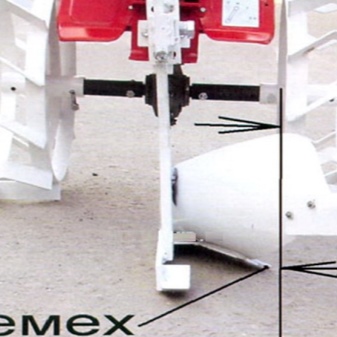
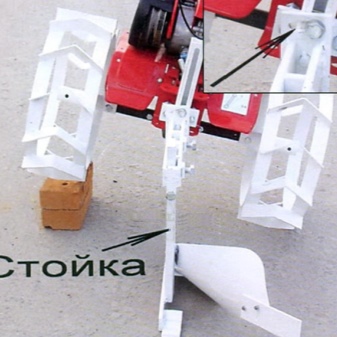
If you make a miscalculation, then the following unpleasant consequences will appear:
- at a large angle of the field board, the plow will become an anchor - the unit will begin to slip regularly and move forward with an effort;
- at a small angle, the required layer of soil will not be removed.
- check if everything is correct, you can only at the plowing stage - the unit should not resist or move excessively freely.
Preparation for plowing
Before plowing, you need to perform a test plowing and check the quality of the plow setting.
This requires:
- find out the features of the blade and the depth of the furrow;
- control the movement of the plow in the furrow;
- trace the regularity of the movement of the unit and the load on the hands of the plowman;
- establish the load on the unit.
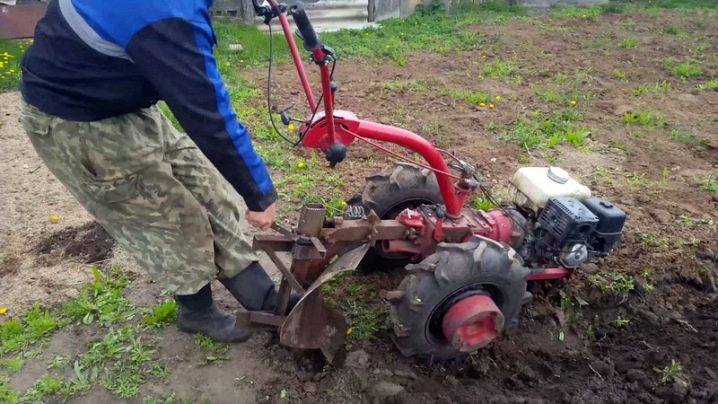
If all of the above points suit you, you can start plowing the site. If not, the plow must be adjusted again.
Test plowing of a plot is performed as follows.
- We put the unit on the edge of the cultivated land.
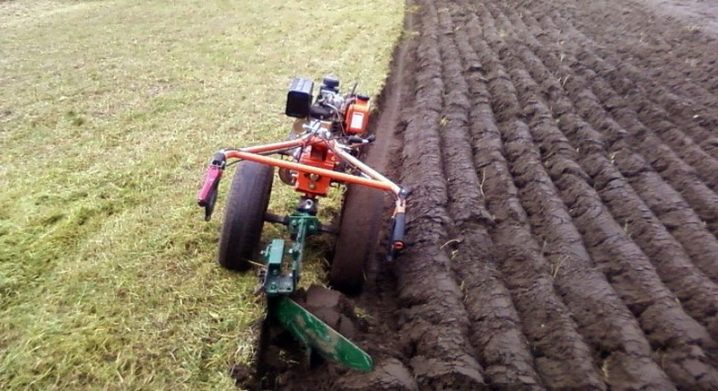
- Set the first speed and gently push the clutch handle. It is imperative that the steering wheel of the implement is parallel to the ground plane so that the implement does not burrow into the ground, but does not rise above the arable land being cut. When plowing, an employee does not need to press on the steering wheel and push motor vehicles too diligently, since this agricultural machine itself will perfectly cope with its own duties without additional efforts.
- After obtaining a test furrow, it is imperative to measure the plowing depth. To do this, you need to use a tape measure or an ordinary ruler. If the dimensions converge with the initially set, then you can start the main work.
Regulation on heavy implements
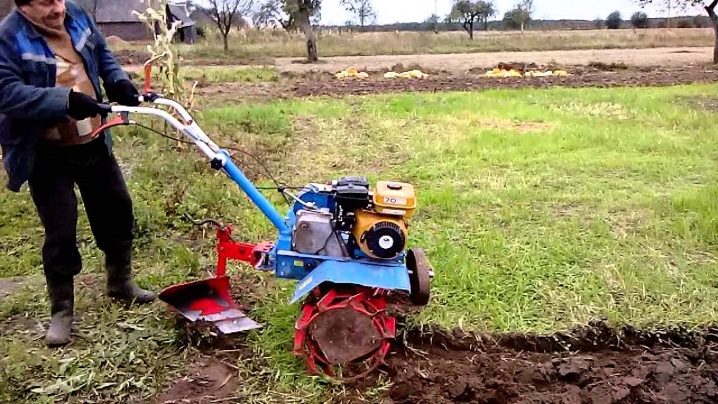
The above described the technology for adjusting light motor vehicles, which is mainly used in summer cottages. But there are also heavy modifications. Their main difference is that the heavy ones are several times more powerful and massive than the rest of the models. In addition, they are equipped with diesel engines. This choice is explained by the fact that with an equal number of revolutions, a diesel engine has a higher torque than a carburetor one. Installation and adjustment of the plow for this type of equipment does not differ at all from those presented above. The only thing that needs to be indicated is that it is advisable to carry out the adjustment by the 2nd worker due to the fact that the mass of heavy units sometimes exceeds 200 kilograms.
Recommendations
- The first and very important rule is the implementation of safety precautions.
- Choose the size of the wheels with grousers wisely. There is no need to chase the diameter, otherwise the line speed will be excessively high. The ideal diameter is 460-500 millimeters.
- The dimensions of the plow depend on the weight of the tractor, this indicator must also be taken into account. On motor vehicles weighing about 100 kilograms, the largest plows are installed, with a grip of 23 centimeters. For units weighing up to 75 kilograms, plows with a grip of 18 centimeters are best suited. A plow with a grip of 13 centimeters is suitable for lighter units.
Here, too, at times they make a mistake - they acquire a relatively light unit and install a large plow on it. If such a “duet” is also tried to be used on rough ground, the effect will be completely predictable - “does not open up”. And the point is not in the quality characteristics of the plow, but in its incorrect selection and / or adjustment. In general, the design of the unit is simple and straightforward. But under any conditions, like any other technique, it requires care, timely maintenance and replacement of consumables. Use only high quality spare parts recommended by the manufacturers.
For information on how to properly adjust the plow on a walk-behind tractor, see the next video.


All plow adjustments are described very clearly. Thanks a lot.
The comment was sent successfully.