How to make a plow for a walk-behind tractor with your own hands?
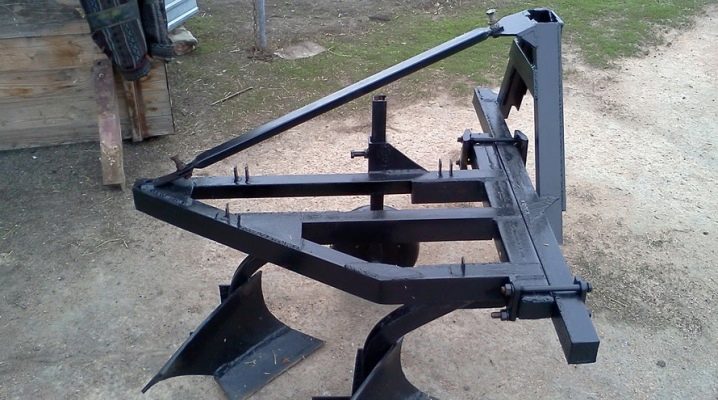
The walk-behind tractor is one of the most necessary and useful units on the farm. It is used for a variety of jobs on the site. This technique greatly simplifies many household procedures. Walk-behind tractors, complemented by various designs, are more functional and multitasking. For example, this could be a plow technique. The latter can be bought in a store, or you can build it yourself. You need to do it, observing certain rules.
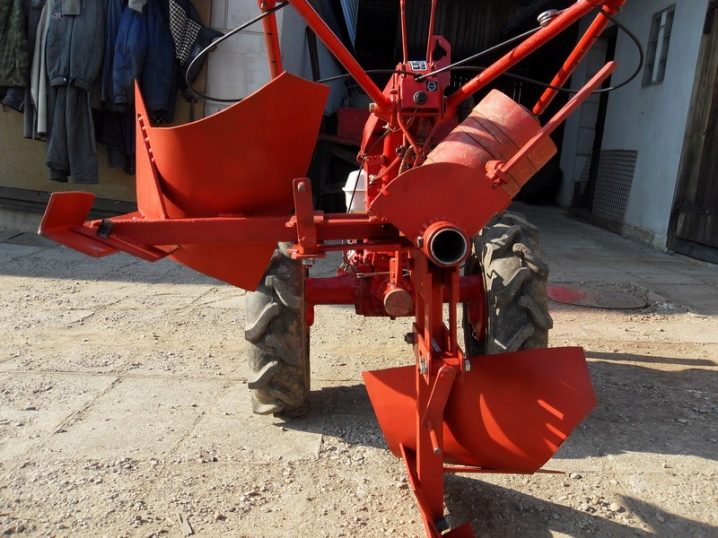
Dimensions (edit)
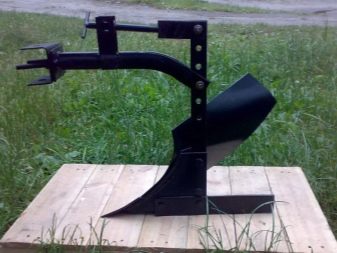
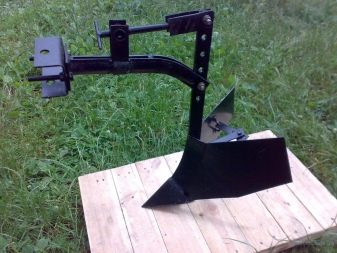
The dimensions of different types of plows may vary. You can consider the parameters of the parts using the example of a rotary instance. It is taken into account that the rotary view of such a device is assembled from the following bases:
- side vertical part of the runner;
- horizontal plane from the bottom of the runner;
- front moldboard part.
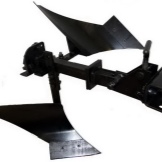
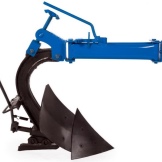
The most productive plow is considered to be the one in which the cutting edge at the bottom of the fixed share is 20 mm below the bottom of the horizontal runner. Another well-aligned part of the plow is the alignment of the cutting edge on the side of the fixed share with the cutting edge on the side of the plow. The share and the blade must not protrude more than 10 mm beyond the boundaries of the vertical plane on the side of the runner.
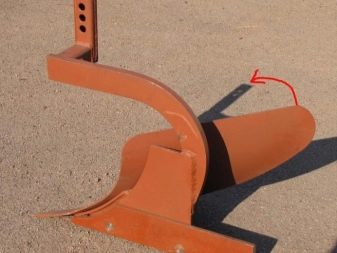
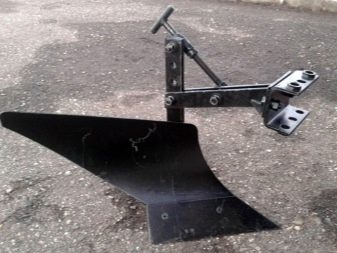
There is one more important nuance - fastening the frontal plane of the blade share without visible slots and gaps, and in the same plane. If we consider these details in more detail, then they should be well polished and, like a mirror, reflect any surface. There should be no protruding fasteners under any circumstances. As soon as the plow returns from excavation work, it is advisable to clean it from settled soil and foreign particles. Polished elements must be poured with oil or greased with grease. Next, the mechanisms need to be rubbed with a rag. Thus, it will be possible to protect the structure from aggressive external influences that can lead to the formation of corrosion on the plow surface.
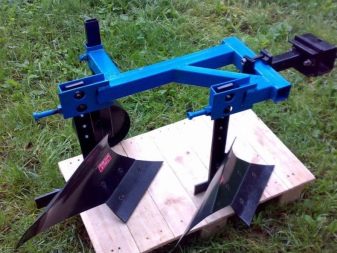
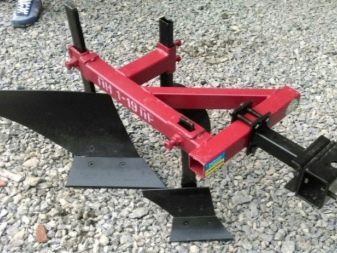
As for the 4th correctly built structure, it includes the flat front surface of the share, which makes an angle of 20 degrees with the flat part of the plow structure. It will equal the angle at the rear of the exposed share. The cutting sidewalls of the share and mouldboard will also have corners of 20 degrees with bases on the side of the furrow. Moreover, the edge located on the side of the blade may be slightly rounded.
Blueprints
If it is decided to build a blade or a plow for motor vehicles, then you cannot do without drawing up detailed and correct drawings. The reliability and durability of a homemade part largely depends on its well-designed scheme. Based on the rich experience of professionals who regularly make good plows for walk-behind tractors, it is recommended to make the share in such a way that it can be easily and quickly removed... With such a function, sharpening this part will be greatly simplified, and it will be possible to safely resort to it before plowing the land on the site.
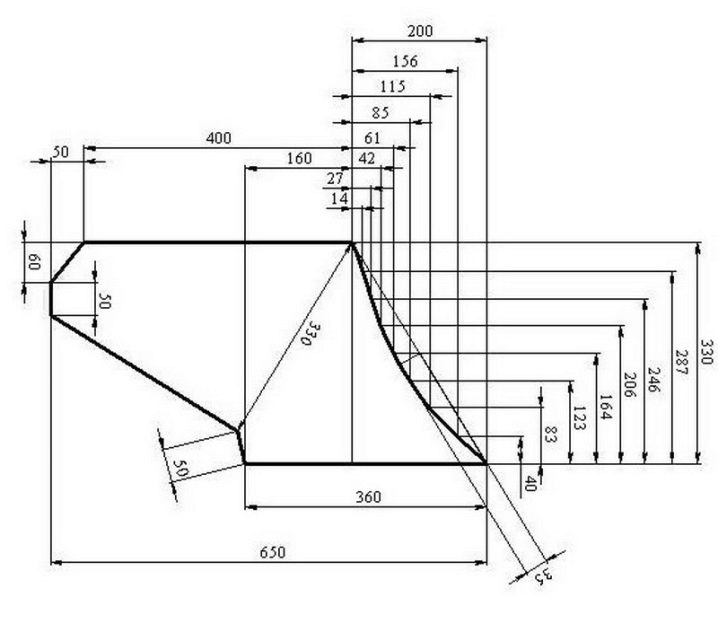
9XC alloy steel is best suited for making the cutting component of the plow. The material is mainly used for making discs intended for simple hand saws. Steel 45, which has been hardened to the optimum hardness level, can be used.If there is only simple steel in stock, for example, carbon steel, which cannot be heat treated, then by removing the cutting edge piece (using an anvil) and then grinding it off, you can safely use the steel to work with the soil.
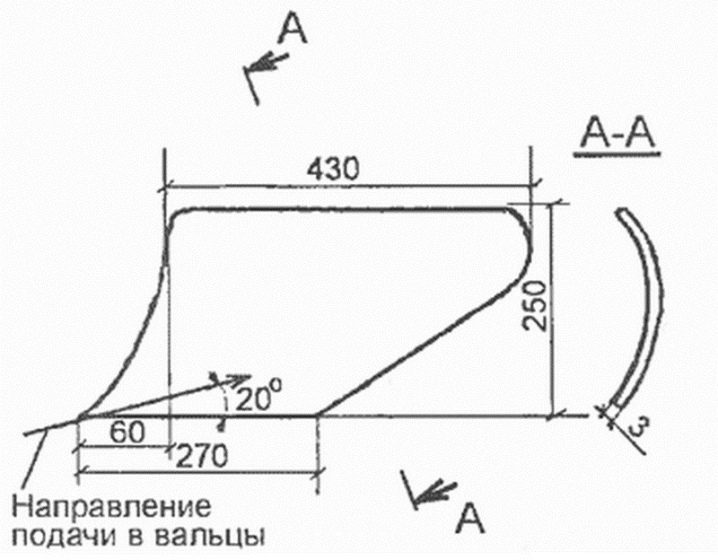
When drawing up a drawing of a future plow on your own, it is recommended to rely on accurate diagrams. A self-made structure will be assembled from the following components:
- a metal pipe that serves as a load-bearing part;
- wheels required to move the structure over the soil;
- working cutting part with or without blades (cutting elements of old devices can be fixed);
- fastening mechanism to the walk-behind tractor itself.
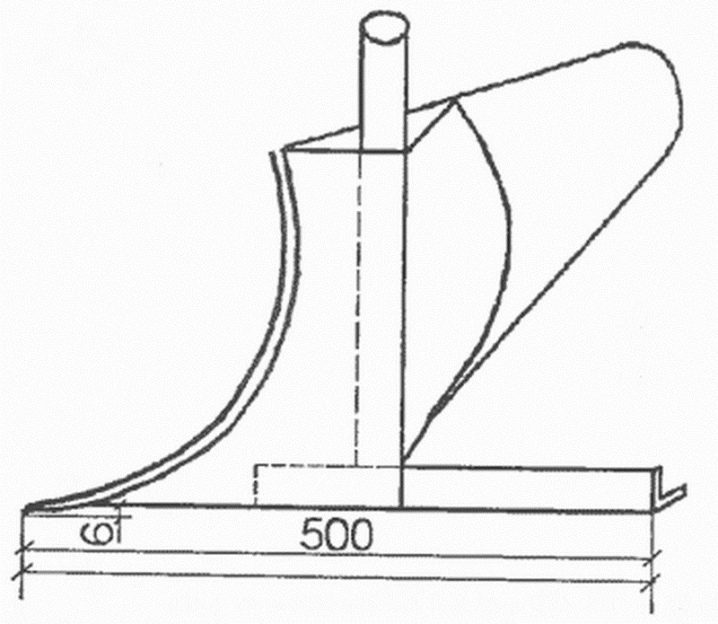
When drawing up a drawing of a future plow, it is important to indicate the parameters of the future design in it. Not a single element is left unattended. In this case, when using the circuit, you will get a high-quality and reliable device.
How to do it?
Modern models of walk-behind tractors can be equipped with a reliable self-made plow. Varieties of this element: double-turn, reverse, double-body, rotary or Zykov's product. There are quite a few options for manufacturing a structure. There are even options in which the body is made from a gas cylinder. It is not difficult to make a high-quality plow for motor vehicles on your own if you follow certain rules.
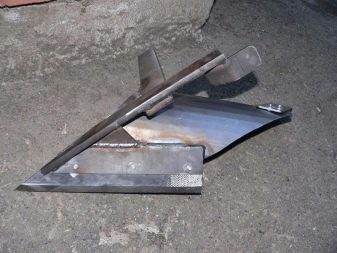
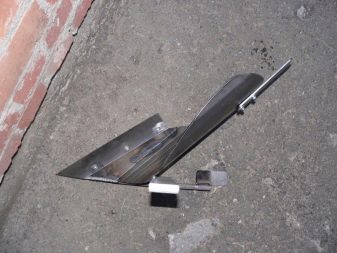
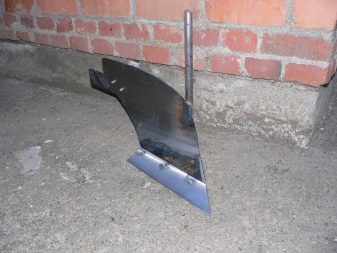
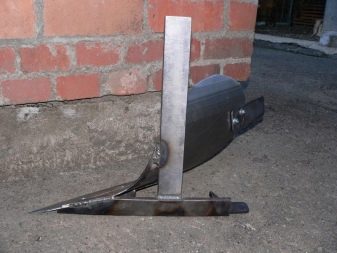
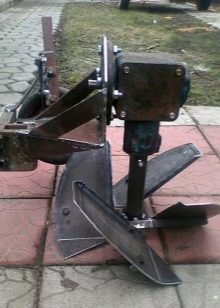
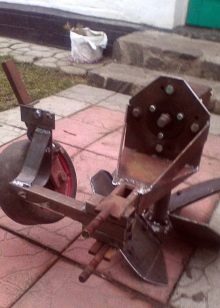
Rotary
Manufacturing of a structure can be divided into several main stages.
- A good cylinder-shaped blade is prepared. This must be done exclusively in accordance with the drawing. The part is made of alloyed metal. It is important to follow the drawn up drawing when making the structure yourself.
- Expose a ploughshare. Wedges are inserted into an iron sheet (3 mm) at an angle of 45 degrees.
- Connect the ploughshare to the side of the shield. Be sure to make sure that the plowshare blade is located just below the shield itself (1 cm, no more).
- Attach the blade to the share.
- A working half with a share is welded to a metal tube, which serves as a base, using a welding machine. On the opposite side - fasteners for motor vehicles.
- When the plow is ready, an axle with wheels can be welded in its lower half.
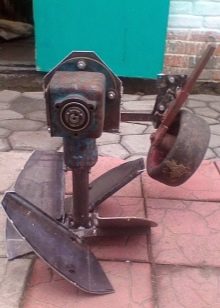
Turning
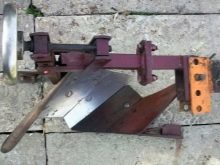
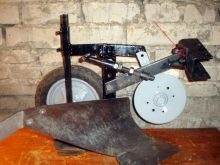
The swivel type of the plow is rightfully recognized as one of the most functional and practical. This design is an excellent assistant for plowing the land on the site, because it can cover a fairly large area. The plow is also good because you don't have to waste time with it after each approach. You just need to turn the plow and move in the opposite direction. The performance of the equipment will increase significantly. The main actions are performed in the same way as in the case of the rotary mechanism, but in this case the cutting elements must be below the runner (at least 2 cm).
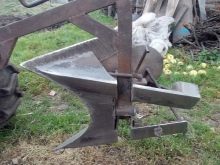
Disk
It is possible to assemble a disc plow for equipment with your own hands. A similar model is assembled from parts:
- disks;
- fist;
- axles;
- bracket;
- scraper;
- leading beam;
- pens;
- screeds.
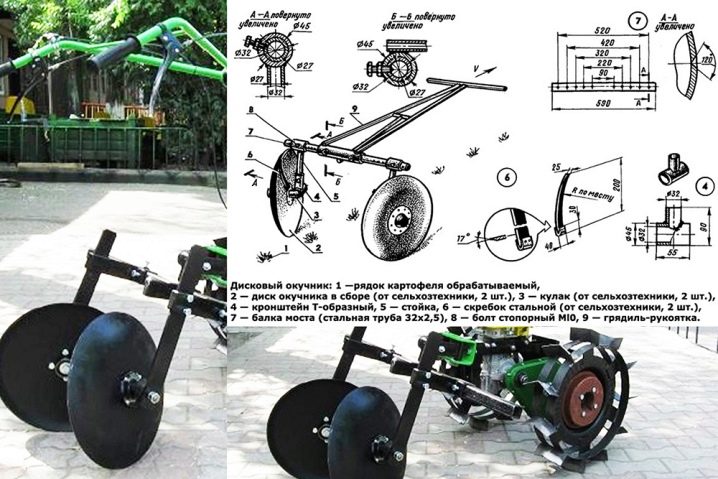
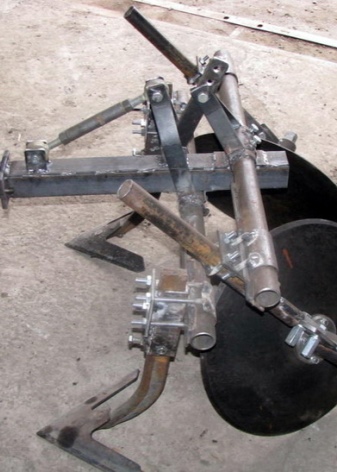
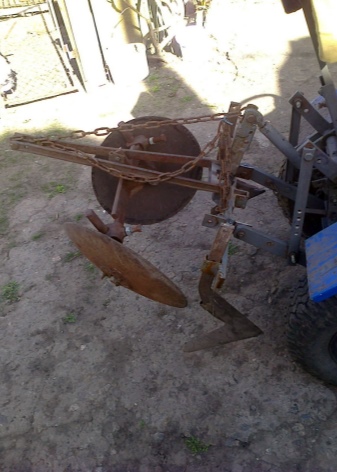
Discs for the device can be taken from an old "seeder", if there is one in the arsenal. Install these elements at an angle to increase productivity. The hiller is hung on the equipment through the coupling bracket. The T-shaped plow leash is screwed to it with bolts and a stopper. At an impressive speed, the hiller may begin to slip, so you will have to work exclusively at low speeds or with paired wheels.
How to redesign a finished plow?
A ready-made plow can always be altered if necessary. For example, a simple horse version can be easily changed to a walk-behind tractor. Almost all horse plows are distinguished by an impressive weight due to the presence of a heavy blade. If a similar element is installed on a walk-behind tractor without preliminary alteration, the earth simply will not be thrown away. To convert a horse plow into a walk-behind tractor, the work is carried out in a certain sequence.
- A dump is being built. A detailed drawing is prepared for him in advance. Based on the diagram, a dump is cut out of the steel billet. It is advisable to prepare a cardboard template for this.
- They give the steel the required shape.
- The horse blade is removed and a hand-made part is fixed in its place.
- Remove the handles that were on a vertically oriented axis.
- Instead, metal fasteners are fixed. Through them, the plow is attached to motor vehicles.
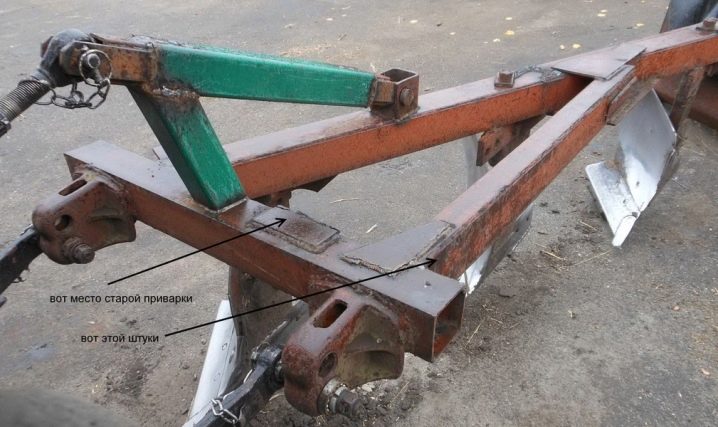
If, in the course of "tests" in the field, it suddenly turns out that the device does not throw the ground very well, then you can gently bend the ploughshare so that it can cut into the soil more strongly.
Installation and adjustment
After finishing work on the construction of the plow, it should be fixed on the walk-behind tractor. But before that, preparatory measures are carried out:
- moving the walk-behind tractor to the place where they plan to operate it;
- dismantling of the wheel drive - it must be replaced with special lugs (if they are not installed, then the plow will not work for planting the same potatoes - the equipment will slip and may "bury" in the ground).
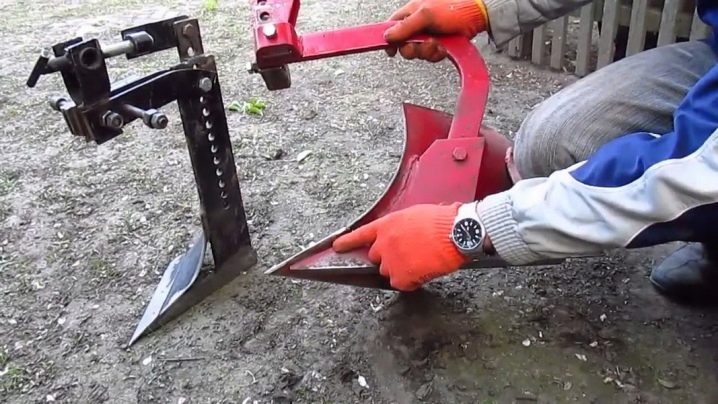
After this stage, proceed to the installation of the plow.
- The plow is attached to the coupling of agricultural machinery using nuts. Thanks to this, it will be possible to independently set its performance characteristics.
- 2 securing pins are prepared. With their help, the couplings and the plow itself are attached to the earring.
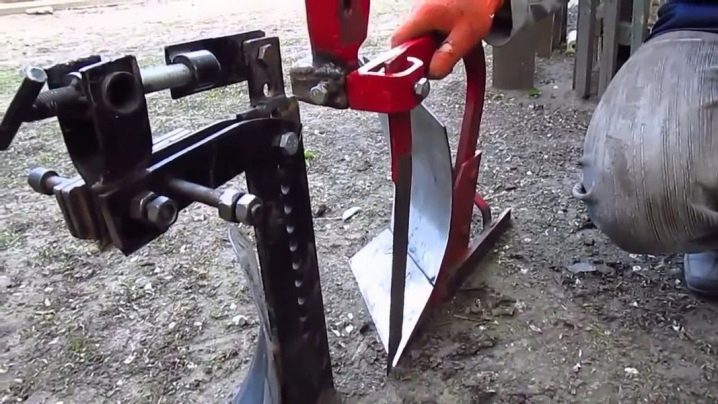
After completing the preparation, they begin to adjust the installed plow. It is from this stage that it will depend on how efficient both the plow and the walk-behind tractor will be. For the correct installation of the structure, you need to pay attention to:
- width;
- plowing depth;
- incline.
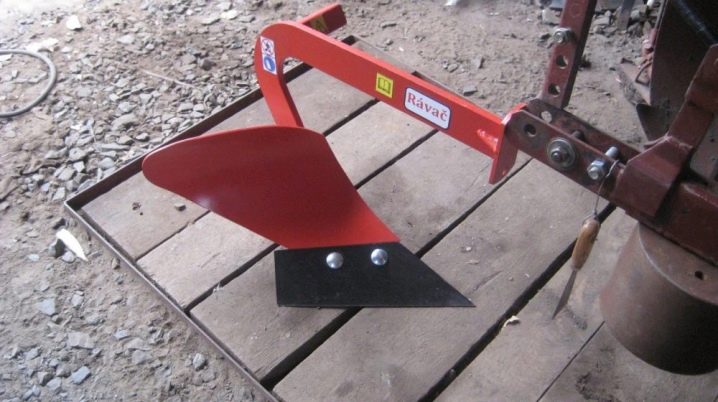
The setup takes place step by step.
- On the extreme sections, the width is set. For this purpose, the edge should never move below or above the toe.
- The equipment is placed as steadily as possible on special stands so that it becomes possible to set the depth required for plowing. We must not forget that this parameter can vary depending on the time of year.
- It is necessary to carefully adjust the very attachment of the plow to the equipment.
- The bolting is carried out in such a way that the rear half of the plow is in line with the soil.
- The agricultural machinery can now be removed from the stand.
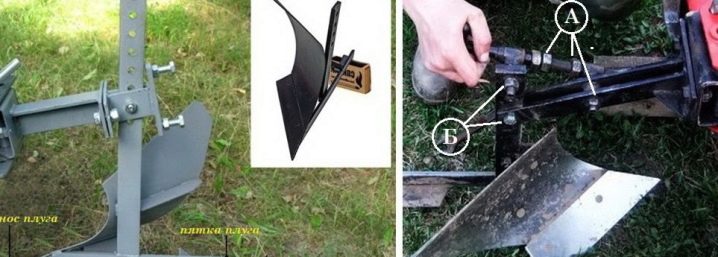
After that, the technique can be considered tuned and adjusted if the steering wheel of the equipment is located at the same level with the belt of the worker.
Helpful hints and tips
If you decide to build a good plow for a walk-behind tractor with your own hands, then it is worth listening to the helpful advice from experienced craftsmen.
- If you plan to build a two-body plow, then it should be remembered that there must be two plowshares in it. The specified device can be used for plowing soils of various types. This is the best specimen for working with stagnant ground.
- When making a reversible plow, it is very important to ensure that the edges of the mouldboard and plowshare match. These elements are connected as tightly and tightly as possible. There should be no gaps or visible cracks.
- After using the plow, it must be cleaned of any dirt and adhering particles. Only if this rule is observed can we talk about the durability of the structure and its durability. And then the cutting plate will not have to be constantly sharpened.
- It will be many times more convenient to install the plow on the agricultural machinery itself if you put the walk-behind tractor on supports. These can be not only special supports, but also simple bricks or stones / boards.
- Particular attention is paid to the already built plow. If it has only one bolted connection and only one hole, it cannot be adjusted.
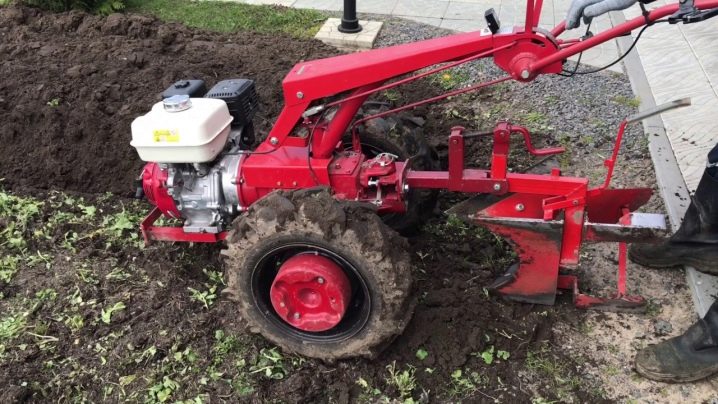
- It is advisable to assemble a plow with a support wheel on a steel sheet. All surfaces will need to be cleaned and polished.The back surface of the welded share is made as flat as possible.
- Popular rotary types of plows in most cases are made with disc mechanisms, but there are also drum, spade and auger specimens. Such designs are simply indispensable for incorporating fertilizers and weed control.
- For independent work, it is advisable to use only high-quality locksmith tools. You need to know how to work with them. At least minimal experience is required.
- Do not forget to process the working edge of the manufactured plow from time to time. This will make her work more efficient.
- When making a plow for a walk-behind tractor on your own, it is important to strictly adhere to the selected technology and drawn up drawings. The slightest mistake or omission, which may seem insignificant, can lead to poor-quality construction. Then it will need to be revised.
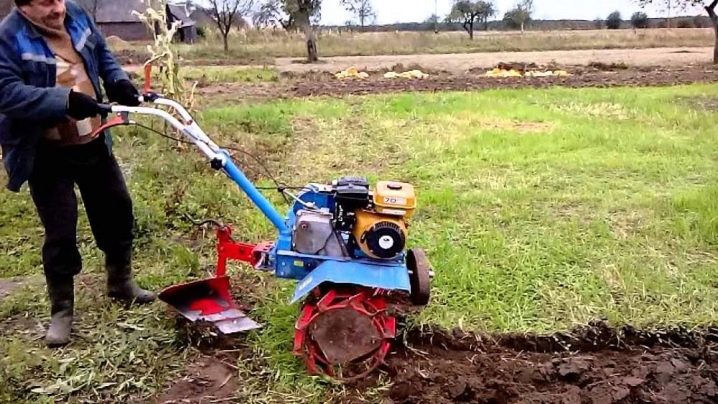
If there is any doubt that it will be possible to assemble the plow on your own, then it is better not to risk it and purchase a ready-made version. Fortunately, many firms offer quality, durable designs at varying prices. You can buy them in specialized stores or order them online.
Watch a video on the topic.


The comment was sent successfully.