How to choose and install knives for a walk-behind tractor?
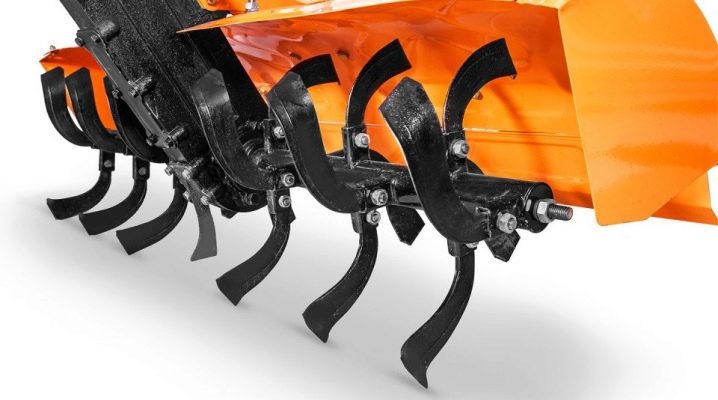
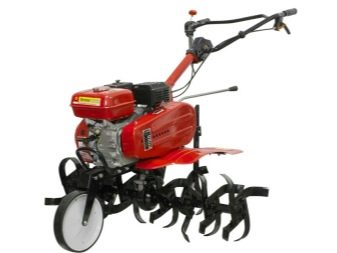
Modern methods of processing land plots have been greatly simplified. Machinery came to the aid of the owners of vegetable gardens and large agricultural land. A walk-behind tractor is one of these machines. To plow and cultivate the soil efficiently, remove weeds, milling cutters with knives are attached to it, and rotary mowers with cutting elements are used to cut the grass. How to assemble and sharpen them correctly, we will tell in the article.
Peculiarities
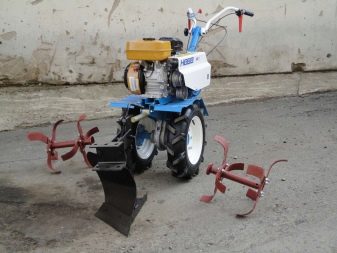
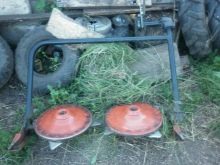
The walk-behind tractor is equipped with additional components. In addition to cutters, a blade with an adapter is used - this is a snow shovel, which includes a knife. The blade is installed on MKM, Salyut, Agat walk-behind tractors and a number of other models of domestic manufacturers. Individual rotary mowers are provided for different models of motoblocks. Farmers can choose them according to their taste.
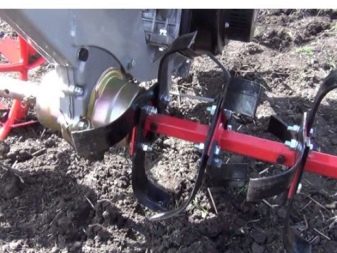
Tillage of the soil to various depths is carried out with knives. It is with their help that the soil is crushed and loosened. During operation, these components are damaged or broken. As a result of wear, if they are dull, it becomes necessary to replace them.
Factory samples can be exchanged for items of the same brand. All of them differ in the curvature of the blade (right and left), length and width, the material of which they are made, the method of fastening. When replacing, you need to pay attention to this.
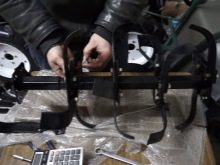
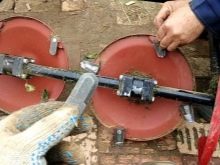
The rotary mower has two rotating discs, each equipped with four knives. Each of them is attached to the disk with a cotter pin. The disks themselves are fixed on a metal frame. The new rotary mower is assembled at the manufacturing plant. Replacement of knives is carried out in case of their breakage or when there is a need for sharpening.
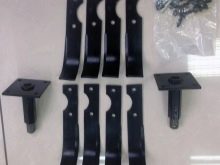
Tillers for walk-behind tractors can be sold complete with a pin, cotter pin, bolts and nutswhich should be properly assembled and then installed. Craftsmen can make their own knives at home for both cutters and rotary mowers, as well as for a snow plow.
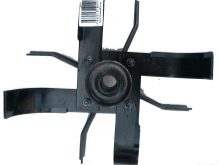
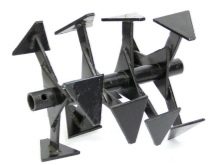
The design of knives is in the form of a saber or in the form of crow's feet.
How is the assembly carried out?
Before the assembly process, it is recommended to put the knives with the semicircular part up, and the pointed side down. For the left knives, the blade is bent to the left, for the right knives it is turned to the right. There are right and left cutters.
The process should be carried out strictly step by step. As an example, let's analyze the collection of a cutter for a walk-behind tractor of model FM 643.
- Extension sections are installed on the base.
- Their number is counted on the assembled cutter shaft. The set includes 12 knives, mounting platforms (sections) - four pieces.
- The number of knives is divided by the number of fastening platforms and the required number of cutting devices per platform is determined. Each section will contain three units (12/4). When installing three knives, three holes are used, which together make up the vertices of a triangle.
- The cutter shaft is placed vertically on the extension section. Place the left knife on top of the upper mounting platform so that the bend of the blade is downward. A bolt is inserted into the central knife hole with the head up.
- Next, take the right cutting element and turn it by bending the blade upward. Put it on with the extreme hole on the protruding surface of the bolt.
- A second bolt is inserted from above on the platform so that it passes through the central hole of the right knife.
- The second left knife is put on the protruding end of the bolt, its blade is directed downward. After that, you need to fasten the bolt with a grover and a nut from below.
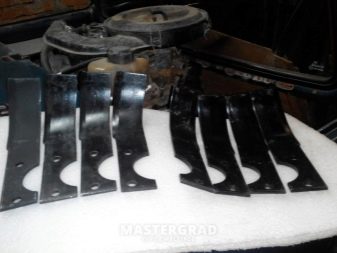
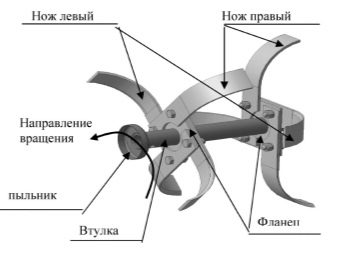
- Next, bring the two left-hand cutting components together so that their holes coincide with the free hole on the mounting platform. A third bolt is inserted into the hole of the upper knife, the grower is installed from below and tightened tightly with a nut.
- Check the position of the knives on the site. The tip of each of them should be directed in one direction.
- The second and third sections are assembled in a similar manner.
- On the last of them, first the right element is installed with the blade down, and the left ones are fixed by bending the blade up. In each new section, the knives should be at a slight angle relative to them on the previous sites.
- Collecting the right cutter is done in a mirror image.
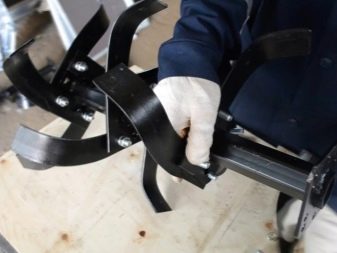
On a rotary mower, it is easy to install and replace elements: they are unscrewed from the holes on the discs.
How to sharpen?
Knives are sold sharpened. If you decide to do this at home, then you need to remove and sharpen them with a grinder, observing the desired processing (sharpening) angle. It is influenced by the length and width of the cutting material and the thickness of the steel. The instructions set out at what angle to carry out the work.
How to assemble knives for a walk-behind tractor, see below.


The comment was sent successfully.