How to make light on a walk-behind tractor?
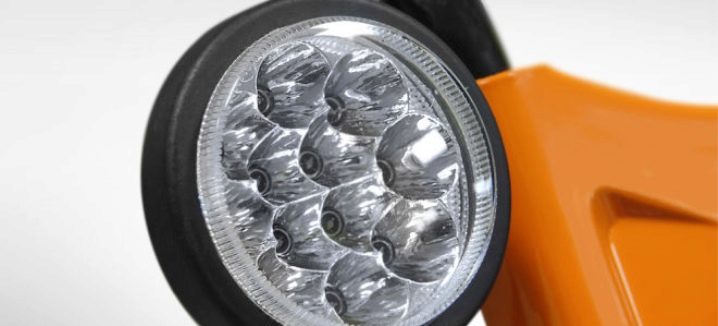
In the modern world, all mini tractors are very well equipped. Despite this, not everyone has lighting equipment. However, this task will not be difficult to solve. Everyone can put a headlight on a walk-behind tractor, without any knowledge of electrical engineering. Everything is done very simply and according to the instructions.
With your own hands
Almost all owners of motoblocks resort to using headlights from Soviet light vehicles as lighting equipment. This is one of the easiest ways to solve the problem.
But do not forget that such a light will not be bright enough, and it is unlikely to please you with a long service life.
Therefore, the best option is considered to be the independent manufacture of such electrical equipment. You do not need to purchase expensive sources and equipment. All you need is the same headlight from a Soviet car. You will only replace the inside.
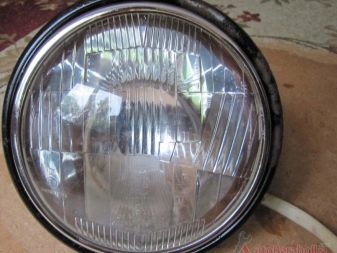
So, for starters, the outer glass and other elements, fixed with plastic clips, are removed from the headlight. The next step is to make a dummy body of the lighting device. It is made of plaster. Liquid gypsum is poured into the base of the fixture and spread evenly over the entire base. Wait until the plaster is completely dry, then the impression must be carefully pulled out.
Please note that experts do not recommend artificial drying, so it is better to wait until the gypsum hardens naturally.
Three layers of fiberglass should be applied to this template. Be sure to apply epoxy between coats. It is inexpensive, its price on the market fluctuates around 400 rubles.
After all the steps taken, your workpiece should lie at room temperature in a hermetically sealed container, without air penetration. Wait until the dummy is completely dry. Next, you will need to sand the product so that there are no irregularities on it.


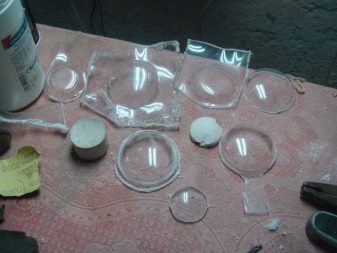
Now comes the most important step - you need to make glass. To do this, you need to heat the oven to a temperature of 180-200 C. Buy thin slats in advance and make a stand for them. The manufacture of such a structure will require about 10 rails. Then attach the fiberglass to it. Remove the protective layer of the material. Otherwise, the workpiece will absorb all the dust. You can send the workpiece to the oven.
Open the oven periodically and check the product. As soon as it begins to deform, you can take it out and apply it to the material., which was prepared a few steps above. All this is again sent to a sealed container with a tight-fitting lid. Wait until it hardens completely.
The resulting headlamp is carefully polished. For these purposes, you can even use sandpaper. Next, we treat the surface with a solvent and wait until it dries. The next step is to install an incandescent lamp with a buffer gas. One halogen lamp in Russia costs about 700 rubles. Instead, you can use LED strip as a more budgetary replacement.
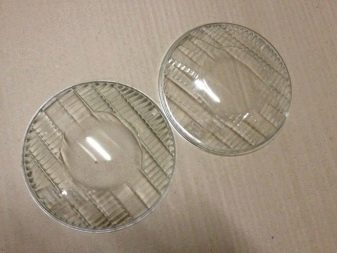
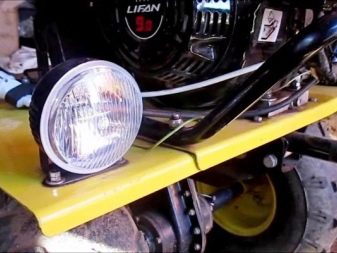
Do not immediately install the lighting fixture. Previously, it must be checked several times for short circuits, and only after that the headlight can be attached to the walk-behind tractor. Do not use a suspended structure to install it. Such a light source must be fixed in at least four places.
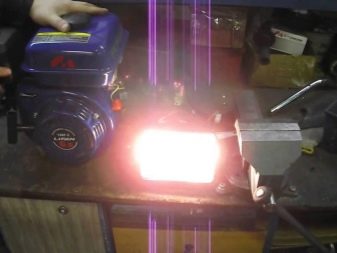

Power generator
After you have built the main part of the light source, you need to connect it to the generator.You can use any standard electric generator from a mini tractor. For these purposes, many manufacturers of motoblocks produce vehicles with excess capacity. This power is just spent on lighting and installing a car signal.
Such an electric generator is more than enough for a given light source.
To equip the walk-behind tractor with lighting, just follow the steps below:
- First of all, route the wiring from the generator to the headlight.
- Install the power button near the steering wheel, or in another place convenient for the driver. A wire is also removed from it and connected to the headlamp. Check the quality of the lighting and the operation of the power button.
- If all is well, then disconnect all wiring. The wires should be protected with a corrugation. Otherwise, you could accidentally pick them up and damage them. Also, without protection, the possibility of water ingress and a short circuit is not excluded.
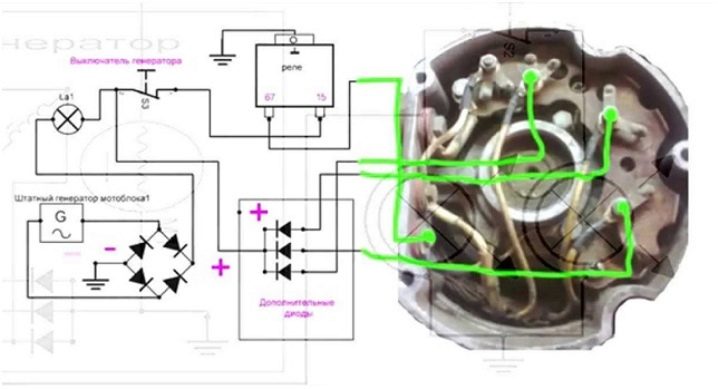
If the generator is powerful enough, you get very bright lighting with a high beam. The low power of the generator may be indicated by the constant blinking of the headlight at high loads on the walk-behind tractor. If you are faced with just such a situation, then a reasonable solution would be to replace the standard unit with an electric generator from any tractor made in Minsk. Its power will definitely be enough for you.
Do not forget that if you are installing a third-party electric generator, then standard mounts will not work for it. You will have to cook additional... A lighting coil is used for connection.
After successful installation, check the wiring. Get in the habit of checking the contacts every time you work with the walk-behind tractor. Otherwise, moisture may get in, which will affect the operation of the walk-behind tractor as a whole.


Without generator
Another method of connecting lighting is widespread among operators. Here it will be possible to do without using a generator. You will need a 12 volt battery and LED strip.
There is no need to specially purchase a new battery. For this purpose, you can use an old electric scooter battery.
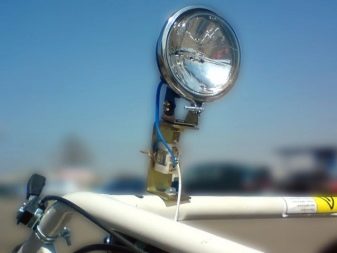
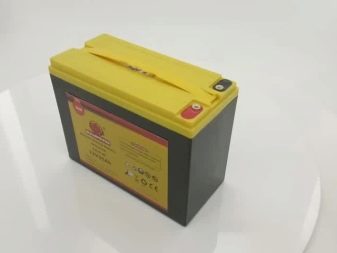
In addition to the source code, you must think in advance where this device will be mounted. If you are the owner of a large vehicle, then the ideal solution would be to mount a battery between the gearbox and the engine.
Step-by-step actions:
- Using welding and an iron angle, you need to make a stand for your gel battery. It is attached to the frame of the mini tractor.
- A battery is installed from the inside, which is clamped with a pair of bolts and a metal insert.
- Wires are laid from the battery to the power button. All joints must be sealed and insulated with heat-shrinkable tape.
This kind of lighting will turn out to be very bright. However, this method of installing headlights has one negative side: a full charge of the battery is enough for literally a couple of hours of operation, after which it will need to be recharged. This is a very significant disadvantage for those who work intensively with a mini tractor.

From ignition
This is the easiest way to create a light source. You need to route the wire with one end to the ignition and the other to the headlight switch. Such a light source will work stably. This method of connection also has a disadvantage: with the ignition off, you cannot turn on the headlight.
All of the above lighting installation options are compatible with absolutely any brands of motoblocks and mini tractors manufactured both in Russia and abroad.
How to make light on a walk-behind tractor, see the video below.


The comment was sent successfully.