How to make a hiller for a walk-behind tractor with your own hands?
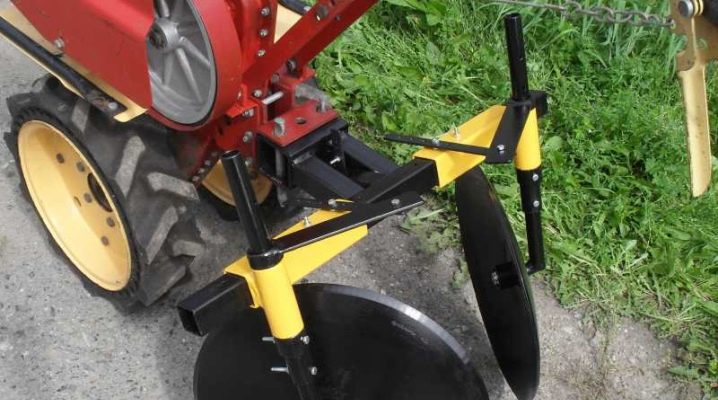
One of the most common crops on earth is potatoes. To reduce labor costs and simplify the care of planting material, many manual and mechanical devices have been invented. In the industrial sector, these are tractors with different types of attachments. On a personal farm, a walk-behind tractor and tools for hilling (a hiller, a cultivator, a cultivator), which it is quite possible to make with your own hands, will be a good help. Indeed, by means of a motor-cultivator, it is possible to process the area for potatoes much more efficiently.
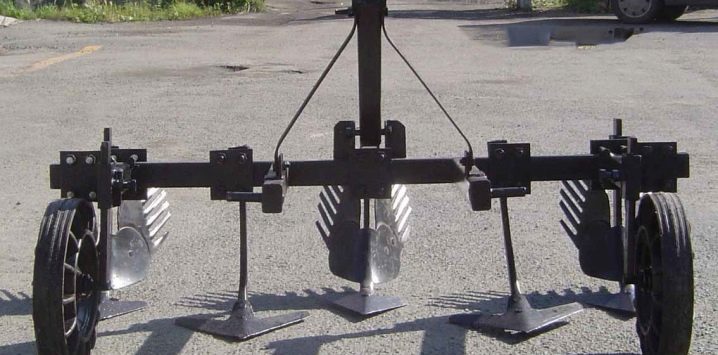
Varieties of hillers
The hilling tool can be bought at an agricultural equipment store or assembled with your own hands. It can be used for planting potatoes, beets, carrots and turnips. The most famous varieties of this technique:
- listerous;
- disk;
- propeller;
- double row;
- rotary (active);
- single row.
Let's consider the features of each of them.
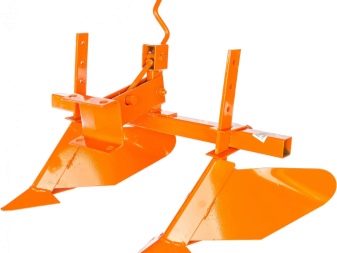
Lister with fixed and adjustable angle
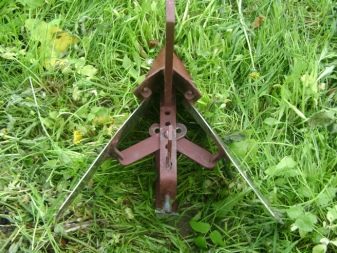
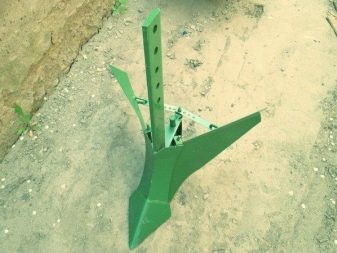
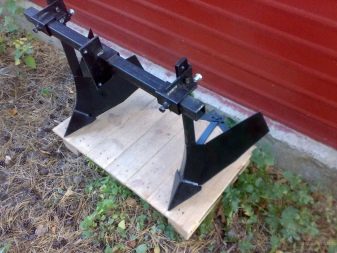
They have a fixed width of soil execution and are used on very light motor-cultivators with a power of up to 4 horsepower. They are able to cultivate beds measuring 25-30 centimeters in width, equipped with two side wings and a thin stand. The stand protects the equipment from overloading and mechanical damage. This implement can only be used on dry soils, as the adhering soil will interfere with the movement of the moving parts. Lister attachments are available with adjustable soil working width. They are installed on motor vehicles of greater power - from 4 horsepower. Similar aggregates can be used fearlessly on wet ground.
Propeller
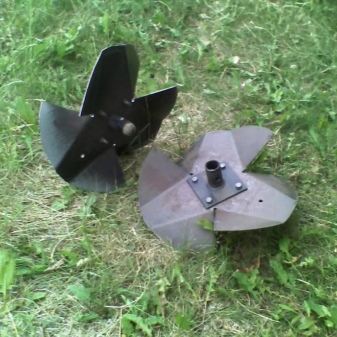
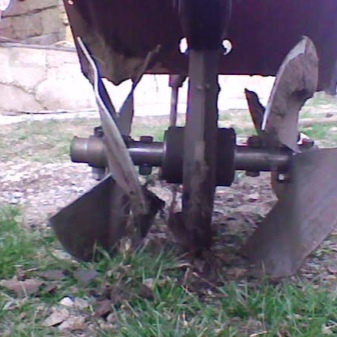
The principle of operation lies in the activity of the propeller parts. Under their action, first of all, the soil is dug up and weeds are removed, and after that the beds are loosened. These modifications are mainly practiced for two-speed front-wheel drive cultivators. This is due to the fact that at the second speed the power increases to 180 rpm. As soon as the power level reaches its maximum, this tool can be used not only for ditching the soil, but also for transferring the soil into the furrows from the space between the rows of plantings.
Double (2-row)
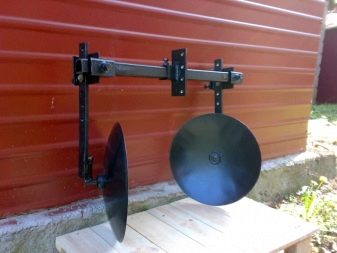
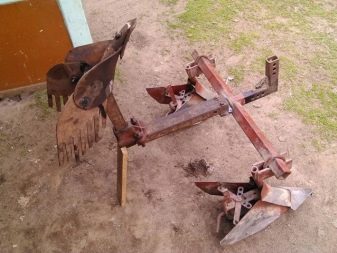
Carries out cutting of two furrows before planting crops, and is also used for hilling and loosening the soil. Includes a frame on which 2 hillers are fixed. When cultivating the land, it significantly saves time, since it has two working elements. It is mounted on a walk-behind tractor by means of a hitch. Due to the fact that such a device requires great resistance to operate, it is used in conjunction with lugs.
Rotary active
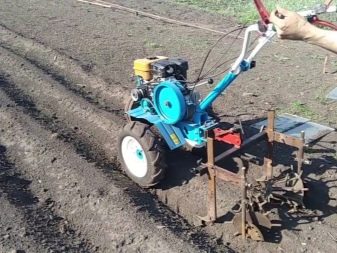
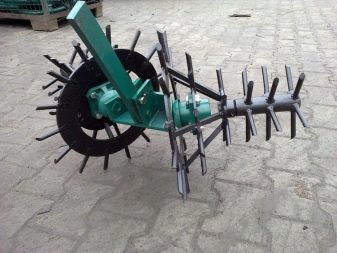
Instead of wheels, this tool is equipped with rotors with helical teeth. Demonstrates high productivity when creating, loosening and hilling potatoes. Suitable for use with 3-speed units (two forward and one reverse).In the first gear, the tool spills the landings, and in the second gear it also throws the soil out of the space between the rows of landings.
Single row
The most common type. Applies to operation with light soil types. Ditching is carried out after the completion of the preparatory loosening of the soil by means of a cultivator.
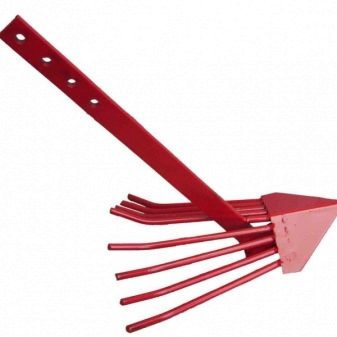
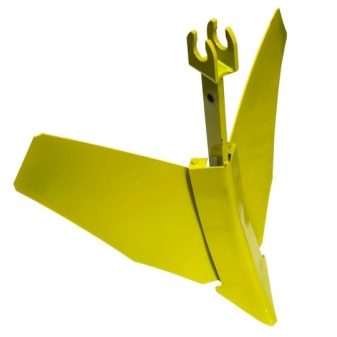
How to do it yourself?
To create a hiller for a walk-behind tractor with your own hands, you must follow clear rules and it is advisable to develop or apply ready-made drawings. This will allow you to correctly and quickly mount all the elements, so as not to correct the work in the future. On your own, you can make modifications of the lister (traditional) or disk type. To carry out the work, the following tools and accessories may be required:
- electric arc welding unit;
- an electric drill with a set of strong drills of various diameters;
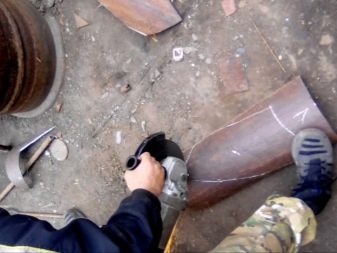
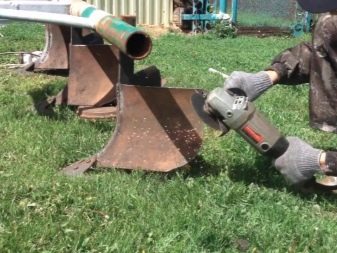
- grinder and a number of discs and attachments in a set;
- emery machine;
- gas-burner;
- workbench with a vice;
- various files;
- fasteners (rivets, nuts, bolts).
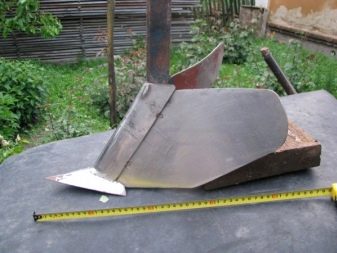
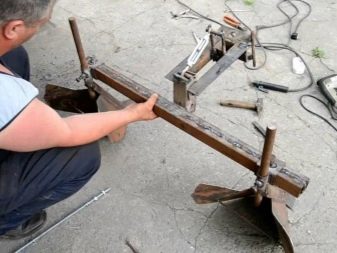
Making a lister plow
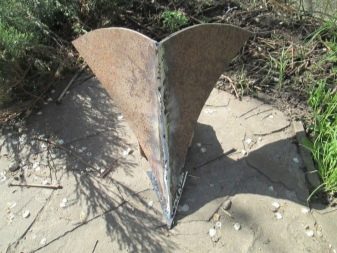
Such agricultural equipment for motor vehicles is a classic unregulated device that is most often used. For its manufacture, it is necessary to sketch or use ready-made drawing documentation, according to which it will be easy and simple to carry out all the activities.
- We build the base from an iron sheet 3 mm thick. She will face the opposition of the soil, therefore, must be extremely strong.
- The holder is made of a metal strip, 4 mm wide, the spare part must be hardened.
- The field board is made of 5 millimeters thick steel. It is hardened in several steps by means of a gas burner.
- The rack is made of iron with a thickness of 8 millimeters, since it will be the component on which the entire load will fall.
- The wings for the gun are made of iron 2 millimeters thick, they must be consistent with the parameters of the chosen scheme, since this is the only way to dock them to the base.
- Then they bend a little and cook to the base.
If you need to adjust the row crop, you need to fix the wings to the base by means of hinged joints. The angle adjustment bars are mounted in the tail of the base. You can also create a 2-row attachment that doubles the pace of work. In this case, it is necessary to add traction mechanisms to the constructed structure, and create the fasteners movable, which will make it possible to adjust the size of the rows.
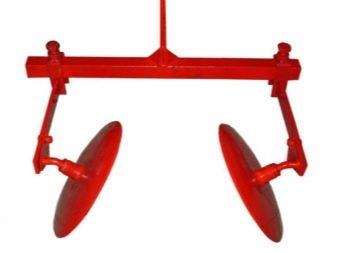
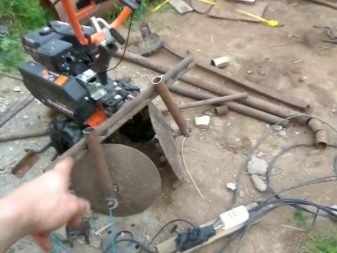
Creating a disc hilling tool
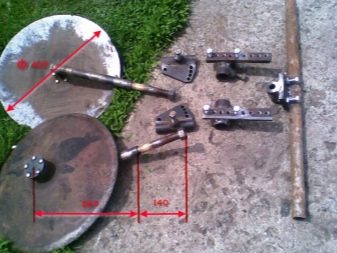
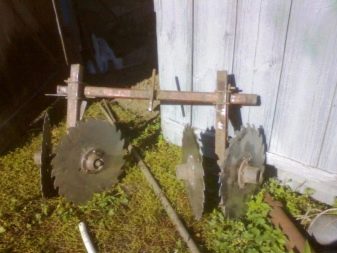
Waste cutter discs of a seeder or circular saws, which are mounted on bearings, are perfect for the role of discs.
- Discs must be mounted at an angle, keeping a distance between their lowest points. In addition, their symmetry is a fundamental condition, otherwise the walk-behind tractor will be slightly sideways.
- All parts must be connected by means of electric welding or bolts, the discs are mated with customizable adapters.
- Lanyards (screw ties), racks and a leash are also fixed.
- Next, you need to use a jumper with wings to fix the implement on the cultivator.
- An equally important factor is the competent choice of the immersion depth and the angle of inclination; for this, movable bolted components are pressed onto the holder.
Creating propeller devices
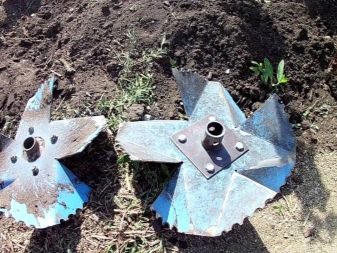
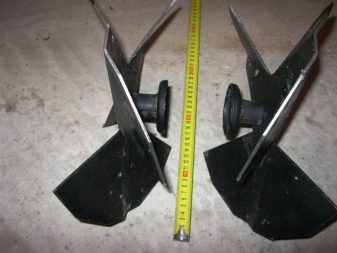
For work, you will need reliable thick steel, a grinder and a welding unit. The first axles are made, which must be adjusted to the cultivator. After that, you need to create a rack and a base, which are welded. Immediately you need to choose the distance between the nozzles, the configuration of the lugs and the angle of installation, which will make it possible to cultivate the soil extremely productively.For practicality, several bushings with holders and various sets of blades can be made, which will make it possible to carry out various methods of hilling.
Devices for hilling from improvised means
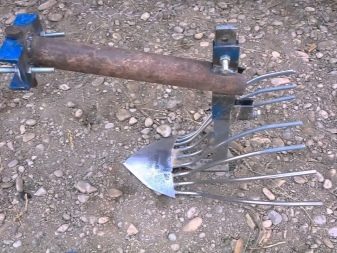
It should be noted that a homemade hiller can be made without investing in the purchase of iron. This will make it possible to reduce the cost of the tool to a minimum. As a starting material, it is acceptable to use an iron product of a suitable size. For example, an unnecessary lid from an old saucepan.
The main thing, using a similar approach to business, is to remember about the drawings and the required diameter of the disc. It can be at least 400 millimeters. This is due to the nuances of soil cultivation, taking into account the area of the roots of the potatoes, planting depth and ground clearance. Basically, the maximum planting depth is 60-80 millimeters, the length of the roots is up to 200 millimeters. The cover is sharpened from all edges, slightly transformed by bending and mounted on a walk-behind tractor.
How to mount a hilling tool on a walk-behind tractor?
Mounting the hilling tool on a motor-cultivator presupposes competent adjustment of the slope of the field board and the depth of immersion, which must be smaller than that of the plow. Before you start using the hiller, you need to do such activities.
- Mount the hitch and wheels on motor vehicles, then add the hiller.
- The tiller is installed on an equal plane, and the hilling tool is lowered to the ground and fixed to the hitch.
- When installing the equipment, make sure that the agricultural implement stand is in an upright position. This will allow you to adjust the pitch of the board as needed.
- Then the equipment lands or sinks slightly into the soil so that it is below the lug support plane.
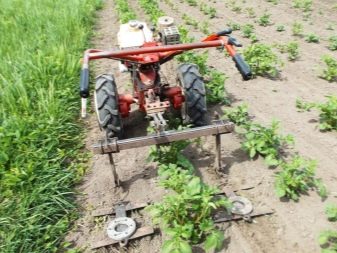
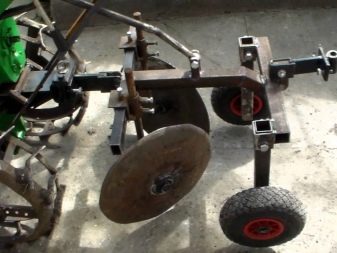
It is necessary to do a test hilling and take a look: if the equipment is buried in the soil, move the rack forward, slightly lifting the toe. When coming out of the ground, the stand is retracted by lowering the toe. The main thing is to take into account the width between the rows by adjusting the existing structural elements.
Conclusion
As you can see, you can make on your own both a lister tool for hilling, and a more intricate modification - a disk one. After completing simple steps, after a few hours a removable device is obtained, which is suitable for many Russian walk-behind tractors, will seriously simplify the performance of work associated with the cultivation of potatoes, and does not require large investments.
For information on how to make a disc hiller for a walk-behind tractor with your own hands, see the next video.


The comment was sent successfully.