Planting carrot seeds on toilet paper
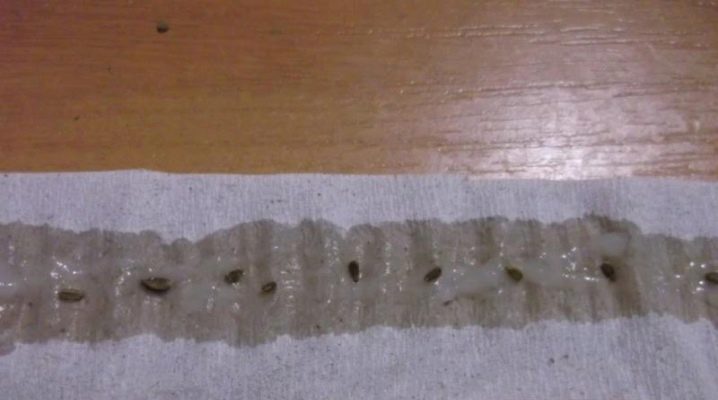
Seasoned gardeners already know that carrot seeds are among the smallest. For this reason, it is inconvenient to sow them in the ground. What tricks gardeners do not go to in order to get an excellent harvest, and at the same time save on seeds. Planting carrot seeds on toilet paper is popular.
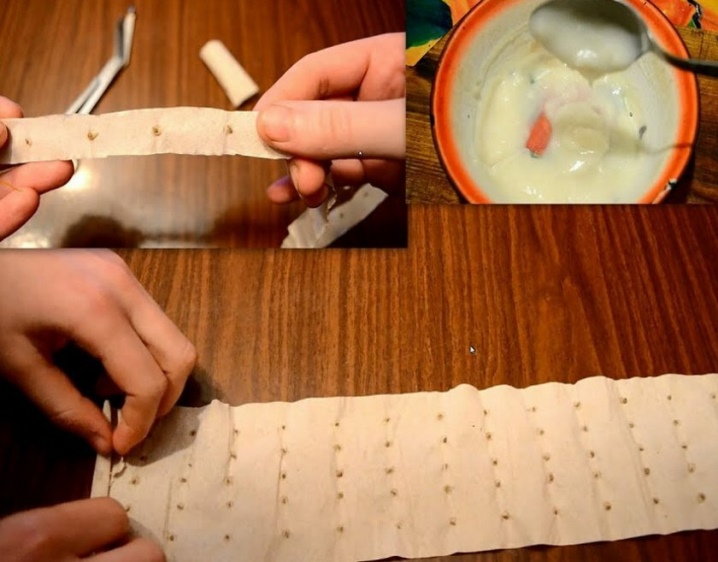
Pros and cons of the method
Sowing carrot seeds on toilet paper has many advantages:
-
convenient to plant;
-
seeds can be positioned at the desired distance from each other;
-
easy to check seeds for germination;
-
saving money and seeds;
-
the finished tape is buried to the required distance;
-
saving time;
-
lack of any difficulties;
-
ready-made seedlings do not need to be thinned out.
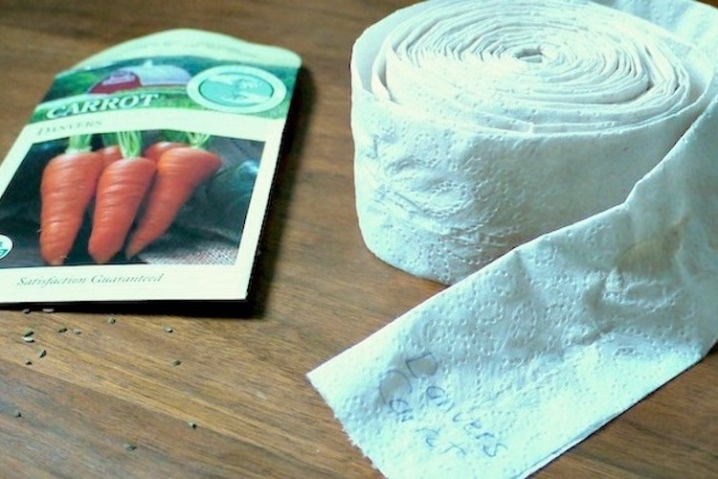
At the same time, this method of planting is characterized by saving sown areas, maintaining optimal moisture content, and friendly shoots.
This method has several disadvantages. The process of applying seeds to a paper base is time-consuming. Some summer residents claim that the seed material grows longer than usual due to the glue. This method is not suitable for a large number of beds, because sticking a huge amount of seeds on rolls of paper is a laborious process.
Variety selection
You can take any seed for planting on a paper base. The main thing is that the quality of the contents of the bag is at its best. Experienced gardeners claim that pelleted carrots are suitable for such a planting. The only caveat is that a large amount of moisture is needed to dissolve the capsule.
Let's present a list of the best varieties that are aimed at high yields.
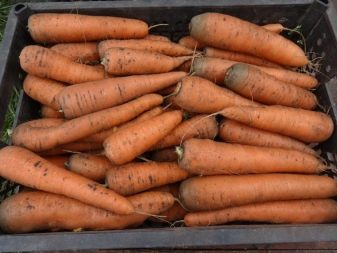
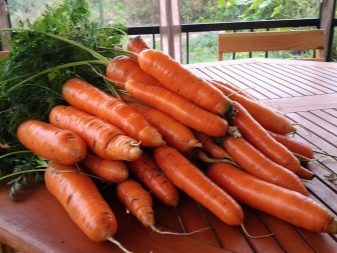
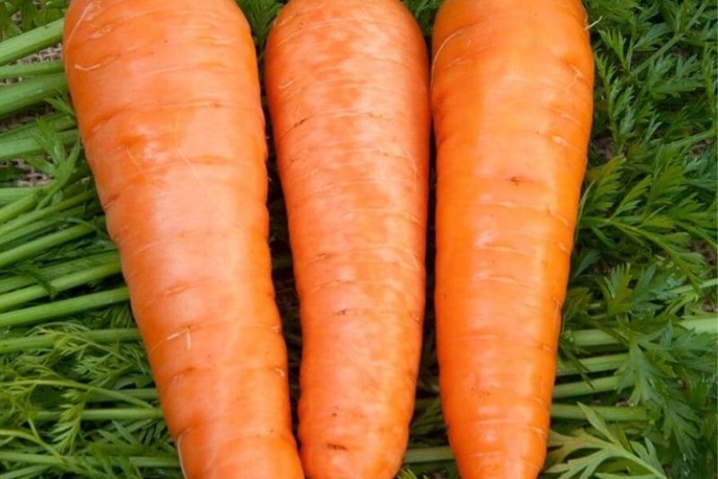
- "Queen of Autumn" has a late ripening period. Root crops when leaving reach 220 grams, the taste is juicy, crunchy, bright orange in color.
- "Red caramel" - a variety that is ideal for making juices and salads. Possesses excellent keeping quality.
- "Samson" does not contain voids in its roots. Vegetable roots are juicy, deep red in color, have an even shape. They are used for canning, storage, preparation of salads. In general, 70% of seed germination should be considered good germination.
Some gardeners take 15-20 copies from a batch, plant them at home. If more than 10 seeds germinate, this variety can be used on a personal plot.
A large number of gardeners have long been in demand for proven varieties. Among them: "Nantes 4", "Shantane", "Vitaminnaya 6", "Losinoostrovskaya 13". No less popular "Red giant", "Stew", "Children's sweetness". But, following the advice of experts, it is necessary to purchase several varieties of only trusted manufacturers at once.
How to make adhesive tape?
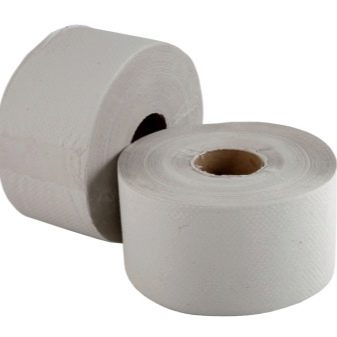
It is recommended to take any loose-based paper as a planting material. But toilet paper is preferable in this sense. For work, it is necessary to cut off the tape in a size equal to the width of the future bed. After that, ribbons three centimeters wide are cut along the canvas.
By the same principle, you can cut paper napkins, and then, if necessary, glue them to the desired length. The method is not much different from the previous one. The napkins get wet equally quickly, and the seed is able to germinate with the same intensity. The distance between the seeds is 5 centimeters in either direction.During sowing, napkin strips are placed close to each other. The distance between the rows is laid from 15 to 20 centimeters. After that, the tapes are sprinkled with a layer of soil, watered, covered.
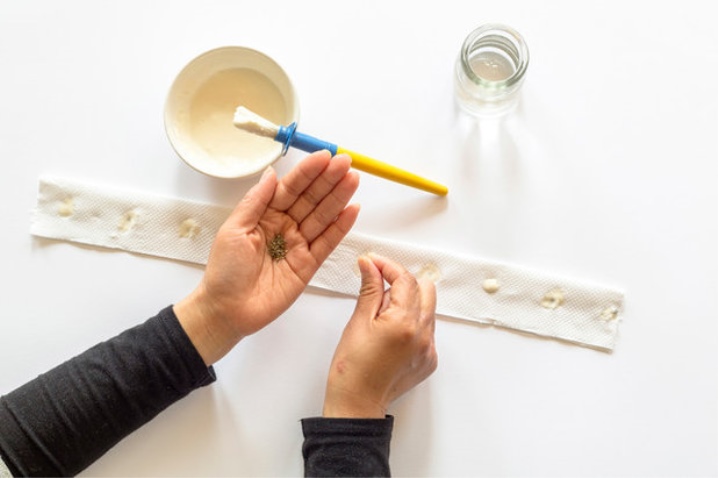
In theory, it is not forbidden to use water-soluble glue of any content. But from a safety point of view, it is better to use a handmade paste.
The recipe is simple: you need to bring 400 milliliters of water to a boil. Carefully pour into it a mixture of starch and cold water in proportions of 2 tablespoons per 100 milliliters. Everything is stirred vigorously, brought to a boil, and allowed to cool. The consistency of the contents should be moderately thin.
The composition of the "useful glue" can be improved by adding nitrophosphate or crushed ash to it. The proportions are as follows: for a liter of paste, 50 grams of ash or 5 grams of nitrophoska. Sometimes a little Agricola is added.
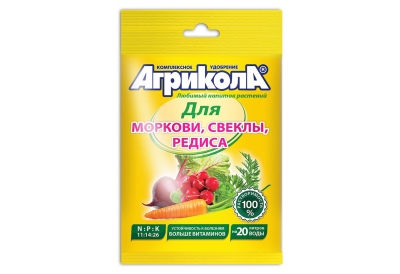
If at the moment there is no starch in the house, then 4 tablespoons of flour are added to the same proportions of water. The cooking process is the same.
Some people do without paste and glue, using two-layer toilet paper. The stages are as follows:
-
the paper must be straightened on a flat surface;
-
bend the upper edge to the level of burial of the seed into the soil;
-
chop the paper layers to a height of two layers with a needle;
-
after it is necessary to peel back the top layer and spread the seeds;
-
return the top layer back, irrigate abundantly with water from a spray bottle;
-
dry.
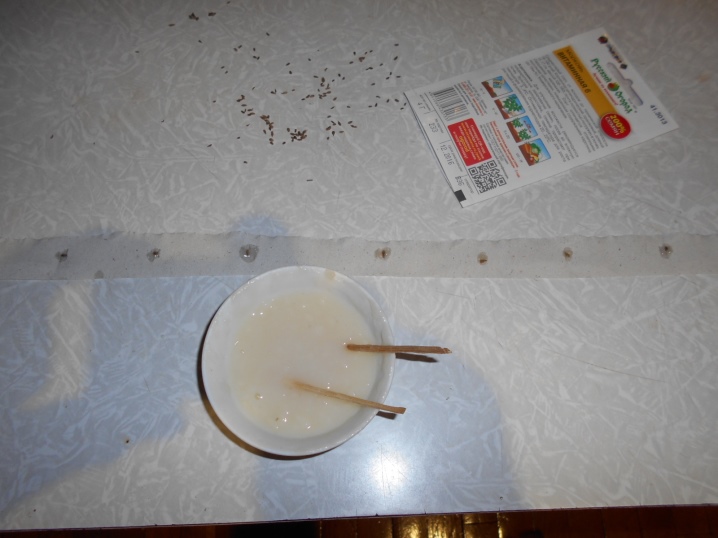
How to glue the seeds?
Before proceeding with gluing, it is recommended to calibrate the seed by weight. To do this, we send the contents of the sachet into a saline solution (a tablespoon of salt per liter can of water), mix thoroughly. If after 5-7 minutes the seeds have not drowned, then it is better to get rid of them. The rest of the contents of the jar with water is washed and dried.
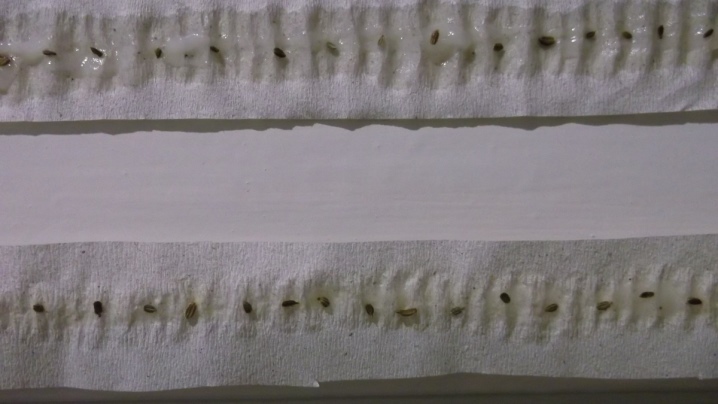
Sticking is a laborious process that requires special attention, so we recommend using tweezers, a cotton swab... Everyone uses their own gluing technique. One thing is important: the need to arrange seeds in a row at a distance of up to 4 centimeters from each other.
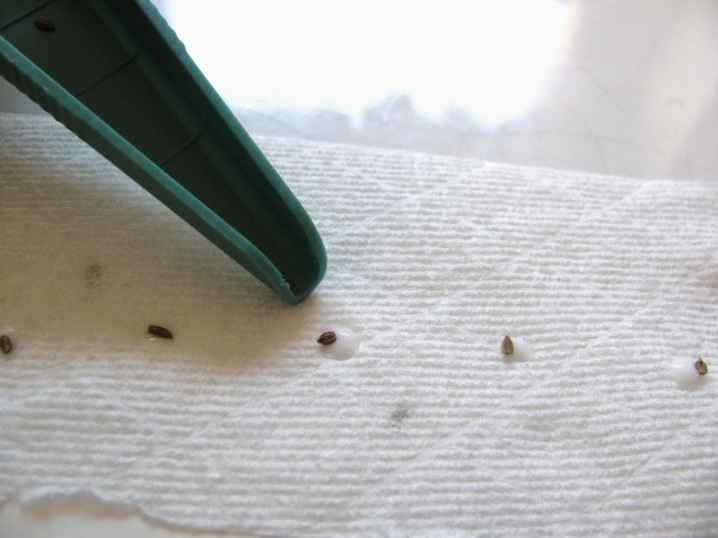
For even application of the paste, some use a medical dropper, while others use a toothpick or cotton swab.
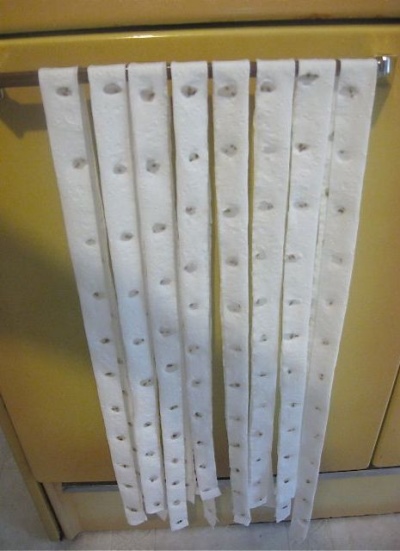
The finished tapes must be dried. Then, for convenience, they are folded into mini rolls, signed, sent to packages.
Newbies, out of inexperience, make common mistakes.
Glued on hot paste. As a result, the seeds are boiled and lose germination.
Sometimes they use low-quality seeds or those with an expired date. It is better to purchase packets of carrots with a production date of last year.
Out of inexperience, they use thick paper. During planting, carrot sprouts cannot break through a thick layer, they die.
Rarely watered. Due to insufficient watering, seedlings are delayed or completely die.
Germination of material
This procedure is not at all necessary to prepare carrots for planting, but some gardeners use this technique. It is believed that you can use the technique as a test to assess seed germination.
For work you will need:
-
napkins, toilet paper or other loose paper;
-
spray bottle or spray bottle;
-
capacity;
-
water;
-
dense plastic film.
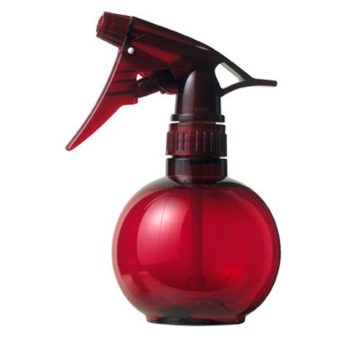
It is recommended to spread the finished tapes on a polyethylene base 6 centimeters wide. Then it is sprinkled with water from a spray bottle, rolled up with polyethylene, and placed in a container with water. All this is covered with a film.
After 10 days, the contents of the roll begin to germinate. From this moment, the seeds are advised to be planted in a prepared bed.
How to prepare the soil?
The sown area is prepared in the fall. And all because such a roll will be ready for planting 7-10 days earlier than dry seeds.
Sowing the finished material should begin in mid-April; it is recommended to plan the planting of late varieties in the first days of May.It is better to observe the timing, otherwise the moisture in the ground will disappear, and the vegetable will be hit by a carrot fly. In the southern zone, gardeners get two crops per season. In regions with a warm climate, the first plantings are in mid-March, and the repeated crops are in the tenth of June.
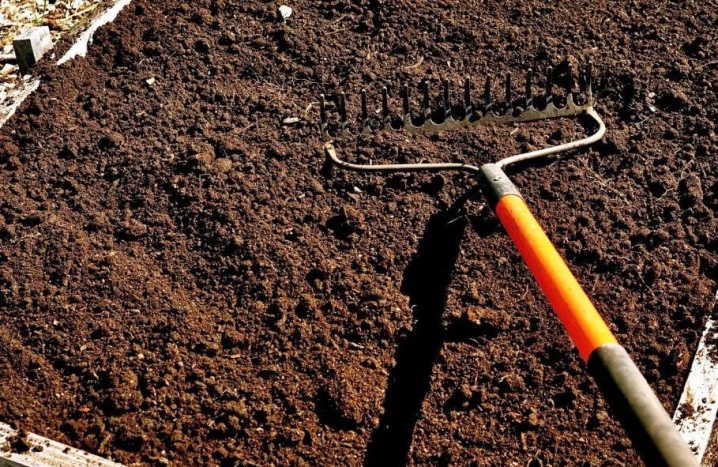
First, the bed is dug onto a shovel bayonet, removing all weeds and rhizomes. You can use organic matter, but, for example, manure must be rotted. Acidic soil is diluted with lime, and clay soil - with sand. Loose soil is fertilized with Azofoska according to the attached instructions.
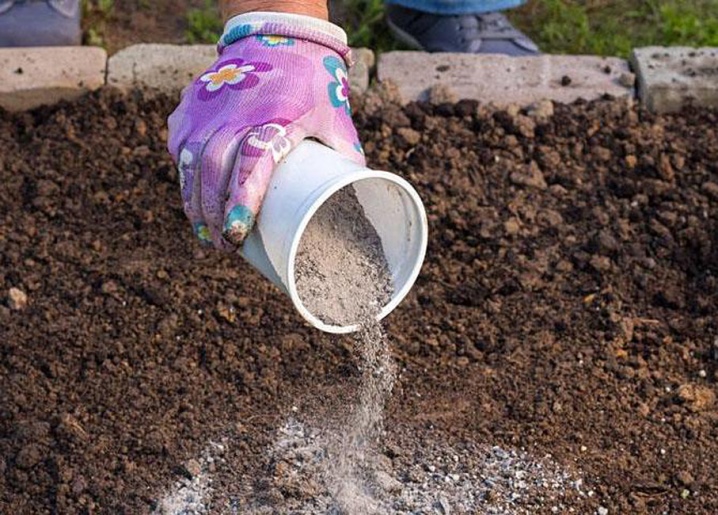
Immediately before planting, wood ash is introduced at the rate of half a liter can per square meter, then processed with a rake.
Landing technology
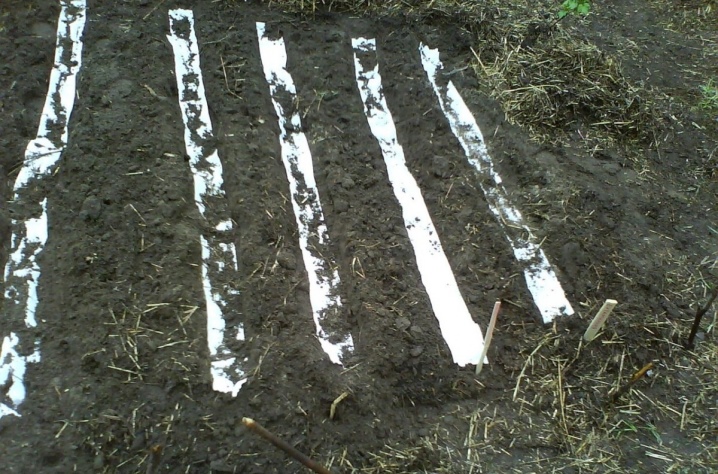
The fastest and easiest moment in the whole process remains - sowing... It is not recommended to work with tapes on the site in rainy weather: the tapes will get wet, fall apart before our eyes. It is inconvenient to lay the material along the grooves in windy weather due to the lightness of the paper. All work is divided into several stages.
With any garden tool, they dig small grooves with a depth of 2 centimeters at a distance of 17 centimeters. With dry soil, the grooves are shed with water.
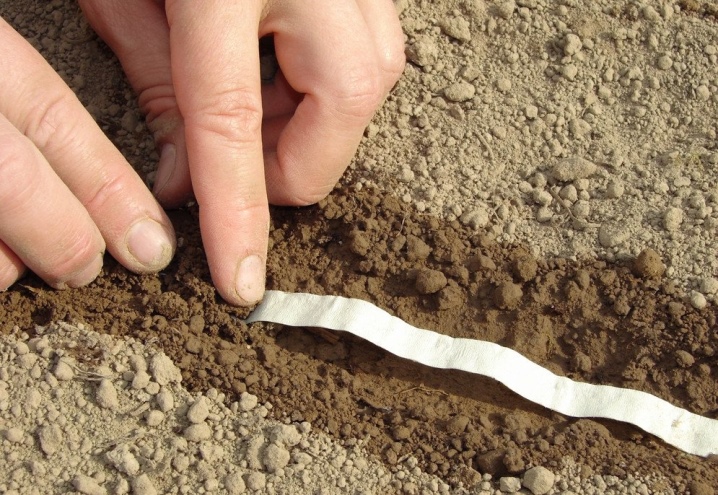
The roll is straightened, laid out along the furrows with either side of the tape. The roll gets wet pretty quickly, and the sprouts easily pass through the soil.
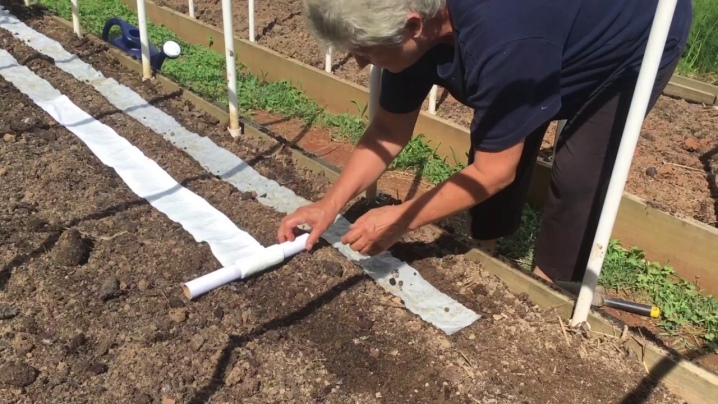
The contents of the grooves are covered with soil, watered with care.
Sometimes, in order to avoid drying out, the bed is covered with spunbond.
We also recommend using the second method. The tape will lie flat in the ground if:
-
install pegs with a rope on the garden bed - a kind of marker;
-
draw a line from one landmark to another with a sharp object;
-
straighten the roll in the furrow;
-
cover with a small amount of soil.
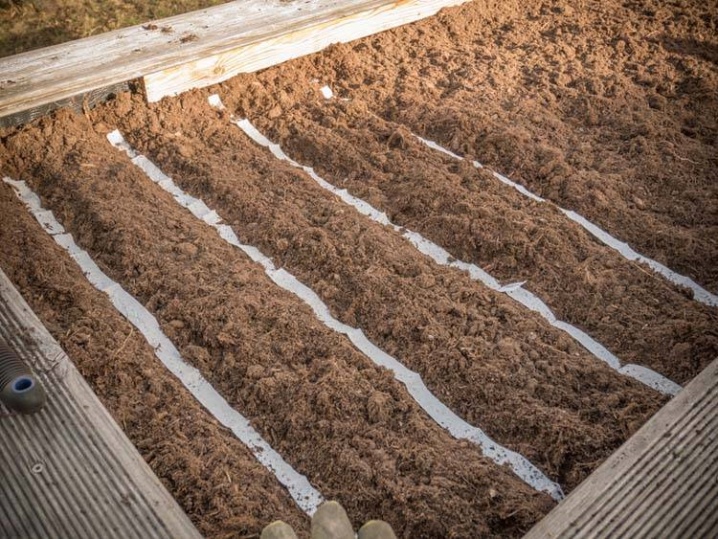
Sometimes beginners complain that the future vegetable takes a long time to grow. This is because the beds are not adequately watered. The secret is that abundant watering is necessary before germination begins.
We suggest using the advice of experienced gardeners on how to properly care for planting vegetables in the open field.
-
If the beds are covered with non-woven fabric, then it is necessary to water without removing the film.
-
In the areas allocated for seeds in the form of pills, there should always be a sufficient amount of moisture.... So the shell will collapse faster.
-
In the absence of seedlings in terms of up to 3 weeks, you should not wait for a miracle. It is recommended to plant the ribbon carrots again, but between the original furrows.
-
The lack of seedlings in spring is due to several reasons.... The strips of paper were placed very deeply, the seedlings could not break through to the surface. Sometimes the seed is not planted according to the rules, without contact with the soil, so it is difficult for the plant to root. It happens that a crust forms on the ground, and the plant cannot release its shoots.
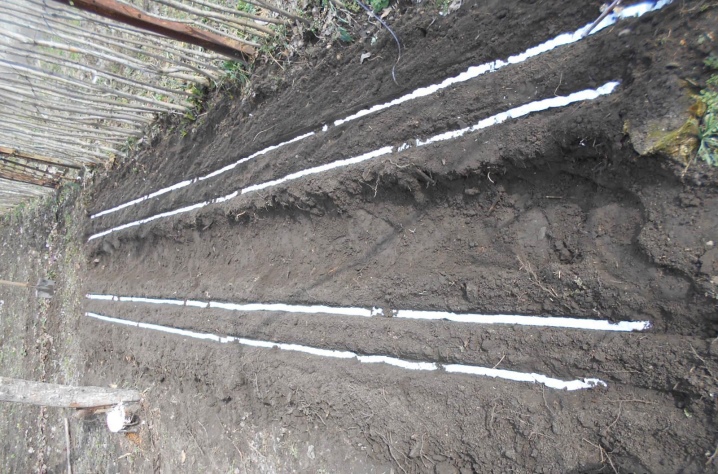
Further care involves the constant implementation of a number of procedures.
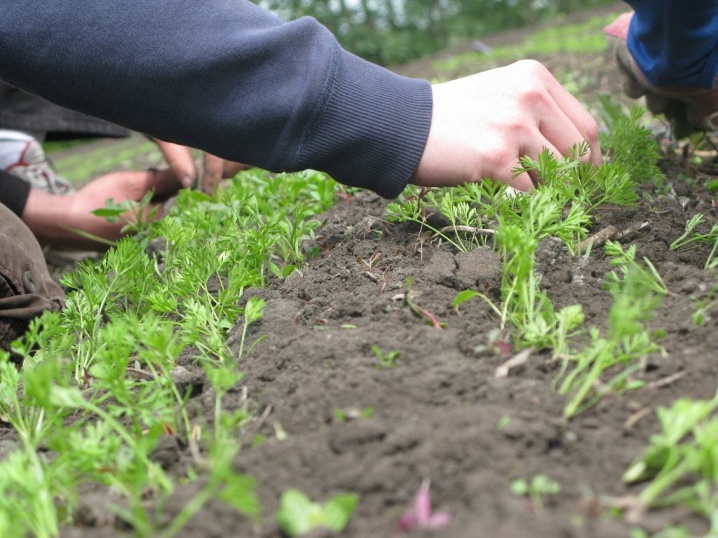
Loosening the soil under the crop. But this procedure should be carried out with caution, especially after the first shoots, due to the fragility of the roots, stems. The best time for this is three weeks after the appearance of the greenery.
Frequent and abundant watering, especially before emergence.
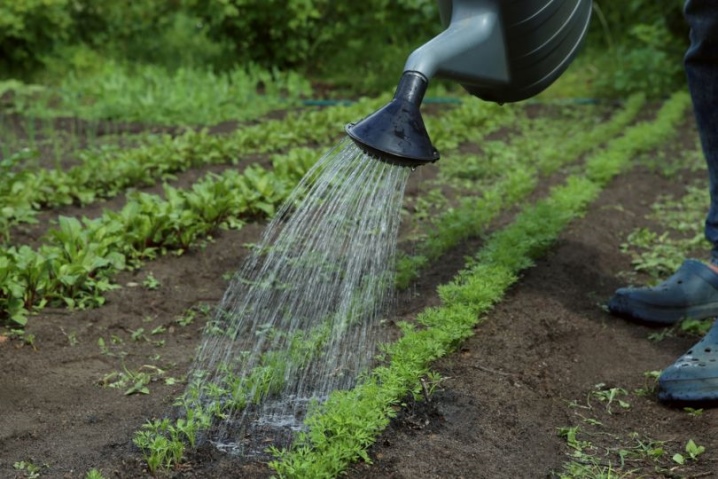
Fertilization according to the scheme. You should not get carried away, you should follow the recommendations on the package.
Weeding 2-3 times per season, otherwise the grass will not allow the vegetable crop to grow fully.
Planting carrot seeds on toilet paper is convenient for the reason that after germination you will not need to thin out the seedlings. This saves money and time. Caring for the vegetable is simple - you only need to water the beds abundantly.


The comment was sent successfully.