All about carrots in granules
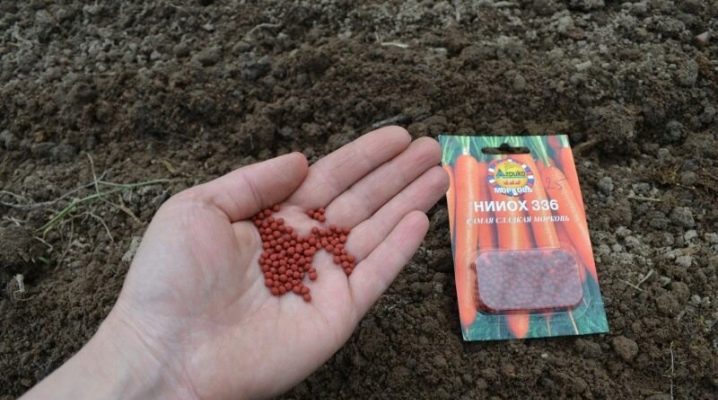
Almost any summer resident in the summer on the site will find a bed with carrots. Increasingly, seeds in special granules are used for planting and growing such a crop. Today we will talk about what features these granules have, how to plant and grow them correctly.
Peculiarities
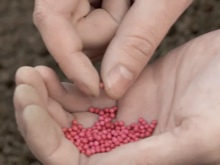
This planting material is in the form of small orange pellets in the form of balls, inside of which there are seeds. Seeds undergo a special pelleting procedure, during which they are covered with a special layer that performs protective functions.
Pelleted seeds are relatively large (from 5 to 7 millimeters). They resemble granules in appearance. The outer layer can be made from various components, including peat, wood components, starch, paste, special gel.
The casings gradually harden quickly after application. When making granules, it is easy to add various fertilizers, as well as growth stimulants. Such seed material makes it possible not to carry out the thinning procedure in the future. In addition, it will be protected from pests and cold weather.

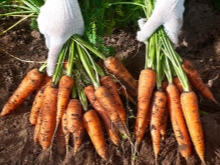
Pelleted seeds are distinguished by earlier germination. They allow you to get a large and healthy harvest of carrots. Sometimes several seeds are stored inside one shell at once, in this case it is still better to thin out.
The use of this planting material can significantly reduce labor costs and time for sowing a crop. The shells in which the seeds are located contain important nutrients that are required for initial growth and development.


Landing dates
Planting these carrots should be done in the spring.... In the central zone of Russia, this can be done already in mid-April. In the southern regions, the procedure has been carried out since March. In any case, the air temperature by that time should have already reached about 13-15 degrees Celsius.
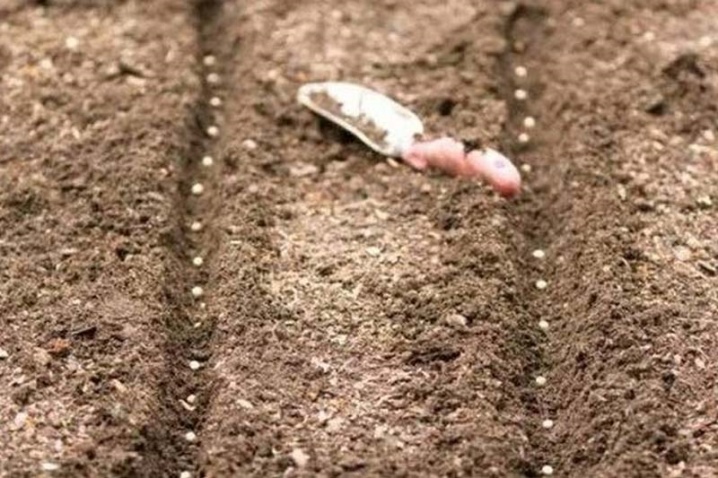
Sowing preparation
There is no need to prepare pelleted seeds for planting - they are already considered completely ready for this. Hardening and soaking procedures can only damage the protective layer.
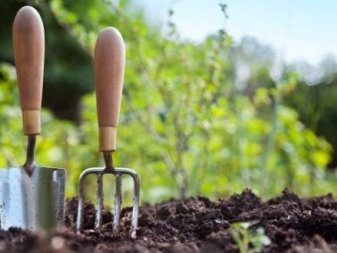
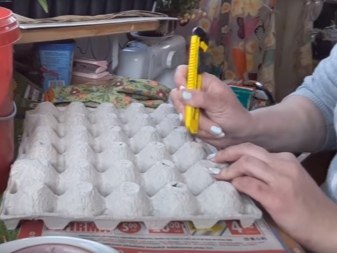
Garden tools (shovel and planter) should be prepared. It is recommended to pre-treat them with disinfectants. If you have chosen a place with soft soil for planting, then instead of a spatula, you can take a simple cassette from under the eggs.
It is also necessary to prepare the soil. The soil should be fairly loose. But at the same time, there cannot be many cracks in it, because through them during watering the liquid will go down. As a result, the shell simply won't dissolve.
The following types of soil are considered the best option for such vegetation:
- black soil;
- sandy loam;
- loamy.
Also remember that the best predecessors for this culture are cabbage, greens, radishes, cucumbers. For landing, it is worth choosing places that are fairly well illuminated by the sun, reliably protected from wind currents. Poor precursors for carrots are garlic, onions, beans, eggplant, and peppers.
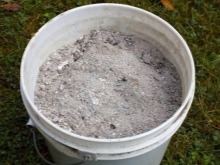
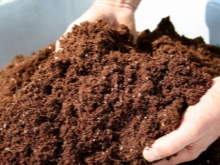
Seating should be prepared already in the fall. For this, the earth is well dug up. A nutrient mixture is introduced there, which should consist of wood ash and rotted manure. All remnants, roots from other plantings are removed from the selected place in advance. Superphosphate can be scattered over the entire surface of the grooves (per 1 sq.m of land accounts for 20-25 grams), potassium nitrate (10-15 grams per 1 sq. m.).
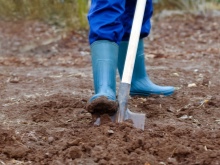
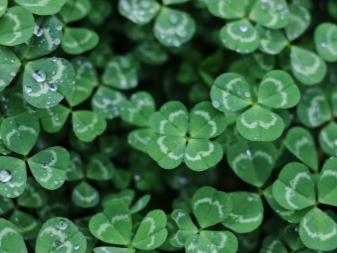
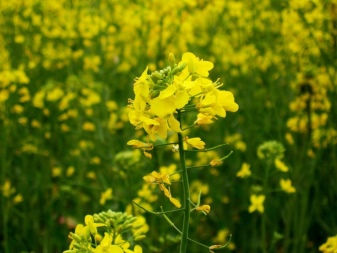
To improve the quality of the soil, it is better to use various green manures.... They are gradually embedded in the soil to make it more nutritious for crops. Clover, rye and mustard can be planted as such siderates. remember, that it is permissible to return carrots to the previous growing area no earlier than after 5 years.
Some experienced gardeners recommend planting beets and radishes right next to granulated carrots. These cultures will sprout much earlier. This way, you can know exactly where the carrots are sown.
How to plant correctly?
The planting of granular material in open ground can be carried out both in the usual staggered manner and in furrows located in parallel. In any case, it is necessary to pre-form the holes for planting.
The seeds should be deepened into the ground by 6-7 centimeters. In this case, a distance of 18–20 cm should be left between individual holes, a distance of at least 10–15 cm should be made between the furrows.
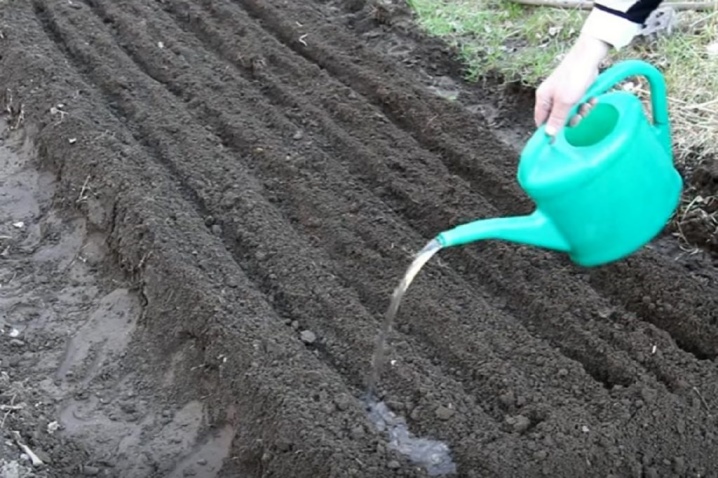
Immediately after sowing the carrots, warm water is poured into each well to the top. When it is all absorbed, the seeds are carefully sprinkled with earth, and then all this is again abundantly watered and leveled.
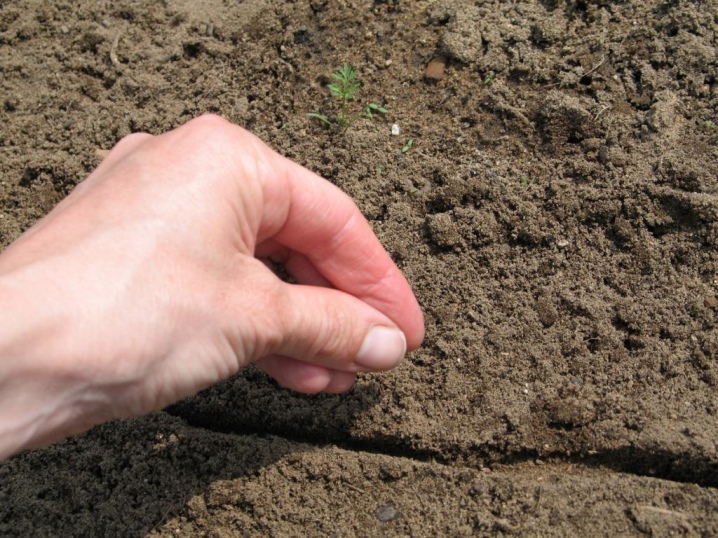
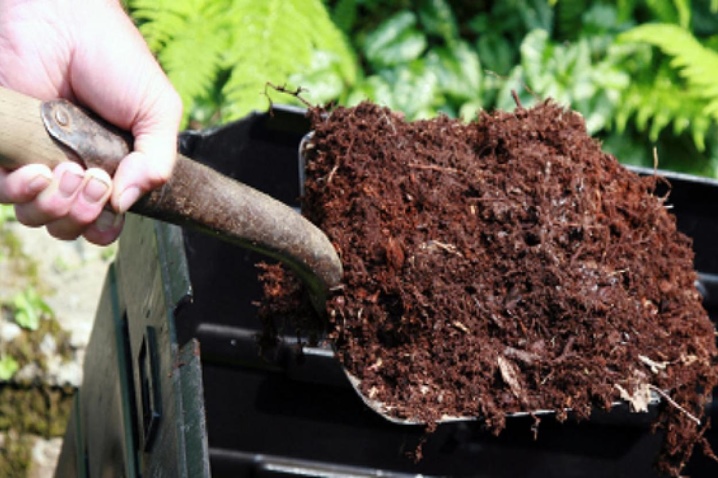
In the process of watering, you need to use a large amount of water, because it is needed to dissolve the protective shells and release the seeds. After sowing, it is better to mulch the soil well. You can take humus or peat as mulch. This procedure will help to preserve the liquid that is necessary for the germination of seeds.
It is not necessary to pour top dressing into the holes immediately before planting, because, as a rule, the protective shells in which the seed is located contain basic fertilizers. In addition, useful substances were introduced even when digging holes in the fall.
You can only powder the seats with red pepper or ash, this is done to prevent carrot flies.
Follow-up care
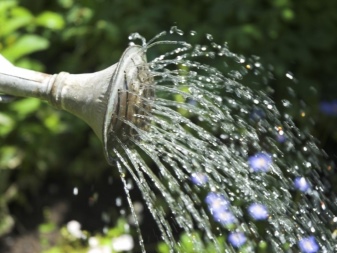
After planting, such carrots will need periodic watering. If you used a material in a protective gel shell, then this procedure should be performed every 3-4 days, because the gel perfectly absorbs moisture. In other cases, watering is carried out in such a way that the topsoil is always slightly moistened.
In the process of watering, you can not use cold liquid. The best option would be water that is heated by sunlight. During the formation of root crops, it is better to reduce the number of procedures to once a week. For 1 sq. m of the planted area should account for about 10 liters of liquid.
If the crop does not get enough water, then the fruit can grow with a bitter taste. They can also be too harsh. Before harvesting, watering is stopped for a couple of weeks.
The carrots will also need weeding. This procedure is best done at least once a week. To do this, you can use a hoe or hoe. A special scoop will also work.
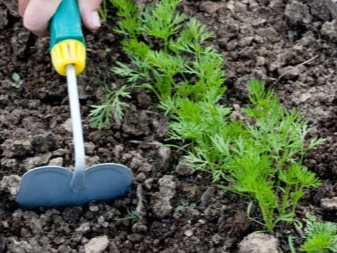
It is important to loosen the soil regularly. This should be done shallowly. Otherwise, you can change the seed depth. Loosening is done before and after watering.
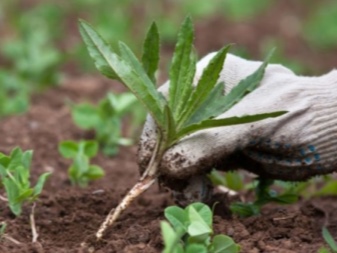
It is necessary to remove all weeds around the plants in a timely manner. It is better to simply pull out excess vegetation.... This procedure is a preventive measure against pests.
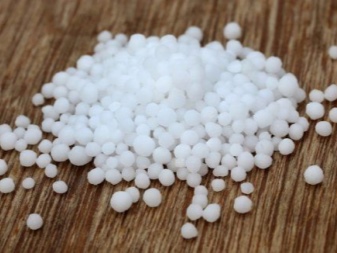
Immediately after the appearance of the first shoots, it will be necessary to apply additional fertilizing so that the culture grows normally. At this stage, you can use urea, nitroammophos. Ammonium nitrate is also sometimes used.
To get a healthy and full-fledged crop, you need to make additional fertilizing at least twice a season. It is not recommended to use fertilizers for plants that contain nitrogen. You can use universal garden compounds purchased from garden stores.
After how many days do the seeds sprout and what if they did not sprout?
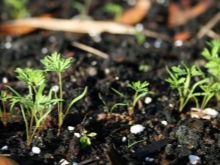
Pelleted seeds, as a rule, germinate rather quickly. The sprouts appear all at the same time in about 13-15 days after disembarking in a permanent place.
If, nevertheless, the sprouts do not germinate for a long time, then the soil should be well moistened. This delay is most often explained by the difficulty of germination through the protective membranes. In this case, you need to water the soil abundantly, because it is the water that dissolves these layers. After this procedure, shoots should appear.


The comment was sent successfully.