Microphone problems: causes and solutions
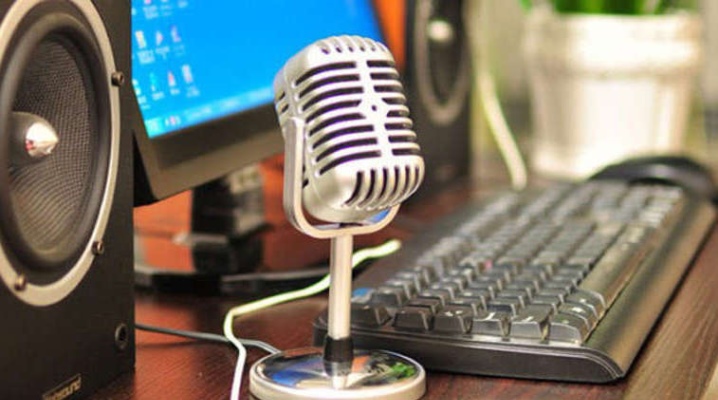
Today, the microphone plays an important role in the life of every person. At home, microphones are installed on portable and stationary PCs, outside the home they are used for telephone conversations. At the same time, the sound headset makes it possible not only to communicate with other people, but also allows you to control the options of other household appliances through voice control. According to the majority of microphone users, the most convenient device design is considered to be a 2-in-1 headset - a microphone combined with headphones into one gadget.
Such devices are used not only for personal purposes, but also in the professional sphere. And this is not surprising. It is this version of the microphone that ensures the completeness of the autonomy of the gadget. Despite the technical and design components, any modification of the microphone may fail. But not every user can deal with the problem and restore the operation of the device.

Causes of malfunctions
All microphone problems are conventionally divided into 2 groups, namely: mechanical damage and system problems. Mechanical damage in most cases occurs unexpectedly. This can happen a few days after the purchase of the device, or several years later. System problems occur immediately after connecting the headset. Most often, microphone problems are associated with the device software. Many wireless and wired microphone problems can be corrected by yourself.
However, before proceeding with troubleshooting, you need to identify the cause.
Broken conductor
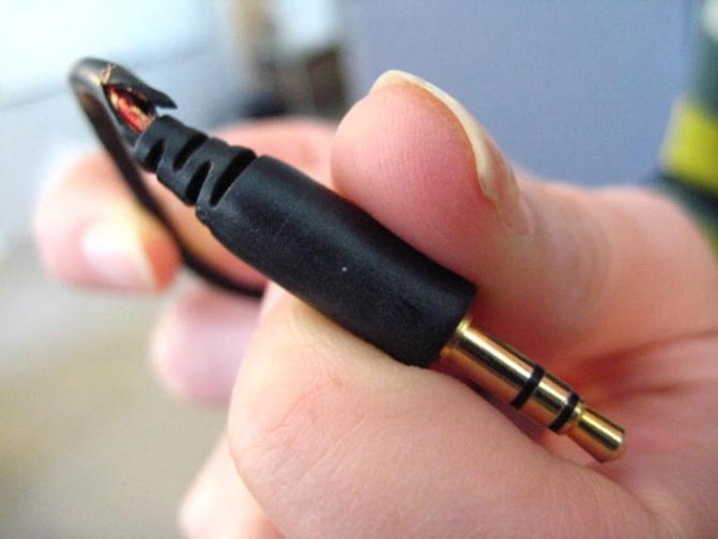
This problem is most common in a headset that is in constant use. The microphone signal becomes weak, it makes strange sounds instead of a voice, beeps, hums, crackles, buzzes, wheezes, whistles or rustles violently. In some cases, a piercing squeak appears. Accordingly, due to such interference, the interlocutor does not hear the voice of the owner of the faulty device. In 95% of cases, the problem is hidden in a break at the joints of the conductors, namely, in the area of the connector, at the audio line junction. And in wireless microphones, there is a break in the connector of the Bluetooth module.
Contamination of contacts
In some cases, a layer of dirt can cause a poor connection. After long-term storage of the device, dust and dirt particles accumulate on the connection connector, which cause oxidation of the metal. It is not difficult to detect this problem. Just look at the connection elements. Deposits of a brown or green hue will be visible on their surface..
It is this accumulation of dirt that breaks the contact of the connection, which prevents the device from working properly.
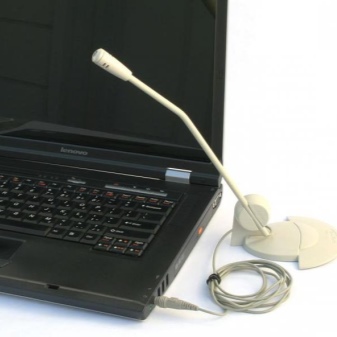
Lack of sound card drivers
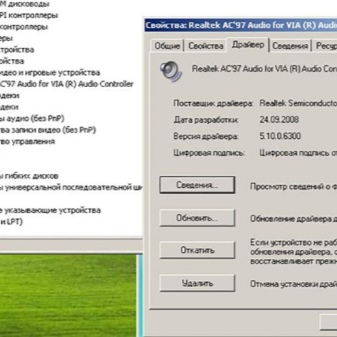
This detail is present in any gadget. The sound card is responsible for the process of converting audio and digital streams. However, for the plug-in gadget to work properly, you need to install software - drivers corresponding to the operating system of the main device and the technical parameters of the microphone. Most often, the required driver package is present in the standard motherboard software. However, when updating the system or reinstalling it, the driver must be installed on a new one.
System crashes
If the microphone does not work or does not function properly, you should perform comprehensive diagnostics of the gadget... Quite often this problem occurs with wireless microphones. The audio link may be disabled, or the driver may be out of date.

Troubleshooting
Having figured out the causes of the problems, you need to familiarize yourself with the ways to fix them.
Broken conductor
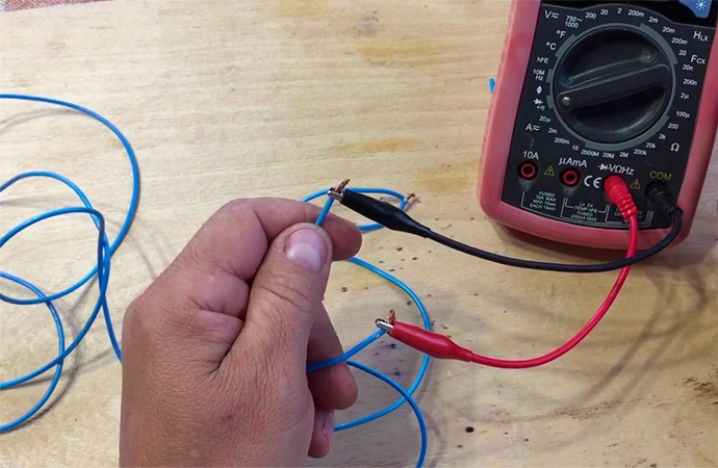
Identify this malfunction and remove extraneous sounds will help smooth movement of the wire from side to side in the area of \ u200b \ u200bthe joints. With such movements, a good signal periodically appears, or an attempt to connect is felt. During rotation, a stable connection may appear, however, after a couple of seconds, the signal may disappear again. If the owner of the defective headset has experience in repairing electrical appliances, it is worth using a multimeter and ringing the entire circuit of the gadget.
After finding a break, it is necessary to open the wire, cut off the faulty contacts, then connect the stripped wires with a soldering iron and wrap the junction with electrical tape.
Contamination of contacts
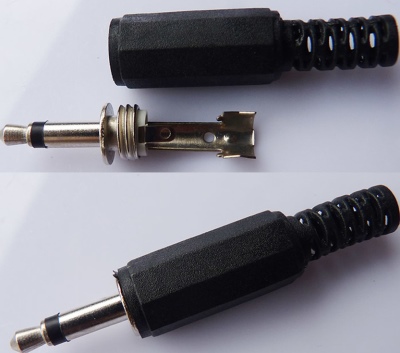
A wire or a toothpick will help get rid of dirty plaque in the nest. The plug is much easier to put in order. You can use any flat, blunt object, such as a nail file. The main thing is that there are no scratches on the surface of the plug. The last step of cleaning is wiping the plug with a sponge slightly moistened with alcohol.
Lack of sound card drivers
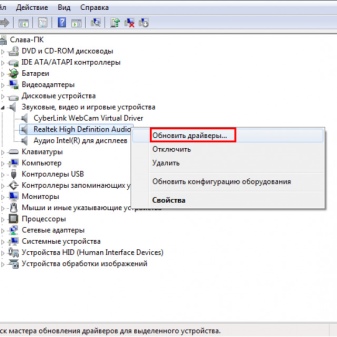
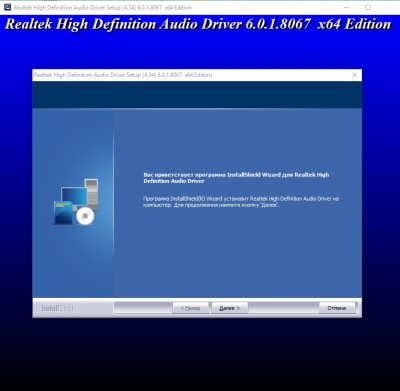
Any PC's Device Manager will help you check the installed microphone drivers. In Windows 7, you need to click on the line "sound, video and game devices". In Windows 10, the required string is named “sound, game and video devices”. After selecting the required line, a list of drivers opens. They need to be installed or updated. Wherein there is no need to search for the necessary drivers on the vastness of the World Wide Web. The OS will fix everything by itself.
System crashes
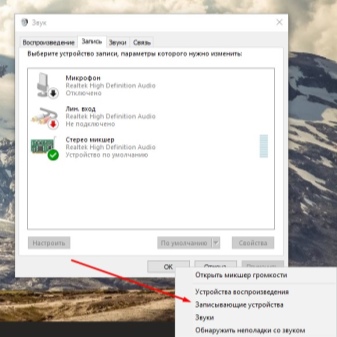
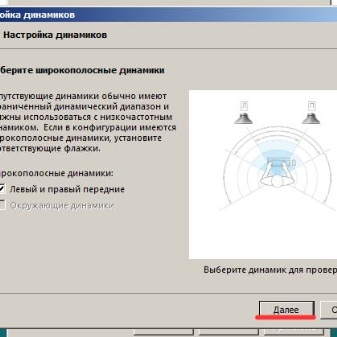
The system capabilities of the PC and the Internet will help to check the signal. In the first option, you need to click on the speaker icon located near the clock. You can find it on the Quick Access Toolbar. Select the line "Recorders". The name of the microphone will appear in the list that appears. Next, you need to go to the speaker settings. After double-clicking on the device name, a new window will open where you can adjust the sensitivity of the microphone and ultrasonic frequency response. The sensitivity slider should be set to maximum, and the ultrasonic frequency should not be more than 50%. Then you can proceed to the standard microphone setup and volume control.
Prevention measures
Proper care and proper maintenance of the microphone will help extend the life of your device for years to come. When using the microphone is not necessary, cover it with a film or bag. Thus, it will be possible to protect the device from dust. It is dust that is the worst enemy of microphones, since its small particles settle on the diaphragm, which reduces the sensitivity of the device and degrades its performance.
You cannot blow into the microphone. In most models, the diaphragm can be deflated. The best way to do the test is with words. Namely, to produce several words or phrases in different keys. Many users also recommend singing the verse or chorus of any song to reveal the microphone parameters. Proper storage is the best way to extend the life of your microphone.
In humid climates, store the device in a box with a silica gel bag. Most often, such packaging is present in the microphone kit.

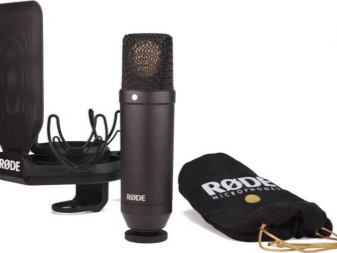
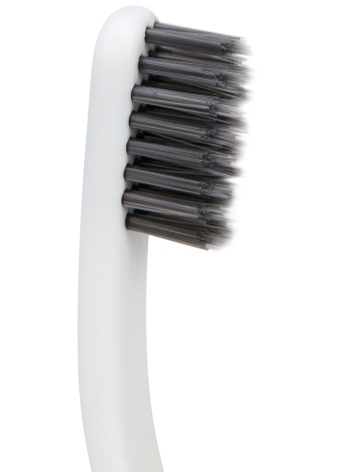
It is important not to forget to clean the device in a timely manner. At the same time, the process of cleaning dynamic and capacitor gadgets has its own characteristics. It is necessary to remove the mesh from dynamic structures and carefully rinse it under a weak stream of tap water. Dishwashing detergent can be used as a disinfectant. Deodorant will help get rid of unpleasant odors.A gentle bristled toothbrush will help remove accumulated dirt in the mesh. The washed mesh must be set aside until it is completely dry. And only then return to its proper place in the structure.

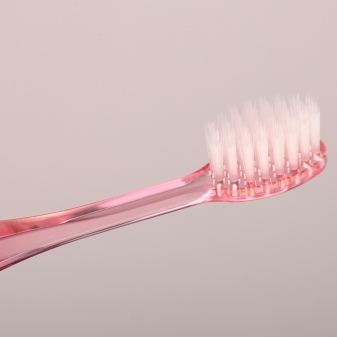
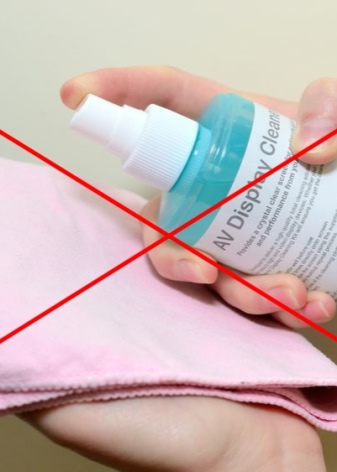
When cleaning condenser microphones do not use water or other liquid... Even a few drops of water can damage the condenser part. If the surface mesh has a removable mechanism, the cleaning process is the same as for dynamic structures. If the mesh cannot be removed, it is preferable to use toothbrushes with soft bristles. Hold the microphone upside down.
Thus, dust particles will fly out. A similar cleaning technique works for lavalier microphone models. The main thing is to make sure that the bristles of the toothbrush do not get stuck in the mesh. Otherwise, they may break off and disrupt the operation of the device.
See the next video for the reasons for microphone problems.


The comment was sent successfully.