How do I connect a microphone to my computer?
A microphone is a device that greatly simplifies communication in Skype, allows you to maintain voice communication in computer videos or conduct high-quality online broadcasts, and generally performs many important functions for a PC user. A useful gadget is connected to a computer according to fairly simple instructions.
How to connect via connector?
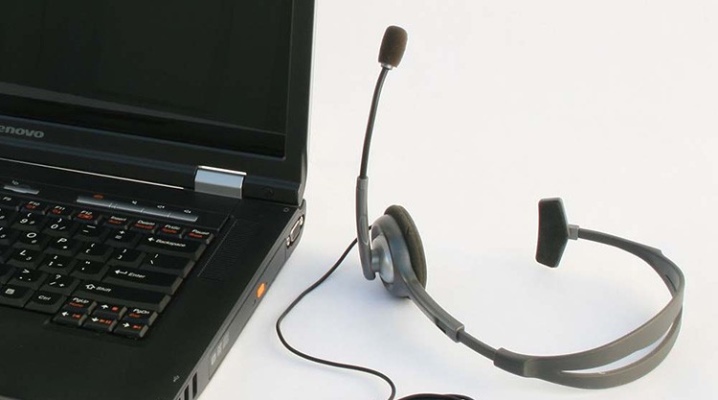
Most laptops come with a high-quality microphone already built in, so they don't need to plug in an additional device. but if the need arises to create a high-quality recording or if you plan to sing in karaoke, it is quite easy to "establish communication" between the devices. The first step is to check if there is a microphone jack at all in the laptop. You should look for a red or pink connector with a diameter of 3.5 millimeters. In its absence, you will need to acquire a special adapter or splitter.

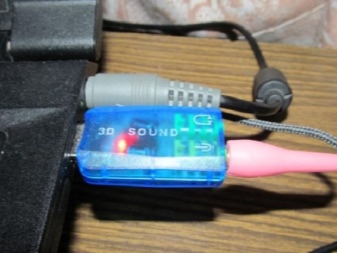
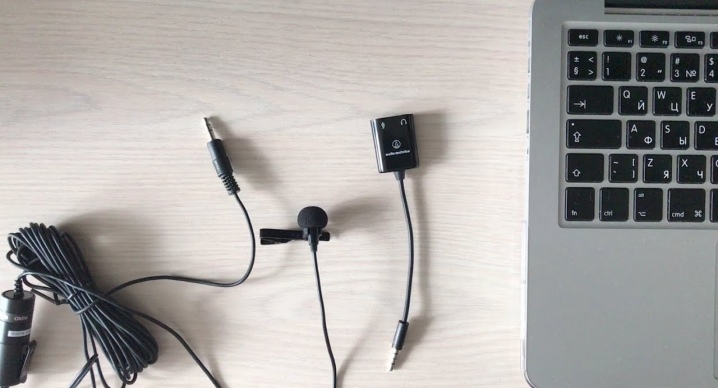
The adapter looks like a small device, on one side of which you can plug in a regular wired microphone, the other side of which itself “docks” with the USB port of the laptop.
A splitter is a cable with the black end plugged into a standard phone headset jack. At the other end, there are two branches, usually green and red. The first is for connecting to speakers, and the second is for "docking" with the red microphone connector.

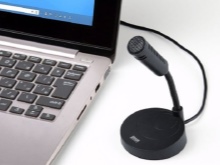
To connect a microphone to a stationary computer, you will have to use approximately the same scheme. First, you need to find a 3.5 mm jack - for a PC, it is located on the system unit. However, some microphones themselves have a connector equal to 6.5 mm, and already for them you will need a special adapter that mates with two types of device. Determining the diameter of a microphone is quite simple if you carefully examine the box in which it was located when you bought it. As a rule, this information is placed in the list of the main characteristics specified by the manufacturer.
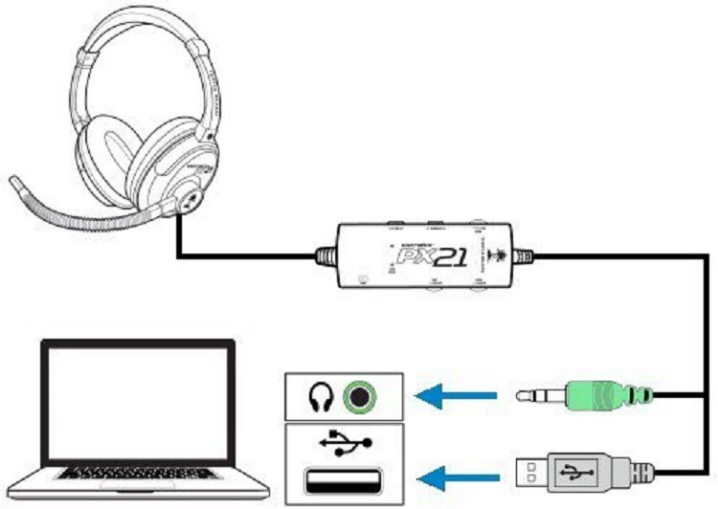
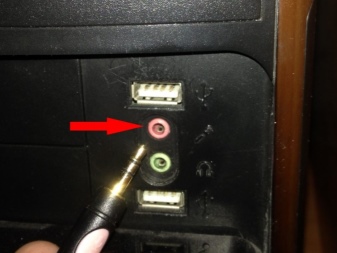
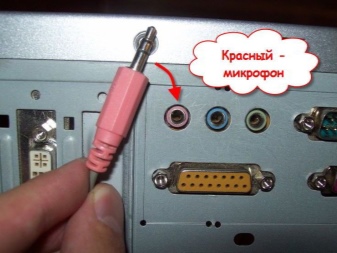
When "docking" the adapter with the computer, it is important not to confuse the connectors. Many models have two jacks with the same 3.5 mm diameter but different colors. In this case, green is for headphones, while pink or red is suitable for a microphone. The easiest way to attach a "lapel" to a computer is to use a special splitter adapter. It must be connected to the pink connector, since the green one is for headphones. The plugs of the splitter itself are usually "mated" with the sockets of the sound card. If your laptop has a combo headset jack, no adapter is required — the lavalier microphone can be plugged in directly.
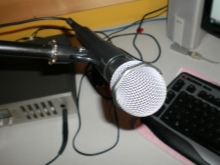
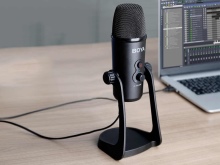
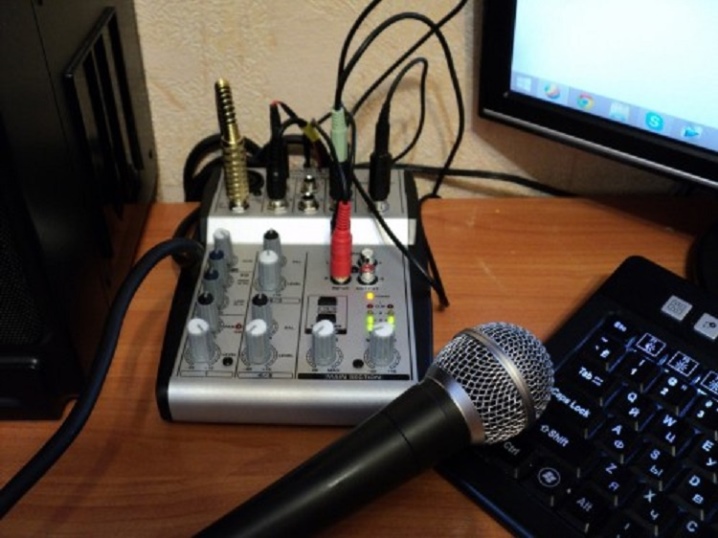
The studio microphone connects to a stationary computer or laptop in two ways. If the gadget is used simply for communication, then it is connected to the line input using an appropriate adapter. For more serious purposes, it's best to connect the microphone to the mixer and connect it to the computer.
How do I connect a wireless microphone?
The easiest way to connect a computer and a wireless microphone is to use a Bluetooth connection. If it is absent, you can use a USB port or an adapter with a special TRS connector or a classic USB connector. Since the microphone is usually initially supplied with an installation disc and a USB flash drive, there should be no problems with this. First, the USB stick is inserted into the corresponding slot, then the installation disc is activated. Following his instructions, it will be possible to carry out the installation and prepare the gadget for work. The TRS connector is connected to a special adapter Jack ¼, and it is already plugged into the pink connector.
USB connects to any available corresponding port.
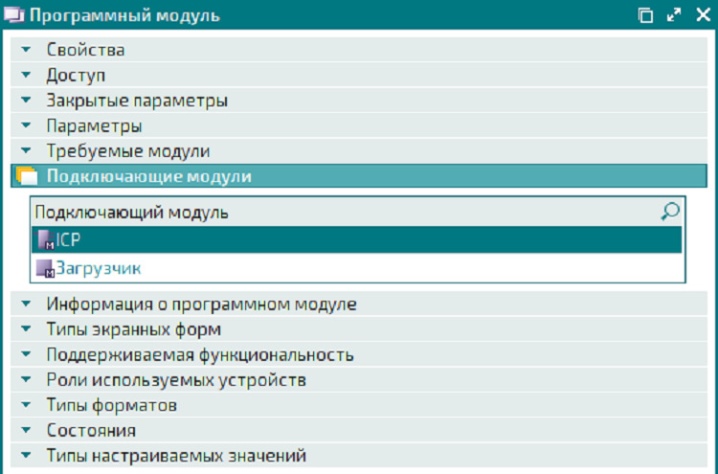
In that case, when a wireless microphone is connected via Bluetooth, the process should start by turning on the gadget itself and checking the battery charge. Next, a search for devices that support the connection is activated on the computer. Having found a microphone in the list, all that remains is to connect a laptop or computer to it. In this case, the device driver is installed automatically, but you can independently find and download the software module from the official website of the microphone manufacturer.
Customization
The final stage of connecting a microphone is to set up the sound. After displaying the "Control Panel", you need to go to the "Sounds and Devices" menu. Next, the "Audio" section opens, in it - "Sound recording" and, finally, the "Volume" tab. By clicking on the word "Microphone", you can increase the playback volume to the required level. As a general rule, the maximum should be set for quality use. After using the "Gain" function, make sure to save the changes. In the same menu, the elimination of sound defects and interference is carried out using the "Noise reduction" function.
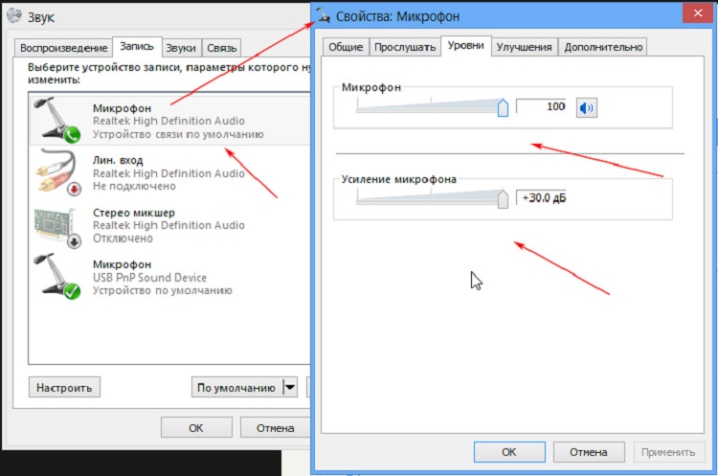
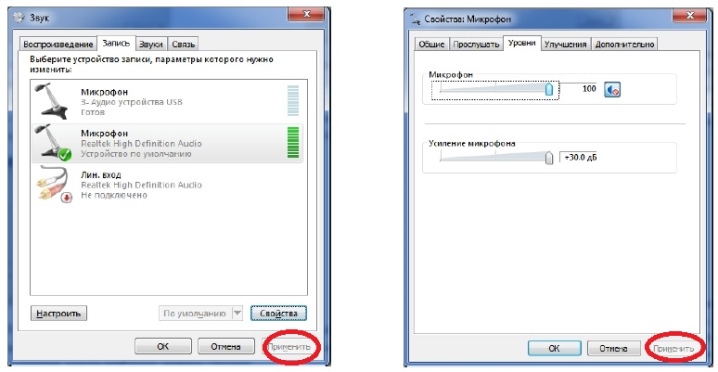
If the microphone is connected to a computer running Windows 7, it is recommended that you also update your sound driver during setup. The easiest way to do this is if Realtek hd is present in the system, by installing the update it will be possible to automatically update the necessary driver. Subsequent microphone setup is carried out as follows. In the "Control Panel" select "Equipment", and then the user follows the chain "Record" - "Microphone". By right-clicking on the word "Microphone", you can see its possible properties.
Having opened the "Levels" section, the video must be pulled up to "100", but if headphones are already connected, then leave it at the "60-70" level.
"Gain" is usually set at the decibel level "20". All updated settings are sure to be saved.
Configuring the microphone in the Windows 10 operating system is carried out according to a different algorithm. By right-clicking on the volume icon, you need to find the "Recorder" section. The "Recording" tab opens the "Microphone Properties" and then displays the "Advanced" section. The checkbox marks the "Default Format" function, and the "Studio Quality" function is also applied. The changes made are either applied or simply saved.
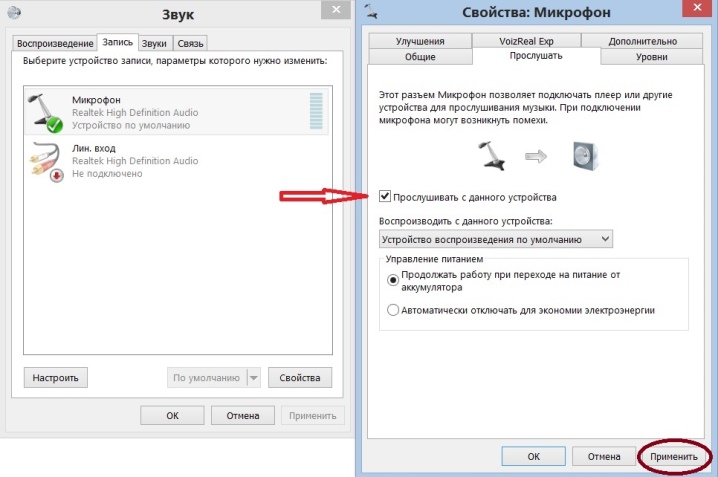
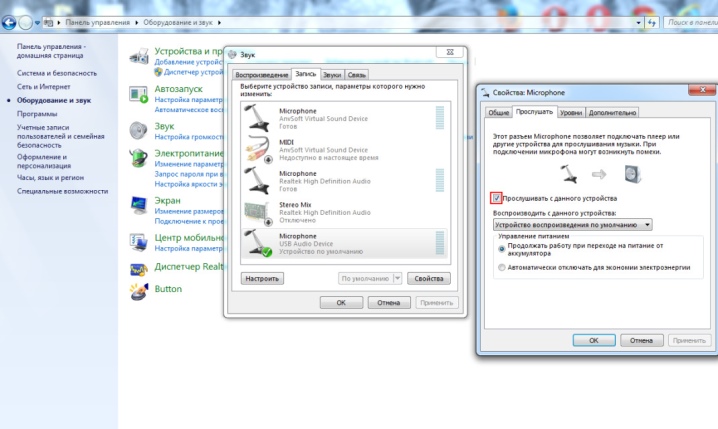
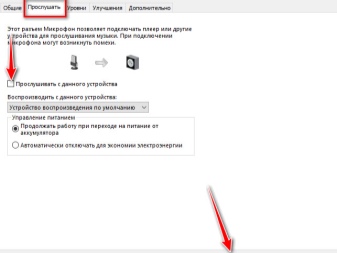
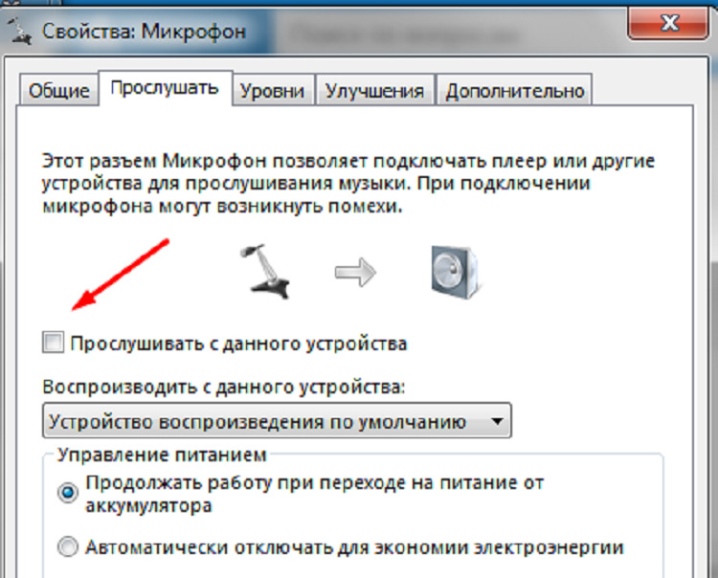
In the microphone settings menu, regardless of the system used, you will find approximately the same parameters and functions. Exploring the contents of the "General" tab, the user can change the microphone icon, its icon and name, as well as find out information about the available drivers. On the same tab, the microphone is disconnected from the main device. The "Listen" tab allows you to hear the sound of your voice, which is necessary for testing the microphone.
The "Levels" tab can bring maximum benefit to the user. It is on it that the volume is adjusted, as well as, if necessary, the connection of amplification. Typically, the volume is maintained at 20-50, although quieter devices will require a value of 100 and additional amplification. Additionally, the microphone defines the recording format, monopole setting and signal processing, which is usually required only for studio recording.Change of settings should always be completed by clicking on the "Apply" button to save.
How to check?
After completing the connection to a stationary computer or laptop, be sure to check the quality of the gadget. This can be done in several ways. The first involves the use of operating system settings. In the main menu of the computer, you must activate the "Control Panel" tab, and then go to the "Sound" section. Having found the "Recording" submenu, you need to left-click on the word "Microphone" and select the "Listen" function.
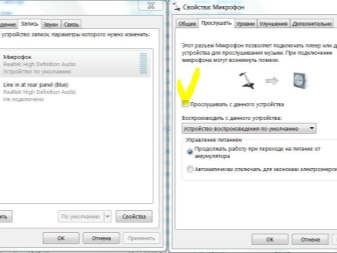
On the same tab, it is important to note the selection of the "Listen from this device" function.
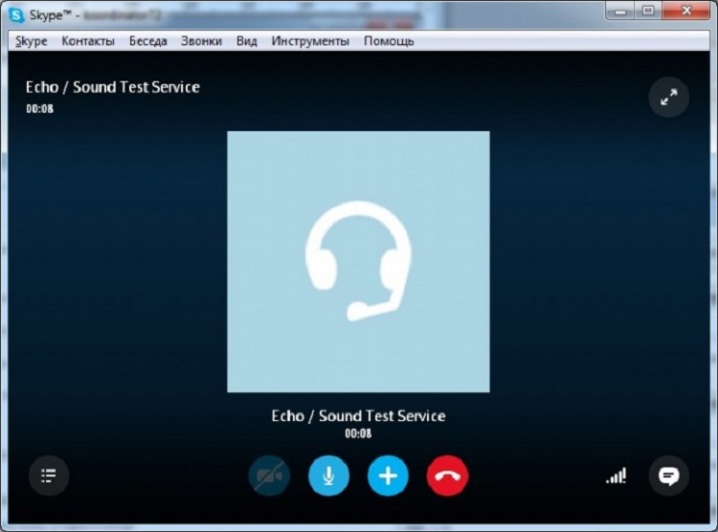
The second method of testing the microphone is to use it to record a voice message. Using the "Sound Recorder" function, you will need to play the resulting audio file, as a result of which it will become clear whether the microphone is working well. In principle, you can also test the gadget using any program that uses audio. For example, you can go to Skype and call the administrator, after which the program will offer to create a short voice message, which will then be read out. If the voice is heard well, it means that everything is in order with the microphone connection.
Recommendations
When connecting a gadget to a stationary computer, it is important to remember that the required connector can be located both on the back of the system unit and on the front. At the back, it is usually bordered by the same 3.5 mm jacks for headphones and multichannel acoustics, and at the front it is located next to the USB ports. In all cases, you should focus on the pink color of the connector, as well as on a small image of the microphone itself. Choosing between the front and rear panels, experts still recommend giving preference to the second one, since the front one is not always connected to the motherboard.
To accurately check the connected microphone through the "Recording" tab, it is recommended to look at the scale located to the right of the image of the connected device. If the stripes turn green, it means that the gadget perceives and records sound, but if they remain gray, this means that the microphone on the laptop is not working.
How to connect a microphone to a computer, see below.


The comment was sent successfully.