How to make a broom with your own hands?
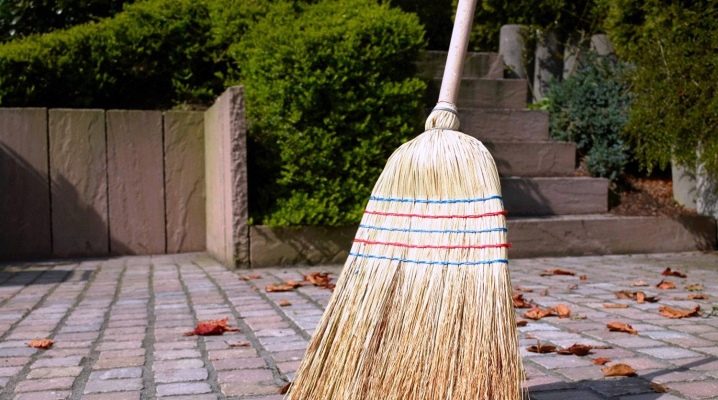
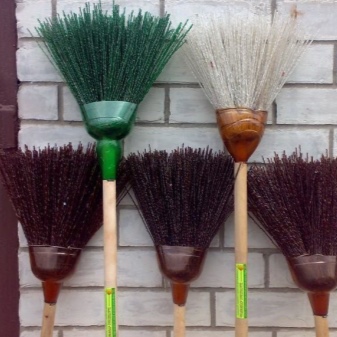
Today there is not a single person who does not have plastic bottles at home. For many people, especially creative ones, they have become the starting point for creating beautiful crafts. People with an economic streak went even further. They figured out how to make good use of plastic. The most popular idea was a plastic bottle broom. It will take no more than two hours to create it with your own hands from a home craftsman. Components for useful inventory can be found in a matter of minutes, and everyone can assemble a broom.

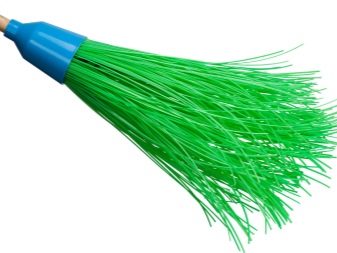
Materials and tools
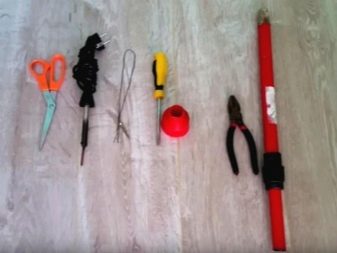
Before starting work, you need to prepare accessories for a homemade broom and tools.
You will need the following:
- plastic bottles (from 1.5 to 3 liters);
- wooden handle;
- strong wire;
- nails or screws;
- knife;
- awl;
- hammer or screwdriver;
- scissors.
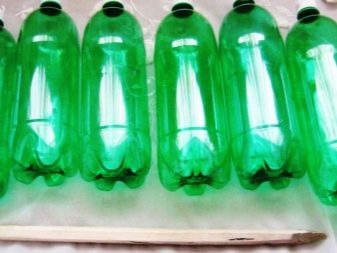
Bottles can be of any capacity, except for 5 liter eggplants. Before starting work, you should pay attention to their condition. They should not be wrinkled, have any bulges or depressions. It is better to choose standard flat bottles. It should be noted that the wall thickness of the bottles may be different. For example, pubs will be thicker, and from under mineral water or lemonade - softer and thinner. The volume of the container also affects the density of the material - large bottles have thicker walls.
The number of bottles in a panicle can be from 7 to 18 pieces. The more there are, the higher the performance properties of the homemade tool will be. You can use a variety of colors of bottles to make your broom look attractive. You will get an original tool that cannot be found in the store.

Making a broom
Let's consider step by step how to make a broom from 18 bottles.
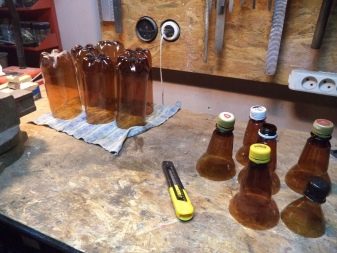
- Bottles need to be prepared: rinse, remove labels and allow to dry. We take only 17 bottles to work, we set one aside for now.
- Cut off the bottom of the selected plastic bottles. Then, with a sharp knife (you can use a clerical one), we cut them lengthwise into strips 0.5 cm wide. We lead the hand from the bottom up. We do not cut it to the end, leave about 6 cm to the neck of the container.
- You need to work very carefully, since the plastic is soft, the tool can slip off at any time, and you injure your hand.
- You should get 17 cut blanks. Then we cut off the necks of sixteen of them. One remains with the whole upper part.

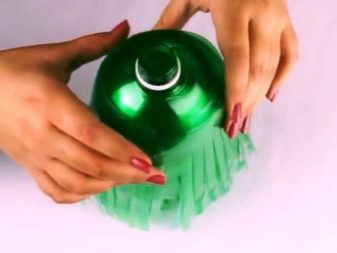
- On a container with a whole neck, we put on the resulting cut blanks, in which the upper and lower parts are cut off.
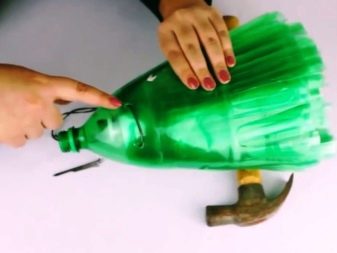
- The turn came to a whole bottle. We cut off the upper part of it, stepping back from the throat about 15 cm. The lower part is not useful to us, it can then be used for other purposes. We put the resulting blank on the base of the future broom already made of 17 bottles.
- With the help of an awl, you need to pierce all the bottles through and through and thread a piece of wire, the ends of which are then tightly twisted.
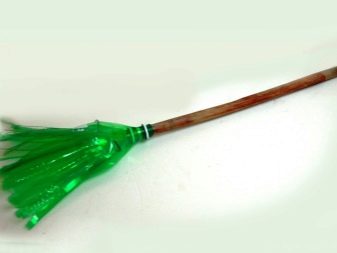
Now we are working with the handle. It will need to be whipped so that it can be threaded through the neck of the bottle. Paste it. The shank should fit snugly. Using a hammer and nails, we fix the handle with the bottleneck. You can use a screwdriver and screws. The broom is ready to go.
How to make a broom brush
There is another way to make a homemade tool. It is made from plastic spirals.
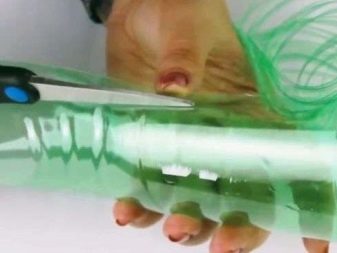
The bottom and top of the bottles are cut off. The necks need to be left, they will still come in handy. The bottom can be thrown away or you can come up with a different purpose for them.Now let's get down to the most important work - cutting the spiral. We use scissors or a knife. The width of the spiral should be 0.5 cm. The work is laborious, as it requires attention and perseverance. It is necessary to observe the width of the spiral when working with each bottle.
To speed up this process, you can make a cutter. You will need a block of wood about 20 cm long and 4x4 cm in size. With a hacksaw, a cut with a depth of 6 cm is cut in the middle. This is the cutting point into which the workpiece is inserted. If you make the cut smaller, then the bottle will not hold, and with a deeper cut, additional effort will be required when cutting.
We retreat 0.5 cm from the bottom edge of the slot. A horizontal slot is made perpendicular to the first slot, 1.8 cm deep. A knife will be inserted here. We insert it into the slot and fix it with screws.
We make an incision on the cylindrical workpiece, marking the beginning of the tape. The length of the cut is 10 cm, the width is 0.5 cm. Now we insert the beginning into the cutter, right under the knife. Hold it (cutter) with your left hand and pull the end of the strip. The workpiece will begin to rotate and a tape should appear from under the knife. The main thing is to act calmly, without growls. It has been experimentally proven that from a 2.5 liter plastic bottle, 17 meters of tape are obtained, from 1.5 liters - 11 meters.
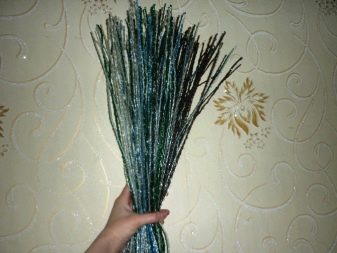
The broom should have hard rods, and the resulting spiral has soft plastic. Therefore, you need to secure the tape. This is done using heat: a burner, a candle, a flame on a gas stove, a blowtorch. Holding the tape in your hands, you need to evenly hold it over the fire. When properly heated, the material will straighten and curl lengthwise. As a result, you should get straight blanks. They must be cut into 20 cm rods.
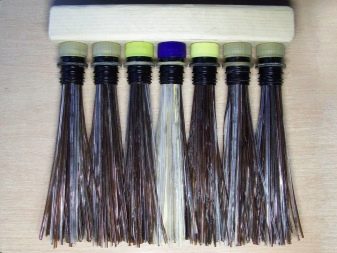
Now it's the turn of making panicles. You will need bottle necks, which must be cut off from the remaining upper part and glue together in two pieces. Cutting is best done mechanically, since the thickness at the throat is dense - a knife or scissors will not cope. An electric jigsaw works best. To make the edge smooth, you can work on the edge with a file or sandpaper.
The result should be a bushing. For gluing, it is best to use Moment glue, but you can also use any other glue that does not have the inscription "Not recommended for PET". Be sure to wait until the glue hardens and the sleeves become one piece. Now we insert the resulting rods into each of them very tightly. To fix the result, pour glue into each resulting broom blank until it solidifies completely. All rods must be tightly fixed. By the way, instead of glue, you can use a tube sealant.
Now you need a base for a future broom brush. This could be the bottom of a brush or mop. You can do it yourself. A bar up to 30 cm long, about 5 cm wide and 2 cm thick is cut from the board.
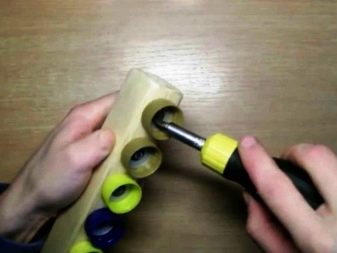
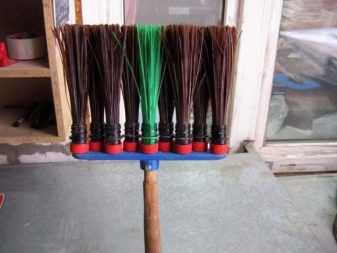
We fasten the covers to the base with self-tapping screws in the "upside down" position. A small gap of up to 5 mm must be left between them. If you screw the plugs in one line, you get a thin broom. If it is a zigzag, then the working area of the tool will double. This means that she can take revenge better.
Then we screw the resulting mini-panicles into these caps. When the whole structure is assembled, you get a broom brush.
Application
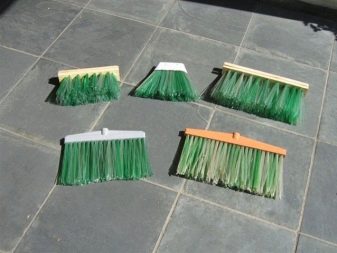
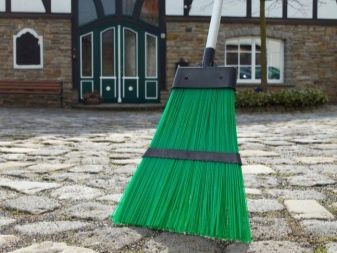
The tool can be used all year round. Experience shows that such a broom can easily cope even with packed snow, which is difficult to remove with a shovel. It is an indispensable tool in the fight against dry foliage, debris and dirt. The broom cleans asphalt and concrete surfaces with ease. By its properties, it is in no way inferior to industrial counterparts - factory plastic brooms. Its service life can reach several years. But the main thing is that it is economical, as it is made of waste materials.It is best to store your homemade broomstick horizontally to avoid kinking the rods, or by leaning the rods up against the wall.
You can find many reviews from home craftsmen who made such equipment with their own hands. Some criticize such crafts, while others praise. Be that as it may, the idea of a broom made of plastic bottles quickly gained popularity among the people.
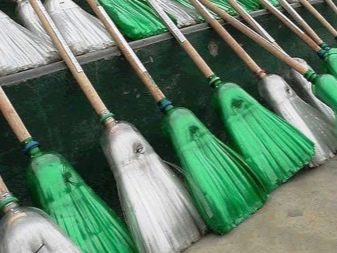
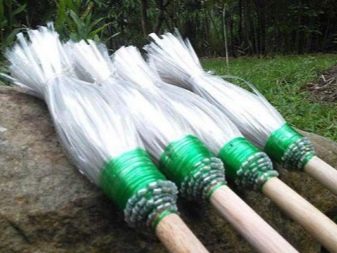
There are many other ways to make your own broomstick. They are made from birch branches and twine, from a bush, from a tree. In any of these cases, natural material acts as a detail. It is estimated that using a plastic broom replaces 100 birch brooms! It turns out that by making a broom with our own hands from plastic bottles, we are saving nature. And the plastic itself, in the form of garbage, causes enormous harm to the environment. Therefore, it will be better for everyone if the unsustainable appearance of the product becomes a useful tool for sweeping the yard and street.
For information on how to make a broom from plastic bottles with your own hands, see the next video.


The comment was sent successfully.