How to tap threads?
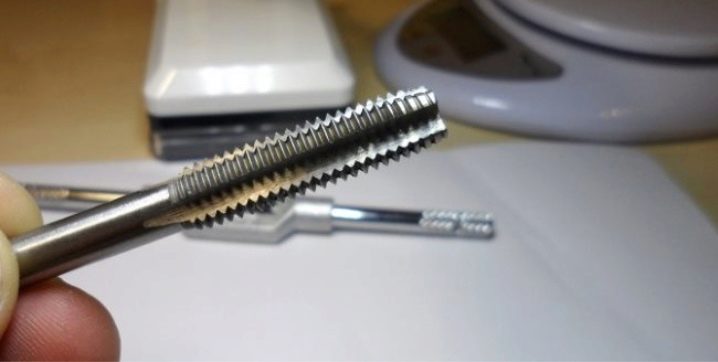
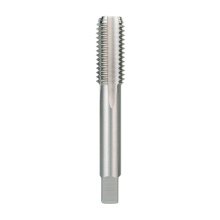
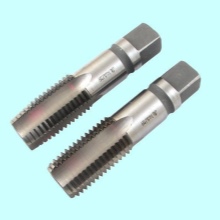
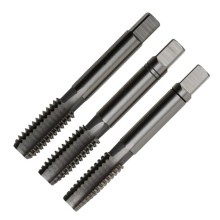
Tapping is available to every home or garage craftsman. For this, it is not necessary to contact a locksmith service center. Watch a couple of video tutorials - and get taps for making internal threads.
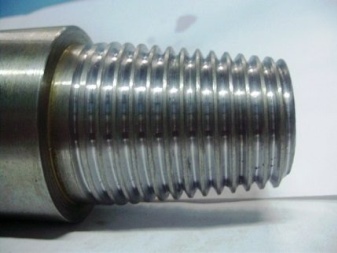
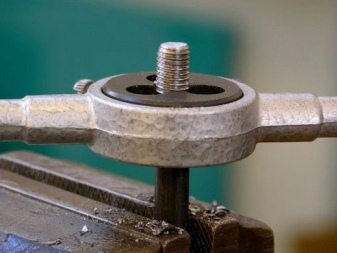
Preparation
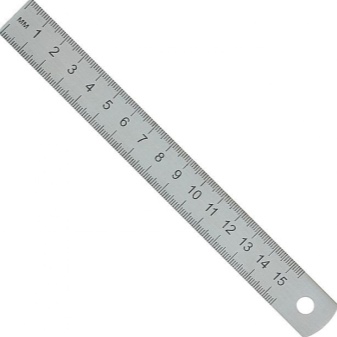
A beginner master can train on scraps of smooth rods or unhardened wire with a diameter of 3 mm or more. The workpiece must be straightened before starting work - too bent will spoil the thread during the cutting process, and, possibly, the tool itself. The workpiece must be flat, like a steel rail. Use a regular school or steel ruler to check for evenness.
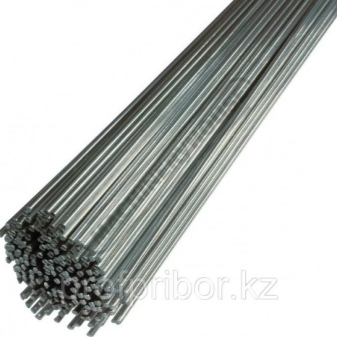
When it comes to cutting an internal thread, then use a pre-drilled workpiece or a piece of pipe (tube) of a suitable inner (not outer) diameter. The use of pipes is regulated by GOST - according to the dimensions of the inner and outer diameters, wall thickness, etc. The larger the inner and outer diameters of the pipe, from which you need to make a screw rack, coupling or other structural nozzle, the better the quality of the thread and the strength of the resulting part. For example, for a stand or a coupling for an M10 bolt, it is recommended to use a pipe segment with a wall thickness of at least 5 mm. This pattern is not linear, since a tube or pipe as such is not much inferior to a rod made of a similar material, for example, steel, and of the same diameter as the outer circumference of the same pipe (tube).
A margin of wall thickness for cutting internal threads is necessary so that the workpiece does not deform, regardless of the way in which the helical groove is cut: manually or using a drill (or screwdriver).
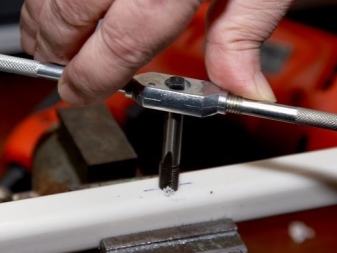
Ideally, the tap rotates without jerks, despite the effort - due to the uniformity of the cut material, the constancy of the thrust of the mechanism (torque). When threading by hand, there can be significant variations in the force applied by the craftsman, but smoothness is critical.
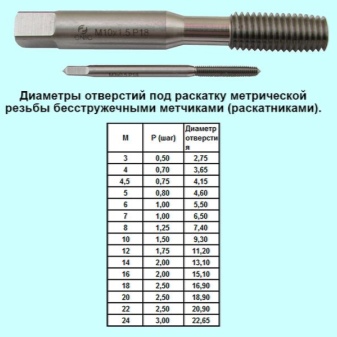
In addition to general requirements, GOST implies an accurate calculation of the inner diameter for threading. The hole diameter for M6 with a 0.75 mm groove assumes drilling the hole with a 5.25 mm drill: the formula is that the thread pitch is subtracted from the diameter of the bolt or stud. For M8 with a thread pitch of 1 mm, the hole diameter will be 7 mm, for M10 - 9, for M12 - 11, for M14 - 13. However, it should be remembered that the width (pitch) of the helical groove also grows with an increase in the diameter of the bolt or stud, therefore for M20, for example, an 18.5 mm hole is made when the thread pitch for the bolt (and the internal thread for it in the workpiece itself) is, for example, 1.5 mm. This is the main prerequisite for achieving a high quality cut.
A specific calculation is used for atypical parts that cannot be replaced with simple construction studs due to the lower hardness and strength of steel. For example, hardened hubs for bicycles, manufactured according to M12, but with a non-standard thread (so that ordinary construction nuts do not fit) of 0.6 mm, provide for making a hole in the trunnion of the bushing mechanism, into which this hub axle is screwed, 11.4 mm, respectively ... Since these parts are delivered to a wide-flow conveyor production, the taps for their cutting are designed for threading at reduced speeds, for example, resembling the stroke of a screwdriver (0.5 ... 2 revolutions per second) at a low speed.
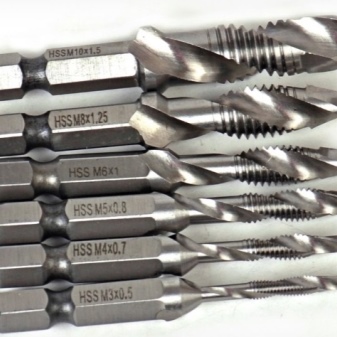
There is also the concept of metric and inch types of threads. They differ in pitch and depth of the helical groove. For example, cutting an internal or external "inch" thread implies not a pointed, but a truncated ridge of the external hole (along the groove) - and exactly the same "groove" of the internal one.It is also necessary to select a tap based on the purpose of the thread, the load on it during tightening.
After picking up the tap, make sure that the drill (or drilling machine) with which you are drilling the holes does not create beats. The mechanism must be perfectly centered, and the drill itself must not be bent or bent. If you do not follow these two important features, you will get “broken” holes and, as a result, poor quality threads. The angle of sharpening of the drill for steel is about 140 degrees.

Do not use a tool with a different sharpening angle, such as wood and plastic.
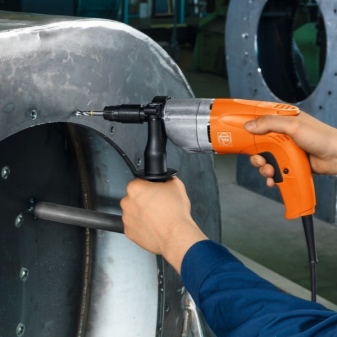
Slicing technology
In order to properly cut the thread with a tap, you must also stock up on, in addition to electrical equipment, the following devices.
- A drill with a larger diameter than the main hole. It removes burrs from the edges of the hole, smoothes this edge.
- Drill screwdriver capable of working at reduced speeds.
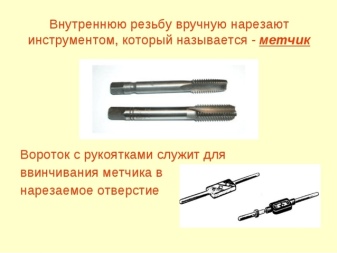
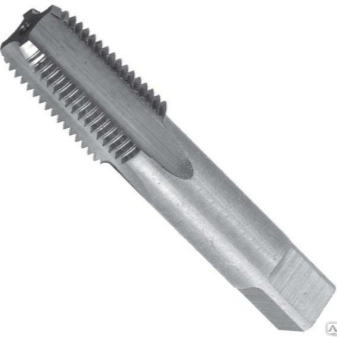
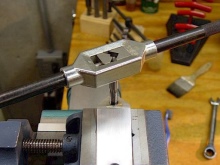
- Manual tap driver. Without it, it would be necessary to clamp the tap into the drill chuck, and this is not always acceptable.
- Locksmith vices. Better if you can fix them on the workbench.
- Core and hammer, machine oil and rags.
- Having prepared all this inventory, they begin the process itself.
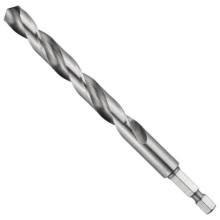
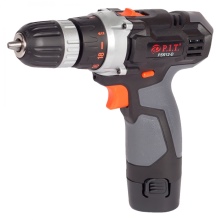
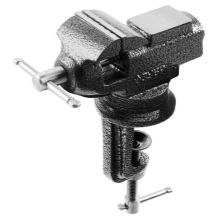
Here's a step-by-step guide.
- Place a hole for future internal threads.
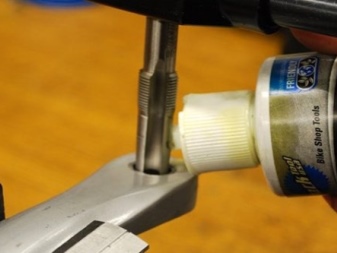
- Apply a little oil to the mark and to the drill itself. Excess friction will be eliminated and the drill will not overheat, which is important for its long service life. If there was no machine oil, then you can apply oil processing, grease, lard or marmot fat, for example. If a more viscous alloy is drilled, for example, stainless steel, then it is recommended to use exclusively engine oil.
- Parts of small dimensions are fixed in a vice - their low weight would not allow them to stay in place. Having drilled a hole, using a drill of a slightly larger diameter, they remove a sharp protrusion on the surface of the part, which makes it possible to give the treated area a more accurate look. You can use a stepped or tapered drill - be careful not to "over-drill": the blunt groove should not go deeper than a millimeter. For holes of 4 mm, you can use "reaming" by 5, for 5 - by 6 mm, for 6 - by 8 mm, for 8 - by 10 and 12 mm, etc.
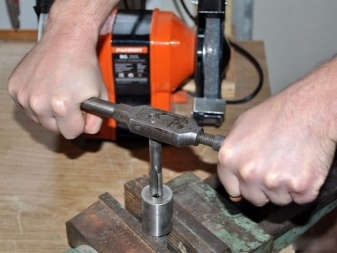
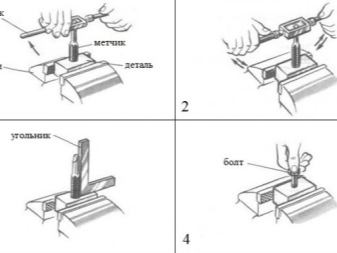
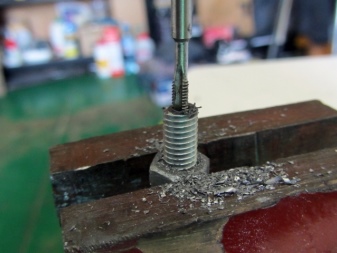
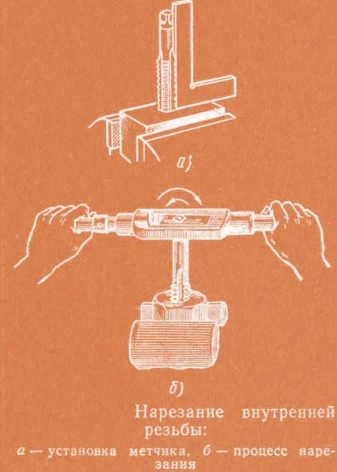
- During the threading process, make sure that the tap moves straight without deviating a degree to either side. Remember to lubricate it and the hole itself before starting work. The cutting rule is as follows: two turns are made in the course of threading, one is back. It is unacceptable to advance the tool only in the forward direction, since due to increased friction and pressure, the working helical groove may become dull, despite the relative hardness of the tool steel, and the tap will immediately work worse - it will be much more difficult to form. The smallest chips formed during groove cutting in the workpiece should leave the cutting part: if this is not done, then, according to the laws of physics, the load on the tool will increase. The increased hardness of conventional steel, in which the helical groove is cut, requires more oil.
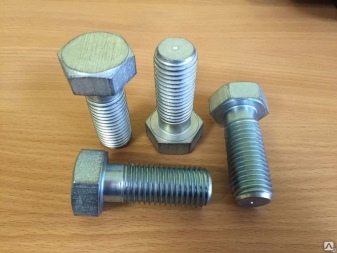
- If all of the above conditions are met, the result is a free and easy screwing of the pin or bolt into the just “cut” hole.
Before testing the quality of performance, flush the inner walls of the hole for traces of sawdust and used oil before relubricating it.
Precautionary measures
Do not use a drill or other power tools for threading. An exception is a universal drilling machine, whose revolution is adjustable up to 0.3 per second, and which also has a reverse (reverse rotation) function. A simple drill can be damaged, just like the tap itself.
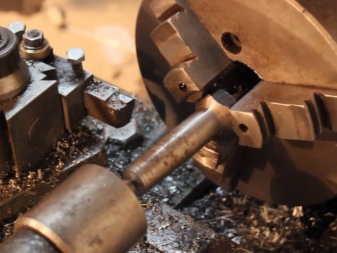
It is not recommended to deviate from the vertical and perpendicularity when drilling, otherwise the drill will break. If the same is done with the tap, then it can be bent, and the centering given to it at the factory will be violated. You can straighten the tap only using a lathe or drill as a guide. However, an imperfect, slightly curved tap immediately leads to a poor-quality internal thread in the workpiece - the bolts and pins are hard to turn or refuse to screw at all regularly.
Useful Tips
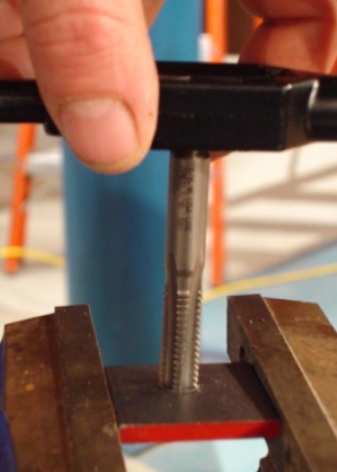
Set up an even corner before starting work. Use a square ruler to control the evenness of the tap. While it has not sunk yet, there is a chance to correct its non-perpendicular position. The first 4 turns must be checked for straightness of the tool stroke.
To remove stuck chips, periodically unscrew the tool over the newly tapped thread. The adhered metal dust, clogging up, although it is mixed (steel particles move relative to each other) with the help of oil, must be removed. If there is a lot of it, and the tool is much heavier, then unscrew the tap and wipe it, clean it from dust. The same rag can be driven into the hole by rotating it: imagine that this is a bolt - it plunges inward along the thread, collecting shavings with oil residues. After cleaning the hole and tool, apply a little oil and continue working at the above cycling rate. After completing the threading - when the desired length has been passed or it is "cut" entirely - flush the hole, for example, with gasoline. Now the bolt or stud can be screwed in freely, without unnecessary effort.
Form and process the following holes in the same way.
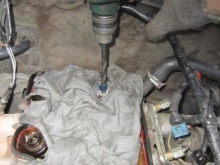

A screwdriver can be used if there are many holes - dozens, and the power tool itself will provide both a reverse stroke and ultra-low speed. You can use a reducer adapter to reduce the speed several times more, but such a device is rare, you can buy it only in specialized stores or order from China. In a short time, using a low-speed mechanism, the machine can be cut into any metal or alloy a decent number of seats for mounting bolts and studs. Especially sophisticated craftsmen use a CNC drilling machine - it allows you to prepare dozens of holes in an hour, which makes it possible to put installation and locksmith work (tasks) on the stream.
Non-ferrous metal, including aluminum and alloys based on it, is relatively easy to cut. Copper materials such as brass and bronze also do not require taps with a hardness value higher than 61 on the Rockwell scale. Carbide taps (61–63 units) are the domain of only most steels, including black.


The comment was sent successfully.