How to install furniture hinges?
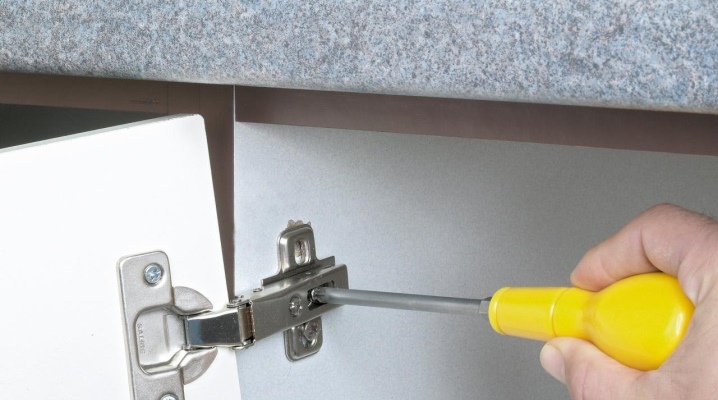
Often, after buying new furniture in the process of assembling it, the question arises of how to hang the hinges on the cabinet doors. At first glance, this task is simple, but how comfortable it will be to use the furniture depends on how to complete it. In addition to convenience, the correct placement of the hinges also determines how the furniture facade will look - how exactly the cabinet doors will fit together. In order not to be mistaken when installing fittings, you need to know some of the subtleties associated with the installation of furniture hinges.
Tools and materials
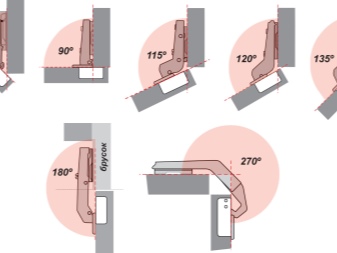
It is impossible to assemble a cabinet without installing various types of hinges on its doors. Most often, during assembly, an overhead-type furniture hinge is installed. This is the simplest design of fittings, in addition to which there are also semi-overlaid types, corner and internal hinges, options with a closer, as well as spring mechanisms.
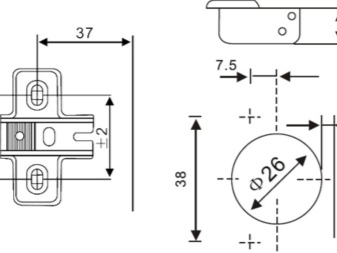
The most common four-hinge overhead hinge, its size varies, but usually fittings are used for furniture with a cup diameter of 35 mm.
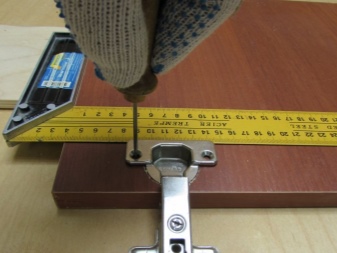
The hinge consists of 3 parts: a cup, a mounting strip and a shoulder lever. The hinge cup is fixed in a special recess made on the seamy side of the door, while the mounting strip is attached to the cabinet structure itself. The shoulder arm is the connecting piece that mates the cup and mounting plate.
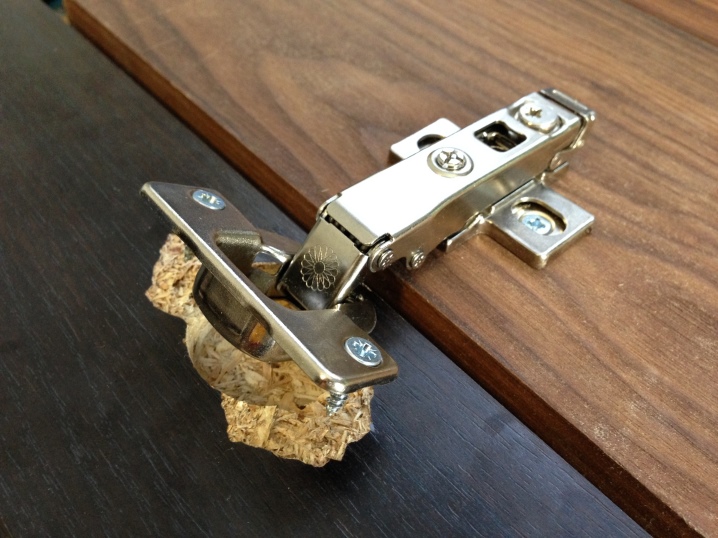
To assemble the cabinet and install furniture hinges, you will need to stock up on the following types of hand tools:
- Phillips screwdriver or screwdriver bit;
- screwdriver;
- a set of furniture hardware;
- Ruler and pencil;
- cutter for woodworking with a diameter of 35 mm;
- building level.
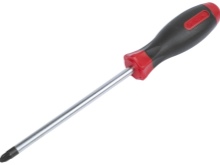
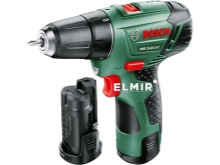
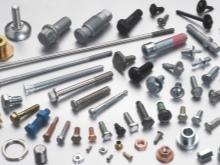
You will need to fix the furniture hinge using special screws, which must be screwed into the marked holes to install the hinge cup and its plank. A special built-in adjusting screw will help to adjust it after installation. If you count how many attachment points are in the furniture hinge, then the result will be at least 6 fasteners, each of which must be installed correctly and in its place.
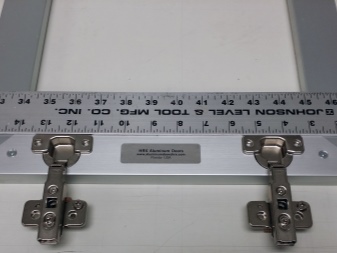
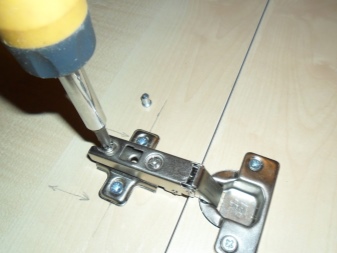
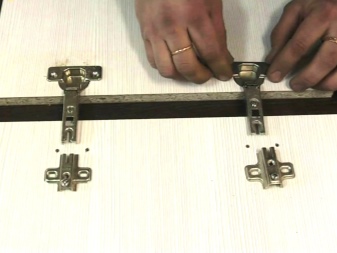
Making the markup
Before starting the installation of furniture hinges, it is necessary to carry out the markup. This stage is very important, since the result of all the work depends, among other things, on him. A hinge installed on a hinged cabinet door will not work correctly if screwed on with a bias. In some cases, installation errors cannot be fixed.
To mark the hinge attachment points, you need to take a ruler and pencil.

The order of the markup is as follows:
- first of all, you need to determine the number of hinges required - it depends on the weight of the door, it is usually enough to put 2 hinges, but if the door is heavy, the number of fasteners can be 3, 4 or 5;
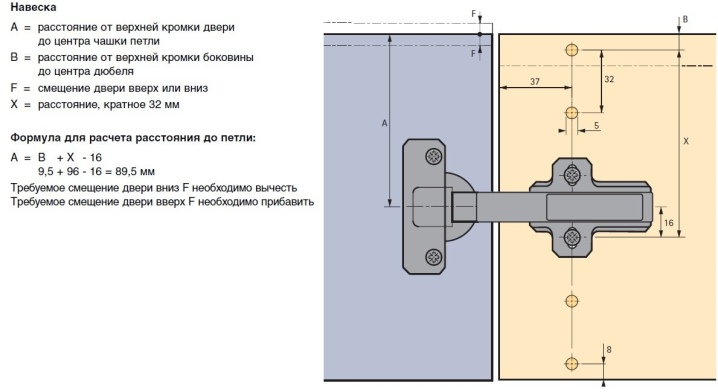
- the hinge mechanism is not recommended to be placed very close to the edge of the door facade, the indent should be at least 2.2 cm;
- the distance between the hinges should be no more than 50 cm; when installing heavy doors, this size can be reduced;
- from the upper edge of the door facade, as well as from the lower, it is necessary to measure 12 cm;
- when marking, it is necessary to take into account the location of the shelves - the marking is done so that the hinge is not located in the same plane with the shelf, as this will interfere with the tight closing of the door.
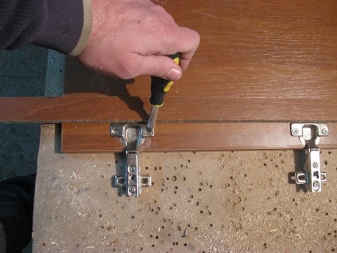
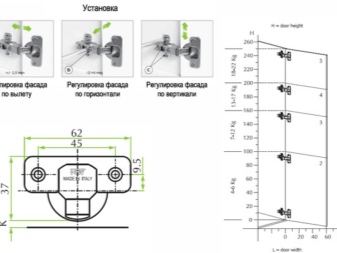
After the indents are measured, it is necessary to attach the hinge to the door and mark the places for placing the screws. At the end of the marking process, all the distances should be measured again - you need to make sure that they are correct.
We drill a hole
The next step in the installation of furniture hinges is to prepare the holes for screwing in screws. The holes are made using an electric drill and a small thin drill according to the markings made. In addition, to install the hinge cup, you will need to use a special cutter - with its help, it will be necessary to make a round hole in the door leaf with a depth equal to the depth of the hinge cup. The milling cutter must be chosen designed for woodwork - otherwise, traces of deformation may appear on the outer side of the facade, and material chips may appear on the inner plane.
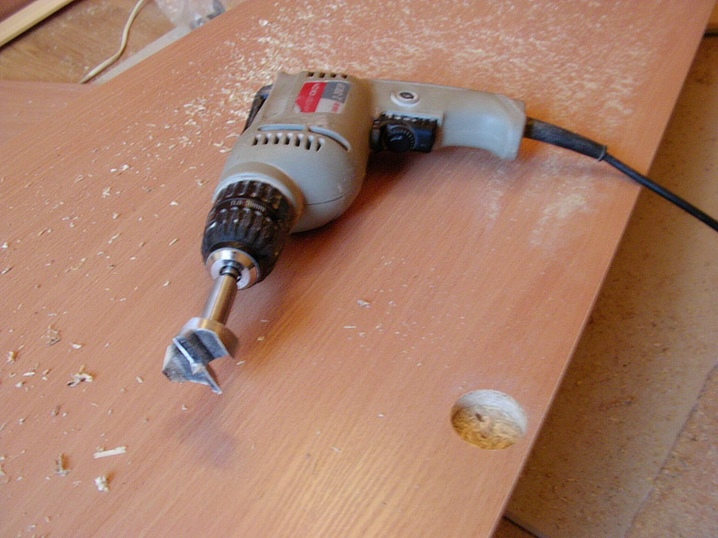
To drill a hole, the cutter must be sharply sharpened - only in this case you can be sure that it will not damage the door material. To work, you will need to fix the cutter in the chuck of an electric drill. The tool is brought to the markings on the door leaf, placed in a strictly perpendicular position, then the drilling process is performed at low high-speed revolutions of the power tool. The hole depth is made no more than 12-13 mm. It is necessary to constantly monitor the process of the tool, without increasing the speed of rotation.
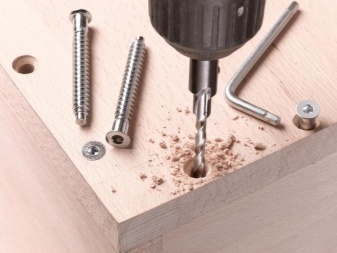
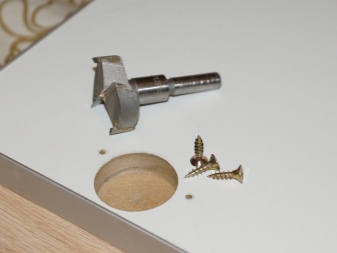
If you do not adhere to this rule, then chips can form on the canvas, and the cutter can go right through the furniture door.
The use of a router requires some experience, so if this is your first time using such a tool, you must first try your hand at a piece of rough wood. Only after understanding the specifics of the process, you can proceed to drilling the furniture facade.
In order to make the fastening holes for furniture screws correctly, you must follow the recommendations of specialists:
- when drilling holes for fastening a furniture hinge, it must be remembered that any of them cannot exceed 13 mm in depth;
- the diameter of the holes must correspond to the size of the hinge fasteners;
- work on drilling holes must be performed carefully and only at low speeds of an electric drill, constantly monitoring the process;
- having completed the first hole, you need to proceed to the second, and then to the next one - continue this way until all of them are completed.
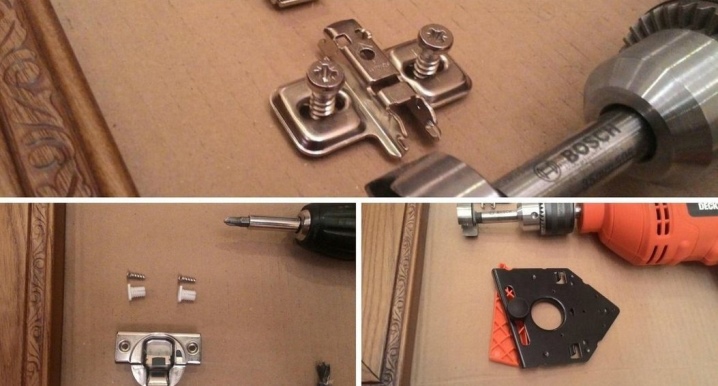
The drilling speed also depends on the density of the material.
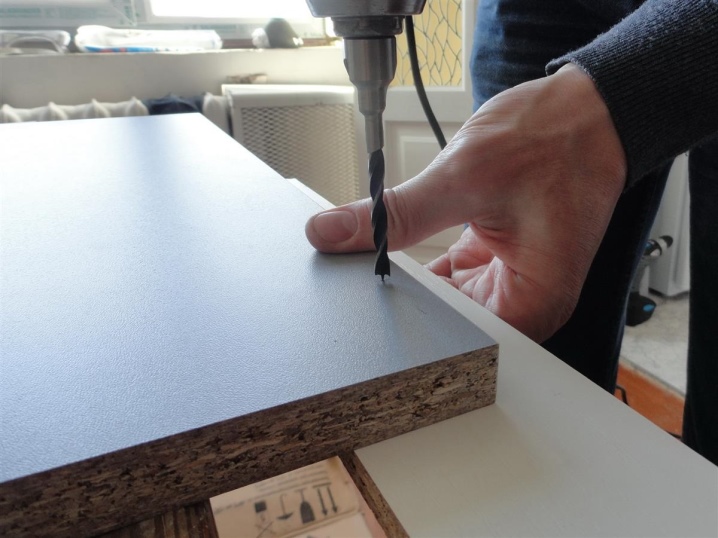
For example, if the furniture doors are made of pine or birch, the drilling process is easy and quick, while ash, oak or walnut is quite difficult to drill due to the high density of their wood. During work, it is necessary to ensure that the drill is at a right angle to the working surface at all times - if you are drilling dense wood, the tool can easily deviate from the drilling path specified for it.
Installing the loop
When the furniture is being assembled, it is best to install the fixing hinges first on the doors, and then proceed to their installation on the cabinet. This is explained by the fact that the door is the most mobile connection, and it will be right if you start installation work from this element. With this method, you will greatly facilitate the assembly process for yourself if you decide to screw the door to the cabinet with your own hands. In this case, the door must be mounted in such a way that during operation it is open 45 degrees.
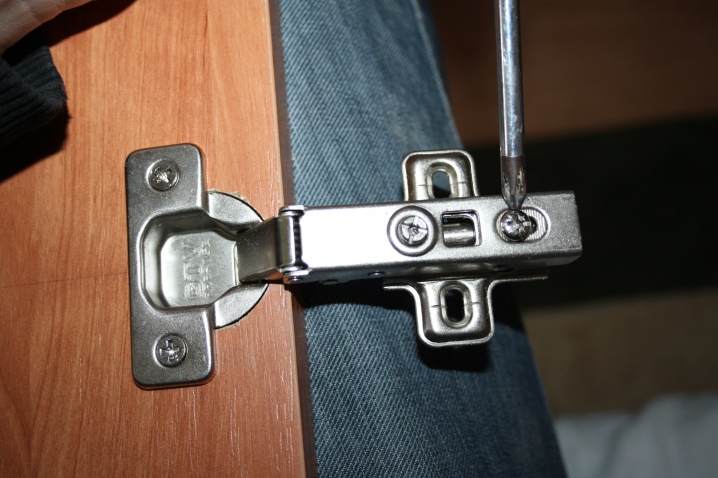
First of all, a hinge cup is installed in a round hole, and then it is necessary to adjust the position of the hinge in relation to the facade. The hinged doors should fit snugly against the façade, but if no adjustment is made during installation, the door will start to open or its placement will be uneven. The next step, when the cup is installed, will need to fix the door to the cabinet:
- holes are marked for mounting the mounting plate;
- the mounting plate is secured in place with furniture screws;
- attach the door to the plane of the cabinet and connect the hinge;
- fix all the screws, tighten them with a screwdriver;
- adjust the door with the adjusting screw and screwdriver.
For the convenience of installing the doors, it is best to put the cabinet on a flat horizontal surface.
This arrangement makes it easier to fit and adjust the furniture fittings.
Adjustment
The process of adjusting furniture hinges is the final stage. It is carried out in several directions.
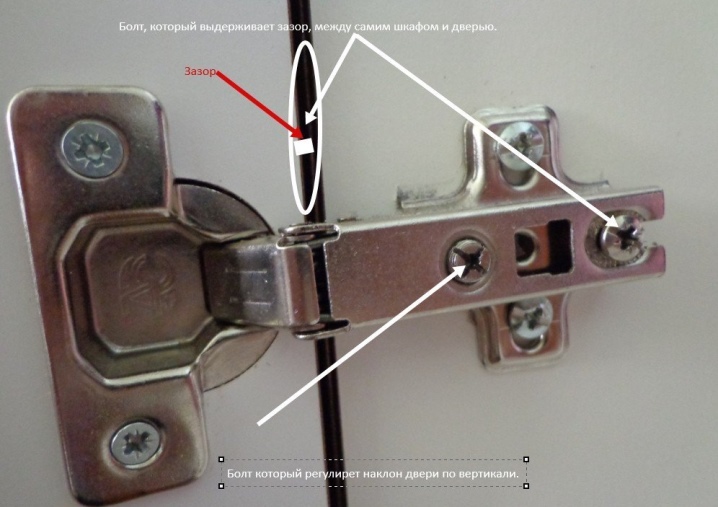
- Correction of the installation of hinges in relation to the depth - this adjustment will help to draw the door to the cabinet body as much as possible. To this end, an oval-shaped hole is found on the hinge - with the help of twisting, the pressure of the door on the cabinet can be strengthened or, on the contrary, weakened.
- Correction of loops in the vertical direction. With its help, you can move the door relative to the cabinet frame up or down, aligning their position relative to each other.
- Correction of loops in a horizontal position. With this adjustment, the door can move freely when opening or closing. The main purpose of the adjustment is to eliminate gaps between the door and the cabinet if the furniture is installed on an uneven floor.
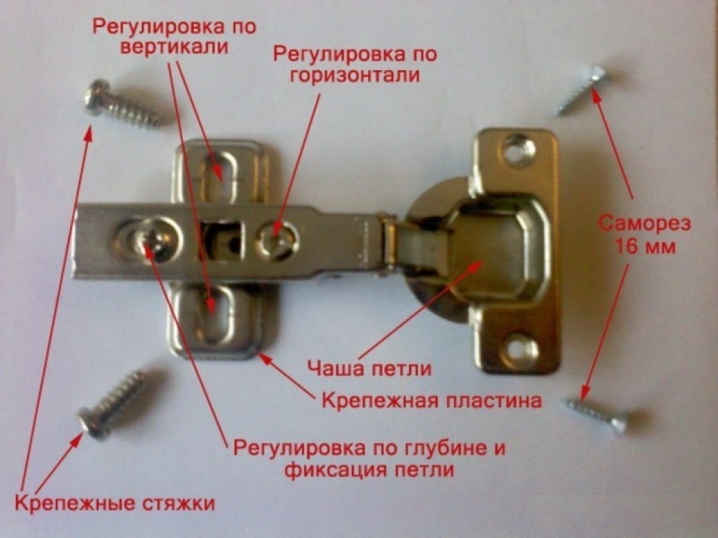
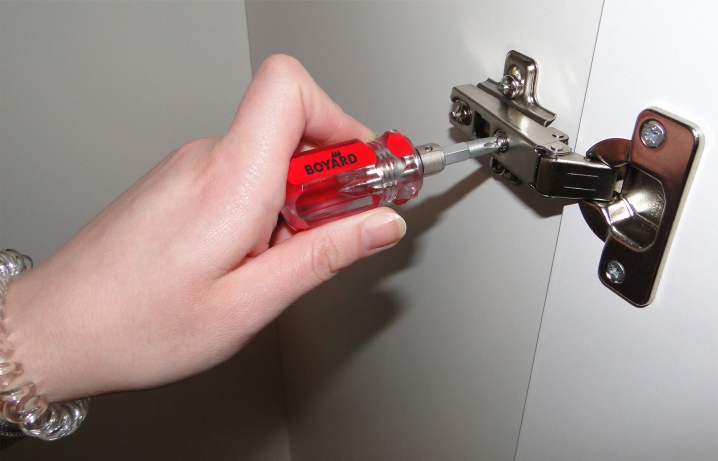
The procedure for adjusting furniture hinges on an assembled product is a rather laborious task. During its execution, it will be necessary to tighten and unscrew the same screws several times in order to get an idea of how the door moves relative to the plane of the cabinet. The correction procedure must be carried out until the door leaves are perfectly aligned with each other and the cabinet. Experts recommend doing this process with a Phillips screwdriver. In this case, it is impractical to use a screwdriver, since during repeated manipulations the screw head can be torn off or erased. Once the adjustment has been made, the cabinet doors will open and close without hindrance.
How to install furniture hinges, see below.


The comment was sent successfully.