How can raspberries be propagated?
Raspberry is a common berry bush, you can find it at any dacha. This culture grows in one place for 8-10 years, after which it needs to be updated and transplanted. We will tell you how to properly propagate raspberries in our article.
Fundamental rules
There are many techniques for breeding raspberries.
Regardless of the choice of technology, a number of rules should be followed.
They provide a complete planting material.
- Use only healthy mother bushes. Feel free to discard those who are sick, weakened or significantly lagging in growth.
- It is better to take seedlings from bushes with abundant fruit formation, intact foliage of a rich green color and powerful stems.
- The scorching rays of the sun are harmful for raspberries, so it is better to plant young plants in areas with diffused light.
- This crop grows best in slightly acidic soils saturated with nutrients.
- Do not plant young raspberries in the lowlands, where moisture accumulates during rain and melting snow.
- Keep in mind that raspberry shoots bear fruit for no more than 2 years, after which they die off.
Propagation by cuttings
Summer residents use a variety of methods of planting raspberries. The most popular is the vegetative type of division through cuttings.
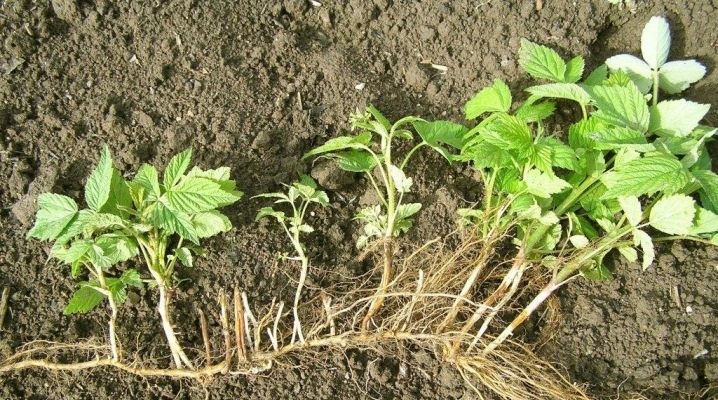
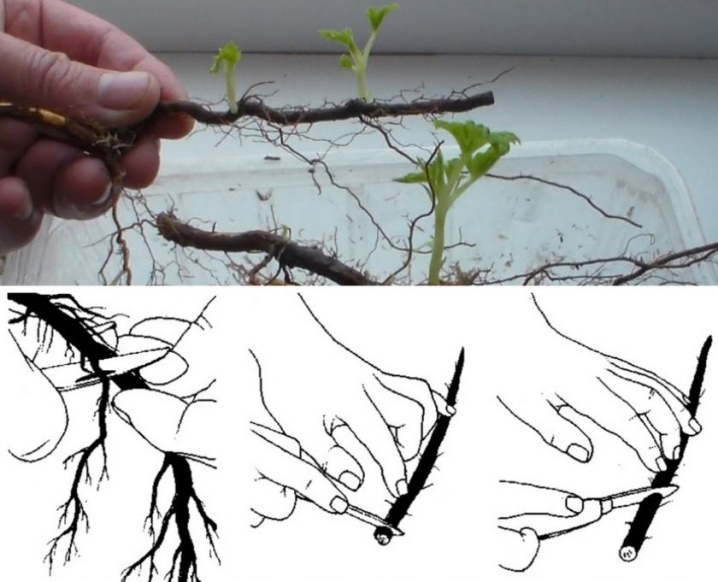
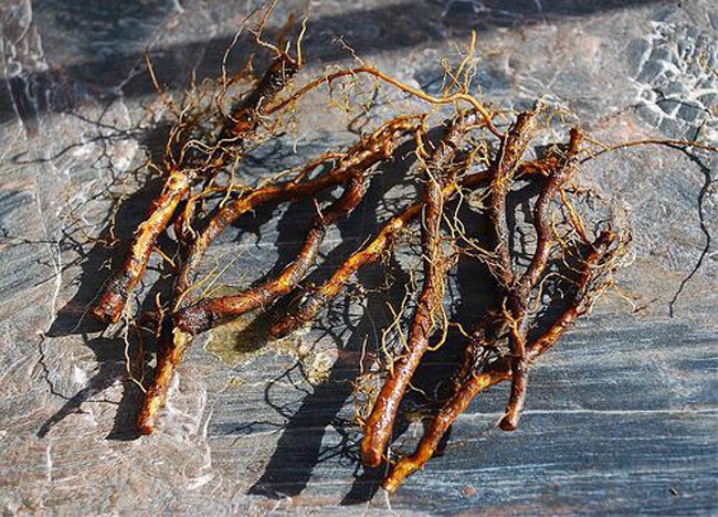
Root
The root system of raspberry bushes grows rather quickly from the mother bush. This can be compared to the formation of weeds. In this case, buds are formed on the roots, from which young shoots grow.
They are considered one of the most effective planting materials and provide plant survival at the level of 70% or more.
You can determine the root cutting of the common garden raspberry by the following criteria:
- length is 12-15 cm;
- thickness - from 2 to 5 mm;
- number of kidneys - 1-2 pcs.
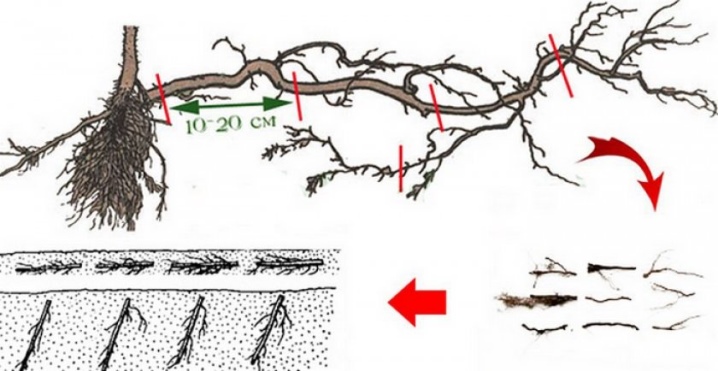
The sequence of actions is as follows.
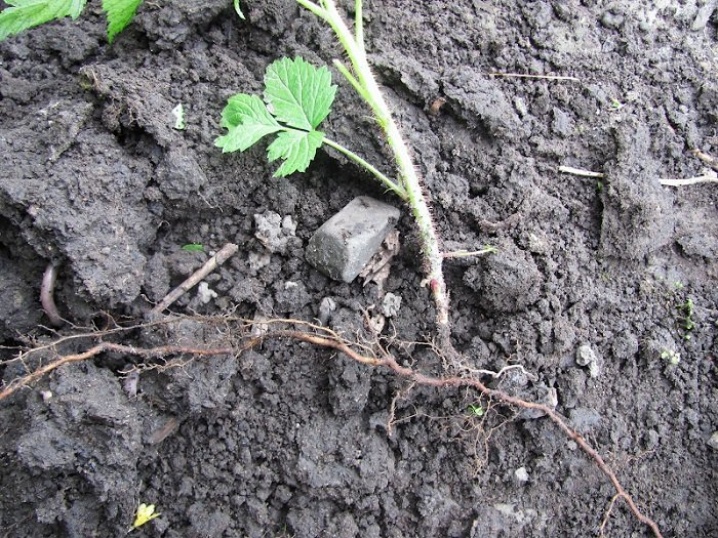
- Dig up the soil, stepping back from the mother bush by 35-45 cm.
- Separate the strong lateral shoots from the main rhizome and carefully remove them from the soil so as not to damage the thin roots.
- Place the resulting planting material in the grooves prepared in advance. Their depth should be 10-15 cm.
- Sprinkle with substrate and moisturize liberally.
- Cover the bed with plastic wrap to create a greenhouse effect. This will speed up the appearance of green shoots. When you spot young growth, the cover will need to be removed.
If the weather is cool outside, it is better to plant the cuttings in boxes and place them in a greenhouse. The height of the container should be 20-30 cm, a mixture of river sand and peat in a ratio of 1 to 1 is used as a substrate. The plant is placed in open ground in the second half of May, when the threat of return frosts has passed, and the weather becomes stably warm.
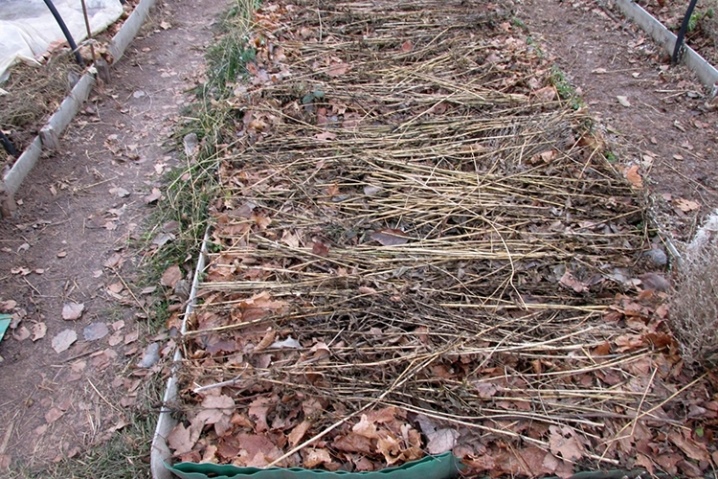
With the autumn type of propagation by root shoots, the sequence of actions is slightly different.
The cuttings are placed in a trench, covered with earth, and covered with leaves or sawdust on top. Alternatively, you can plant the cuttings in containers filled with river sand and send them to the cellar for the winter. Planting material should be stored at temperatures between 0 and 4 degrees.If it is colder, the shoots will die, and if it is warmer, they will release shoots much earlier than required.
The survival rate of such cuttings, planted in spring and autumn, is 80%. The optimal age of parent plants in this case is 3-4 years. The first fruiting begins 2-3 years after planting.
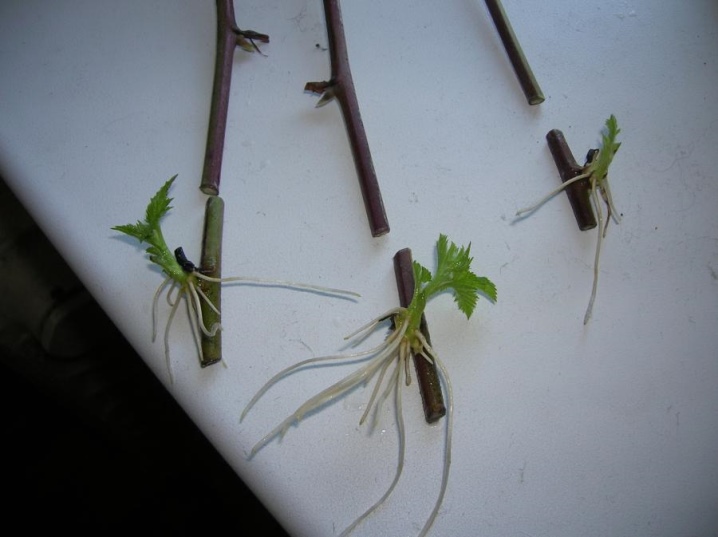
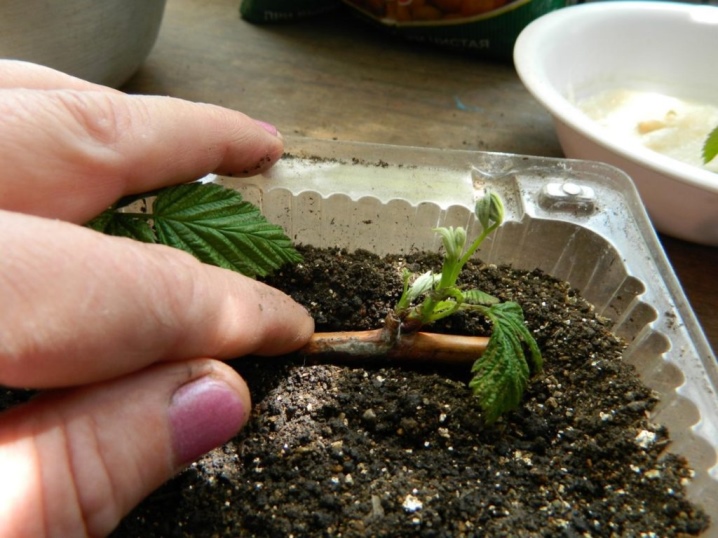
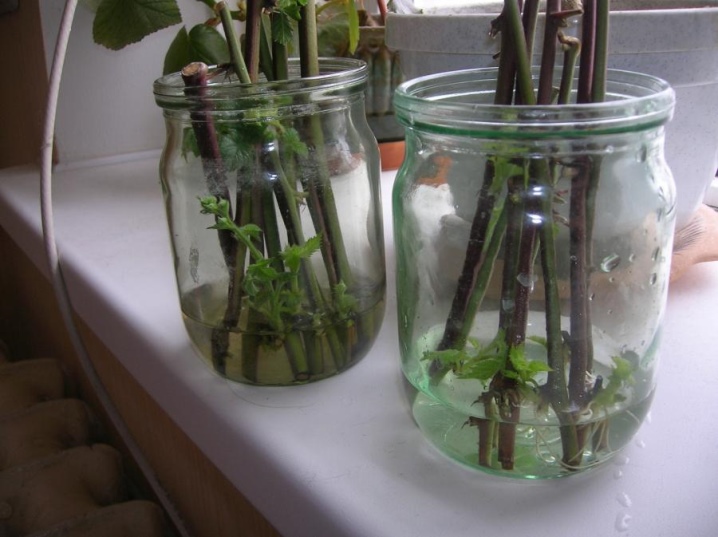
Green
Breeding with green cuttings is carried out only in the summer. It is best to do the work before sunrise or after sunset.
If you only have daytime hours at your disposal, then it must be an overcast day.
The sequence of actions looks like this.
- Cut off the green shoot at ground level and cut it into separate pieces 8-10 cm long.
- The prepared material is placed in a solution of "Kornevin" or another growth stimulator for 10-12 hours. In this case, the temperature of the solution should be 18-22 degrees, otherwise the cuttings will not be able to take root.
- Then you need to land the blanks in the trench. Usually, such reproduction is carried out at the end of summer, on the eve of a cold snap. Therefore, it is best to place the cuttings in a greenhouse. If you are planting in open ground, the bed should be additionally covered with foil.
- After 10-14 days, the plants need to be fed. To do this, use manure diluted in water in a ratio of 1 to 10. After another 1.5-2 months, seedlings can be transplanted to their permanent place. The crop on such a raspberry bush will appear in the second year.
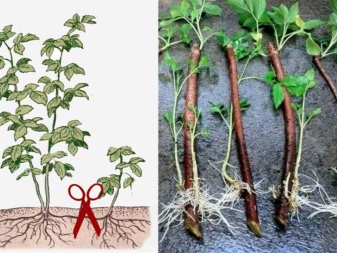
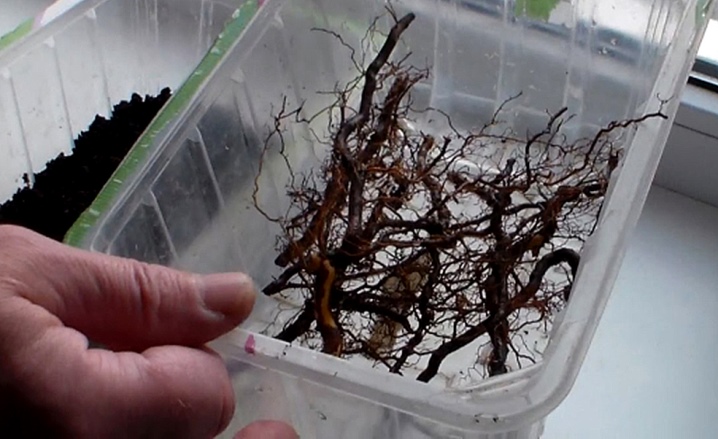
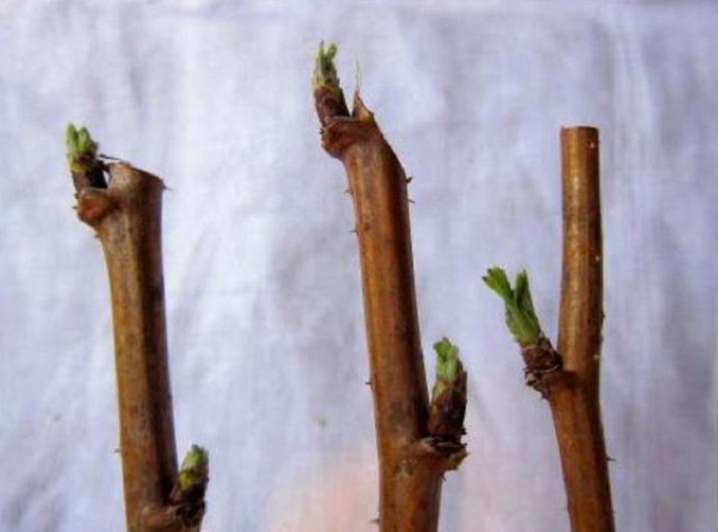
Lignified
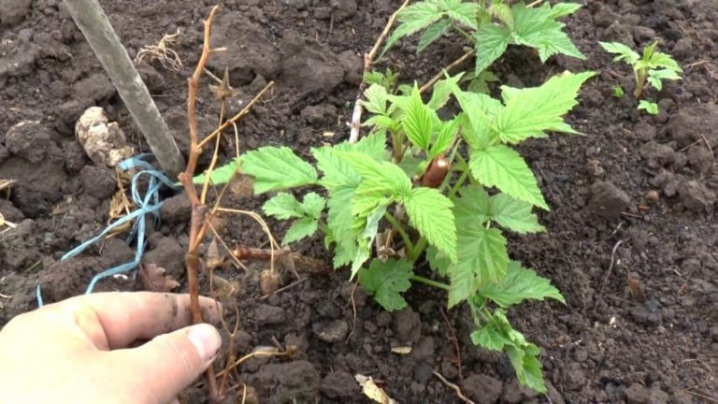
This method of dividing is relevant in the autumn after the foliage falls, when the stems acquire a brown tint. Lignified cuttings are formed on the roots of the adventitious buds.
Shoots located at a distance of 30-45 cm from the parent plant become a suitable material for breeding.
It is necessary to act as follows.
- In the first decade of September, carefully cut off all lignified cuttings of the raspberry bush with pruning shears.
- Divide each workpiece into pieces of 20-30 cm.
- Wrap the planting material in canvas and place in a container with moistened sand. Place it in the basement or cellar.
- In mid-February, renew the places of the lower cuts and soak the planting material in cool water for 10-12 hours.
- Prepare honey water at the rate of 1 tsp. honey per liter of water. Mark the cuttings in it, and after a month the roots should grow.
- When the roots reach 1 cm, place the blanks in a container with soil.
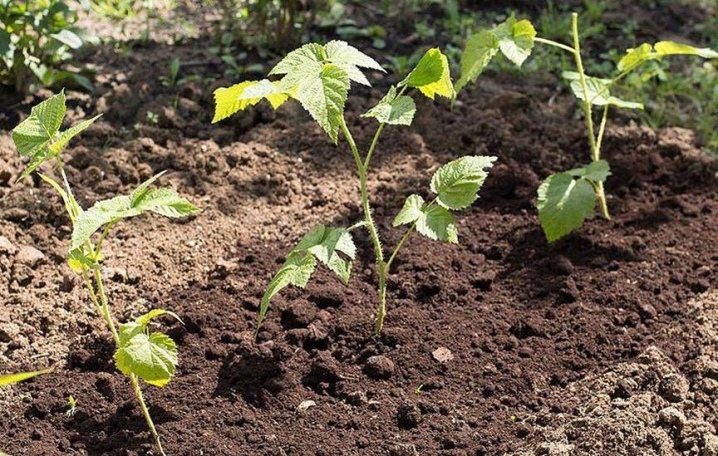
- Prepare wide planting holes, place seedlings in them and carefully sprinkle the roots with soil.
- In the future, you only need to regularly water it. However, be careful not to overdo it. Otherwise, the seedlings will start to rot.
- After 3-4 weeks, when the seedlings are fully rooted, the first leaves will appear on them.
- Planting in open ground is carried out in May, after the threat of return frosts has passed.
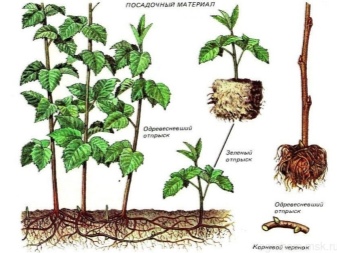
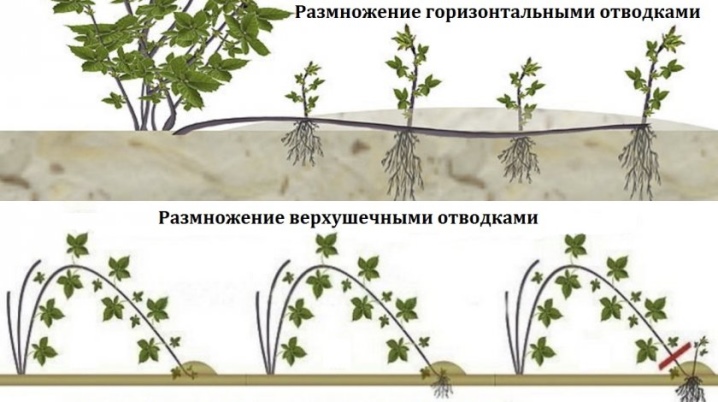
How to propagate with apical layers?
In agricultural engineering, layering refers to the tops of long stems of fruit shrubs, which, due to circumstances, bowed to the ground and put down their own roots. In spring, they are separated from the parent bush and, together with the earthy clod, are moved to a new site.
This method is especially effective for breeding black and purple raspberries.
Let's see how to propagate by layering.
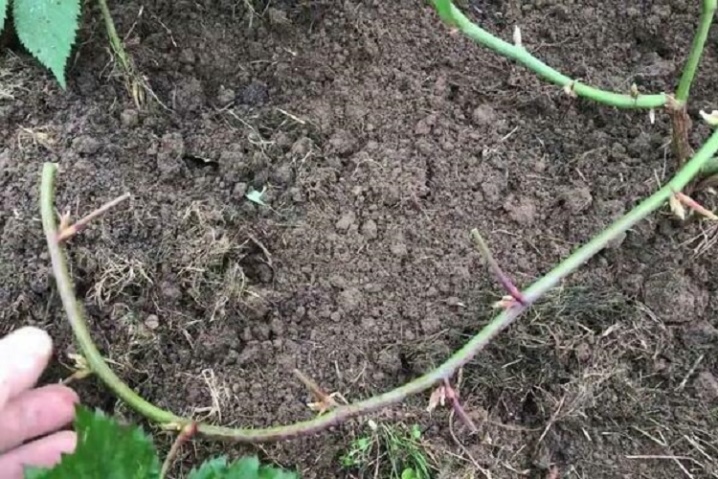
- Start reproduction in May. Pick up the thinnest, most flexible shoots and gently pinch the tips. This will allow the lateral roots to grow more actively.
- Prepare the soil: loosen the substrate and add sand at the rate of 10 liters per square meter of land.
- Form grooves 8-12 cm high.
- Tilt the stems so that their tops are in contact with the ground.
- Fix the top with a staple to the bottom of the trench, sprinkle with earth and moisten liberally.
- With the arrival of autumn, separate the stems of the mother plant from the young, leaving 35-40 cm.
- As soon as the leaves fall, trim off any remaining pieces of uterine shoots.It is advisable to cut off the tops of the layers: this measure activates the build-up of lateral shoots.
- Dig up all the resulting layers along with a lump of earth and transplant to a new place. Fruiting of raspberries propagated in this way begins the next year after planting.
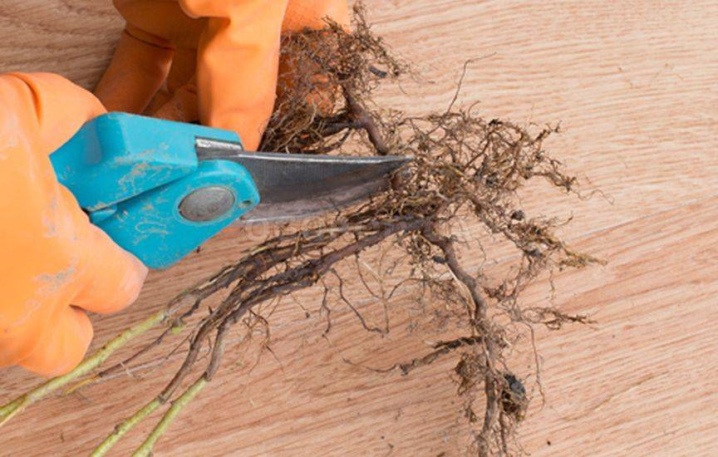
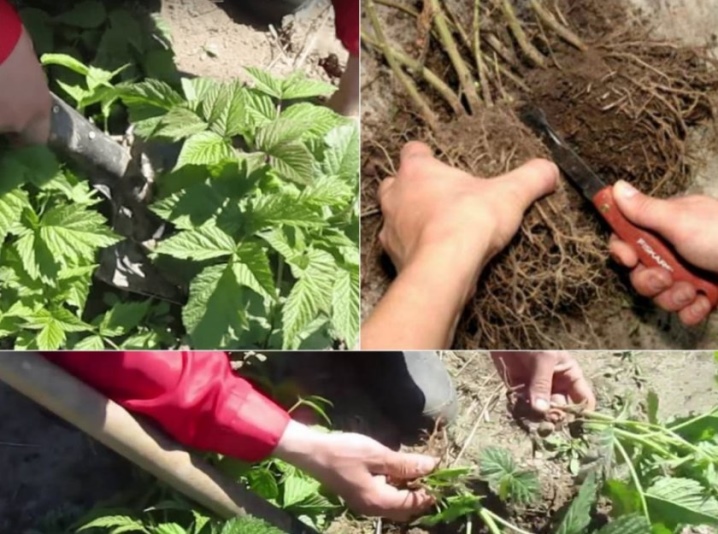
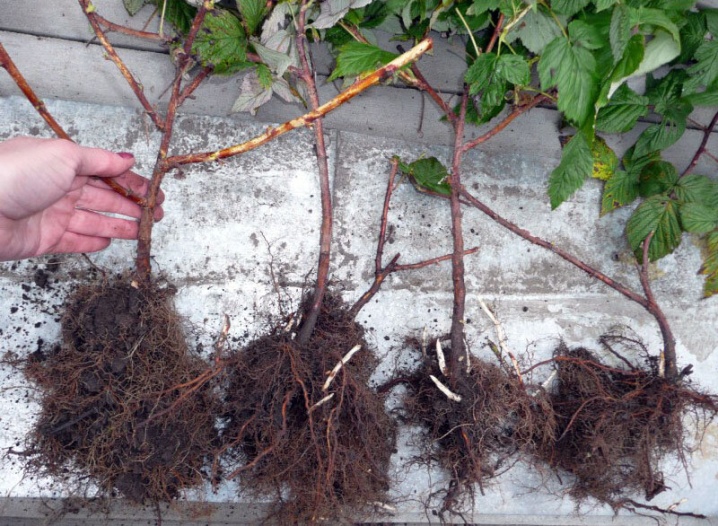
How to dilute by dividing the bush?
Raspberries can be propagated by division. In this case, 3-4 daughter ones can be made from one mother bush.
Such work can be done already in March, but experienced gardeners prefer autumn for this type of planting.
Next, you should use the instructions below.
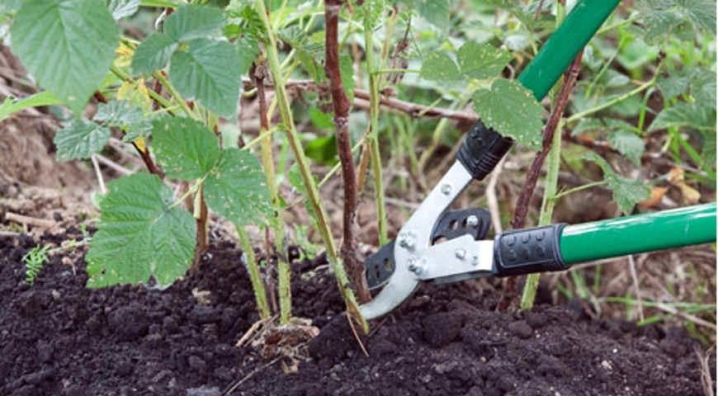
- Dig up the raspberry bush along with the root system so as not to damage it. Gently shake the dirt off the roots. Using a pruner, divide the bush into several pieces so that each piece has 2-4 stems.
- Prepare the holes for sowing and fill them with a substrate of peat and river sand.
- Place the raspberry planting material in the hole and sprinkle with a peat-sand mixture. Water liberally.
Growing from seeds
Growing a raspberry bush from seeds is considered the most labor-intensive and time-consuming way, therefore, in practice, gardeners hardly use it. Firstly, it does not ensure the preservation of the starting characteristics of the parent bush. Secondly, there are many easier vegetative techniques.
Seed propagation is in demand mainly among breeders. This method helps to identify new and better hybrid varieties.
The sequence of actions will be as follows.
- Collect the largest fruits from the raspberry bush. You will need ripe berries. Crush them in a plate or bowl.
- Rinse the resulting mixture thoroughly in water and then rub through a sieve to separate the seeds.
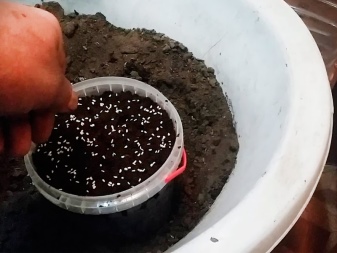
- Soak the seeds for 2-4 hours, then mix them with wet sand. Place in canvas bags and store in a cool place for winter storage.
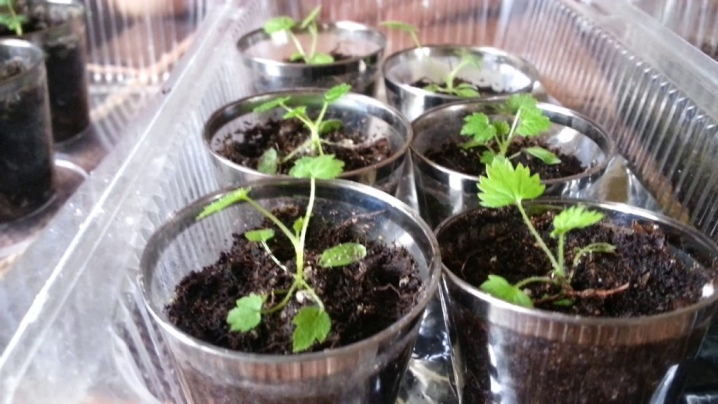
- When March comes, plant them in containers with soil to a depth of no more than 5 mm. Sprinkle with river sand, cover with plastic wrap or glass lid.
- Do not forget to water and air the greenhouse from time to time.
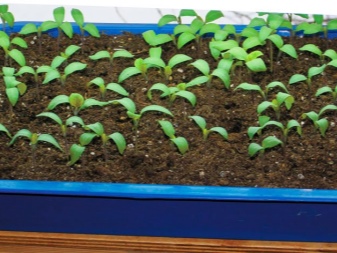
- As soon as the first leaves appear, start hardening the seedlings, otherwise the seedlings will die after moving into the open ground. For this, containers with seedlings must be taken out into fresh air. The duration of the walk is constantly increasing.
- Saplings are placed outside in mid-May; work is best done in the morning. To do this, dig holes with a depth of 20-22 cm, place planting material there, sprinkle with earth and moisten.
- In the first month of planting, they should be covered with foil. With this sowing technique, the first fruits can be obtained in 2-3 years.
How to grow in the Scottish way?
The Scottish technique is very popular with gardeners. It allows you to quickly and effortlessly get a lot of high quality material for the fit.
In mid-March, apply fertilizer under the raspberry bushes. To do this, mix equal proportions of sand, wood shavings and peat. You will need a bucket of the prepared mixture per square meter of the plantation. This will contribute to the active formation of the kidneys on the roots. In mid-September, the crimson roots are divided into separate fragments, folded into small bunches, and wrapped in canvas. Then they put it in a container with wet sand and put it in the underground.
With the arrival of heat, the root segments should be buried in a soil mixture prepared from equal parts of sand and peat, and watered well.
Usually, the first green shoots appear in 10-14 days. Shoots, along with roots, are planted in boxes, where they take root rather quickly. After another 7-10 days, the seedlings can be moved into separate containers filled with a soil mixture of peat, turf and sand. It will not be superfluous to add a little dolomite flour or superphosphate there. After a month, raspberry seedlings can be moved into the soil.Such young bushes give their first harvest in the third year.

How to breed remontant raspberries?
The peculiarity of remontant varieties is their ability to bear fruit several times during the growing season. Their berries are larger in size, they quickly set and ripen well. It is possible to breed remontant raspberries in the garden by seeds or vegetatively, the latter being preferable. Annual bushes are not suitable for reproduction, planting material is taken from three or four years old.
Every year, remontant bushes release new root shoots, most of which die off with the arrival of autumn.
Of those who were able to survive, healthy fruiting shoots are obtained already in the second year. This feature allows you to harvest in the first year after planting. For remontant bushes, a large number of young growth is typical. By its appearance, it resembles a nettle. Therefore, the breeding method of this culture was called "nettles".
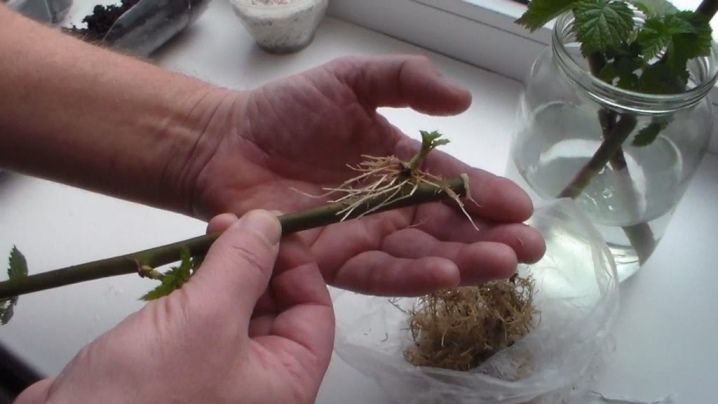
Reproduction of remontant raspberries is as follows.
- Dig up all the ground from the base of the young shoot.
- Grab a 3-4 mm fragment of the light underground part of the stem and cut it off.
- Bury the seedling in a sandy-peat soil mixture so that both the roots and a fragment of the shoot are completely underground.
- The plantings are moistened and covered with a greenhouse.
- After a month, the plant will fully take root. After that, you can plant it in open ground, usually this period falls on the second half of June.
Choice of method taking into account the term
Raspberry cultivation can be done at any time of the year, with the exception of the winter months. Taking into account the season, the breeding option is also selected. There is no exact answer to the question of which season is better for breeding a crop: spring, autumn or summer. The effectiveness of activities depends only on the method of seating, the climatic characteristics of the region and varietal characteristics.
In spring, you need to start planting work as soon as the snow melts, but before the start of sap flow. During this period, vegetative and seed techniques give high efficiency.
In the spring, any methods of planting raspberries are permissible: cuttings, offspring or division.
The best breeding option for the summer season will be breeding with green cuttings. However, other methods of cuttings will be effective if the rules of agricultural technology are followed. In the autumn, gardeners often resort to simple division of the bush or cuttings.


The comment was sent successfully.