How to propagate raspberries by cuttings?
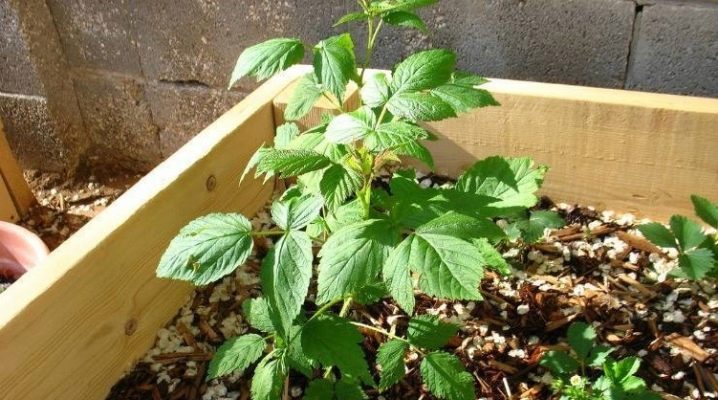
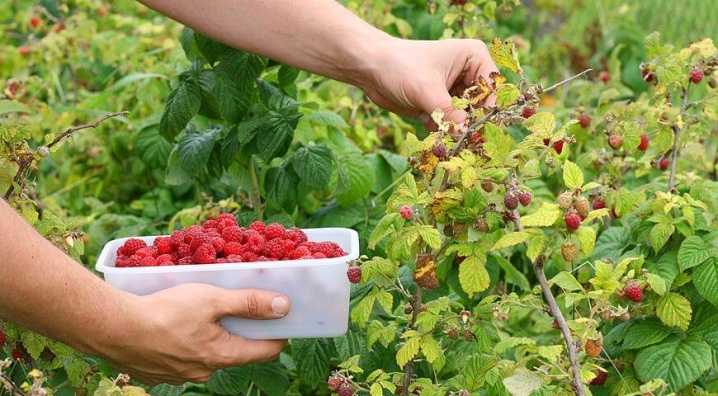
Raspberries are familiar and loved by us from early childhood, they have a bright and sweet taste, which each time returns to the middle of a hot summer, making you feel carefree again. It is customary to plant this berry in your country house or in the garden and enjoy the abundant fruits, however, in order for the harvest to really impress you, you need to plant it periodically. Such a process is needed so that new shoots can compensate for old and less fruitful ones. Moreover, this way you can increase your yield several times without spending on new seedlings, since your own grows right under the bush.
Advantages and disadvantages
Reproduction of raspberries by planting cuttings is one of the easiest and most affordable ways, which is why it has become widespread among all gardeners: both professional and beginners. Cutting does not require huge material costs or a lot of free time, for example, like propagation by seeds. You can get a crop very quickly, and because of the huge amount of growth, it will not be difficult to find suitable material.
But do not forget that this is a rather time-consuming process, which may still not go according to plan. Often, seedlings simply do not take root, and you have to start all over again. This phenomenon can have a variety of reasons, ranging from unsuitable soil and ending with damage to the cutting itself during transplantation. It is also worth considering the fact that the transplant needs to be done in certain seasons and at a certain time. Otherwise, it may simply not give a result, and the seedling will die.
In addition, there is a risk of injury for an already adult plant, since you can simply cut off the excess or introduce an infection into the cut.
How to propagate by root suckers?
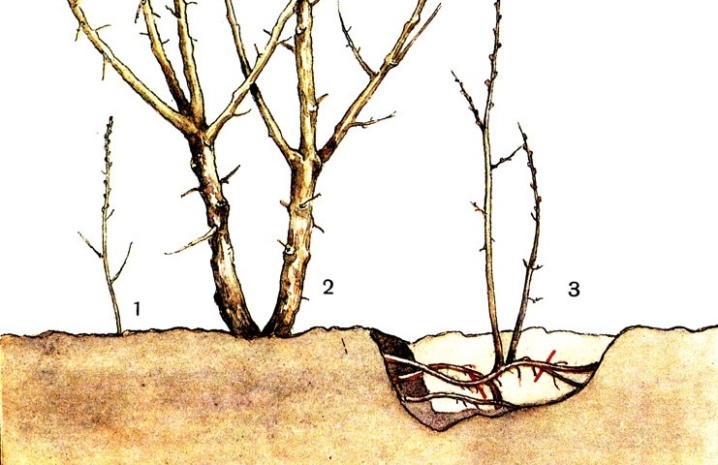
Root suckers are formed at the very base of the bush and are of two types: lignified and green. Both types of cuttings are suitable for planting, however, each of them has its own specific care, different maturation and transplantation times, as well as different sensitivity to external conditions. Therefore, in order to properly cut and plant them, it is necessary to fully study the issue.
Propagation by green cuttings
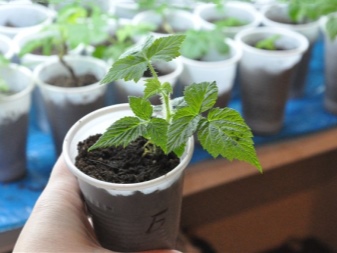
Raspberry cultivation usually occurs in the spring by transplanting green offspring, most often in April.... At this time, many bright green young shoots grow around the bush. To properly plant them, you need to fulfill a few simple conditions.
Do not get too close to the bush, keep a short distance. This is necessary in order not to accidentally trample the shoots or damage the growth itself. It is not necessary to plant it too far. Remember to feel comfortable doing the job.
Choose the largest seedlings that are likely to take root. Be careful to check them for parasites or other diseases. If the stalk is completely healthy, then breeding will be much easier for you.
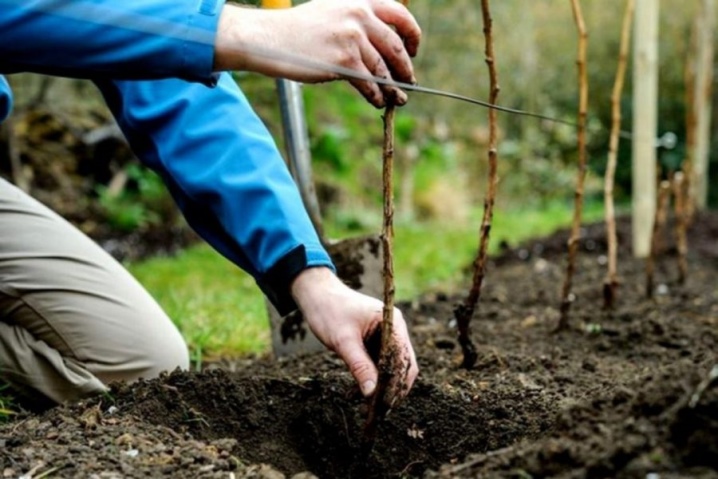
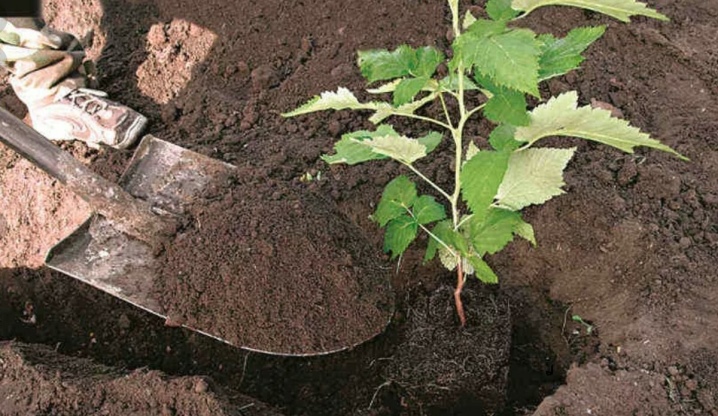
Carefully dig up the cuttings of your choice along with a small clod of soil. Do this as carefully as possible so as not to damage the young roots, otherwise the process may not recover and wither.
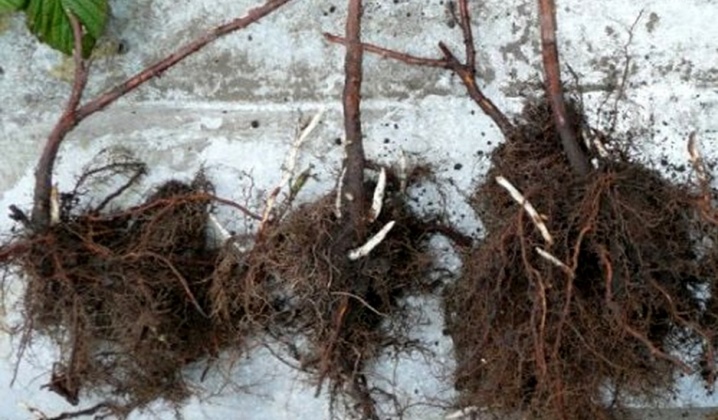
Or you can restrict yourself to a cuttings without roots, but then you will have to put it in water for a while. After the appearance of the radicular ovary, it can be transplanted.
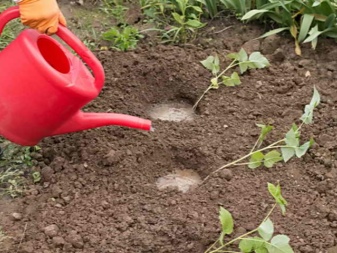
As soon as you dug a young plant, then immediately plant it in a hole.... To prevent the offspring from wilting, while you prepare a seat for him, you can slightly moisten a clod of earth. But in order not to resort to this, it is better to prepare a hole with soil in advance. For faster, healthier growth, you can add ash or fertilizer to the soil, if you like.
It is worth remembering that such a young plant needs regular and abundant watering, especially if it grows in a sunny and hot place.... It is still advisable to choose a shady and wet area, then the bush will be larger, and the fruits will be more juicy and sweet.
As soon as the final rooting of the seedling occurs, then you can gradually reduce the number of waterings. After that, the plant will begin its active growth and development, so do not worry if the seedling still does not grow for the first month after transplanting to a new place.
How to grow from lignified material?
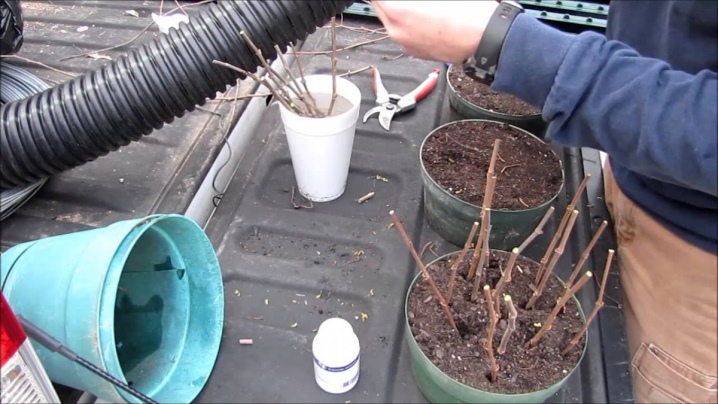
Unlike green offspring, lignified ones are usually planted in the fall, since by this time they have time to complete their formation almost completely, therefore, this method of planting will give a higher level of survival. In order to carry out the seating, it is necessary to follow a certain sequence of steps.
Choose a few of the best quality seedlings. When examining the material, pay attention to health and the presence of parasites on it. An infected plant cannot be transplanted, as it will not be able to survive and can infect neighboring bushes.
It is best to start the transplant in early autumn, before severe frosts. Prepare the tools you need and dig out the selected seedlings.
Before planting, it is advisable to remove all leaves and twigs from the trunk, so the rooting process will be much easier. The plant will not waste its energy on maintaining the life of leaves or small branches.
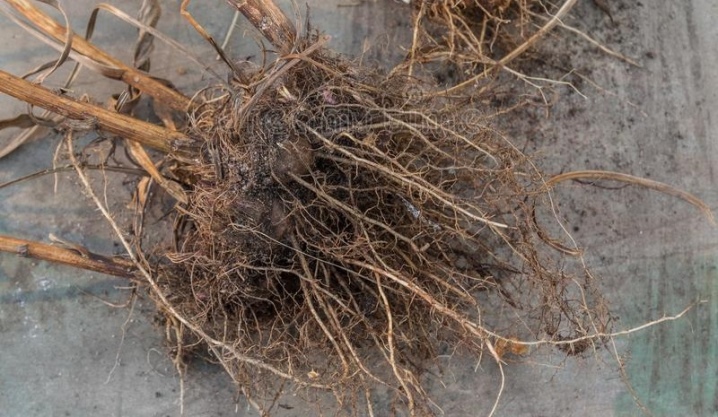
When you get offspring, try to dig them out with the least loss of root system. So the chances that the planting will take root will be several times higher, and the process of plant growth will be faster.
It is worth immediately planting the resulting cuttings, and not storing them until spring in your basement. During the winter, they will have time to strengthen and put down their roots, thereby by the summer the bush will be already formed.
Water the planting abundantly, but remember to measure. Don't leave her floating in the water.
If, while digging up the material, you noticed a large number of offspring with incomprehensible neoplasms, shoots or swelling of the trunk, then such seedlings are best destroyed and processed healthy. If this is not done in time, then you risk infecting other seedlings, which may simply dry out, thereby becoming unsuitable for planting.
Helpful hints
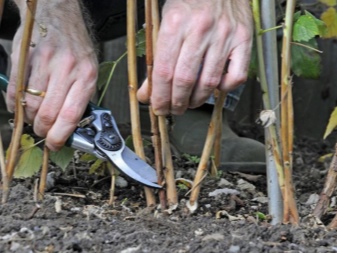
When obtaining green offspring, it is recommended to use a knife or pruner as a tool. The cut must be made at the very root, going a little deeper into the ground. Do this as carefully as possible so as not to damage the cutting or get yourself injured.
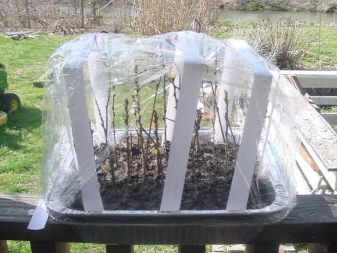
In order for the cuttings to take root faster and be ready for further development, it is best to plant them under a film. So young and weak plants will be protected from environmental influences, such as rainfall, hail or strong and gusty winds. In addition, the greenhouse effect will have a positive effect on the seedlings. For a good result under cover, a constant temperature regime must be observed, the air should preferably be warm and as humid as possible.
However, this must be carefully monitored as the enormous vapor production increases the risk of mold or parasite infestation. Therefore, the greenhouse should be left slightly ajar.
The distance between plantings of cuttings should not be too small or, conversely, large, 20 cm will be enough. At such a distance, the seedlings will not be able to interfere with each other.
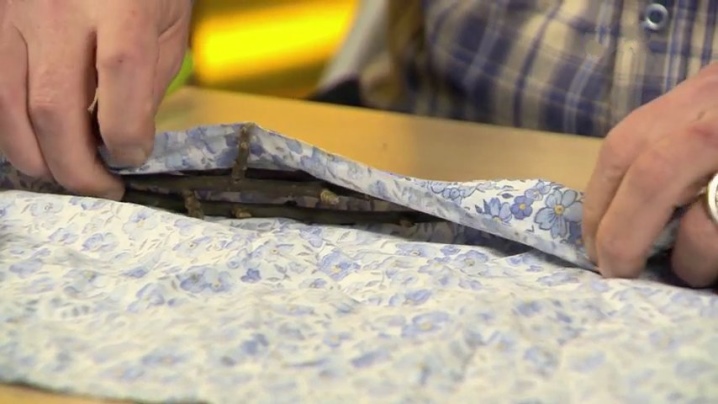
If you are going to store lignified material until spring in order to plant later, then you should take care of their safety before putting the seedlings into the basement. The thing is that in the cellar they can deteriorate, so it is necessary to wrap the processes in cloth or thick paper. The resulting package must be lightly sprinkled with wet sand and left until spring. This way you will have a better chance of getting healthy and fruitful bushes in the future.
Root shoots also need to be grown under a film cover. The film will need to be completely removed after the first signs of life appear, such as leaves or stems. Do not forget about the temperature and moisture level. Unlike green offspring, lignified offspring are more vulnerable to mold.
During planting, the seedling should be buried to a depth of no more than 4–6 cm. This depth will be more than enough. Do not forget to carefully sprinkle the cuttings with earth, however, do not compact the soil too hard, as it is necessary to leave room for air and moisture to penetrate the roots.


The comment was sent successfully.