How to make a shovel with your own hands?
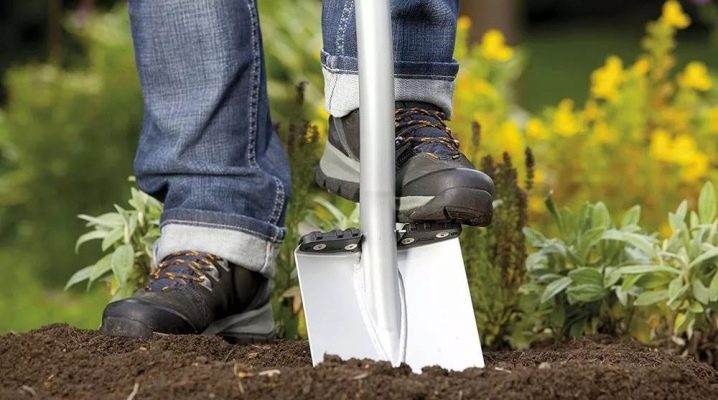
It would seem that a shovel is an ordinary tool. Shank and canvas - what could be easier. But if it is important for you to work with the land quickly, conveniently and without extra effort, you need to know a few important points. This is especially useful if you decide to assemble or make a shovel with your own hands. Before you make homemade shovels for the garden, you should have a drawing and a diagram in front of you. The shovel can be folding, on wheels, bayonet, self-digging, collapsible, and so on. You should think in detail about what the rack should be, whether you need a wall holder or a cover.
Cuttings: choosing the best option
The most common shovel cuttings are birch and pine. You don't even have to look for them, as they are in any hardware store. Despite the similar appearance, the difference between these cuttings is significant.
- The pine holder has two significant advantages: low price and low weight. Cons - fragility and fragility. Despite the fact that three-quarters of our cuttings are made from pine, think about whether it is worth saving on this. As a last resort, purchase two at once - let one be in stock.
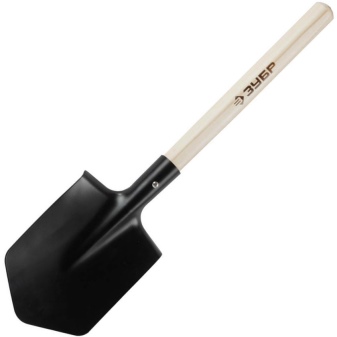
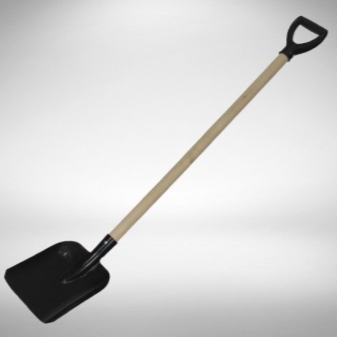
- A birch stalk is much stronger than a pine one and will last longer. However, a significant drawback of such a cutting is that it is much heavier. It is worth noting that the large weight of a shovel is not always a minus. Whether you are chopping roots, digging a hole under a fence post, or working in very rocky ground, a heavy shovel will double your efforts. But when digging beds, a light one is preferable - with a heavy one, you will get tired faster.
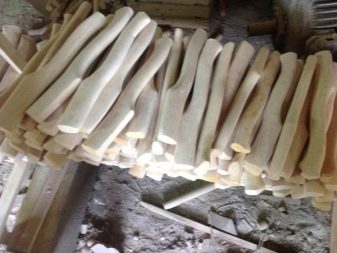
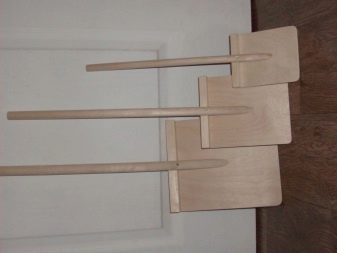
Oak and ash are also used for making cuttings. Cuttings from these types of wood are not so common, but they are superior in quality to pine and birch. The best option is ash. The shank from it turns out to be light and very durable. Oak cuttings also have good strength, but they are heavy, so they are suitable for shovels that are designed for "shock" work. Oak and ash cuttings are 3-4 times more expensive than pine cuttings.
Recently, pipes made of modern and high-strength metal alloys have also been used as cuttings. It can be anodized aluminum or titanium. The advantage of such cuttings is that they do not rust, are light in weight and have a large margin of safety. But they are also expensive.
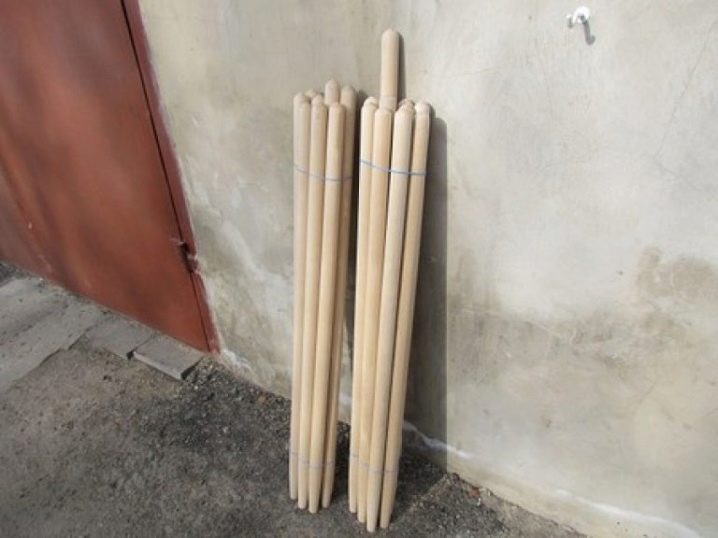
Important! The best option for an ordinary gardener is a universal shovel with a birch shank. Its cost is quite acceptable, and the shovel will have a significant margin of safety.
Canvases
Manufacturers offer more than 20 options for shovels made of various metal alloys. Let's dwell on the most common ones.
- Most of the shovels used by gardeners and builders are made of rail steel. The blade of such a shovel is very strong, under heavy loads it “springs” well, taking on its original shape. It is easy to grind and fairly resistant to corrosion.
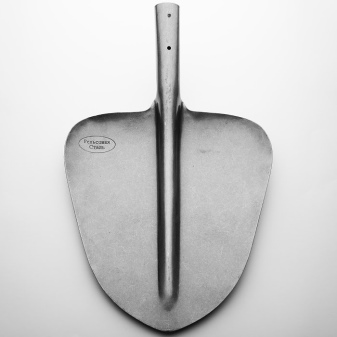
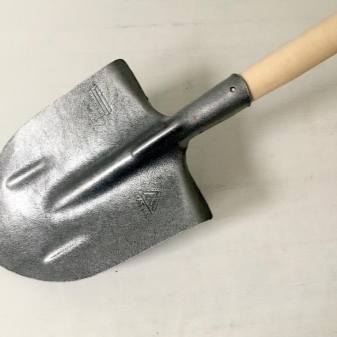
- Titanium canvas does not have such flexibility. Despite its high strength, it is quite fragile. Under heavy load or strong impact, it may break. The ideal option for use is digging beds. The light weight of the shovel will give you pleasure in this not very pleasant and tedious job. Keep in mind that a shovel made of such an alloy is not cheap.
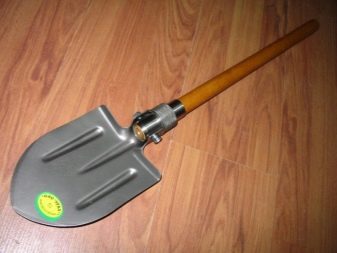
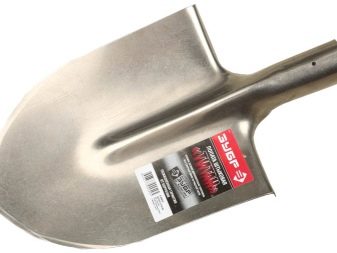
- Recently, many summer residents have in the assortment of garden tools "stainless steel".A stainless steel shovel is lightweight, clods of earth hardly stick to it, it does not corrode at all. But there are also disadvantages: the blade is not as strong as titanium or made of rail steel. It will be convenient for her to dig beds on soft and airy soil. It will bend when working on hard ground.
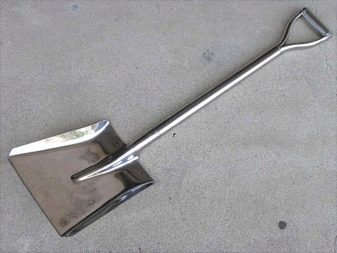
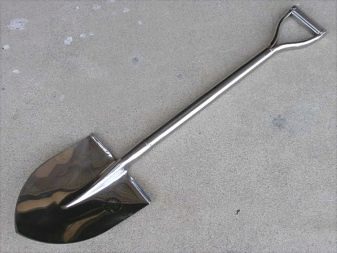
Important! The rail steel shovel is a versatile option for the gardener. But if you need to dig up beds on light and loose soil, then a stainless steel shovel is best for this job.
Preparing for assembly
The handle and the blade are not yet a shovel. After purchasing these items, you have to get serious about assembling it. It includes several steps.
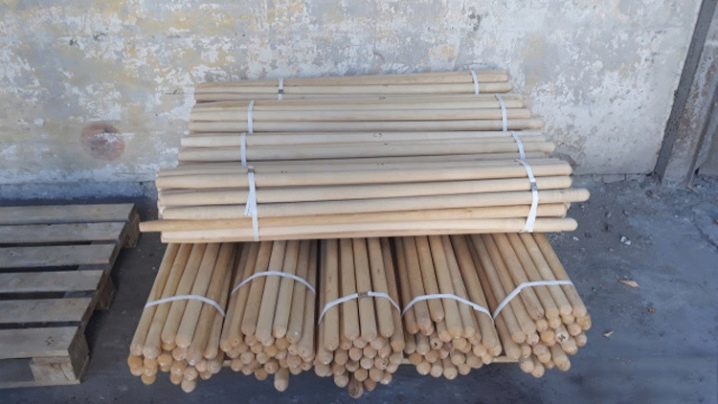
- First of all, you need to dry the cutting well. Holders usually come to stores from the manufacturer raw, and in the spring season it happens that they do not always have time to dry well in the store. Therefore, it is better to put the cutting outside under a canopy for several weeks. This time is enough for it to dry well.
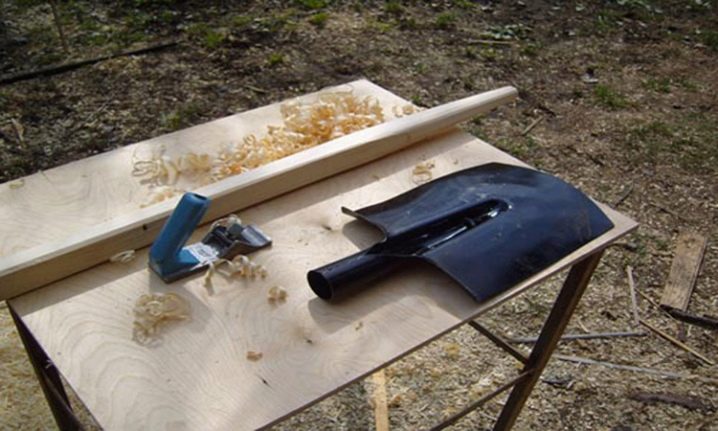
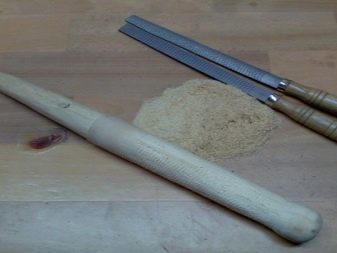
- The next step is sharpening the cutting. It is necessary to remove a layer of wood at a certain angle. For rough handling, you can use a sharp ax, but do not overdo it. Further, the wood is processed with a grinder using a special grinding attachment for wood. The final fit is done with coarse sandpaper. The holder should fit very tightly into the landing tube of the shovel blade.
- Before proceeding to the final stage - the attachment of the shovel to the handle, it needs to be painted. Very often, gardeners neglect this, but in vain. An unpainted cutting will get wet in the rain, absorb moisture and become twice as heavy. In addition, such a stalk will last much less. Use a plain stain for painting. It is inexpensive and can be found in any hardware store. It should be applied with a paint brush to the tree in two layers. After that, let it stand for 12 hours and cover with varnish. Leave to dry for 12 hours.
Assembly
Stuffing a stalk is a simple matter, but it is worth taking into account the following subtleties:
- it is very important that the handle completely fills the chamfer (depression) of the blade, which will give the shovel an additional margin of safety, otherwise, even with a little effort, the shovel will bend;
- before inserting the cutting into the planting place, it is advisable to moisten its processed end with hot resin, which will save the tree in the planting tube from moisture and decay, and the planting will be stronger;
- insert the holder into the planting tube of the blade and, turning the shovel upside down, knock the end of the handle on a hard surface;
- if you are convinced that the wood has completely occupied the landing chamfer, you can fix the canvas on the handle - for this, there are two holes in the landing tube; here it is safer to use screws rather than nails.
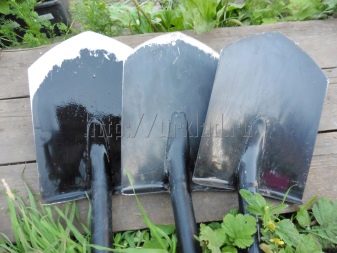
If you want a lightweight shovel with a sturdy, super lightweight handle, look at the factory anode coated aluminum tube. The diameter of the pipe should be 3.5–4 centimeters, while the thickness of its wall should be at least 3–4 millimeters.
At the base, you will be cut as long as you ask for the pipe. Typically, the length of the handle of a shovel for a person of average height is one and a half meters. The landing tube of a shovel for such a handle should be several millimeters larger and preferably conical.
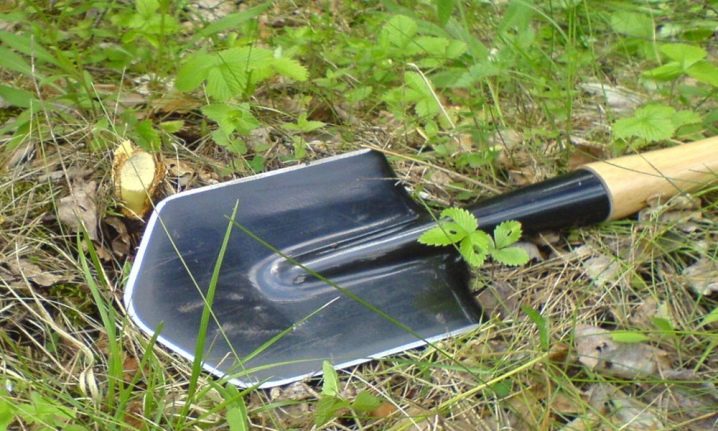
If the metal handle still dangles a little in the landing tube, then in this case, you need to use a seal.
It can be a piece of roofing material dipped in hot bitumen, or an ordinary bandage soaked in epoxy resin. After inserting the cutting into the planting tube of the shovel blade, it must be well secured. Unlike fastening a wooden handle, screws are indispensable here. Bolts with a diameter of 5–6 millimeters can provide reliable fastening. In two places of the landing tube, two holes of suitable diameter are drilled with an electric drill at a distance of 10–12 centimeters from each other.The shovel landing tube is drilled through with an aluminum shank installed in it. After that, we insert bolts with washers into the holes and tighten the nuts.
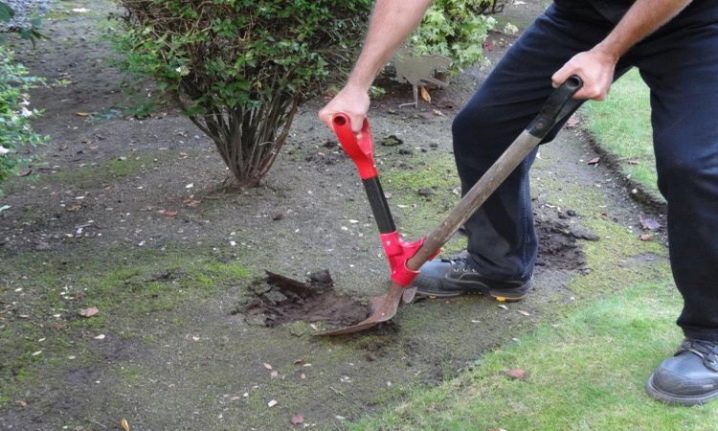
In a similar way, shovels and plastic cuttings are attached to the blade. To give the ideal shape for the tapered landing tubes, it is recommended to heat the plastic with a hairdryer or a gas burner. Shovels with aluminum or plastic holders are very light and durable. However, you need to handle them very carefully - such holders are afraid of shock. A slight deformation in the center of the cutting will lead to the fact that it will bend (plastic - break) and it will be impossible to restore it.
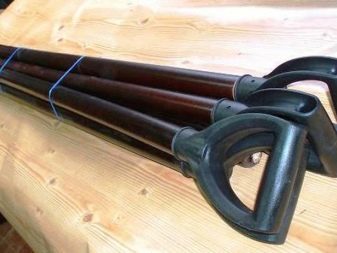
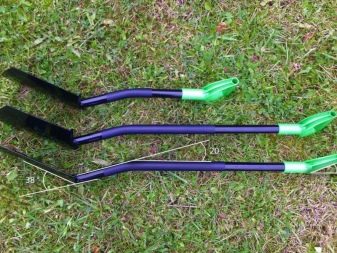
The finishing touch to self-assembly of the shovel is the handle on top of the handle. Its main function is to prevent the shovel from rotating in the hands.
This is a completely optional piece of a shovel, but it makes the process much easier, especially when dealing with clay or hard ground. These pens come in a variety of materials and shapes. You can find a suitable option at any hardware store. The handle is attached to the handle with ordinary screws.
How to make a shovel with your own hands, see the video below.


The comment was sent successfully.