Features of the lathing of the balcony and loggia
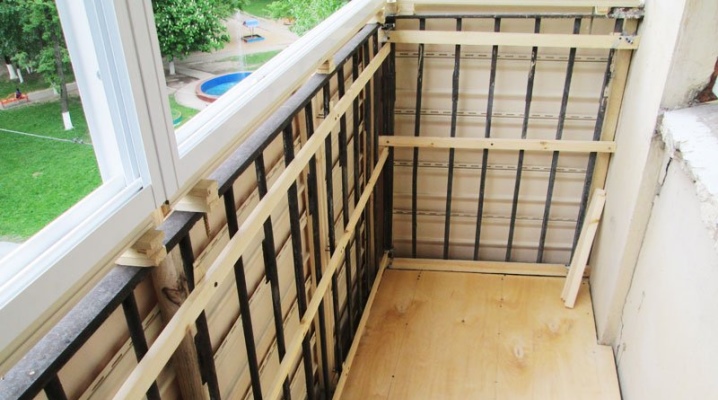
The lathing is a cellular assembly with square-rectangular (less often triangular) spans, designed to secure insulation and waterproof / vapor barrier. The main thing in fastening the lathing is efficiency, speed of correct installation.
What is it and why is it needed?
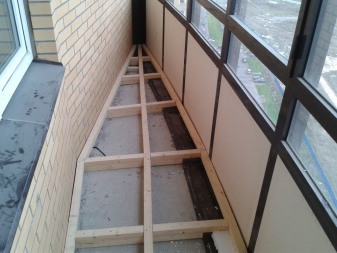
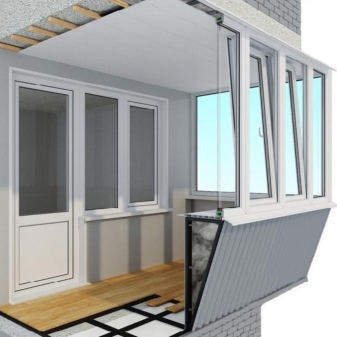
Lathing of a balcony or loggia is used to insulate the floor and protect the walls, ceiling from the penetration of cold into the room communicating with the given territory of the apartment in winter. Thermal insulation of flooring from concrete slabs is the main stage after installation of multilayer glass units on the balcony. The lathing of the floor uses solid wood beams as a supporting structure. Insulating padding is laid in the cells of the bar, for example, mineral wool, polystyrene or foam filler. The floor is raised by laying the logs in 1-2 layers.
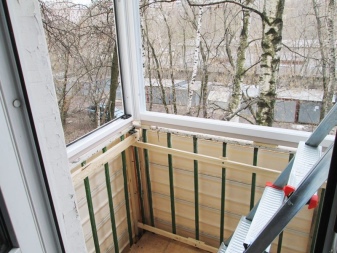
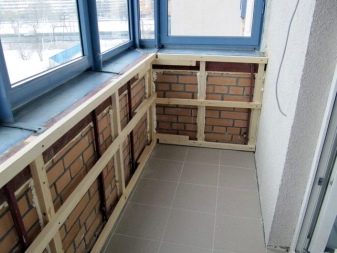
An alternative to lags is a cellular structure with rectangular spans in height, for example, a threshold between a room and a balcony (or loggia).
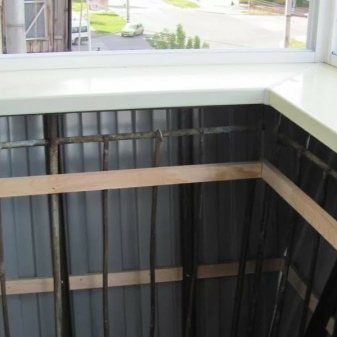
To retain heat, the owner of the apartment, having installed heat-efficient double-glazed windows, trims the inner walls of the balcony railing with a heat-insulating layer. To fix the insulating layer on the parapet, use a metal profile or solid wood in the form of a frame base. In it, in turn, they put pieces of insulation. Having installed an insulating layer, the crate is closed with a cladding building material, for example, plywood.
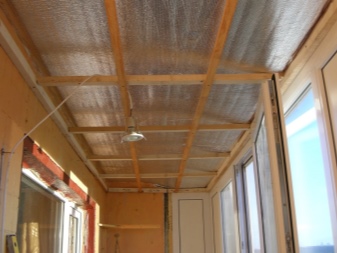
To finish the ceiling, the same sheathing with insulation is allowed. After the installation of the outer sheathing layer, lighting equipment is installed on the updated ceiling.
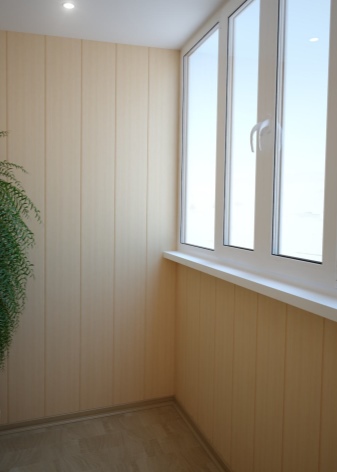
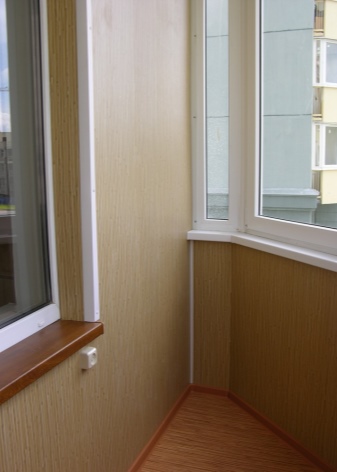
The walls of the balcony compartment are sheathed with plastic spacers or lining. A wooden lathing is used as the main part.
Species overview
The types of battens for insulating balconies and loggias are classified according to the materials used and according to the installation method.
By assembly method
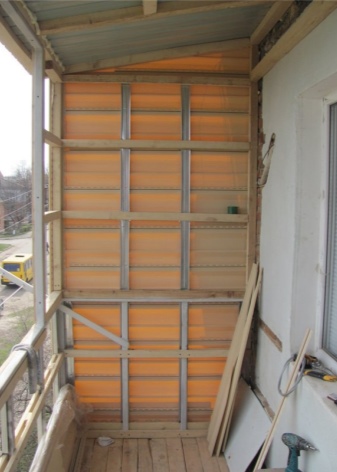
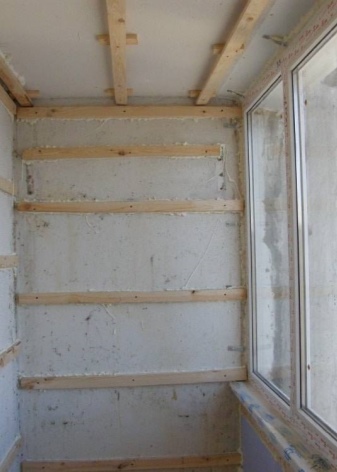
The crate for insulation is assembled horizontally and vertically. The first applies to the floor and ceiling, the second to the walls. In principle, it is possible to make the cladding from all sides from the same materials, using the same interlayers and the supporting grid.
By type of material
Entirely wooden structures include slats or beams. Plywood or polished lining of the highest grade (euro lining), tongue-and-groove board ("euro board") are used as external (final) finishing. Insulation - glass wool or basalt wool. The waterproofing layer is a bituminous coating (or bitumen emulsion). In a southern climate, which is not characterized by severe winters with significantly frosty weather, you can do without insulation by screwing the boards on anchors directly to the wall, and then eliminating the holes left after installation with wood-glue putty.
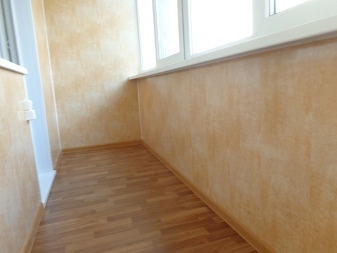
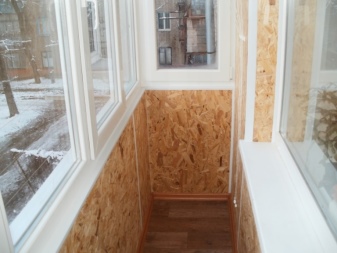
The advantage is good insulation from moisture and cold, the availability of wood materials at a price, the prevalence of wood products, high environmental friendliness, and ease of processing. The cross-section of the timber ranges from 2 to more than 10 cm. Wooden structures can be easily assembled in conditions of limited space - on any basis (metal, concrete, brick, etc.). Plastic and metal structures are easily fixed on the wooden crate.
The disadvantage of wood is the need for impregnation with an antiseptic, fire and moisture-proof compounds in order to prevent subsidence and damage to the crate.
The metal structure is combined with polyethylene and bitumen waterproofing, all kinds of coatings that prevent moisture from condensing on the cold floor, parapet, walls and ceiling. Before installation, the steel metal profile can be coated with a primer-enamel for rust, aluminum - with an ordinary varnish. Plasterboard or all the same plywood will do as a cladding for metal. Metals do not allow liquids and moisture to pass through, do not burn (as a result, they do not require special impregnations).
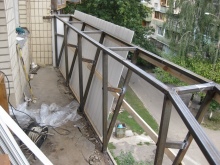
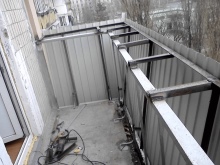
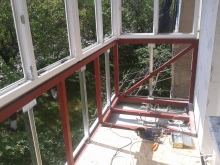
Steel, for example, needs to be primed to protect the alloy from rusting. Steel structures can stand for more than one hundred years - subject to timely renewal of the paintwork. Thick steel is not susceptible to sagging. Aluminum does not require painting - a dense coating of its oxide protects the underlying metal layers from further oxidation. But metals, having a higher thermal conductivity, easily give off heat and keep cold for a long time. The installation of a metal lathing requires a greater margin of safety for the wall and fasteners.
A purely plastic finish includes the same lamellas (made of polypropylene, high-density polyethylene, etc.), insulation in the form of foam or polystyrene foam. Outside, the balcony or loggia is sheathed with plastic panels. The disadvantage is that some materials, for example, polyethylene and polypropylene, burn, maintaining the combustion process after the cessation of exposure to an external flame. Standard sections of the metal profile have a significant length - 4 ... 12 m, and they must be cut to fit the dimensions of the room.
Preparation
There are two preparatory stages: collection of instruments and calculations. No sane master will get to work without a project (or at least an outline).
Required tools
To install a balcony crate you need:
- construction tape at least 3 m;
- grinder and cutting discs for wood and metal;
- building marker;
- hammer and pliers;
- putty knife;
- screwdriver and bits for self-tapping screws;
- scissors for metal;
- construction punch (stapler).
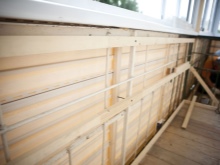
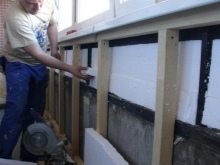
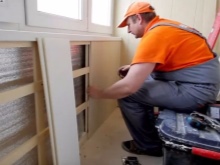
The consumables here are as follows:
- metal profile;
- timber;
- wire;
- sand and cement, crushed stone - for concrete;
- assembly foam;
- Staples.
For the upcoming work, purchase all of the above building materials and consumables.
Payment
The party of the profile or timber is mainly determined by the square of the floor, walls and ceiling of the insulated loggia. As an example - a complicated version with a vertical main structure and horizontal beams. The distance between the vertical elements is no more than a meter, and the height on the balcony railing coincides with the distance from the floor to the window sills. Plugged elements such as side dividers and curtain walls. Here the material is cut from floor to ceiling, which in turn will take on new reference points.
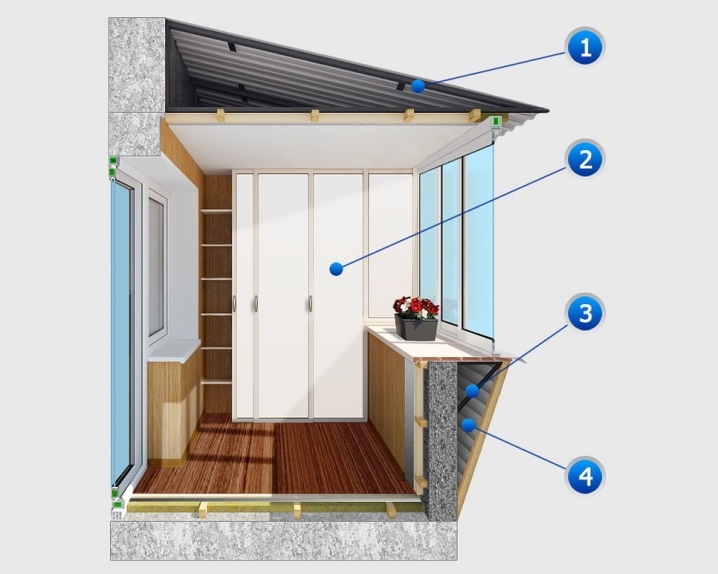
For example, for a loggia with a length of 4 m and a height of a balcony fence, 5 segments of 100 * 4 * 4 cm are needed - two bars are located at the edges, 3 - between them, at an equidistant distance from each other.
When insulating partitions, 4 more segments will be required (for example, 2.5 m each). A horizontal crossbar is attached to the vertical segments with an indentation step of 40 cm. Three rows are needed for the crossbar - two at the ceiling and floor, one in the middle in height.
In this case, the horizontal bar has a total length of 12 m. When sheathing with plastic panels, a 4th row is added in the middle - the plastic has much less rigidity, the panels may bend, which will finally ruin the look of the recently updated finish. In this case, the footage of the horizontal crossbeam will increase to 16 m. Door and window openings also make adjustments to the project plan. The recalculation is done for adjacent walls, if they are also sheathed.Facing openings along the perimeter - 2 lengths, width and depth of the opening will be added to the previously calculated total length of the horizontal beam.
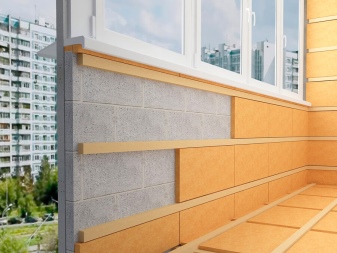
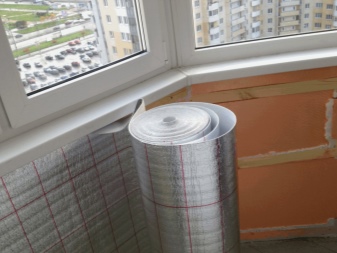
When preparing the fasteners, keep in mind that the tree is fastened with ordinary self-tapping screws. If the wall or partition is initially made of wood, then dowels for self-tapping screws are not needed, it is enough just to drill the places where the screws are screwed with a drill.
For example, screws and nails of 4 mm thickness are drilled with a 3 mm drill. For a (iron) concrete wall, dowels are required without fail. The floor and ceiling will definitely require fastening the lathing with self-tapping screws using dowels.
Components preparing for a more substantial load - for example, TV hangers, blanks for a computer table, etc., are fixed with anchor bolts, whose cross-sectional diameter is 8 ... 10 mm.
Features for different types of cladding
Wooden crate is suitable for any type of cladding: siding, PVC panels, MDF sheets, OSB (OSB), Euro lining, drywall. The insulation does not matter - a hydro and vapor barrier is placed under it on both sides. A similar approach is acceptable for a metal profile. But plastic lamellas, except for plastic, are unlikely to withstand wood (plywood) cladding: the latter is too much of a load for them. As for the metal profile, like wood, it is suitable for all types and varieties of cladding.
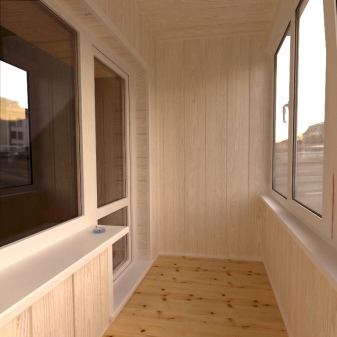
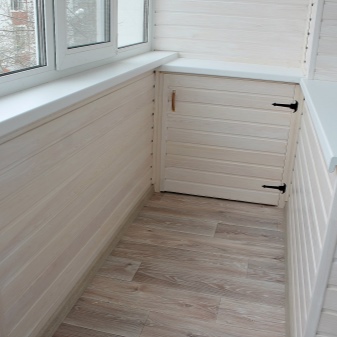
How to do it yourself out of wood?
The step-by-step instructions for installing the battens are about the same. Only a few actions differ, without the individual characteristics of which the entire installation will not do.
On the floor
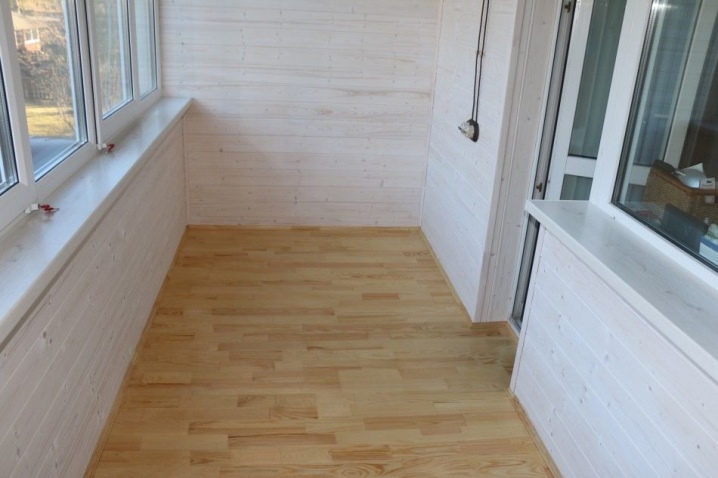
Take off the dimensions of the floor, mark the timber or metal profile according to the size of the territory of the balcony or loggia. Saw them along the scattered marks. Lay out the sawn timber or profile in the places of their future occurrence. Mark the orienting lines on the floor and walls along which the timber (or profile) is exposed. Distribute the drill holes in the timber (or profile) and the concrete floor. Mark and drill the timber (or profile) in the places where they are fixed. Join the resulting logs along the guide marks, drill them - and the floor itself in the places where they lie. Screw the anchor bolts into the concrete floor (interfloor overlap), secure the lags securely. After their final fixation, distribute the waterproofing and insulation in the sections, then lay the finishing flooring. The floor is finished.
On the walls
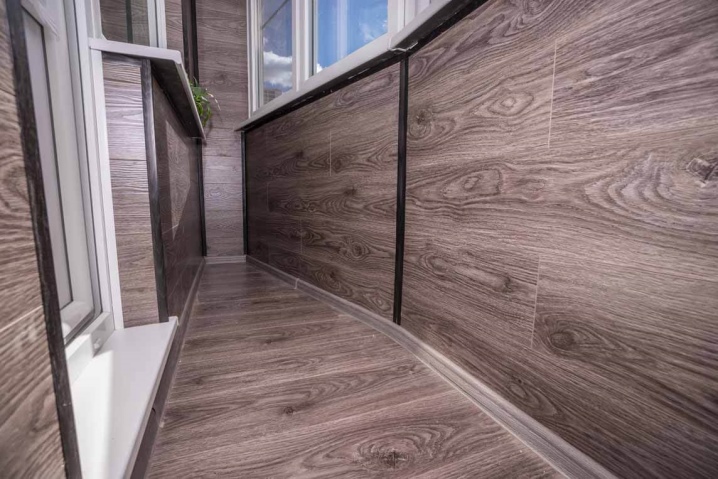
Be guided by the height of the walls. On the walls where the marks from the lags have been preserved, set a beam or board (or a metal profile) according to predetermined marks. This will help to somewhat reduce the cost of timber (or metal profiles). Attach the metal profile to the concrete walls and parapet using anchors. If the partition between the room and the loggia is wooden, then use preliminary drilling of the crossbars under the head of the self-tapping screw with a large drill (not through). Then lay the waterproofing layer with layers of insulation and install the wall panels (wood, plasterboard or plastic).
On the ceiling
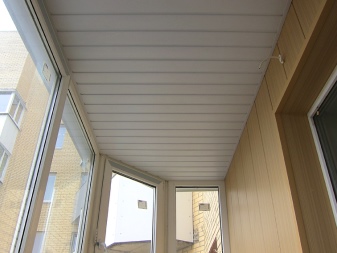
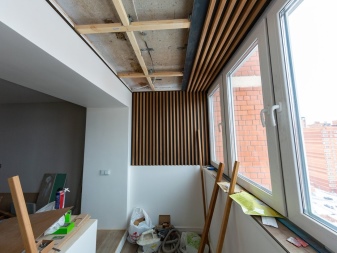
Similarly (as on the floor), attach the metal profile or plastic slats to the ceiling, observing parallelism and evenness. Lay insulation with a waterproofing (film), screw the panels. You can install a suspended (or stretch) false ceiling instead of plastic panels or wood flooring. Ceilings, walls and floors of apartment buildings of different years of construction - "Khrushchev", "Brezhnevka", new buildings without fail were made of concrete (on the basis of ceilings), which means that one cannot do without anchors for ceiling flooring. since the flooring does not lie or stand on the edge, but hangs. This means that he needs a reliable base, which can only be achieved with anchor-staple connections.
See below how to make a balcony crate.


The comment was sent successfully.