When and how to transplant lilies correctly?
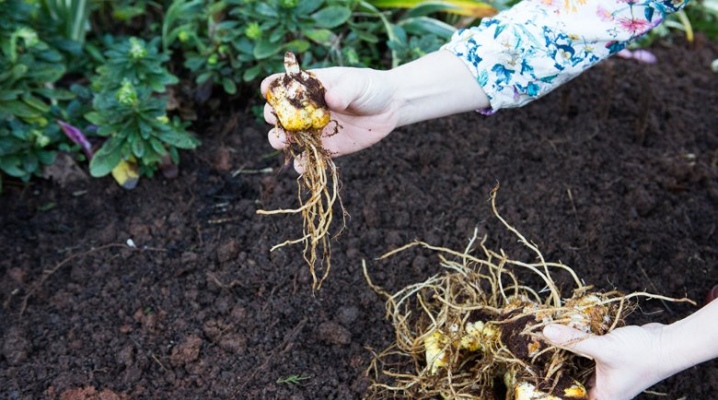
Growing lilies is easy, especially if you follow all the necessary steps and complete everything on time. An equally important event is their transplantation, because the health of the plant and the excellent appearance of flowers depend on the way in which it is made. To transplant lilies, you need to choose the right landing site and prepare it. Immediately after all planting work, the plants are most vulnerable and require good care.
What is the transplant for?
Since lilies are perennials, many novice growers do not even think about the fact that they still need to be dug up periodically, and sometimes transferred to another place. If this is neglected for several years, the consequences can be dire. At first, the buds become smaller, the blossoming flowers become smaller, and then completely disappear. Over time, the bulbs will become overgrown with a large number of children, developing at the expense of the parents, and the root system will grow too densely.
Moreover, the more time passes, the more efforts will be required to develop a neglected flower bed.
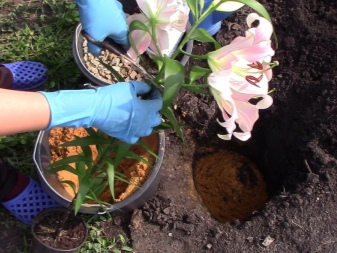
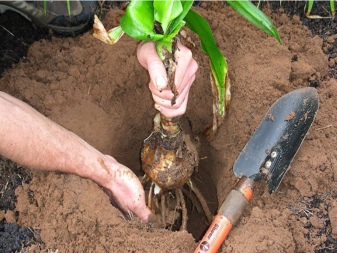
There are other reasons for a transplant.
- Depletion of the soil, lack of nutrients for growth and development. In this case, the lilies will have to be transferred to another site.
- As a result, the condition of the plants is assessed, the damaged ones are rejected. Timely removal of the diseased flower allows you to save the neighboring ones.
- Some varieties are simply incompatible with the weather conditions during the winter in a particular region. For this period, they must be dug up and placed in more suitable conditions.
- Unforeseen circumstances, as a result of which the flowers must be transplanted to another place. For example, due to redevelopment of the site or changes in its design.
However, even after the correct transplantation, the plants can get sick or even die. Of course, these cases are quite rare, but they are still possible. Therefore, during work, you should be extremely careful and do not carry out this procedure more often than necessary.
The right time
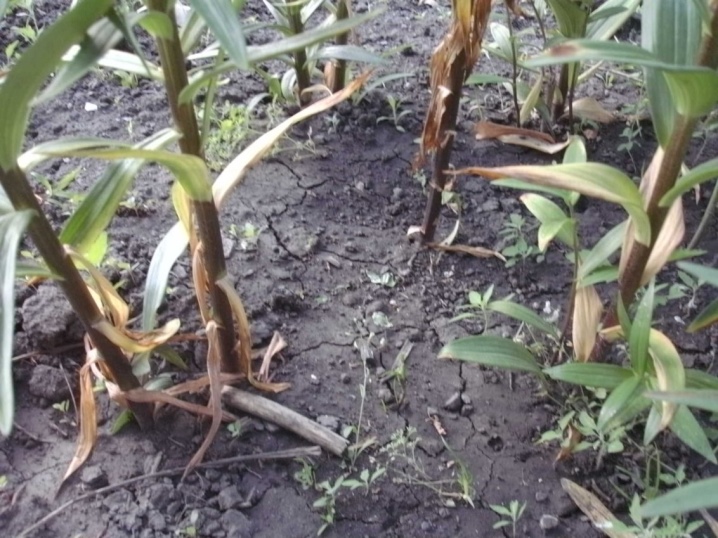
The frequency of replanting depends on the variety. The more the bulbs grow, the more often they need to be dug up, the children should be separated from them and planted again. For most varieties, an interval of 3-4 years is enough. However, when acquiring rare varieties of lilies, it is necessary to study their features in advance and take them into account later. Some are best replanted every year (eg tubular).
There are two points of view regarding the timing of the transplant.
- Traditionally, all planting work is carried out in the fall. This is enough for the onion, which has completed all its tasks, to rest. An autumn planting will allow them to re-root. It is believed that such lilies will be healthier.
- If the weather conditions interfered with planting in the autumn months, or if you come across a variety for which wintering in a flowerbed is contraindicated, you can postpone the planting in the spring. Many growers consider this method more convenient - you do not need to insulate the plantings, and then clean them. In addition, even healthy and hardy bulbs can die from diseases or pests during wintering.
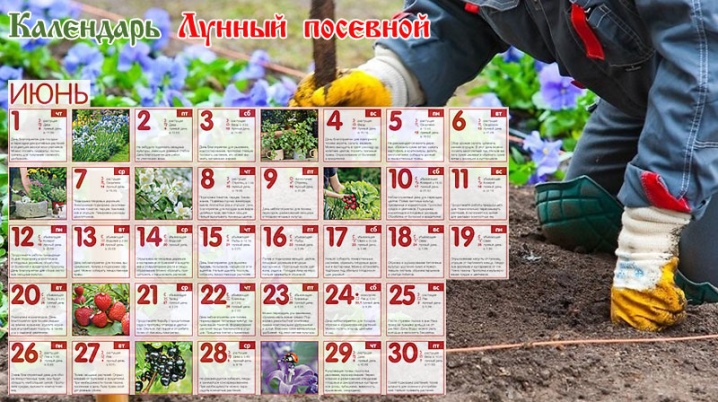
The exact timing of replanting can be calculated using the gardener's calendar. However, they also need to be adapted in accordance with the climate of the area. In spring, work can begin as soon as the frost stops and the soil warms up. For the southern regions, the second half of April is suitable, for more northern regions - early May. In autumn, these dates are shifted to the end of August and September, respectively. In addition, it is necessary to take into account the weather - in the Urals and in the Moscow region, it will be very different.
Prolonged September rains can derail all plans and postpone the transplant until spring, and in the spring floods and prolonged frosts should be taken into account. A preliminary weather forecast for two to three weeks will help to adjust the plans.
Site selection and soil preparation
If the lilies grew in the same place, even with constant fertilization, the flowerbed will have to be changed. Ideally, the remaining area should rest for at least 2 years. Until that time, it is better to sow siderates. Preparing a new garden plot doesn't have to be spontaneous.
- A year or two before the planned planting, the soil should be dug up and good humus added to it. So that weeds do not grow on the site, you can use all the same green manure. They will also have a beneficial effect on the structure of the soil and will themselves become an additional fertilizer.
- Immediately before the start of transplantation, the site is cleared of the remnants of dry vegetation. The soil must be dug at least 15-20 cm deep and large lumps must be broken.
- Further, peat, sand and other additives should be distributed over the entire area, and dig it up again. So that subsequently the water does not slide to one side and the flowers grow straight, the future flower bed must be well leveled. All this must be done immediately before planting so that the soil does not have time to dry out.
The place of the future transplantation of lilies is of great importance. Shade is undesirable on it, but it will be better if there are plantings of shrubs or other obstacles nearby - they will protect the tall and delicate stems from the wind. Lilies love the sun, so they should not be planted next to the wall of the house or a high blank fence.
It is better if the flower bed is located on a hill so that water does not accumulate on it, because good drainage is important for lilies.

In addition to a good location, you need to attend to the condition of the soil. Clay and stony will not work - air exchange is difficult in it, and excess moisture will stagnate. In such an area, lilies will grow poorly, bloom poorly, and rot may form on their bulbs. To lighten the soil, to make it lighter and more loose, sand is introduced. The acidity of the soil is reduced by adding ash or slaked lime to it.
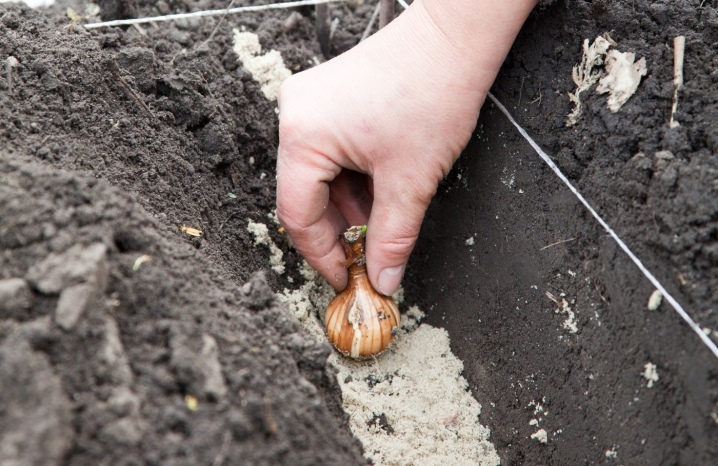
In principle, you can improve almost any site, even the most inappropriate. To do this, you need to dig a hole or trench at least 30 cm deep. A drainage layer of small pebbles or broken bricks is placed on its bottom. A pre-prepared soil mixture with a suitable composition is poured on top. The exception is swampy and lowland areas with excessive moisture.
Selection and processing of planting material
The least complications occur after bulb transplantation. But for this they need to be properly prepared.
- In order for the bulbs to have a good rest and stock up on nutrients, the peduncle is removed immediately after flowering, and after a few weeks, all remaining vegetation.
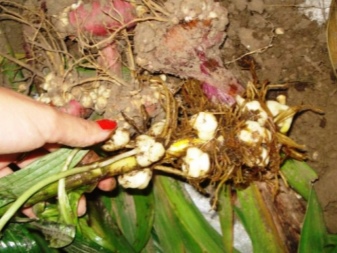
- Then you need to carefully dig out all the nests - that is, the mother's bulb and overgrown babies. If the place for the flower bed has already been prepared and the transplant is planned immediately, you need to handle the roots as carefully as possible and in no case remove the soil from them. If you plan to keep the planting material until spring, all the dirt is cleaned, old, dead scales and roots are removed.
- After cleaning, you should start separating the children, while trying to separate the roots and not injure the old bulb. It is better to plant very small bulbs separately, since they will bloom only after two years, or even more.
- The remaining bulbs must be inspected.Their color depends on the variety; doubtful spots may indicate an incipient disease. The onion should be dense, full-bodied. If, when pressed, it crumples or liquid is released, it should be discarded from its landing.
- Then the planting material should be treated with a fungicide. For the purpose of prevention, you can also use the usual solution of potassium permanganate. The processed bulbs are slightly dried and start planting.
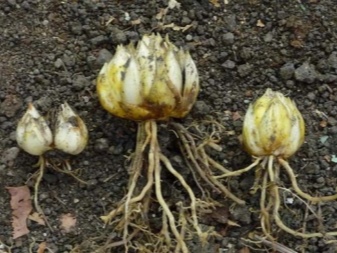
If the bulbs need to be sent for storage, they are dried in the shade outside and then placed in boxes in one layer so that you can view them and remove the spoiled ones. The signed containers are placed in a cool, dark place - a refrigerator, basement or cellar. If during storage the bulb has sprouted a little and there is little left until spring, it can be planted in a pot, and only then transplanted into the ground.
How to transplant?
If the lilies were originally planted with their own hands, then transplanting them will not be difficult - after all, these two processes are very similar. However, despite this, there are several points that need to be paid special attention to when transplanting.
In the spring
In the spring months, both bulbs dug up in the fall and those that have wintered in the ground can be transplanted. Stored bulbs are easy to plant.
- They must be removed, examined well and selected healthy (no signs of damage, with a live bottom). For prevention, the onions can be soaked in a solution of potassium permanganate for half an hour. In this case, they must be placed in the container so that the solution covers only the lower part.
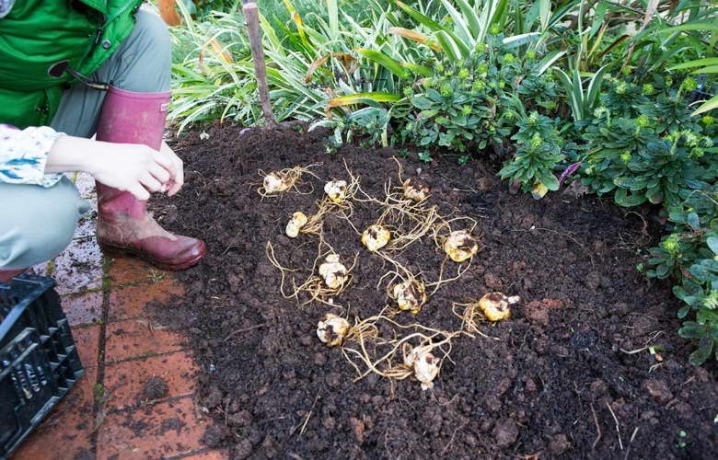
- While the onions are being prepared, depressions can be made in the previously dug flower bed. There are quite a lot of landing schemes, while it is important not only to correctly arrange the lilies themselves, but also to organize their neighborhood with other plantings. Depending on the idea, usually lilies are planted with holes or pits, on the bottom of which a layer of sand is necessarily poured.
- The depth of the indentations depends on the type of lily. 10 cm will suffice for undersized ones, high ones will have to be buried up to 20 cm. If the bulb is small, the depth is reduced, otherwise it simply will not break through the soil. Planting too deep can delay emergence and delay flowering, but in arid areas with sandy soil, it helps to retain moisture.
- The distance between adjacent bulbs can vary from 10 to 20 cm, depending on the cultivar and flowering. It is better to leave more spacing to make it easier to care for the crop. To make the flower bed look neat, the gaps between the plants should be approximately the same.
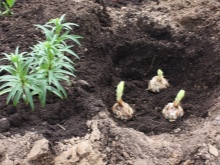
- When placing the bulbs in the recess, make sure they are upright. After that, they are covered with earth. Often, immediately during planting, pegs are installed to tie up tall varieties.
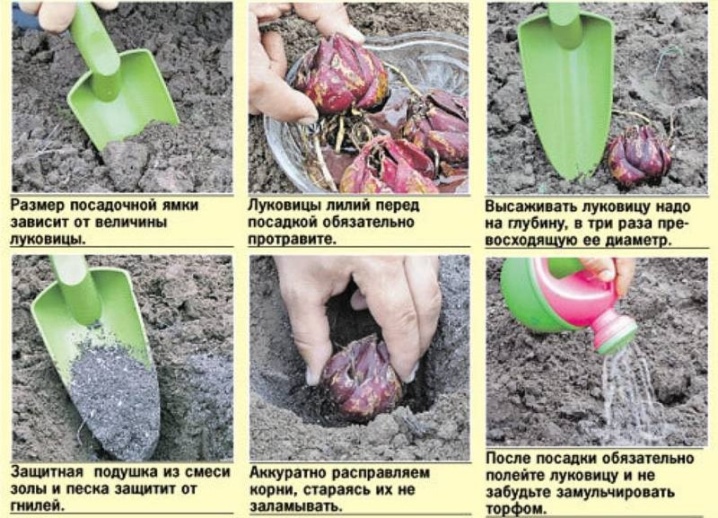
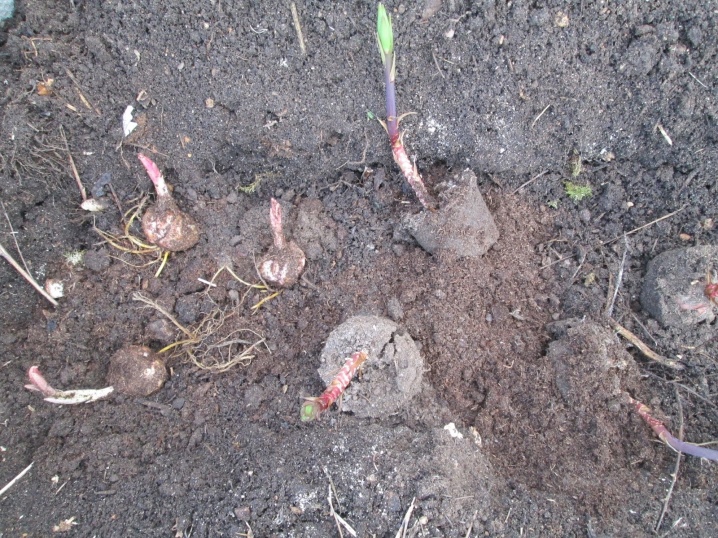
The bulbs left in the open field must be transplanted before the emergence of shoots or while they are still very small. Otherwise, it's better to wait another season. The bulbs are dug up with a clod of earth, large children are separated and examined - not all of them can remain healthy after wintering. The selected material is lowered into the prepared hole with a deepening at the same level as before extraction.
Summer
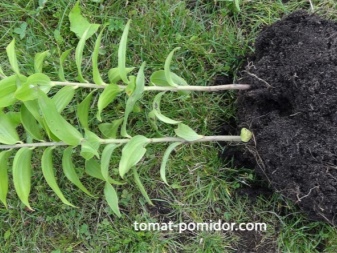
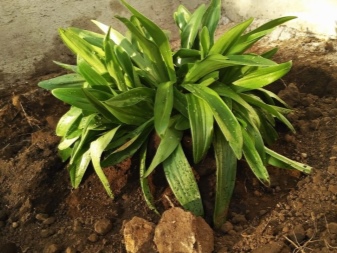
Varieties of lilies that fade in June can be planted without waiting for autumn. After the end of flowering, it is enough to wait three weeks. They are transplanted in the same way as in the spring. It is believed that some hybrids that are particularly hardy can be transplanted at any time of the year and even during flowering. If it is necessary to transfer an already large plant to a new place, you need to proceed as follows.
- Dig it out as carefully as possible, along with a lot of earth. When transferring, it is necessary to try not to damage either the bulb with roots or the aerial part.
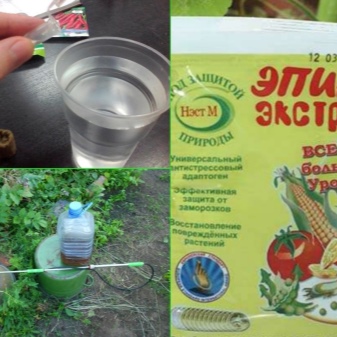
- After transplanting, the plant must be sheltered from the sun for several days. Watering should be timely and moderate.Aids can be added to the water for better rooting.
With such a transplant, you need to be prepared that the plant, even if it takes root in a new place, may not bloom this season or discard already set buds.
In autumn
In the fall, it is important to choose the correct period between rains and the onset of frost. The transplant follows the already familiar scheme:
- digging, dividing the bulbous nest, selecting planting material;
- flower bed preparation;
- disembarkation.
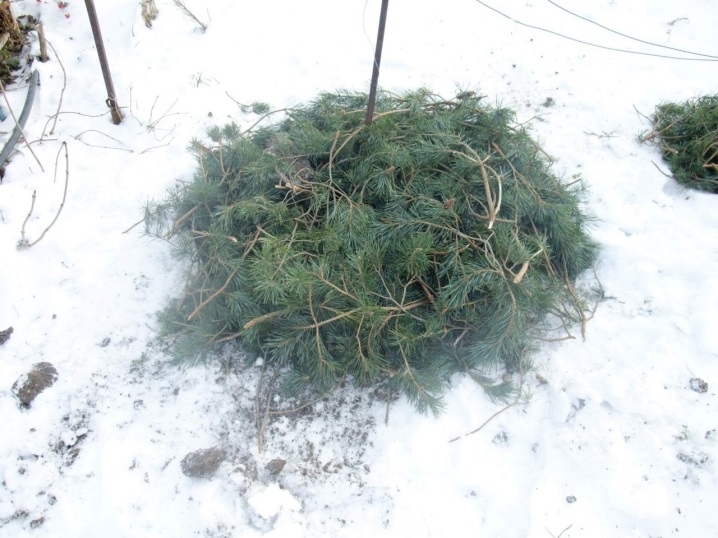
However, this also has its own peculiarities. The more severe the winter, the deeper the holes for the bulbs are made. From above, the flower bed must be insulated. For this, it is covered with straw or foliage. However, insulation becomes an excellent breeding ground for rodents, which can damage the bulbs, so it is better to use cardboard and spruce branches.
Further care
After transplanting, lilies lose some of their protective properties, so they need good care, which will differ depending on the season. There are rules here.
- In autumn, watering the bulbs is practically not needed. It is important to slightly moisten the soil after transplanting and fertilize with potassium and phosphorus. This is what will allow the bulb to take root and successfully endure the winter period.
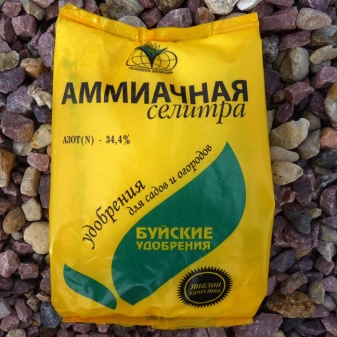
- In the spring, there is still enough moisture in the soil, so frequent moistening is not required. In order for lilies to grow, nitrogen-containing fertilizers and saltpeter are needed. Do not add too many different additives, as well-prepared soil will provide the plants with everything they need.
- In the summer months, feeding is needed at the stage of budding and flowering. In the hot season, it is necessary to water the flower bed every day, in the morning or in the evening. It should be remembered that over-watering can be harmful. In addition, lilies need regular weeding. To provide oxygen access to the roots, the aisles should be periodically loosened. When cutting flowers for bouquets, it is necessary to leave a piece of the stem at least 15 cm for the bulb to develop further.
Lilies can be affected by infections and viral diseases. If the flower has stopped growing, its leaves turn yellow or become stained, action should be taken. For some infections, fungicides will help at first. But it will be better if the affected plant is removed or planted after treatment.
For information on how to properly plant lilies in spring, see below.

























The comment was sent successfully.