When and how to replant daylilies?
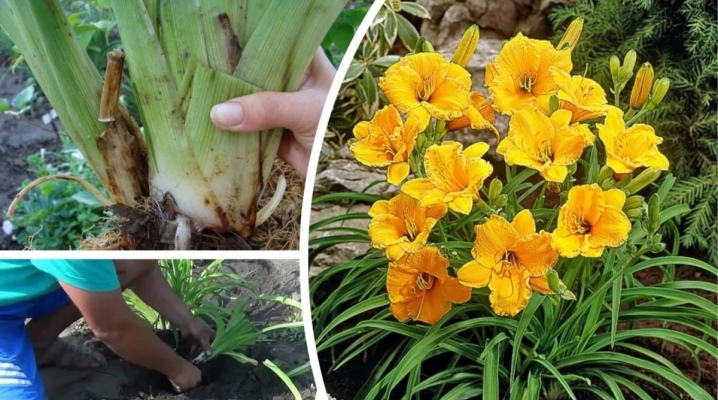
You can often hear that daylilies are called "princesses of the garden." These luxurious, large flowers look really noble and representative. The variety of tones and shades of plants is impressive, encouraging new floricultural exploits. But in order for the flower garden to grow beautiful and healthy, it needs regular care. Including a daylily transplant is required.


Fundamental rules
These perennials can remain in the same place for up to 15 years. With the passage of time, the bush grows, but at the same time the size of the inflorescences becomes smaller. Therefore, in order for the flower buds to remain attractively large, daylilies need to be replanted every 5-7 years.
The basic rules for transplanting a daylily to another place are as follows:
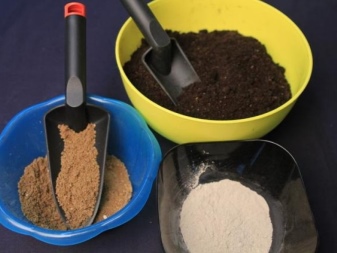
- heavy soils must be enriched with sand, or rather, thanks to sand they will become "lighter", which is definitely more comfortable for plants, humus earth and gravel will also come in handy;
- if the soil is sandy, then it must be fertilized with compost and peat;
- daylilies will take root well in another place, which is characterized by neutral or slightly acidic lands, enriched with organic matter;
- the plant is sun-loving, therefore it is better for it to find a site away from trees with a huge crown, as well as from lush bushes;
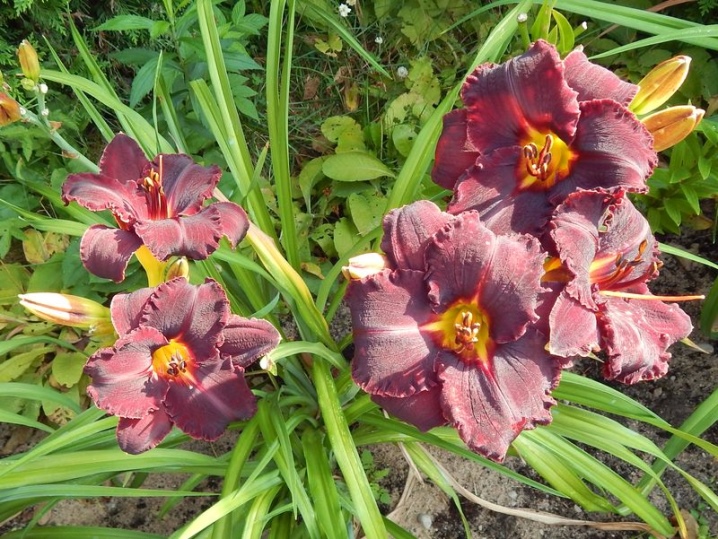
- if you are growing flowers with dark buds, then a slightly darkened area will be a suitable place.

Daylily, as you know, has a rather large, powerful root, it collects a lot of moisture and nutrients. It is thanks to the strong root that the flowering daylily looks gorgeous.
But he still has one drawback. The flowers remain truly bright for only a day, after which they begin to fade. But since there are many buds in the daylily, the flowering heads literally replace each other, and it turns out that the plant has a long flowering period.
Transplant timing
To understand exactly when to transplant a daylily, you should know the basic information about the growth and development of this plant. If you got a plot with a daylily, it would be good to check with the previous owners how long the flowers have been in this place. If the term comes to 15 years, this is the limit value for permanent "residence", flowers need to be transplanted... If you yourself see that the bush is too lush, but the buds are relatively small against this background, think about transplanting.
Usually, flower growers try to transplant every 5-6 years: they prevent the plant from overgrowing, thereby endangering the beautiful size of the buds.
The main thing, at the same time pleasant thing about this topic, is that the daylily does not react to the transplant as to stress. Therefore, you should not be afraid of the event - the plant tolerates it well.
And when to transplant the daylily - let's figure it out.
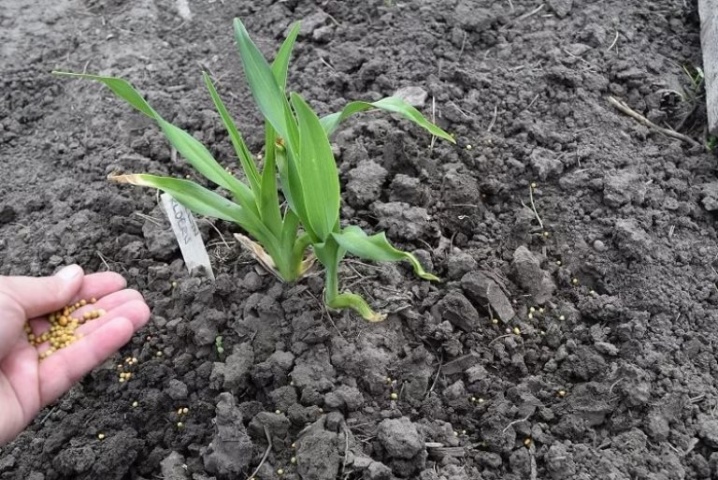
- In the spring. At this time, the flower can be transplanted, but you need to make sure that the soil really warmed up well. This is comfortable for the plant and for you. Usually it is carried out in the suburbs and regions similar in climate in mid-April + month. A plant transplanted in spring will bloom in the same season, but only if it has a good large rhizome. If the roots are too small, expect flowering only next year.
- Summer. You can, of course, be transplanted in the summer, but in these months it is better not to divide the roots, just get rid of the non-viable ones. The less you disturb the root system in June, July and August, the easier the transplant will be.After transferring the plant, be sure to water it for a month. Transplant is ideal in the evening.
- In the autumn. The main thing is not to be late with the transplant during this period: if you think about it after the first frost, it will no longer make sense. If the roots of the plant are frozen, not having time to grab the ground, the daylily will die. Try to transplant flowers before October, maximum - until the middle of the second autumn month. Residents of the southern regions can postpone the transplant until the end of October.
If you want to know which period is the most favorable, it is still spring. After transplanting the bush, after 2 weeks, it can already be fed. So the plant quickly gains strength and pleases with lush, numerous buds.
If you do foliar dressing, then the brightness and size of the flowers will only benefit, and the duration of flowering will increase.
How to transplant?
As already noted, the plant tolerates transplanting relatively easily, without much stress. But if you do not meet the deadline, carry out the transplant, breaking the rules, it will definitely be a shock for the daylily. It is important to follow the instructions.
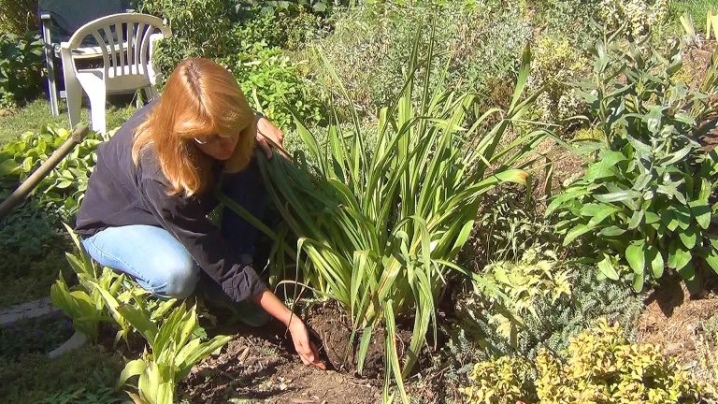
- Dig a hole taking into account the diameter of the root system of the bush. The bottom of the pit must be prepared - lay a mass made of compost and soil in an even layer. You can also use rotted manure. If not, take a universal fertilizer
- Take the soil with a shovel on the outside of the rhizome of the bush, but so as not to injure the roots. So that you do not have to tear the rhizome by force, you can bring a hose to the plant, turn on a rather big pressure, direct the stream to the root and wait until it gets wet. Then the bush needs to be pulled slightly to the sides. If the bush is old, such a division is unsuccessful, but a relatively young bush can be divided with water for sure. The old bush must be divided with a knife, not forgetting to treat the cut points with a fungicidal composition.
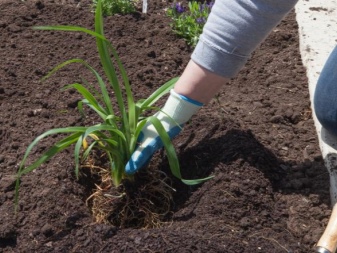
- Hold the flower by the main stem, so carefully transfer it to a new hole prepared for transplantation. Pour a small bump of soil (in the form of a cone) at the bottom, try to pour this soil so that it is inside the rhizome. When filling the hole with earth, the bush should be vertical. Make sure that the daylily does not "leave" to the side and does not fall over. Watch this moment and the plant will not be able to develop normally.
- After the hole surface is level with the rest of the soil, try to properly compact the area. The flower bed should be watered abundantly. And for the first 3-4 weeks, actively water the "immigrants". If you forget, the ground in the new place will dry out, and the plant will be left without normal nutrition.

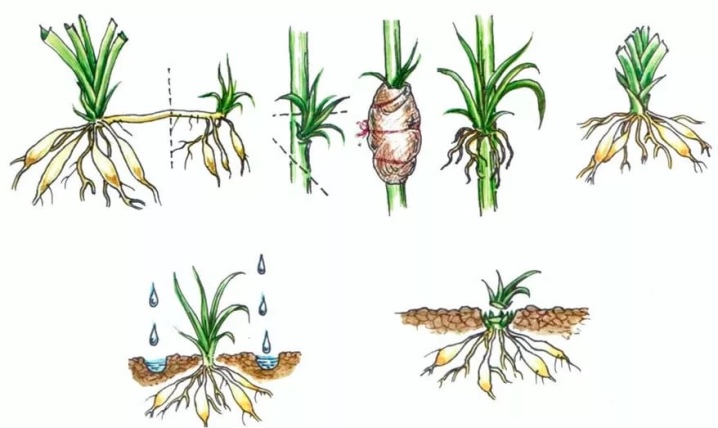
Daylily transplant is usually combined with its reproduction... The latter can also be done by proliferation. On the plant, you need to find a rosette of leaves, which is formed in the leaf axil. The rosette needs to be cut closer to the stem. The rosette transplant itself will take 6-8 minutes, in addition to everything, the soil will be fertilized. The grown bush will be similar to the mother bush, which means that the gardener will keep the daylily variety.
An easier way to breed a daylily is cut off the main stem to the very base, leave no more than 2 cm from the root collar. This will stimulate the growth of new shoots, and in order for them to grow and develop, the ground from the rhizome should be slightly pushed aside.
Another important point - you need to cut the stem strictly horizontally, and not along an inclined one, as some gardeners mistakenly do... Ash dressing will protect young wounds from infection.
It is known that if the daylily is propagated in this way, a dozen new shoots can be obtained in just one month. But after dividing the bush can be transplanted after a couple of years, having previously divided it into several local bushes.
Recommendations
The recommendations of experienced gardeners will help the daylily take root well in a new place and delight with beautiful flowering for more than one season.
Here are 13 tips for transplanting a daylily.
- If you still decide to plant a daylily in the shade, without finding a better place for it on the site, you cannot expect that the flowers will demonstrate their high decorative qualities. But for dark varieties, the relative shade will not be an obstacle to beautiful flowering. If the result is not pleasing, look for a sunny area. Regarding the daylily, flower growers say that the lighter the plant variety, the more sun it needs.
- Do not plant a daylily in a low-lying area. The fact is that flooding on it is not uncommon, and this leads to rotting of the plant roots. But it also happens that there is simply no other place on the site, in which case it should be strengthened with drainage.
- Good flowering will provide the daylily with a slightly acidic substrate. Neutral will work as well. Saturate the soil with organic matter to keep the soil fertile. The daylily will be grateful to such soil and will delight you with bright, lush buds.
- The best soil for a plant is loam. Sandy loam is also suitable, but with the condition of introducing nutritious humus.
- Avoid transplanting during the day - active sun, even a plant as patient as daylily can be stressful. In the evening, in cloudy weather, or in the early morning, the transplant will be successful.
- With a harsh climate in the region or forecasts for a cold autumn, do not delay the transplant, spend it in August.
- Do not skip watering after transplanting. Even if there is no drought outside, the weather is moderate, water the transplanted bush every day. Do this for two weeks daily, you can extend this period to 3-4 weeks with occasional skipping watering. If the soil moisture is high, the plant will adapt more quickly to the new location.
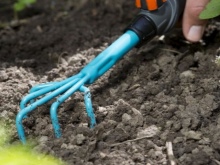
- After watering, be sure to loosen the soil - this will provide air access to the rhizome.
- A month after transplanting, the daylily must be fed with the mineral composition of fertilizers with the inclusion of nitrogen.
- Flowering shrubs are transplanted only if you cannot do without it. For example, construction is underway on the site, and the safety of the flower bed is under threat. Of course, there is no need to wait for a good rooting of the daylily during flowering. At this time, the plant spends energy on the formation of flowers, and they simply do not remain for adaptation to new conditions.
- If the transplant takes place during flowering, and you cannot endure this moment, then you will have to sacrifice the flowering stems of the daylily with buds. This will give the plant the strength to adapt. Cut the stems 15 cm from the neck of the rhizome.
- Monitor the condition of the flower after transplanting. The fact that it has successfully taken root will be eloquently indicated by the appearance of new greenery.
- Daylilies tolerate even strong gusts of wind well, therefore it is not necessary to put supports for them without great need. Even freshly transplanted flowers are rarely needed.


If all the recommendations are followed, all the rules have been studied, neither the algorithm nor the transplantation time has been violated, the flowers will surely take root. The plant can be called modest and unpretentious, it can withstand drought under certain conditions, and can withstand frost.
But you shouldn't blame everything on its durability: help the flowers, protect them from external aggressive conditions, and they will not refuse a gorgeous bloom.
For more on caring for daylilies, see below.


The comment was sent successfully.