Rules and scheme for planting daylilies
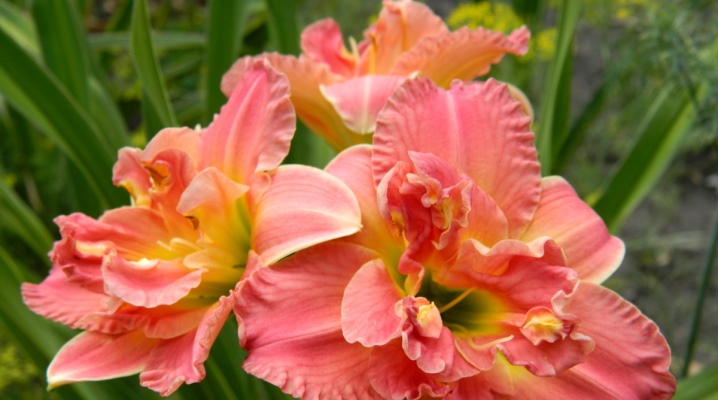
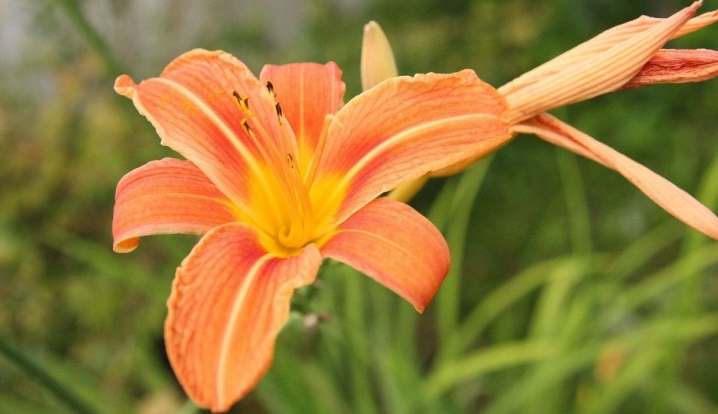
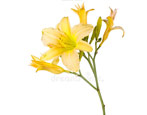
Daylily is an unusual plant, each flower of which lives only one day. Despite this, various varieties of culture can often be found in flower beds, since the plant has a wide range of colors and is able to decorate any garden. Growing a daylily is not particularly difficult, but there are some nuances. It is especially important to take a responsible approach to the landing stage.
Landing dates
Flowering, depending on the species, begins in June-July and lasts until the end of September. Daylilies can be transplanted throughout the growing season, this procedure is not traumatic for this crop, but it is important to leave time for the plant to root. Planting is often done in the spring. This is the most optimal time for planting - the specimen has a whole growing season to get used to new conditions and get stronger.
You can plant in the summer, but it is recommended to do this on a cloudy cool day or in the evening, trying to cover the seedling from the sun's rays.
If the plant is planted in the fall, then a more specific period is determined by weather conditions.... You should know that it will take 1-1.5 months for a flower to root, that is, this is how much time a planted plant should have before frost. Good prospects for a flower planted in late August after flowering.
Seat selection
When choosing a site for planting, it should be borne in mind that the plant will grow well in soil with high fertility. If the culture is fully provided with moisture, then it will develop faster in such soil. The illumination of the site is also important. The more sun the plant receives, the larger the flowers the gardener will be able to observe in the flowerbed. If you plant a daylily in a somewhat shaded area, then, on the contrary, it will be able to please with abundant lush foliage.
It is believed that partial shade is also suitable for natural varieties, and hybrids should be provided with high-quality lighting. If these are dark-colored species, then partial shading during the day is recommended so that the petals do not fade.
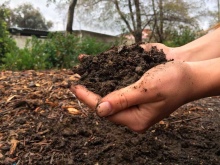
The plant does not need a strong shade, since it ceases to bloom in such conditions. Wetlands are also not suitable for planting. It is better to avoid planting in low-lying areas. In order for the soil to be full of minerals for the full development of the culture, it is recommended to first add humus or compost to its composition.
The depth of the fertile layer should be up to 50 cm, and the pH values should be from 6 to 6.7, permissible from 5 to 7. If it is sandy soil, then clay and rotted organic matter should be added, you can also add 10 kg of black soil per 1 sq. m. If the soil is clay, then coarse sand, peat, compost and drainage will allow to dilute the composition.
It is important to preliminarily rid the dacha flower bed of weeds. If planting is organized on virgin soil, then removing the roots of weeds is required in the fall, and planting in this case should be carried out next spring. Since autumn, with too high acidity, lime is added to the soil.
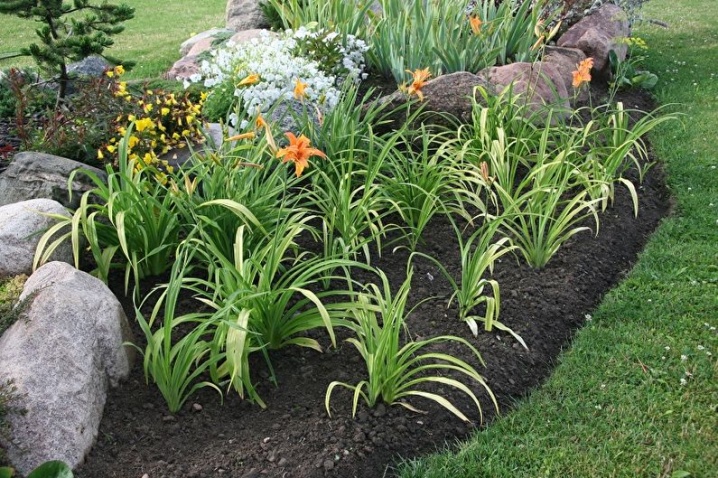
It is not recommended to choose an area near bushes or trees. Even if you plant flowers on the south side, this does not exclude serious competition for nutrients and water.
How to plant correctly?
In one place, the presented culture can grow up to 15 years, but it is important to transplant once every 5 years, otherwise the plant will grow strongly, and the flowering will become less and less lush and abundant every year.
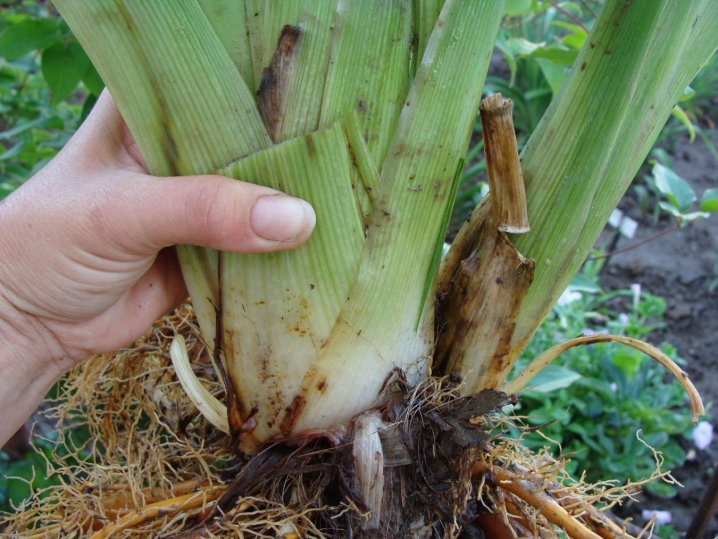
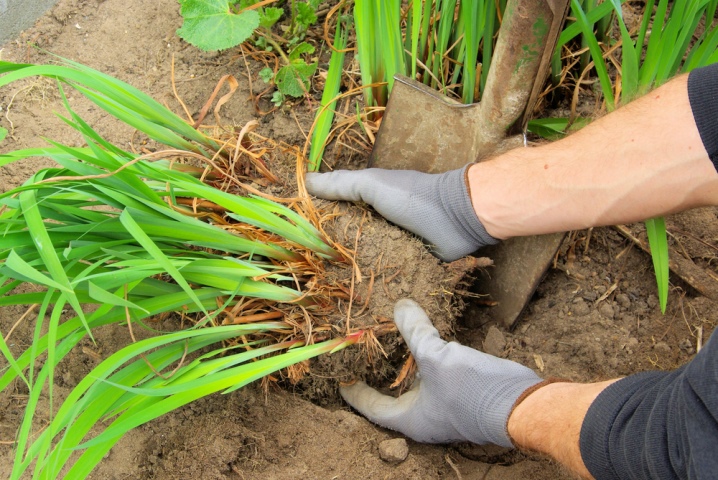
For transplanting, an adult bush is carefully dug out together with an earthen lump so that the tool does not touch the roots. Next, you should thoroughly rinse the root system under running water and divide it into two parts. Sometimes this requires a sharp knife or pruner. All cut sites are disinfected.
Before proceeding with planting, it is important to prepare the selected seedling for this procedure. Until the moment of planting, the plant can be stored for almost a month, but it is important to wrap the roots in a damp cloth or sprinkle with a wet sand-peat mixture. It is recommended to trim the leaves by 1/3 to reduce moisture loss.
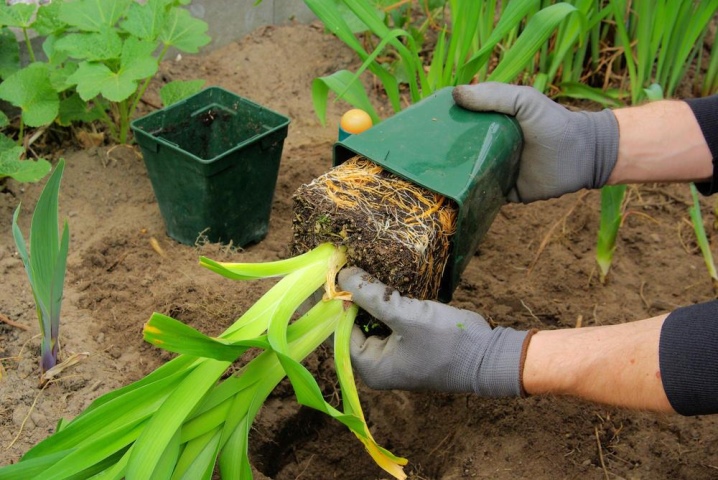
If the roots are dry before planting, then you can hold them for 3-4 hours in water. After that, all lifeless processes are eliminated, and healthy fragments are cut to a length of 25 cm. Florists advise treating cut areas with fungicides so that they do not become a source of spread of infectious diseases. It is also important to perform the entire procedure with a well-disinfected instrument.
If the daylily is planted in the country for the first time, then usually the rhizome bought in the store is the planting material. It is recommended to buy seedlings from proven nurseries. When purchasing, visually inspect the selected sample. Make sure the root system is vibrant, healthy, and dense. If there are few roots and they look sick and undeveloped, then it is better to refuse to buy - such a specimen will not bloom for at least 2 more years.
Check that the root scions are free of soft and rotten fragments. Also check with the retailer in advance if the variety or hybrid chosen is adapted to local weather conditions.
Some species were bred in the subtropics of the United States, and their adaptation to the Russian climate will be very problematic.
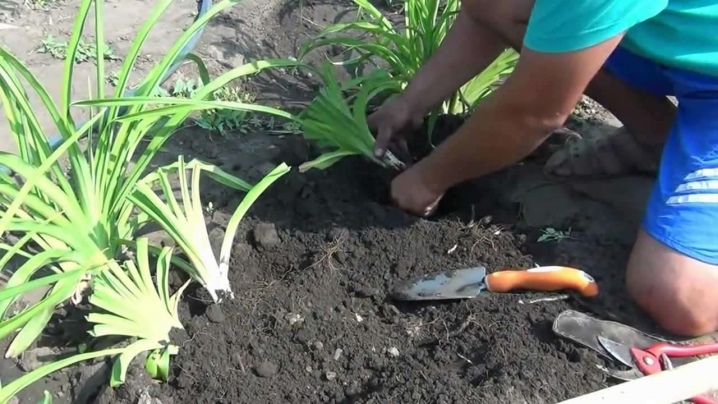
Spring planting in open ground begins with the preparation of the planting pit. Planting occurs according to the scheme of 60-70 cm between adjacent specimens, but if these are undersized species, then the distance between plantings can be 40 cm. When landing, you should follow the sequence of actions.
- Dig a hole with a diameter of about 30-40 cm. The exact parameters are determined by the dimensions of the root system - the hole should be 1.5 times larger than the volume of the rhizome.
- Prepare a nutrient mixture. This can be done by combining soil, leaf humus, non-acidic peat, potassium salt, superphosphate, ash. It is important to avoid an excess of nitrogen, since under its influence the plant will put all its energy into the development of green mass, and there will be no energy left for flowering.
- Place the prepared mixture on the bottom of the bump-shaped hole.
- Place the seedling in the hole and spread the roots on a mound.
- Add the mixture to the resulting space and pour over. Repeat the same steps several times. Alternating backfill and watering will ensure a good adhesion of the soil to the roots.
- Moisten the planting site liberally and add a layer of mulch such as chopped tree bark or straw.
When planting, keep in mind that the root collar should be deepened at a level of 2 cm on heavy soils and 3 cm on light soils. If the crop is planted too deep, the plant will be weak.
If the neck is almost not buried, then in the spring the roots may appear on the surface.
Experienced gardeners can try seed planting. The manipulation is recommended in the fall, in October. Growing seedlings is allowed in a greenhouse or at home through seedlings. The planting material must undergo stratification: leave it for 3-4 weeks in the refrigerator - so the seedlings will be hardened and ready to be kept in new conditions. If the grower does not have the conditions for additional illumination of the seedlings, then it is better to postpone the sowing to March, when the frequency and duration of sunny days increases.
Before planting, it is recommended to hold the seeds in water for a week with the addition of hydrogen peroxide; to improve germination, you can add a little "Epin". Sowing is carried out in a container with soil to a depth of 0.5 cm. Further, the containers are covered with foil, watering is carried out through a pallet. It is important to regularly ventilate the container by removing condensation from the film. Periodically, planting should be treated with a foundationol solution - it will protect the seedlings from diseases.
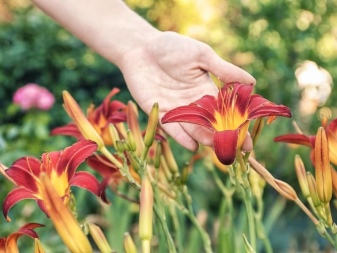
Follow-up care
It is not difficult to take care of daylilies, although at this stage there are some peculiarities. Pay special attention to the care measures when growing.
Watering
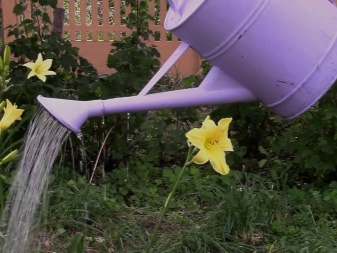
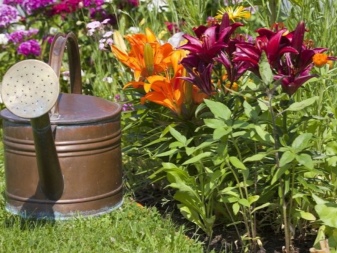
These flowers are very vulnerable in case of moisture deficiency, so they need to be moisturized often and a lot. Under these conditions, a very beautiful live flowering can be observed. It is especially important to increase the frequency of watering during drought periods. Also pay attention to the process itself: the flowers should be watered carefully, so that no water gets on the leaves, otherwise it will provoke the onset of a fungal disease... It is customary to pour water in a gentle stream around the accumulation of roots.
Separately, it should be said about varieties with red and purple flowers. The fact is that these species do not react well to rainfall, therefore, when growing them, watering procedures should be somewhat reduced.
If this is an adult specimen with old roots, then he himself will find moisture for himself, having penetrated into the depths of the earth and therefore will easily survive for a long time without artificial watering.
Preparing for winter
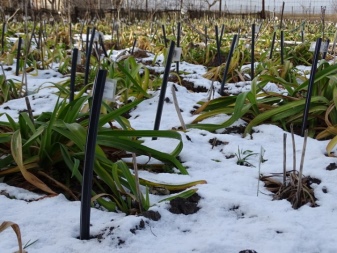
The culture does not need this procedure. The roots withstand the most severe frosts well, therefore they are allowed to be left in the ground. The best protection from the cold for the plant will be the snow itself.
If the climate where the flowers are planted is characterized by prolonged severe frosts and snow rarely falls, then you can play it safe and insulate the plant. Moreover, if these are specimens planted in the fall, they have not yet had time to get stronger and adapt to unusual conditions. A 5-8 cm layer of mulch made from straw, dry foliage, rotted sawdust is suitable as a shelter. For more effective frost protection, you can use spruce branches laid on top of the mulch, or a non-woven covering material that covers the plant.

Fertilizer
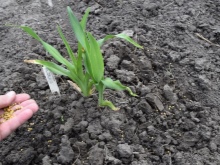
The specificity of fertilizing is determined by the age of the plants and the season. Thus, adult specimens require additional nutrition more than newly planted specimens. At the beginning of the growing season, top dressing should contain nitrogen - this component will allow the plant to acquire lush greenery, then mixtures containing phosphorus and potassium are more important for the culture.
Experienced flower growers give their recommendations for fertilizing daylilies.
- In spring, give preference to complex formulations. For a young bush, 0.5 liters of solution is enough, for an adult - 1 liter. Dry mixes are quite acceptable at this time - they can be scattered on the ground and repaired by loosening.
- Fertilization in the spring should be carried out at a temperature not lower than + 6-8 degrees.
- If the flowers are planted in spring, then they do not need the first feeding - the seedlings will have enough of those components that are contained in the nutrient mixture added during planting.
- The second feeding looks the same as the first, but is done at the end of May. In this case, the procedure is combined with foliar feeding with a solution of magnesium 15 g per 10 liters of water in order to eliminate the lack of magnesium. Foliar fertilization is applied on a cloudy, windless day.
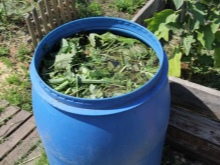
- During the budding period or at the beginning of flowering, additional nutrition is produced with organic matter: infusion of mullein, chicken droppings or fermented grass.
- In August or early September, it is important to supply the plant with phosphorus and potassium. You can feed the culture with a mixture containing nitrogen, or superphosphate combined with ash.
In autumn, it is important to avoid pure nitrogen compounds, otherwise, under their influence, this representative of the flora will not have time to get stronger and prepare for winter.
Pruning
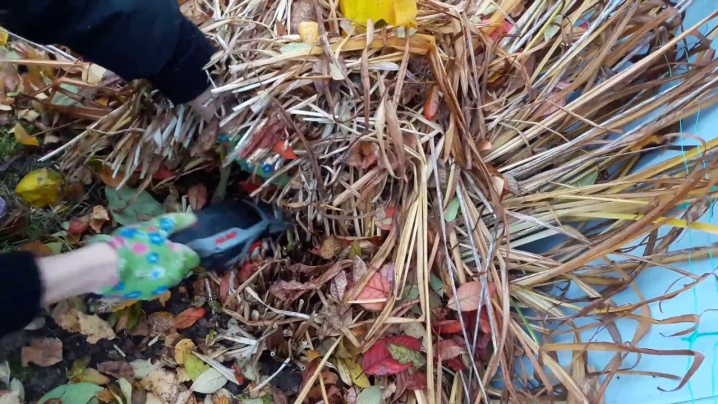
Pruning is carried out in the spring.When fresh shoots appear, old wilted leaves should be removed. In the fall, you should wait with a haircut, even if the bush looks sloppy. Some gardeners generally recommend abandoning autumn pruning, since the process of photosynthesis takes place in the leaves, supplying useful elements to the roots, which contributes to a higher winter hardiness.
If the specimen is planted in springtime, then it is better not to let it bloom in the first year, but to cut off the formed buds.
Diseases and pests.
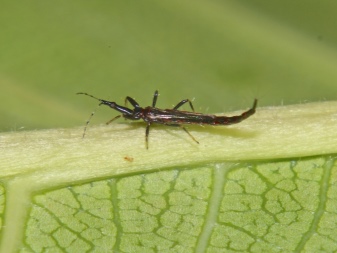
This is a fairly resistant culture to diseases and insects, but sometimes this problem does not bypass it. So, thrips, which make their way into the plant from the ground and drink its juice, become frequent uninvited guests in the flowerbed. Under the influence of an insect, the specimen begins to develop poorly, and the buds are deformed. It is not possible to overcome the pest, the affected bush should be dug up and destroyed.
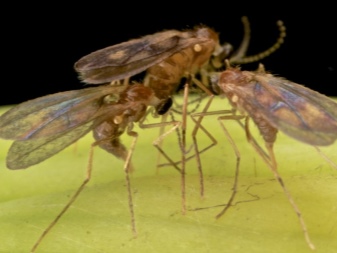
Also, the lily mosquito loves to feast on this flower. It lays eggs in leaves and buds. The hatching young individuals gnaw through the "labyrinths" in the leaves and spoil the appearance of the plant. Systemic insecticides "Deltamethrin", "Imidacloprid", "Acetamiprid" will help to cope with this insect.
Most pests are still afraid of the scent of flowers and do not fly too close to them.
Diseases that most commonly affect the culture.
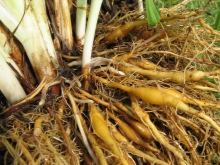
- Root rot. Usually seen in spring. The presence of an ailment is indicated by yellowness on the leaves and the cessation of their growth. The infected specimen must be removed from the ground, removed from the roots the parts spoiled by the disease, and the healthy processes must be washed in a weak solution of potassium permanganate.
- Rust. The daylily is affected if it is planted next to the patrinia. As a preventive measure, the plant is periodically treated with fungicides.
- Fusarium. This fungus can be recognized by yellowed and withered leaves. At the initial stage, fungicides will relieve the disease. The neglected forms are not treated, the plant should be destroyed along with the earthen clod in order to prevent contamination of neighboring plantings.

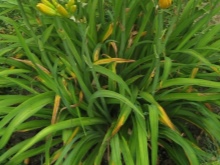
In order to notice the disease in time, you should systematically carefully examine the bushes, eliminate diseased stems and leaves, spray the flower with fungicides and insecticides in small doses for prevention.
For the rules for planting daylilies, see the next video.


















The comment was sent successfully.