How to make a ladder with your own hands?

There are many different tools and gadgets that every home should have. They help us do our homework more efficiently and quickly, or they can simply make our life easier. One of these elements is a portable ladder, or, as it is more often called, a stepladder. This product should be in every home, because, despite its simplicity, it helps us in a number of moments when it is required to carry out some work at a not very high altitude, where a person cannot reach without improvised means.
Features and purpose
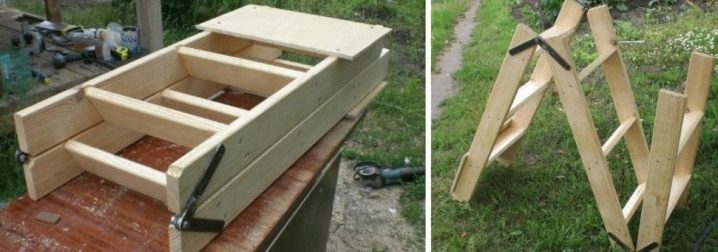
The stepladder is a pretty useful tool for an apartment and especially for a home. But also it will not be superfluous for the kitchen or dressing room, which will allow you to get something from the top shelf or wipe the dust on the roof of a cabinet. The cost of such a device cannot be called high, but if you need a step-ladder made with your own hands, then you can show your imagination and make a model that suits you. Home-made solutions can then be different and have significantly more advanced functionality than the models that are sold in the store.
It is logical that the most common option is a stepladder made of wood, because it can be built very simply by taking boards or blocks of wood. The main advantages of this option will be ease of assembly and maintenance, as well as ease of transportation. But the models made of metal are much more cumbersome, and it is much more difficult to transport them around the room or garden.
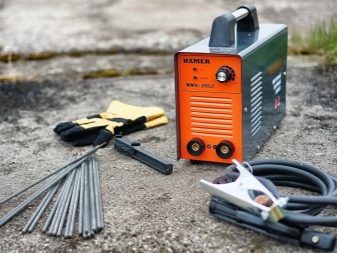
And the manufacture of such an option often requires the use of welding equipment.
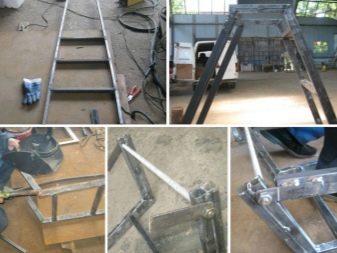
Of course, it will be easier to make a stepladder out of wood or, say, plywood. While the latter option may not be very durable, you need to be careful here. You can make some kind of combined solution - from a profile pipe, for example, a frame, and steps from a profile, plywood or, in general, from PVC. But here it all depends on the imagination of the person who makes it, as well as on what specific purpose of such a staircase is, and where it is going to be used.
Required tools and materials
Before we start talking about the necessary tools and materials, let's say that the list of necessary things will vary depending on which option you decided to implement. That is, it may happen that the materials needed to create a wooden version will be completely useless if a steel ladder or a step-ladder is made of polypropylene elements.
Naturally, we definitely won't need welding if we decide to make a version made of wood.
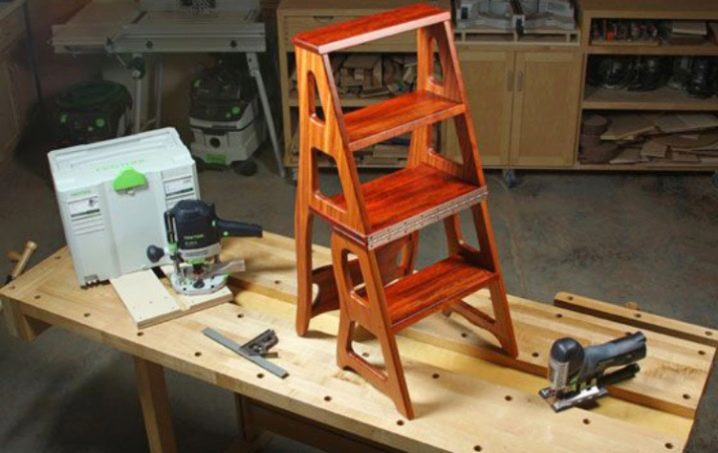
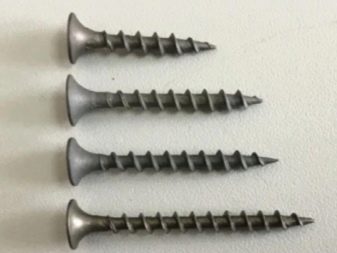
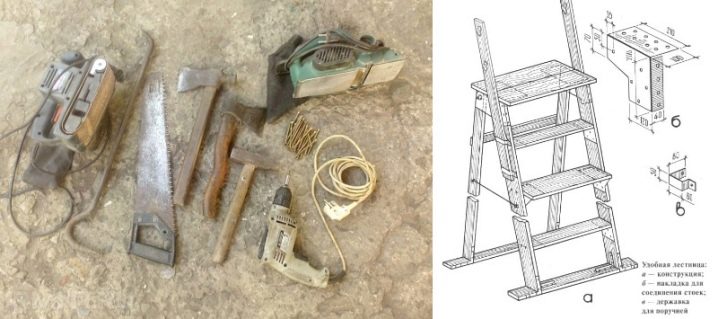
If it was decided to make a stepladder from wood, then to implement the idea we need a hacksaw for working with wood, which will have a prong thickness of about 3 millimeters. In addition, you need to have a screwdriver, medium-grit emery, drills and a hammer on hand. It should be said that conventional drills will not work. We need special ones for wood, with a diameter of 3 and 12 millimeters. Their feature is that the length of the part for work will be 0.5 centimeters. Self-tapping screws are used as fasteners and should also be made for wood. We also need 4 bolts of the M10 model, the length of which is 1.2 centimeters.
And also, in addition to them, we need four washers and nuts. Both elements need 8 each.

Before forming such a thing out of wood, special construction chains should be prepared with a length of at least half a meter, which will then turn out to be a kind of clamps. Each link should be made of 1.5-2 mm wire, and the length of the link itself should be no more than a centimeter. And you also need 4 semicircular brackets to fix the chain.
In the case of a different design, we need to have on hand:
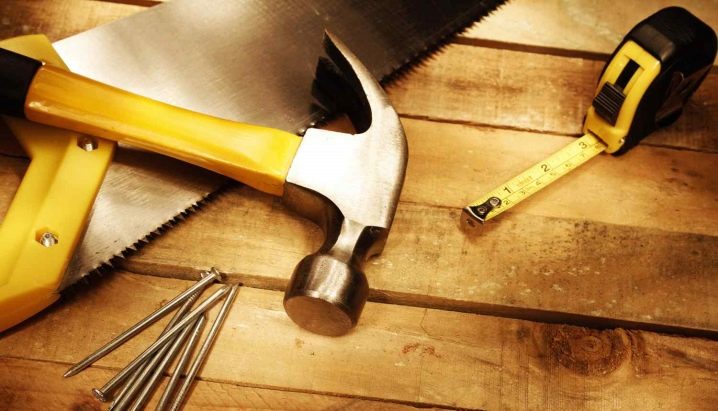
- hammer;
- drill;
- tape measure for taking measurements;
- saw.
In addition, you will need wood blocks and so on. But also when implementing the metal version, you will need:
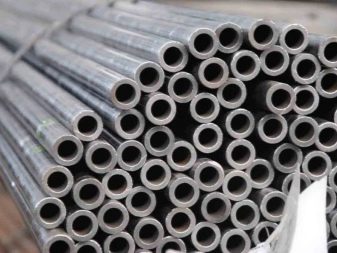
- metal profile;
- metal pipes;
- rubber pads for steps;
- loops;
- shoes;
- rubber feet;
- Bulgarian;
- welding;
- square;
- electric drill;
- marker;
- fasteners-hardware;
- belts;
- tray.
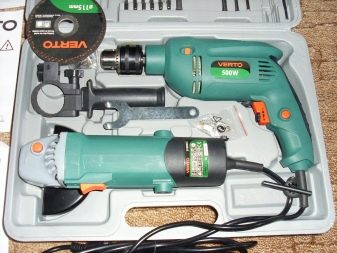
In general, it all depends on what project is being implemented, as well as from what material it is planned to make a step-ladder.
And this can be found out when you have such a thing as blueprints in your hands.
Drawings and dimensions of parts
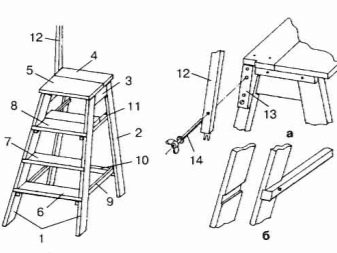
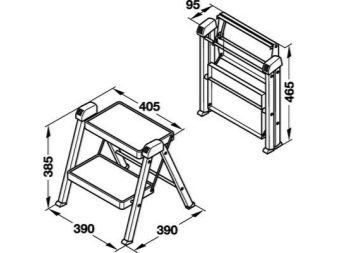
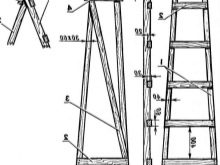
It should be said that the drawings, as well as the dimensions of the parts, will depend on what type of stepladder is being made, what it will be made of, and what equipment it has. That is, if it is a small stepladder with 2 or 3 steps, then it will be one thing. If it is also foldable, other drawings are already needed that provide for this moment. If this is a metal transformer, then this will require a completely different drawing. And if it is also mini, then this should also be provided for in the drawing documentation.
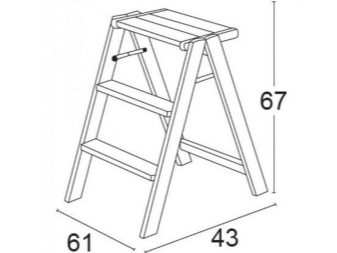
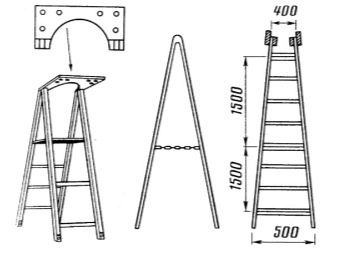
In general, it should be clarified here that all ladders are divided into three categories:
- telescopic;
- universal;
- classic.
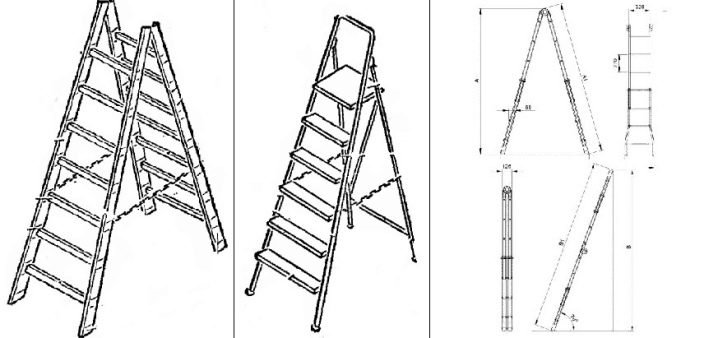
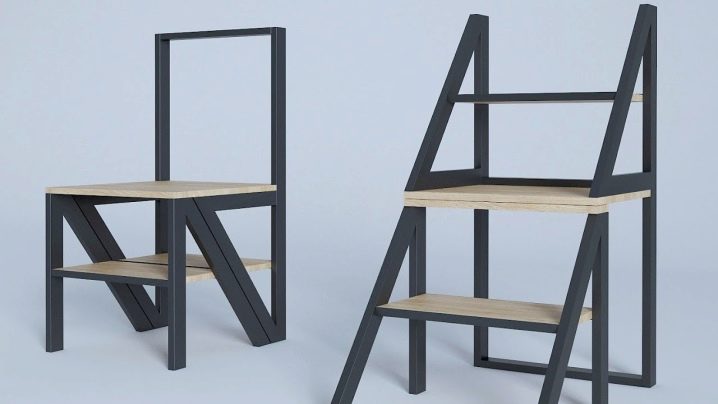
Classic are designs where there are steps on both sides. In universal - only on one side. And telescopic ones are the most difficult from a technical point of view, but the most convenient. They fold and transform. That is, it is already possible to understand that the drawing for the mentioned structures will be different.
A drawing, in its essence, allows you to organize and bring together all your desires and requirements for a ladder. And it is he who will directly affect the size of the parts that will be used.
If we are talking about drawing a mini-stepladder, then these will be some parameters. If about the drawing documentation for a wooden universal model, then they are completely different. In general, to summarize, then everything will depend on the specific project that was conceived by a person and its implementation in the form of drawing documentation.
How to do it?
As you can already see, preparation for the implementation of the stepladder project must be serious. Before directly starting to implement such an idea, you need to have the necessary materials, tools, as well as drawings, where everything will be calculated - from the physical dimensions of the elements to the smallest detail, and also know what we need to make such a device from. Now let's move on to describing the process of creating this type of staircase itself.
Preparatory work
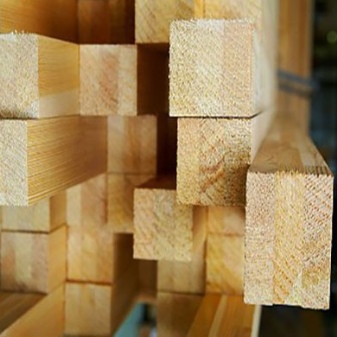
If it was decided to create a ladder from wood, then it is required to carry out some work to prepare the component parts for assembly before direct assembly. For example, we need a special, especially durable timber, which must be dried well beforehand. After that, it should be cut into certain segments, which will then become crossbars and uprights.
If lumber is suddenly taken to create a wooden stepladder, then it should be very carefully inspected for defects, chips and breakdowns of various types. And also the color will be important. In no case should it have gray or dark brown inclusions.
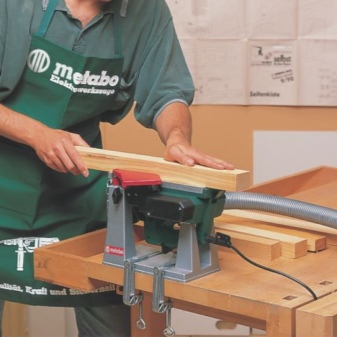
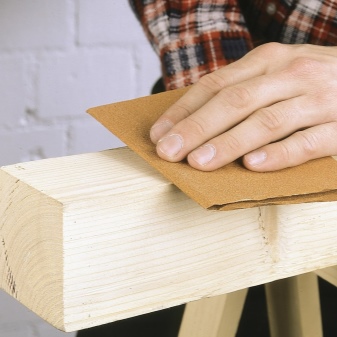
And also you should first clean up with sandpaper all the parts to which the person will touch, so as not to drive a splinter in the future.
In addition, before assembly, the parts should be impregnated with an antispetic agent so that the structure lasts longer and is not subject to decay or the destructive effects of atmospheric factors.

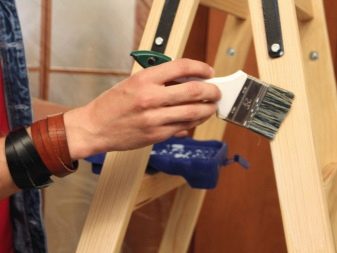
Naturally, you should then prepare all the necessary elements.
- We take a bar and cut off 4 parts from it for a bowstring. Two of them will be used in the supporting part of the ladder, and 2 more will be used to support the steps.
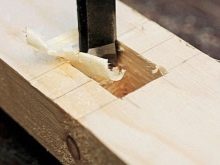
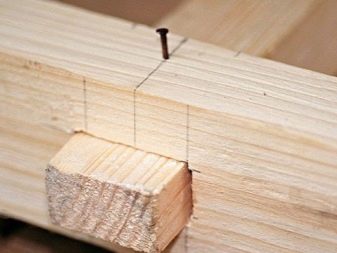
- On one pair of bowstrings, it is necessary to make grooves that will have a depth of about 2 centimeters, and a height of about 2.5 centimeters along the beam width. Here it is important to make sure that the center of the groove on the top, located on the right, is at a distance from the top of the bowstring somewhere about 12.5 centimeters. Others should be done every 29 centimeters.
- In the racks that will be the supports of the entire structure, we punch 3 grooves each with dimensions like the jumpers. One will be located at the height of the first step of the structure, the second will be on top, and the third will be in the center.
- Rack edges that are at the top, round off and completely remove any sharp corners.
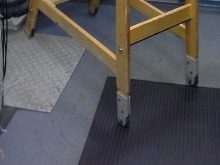
- We cut the ends from the bottom so that our wooden structure gets maximum stability, after which we cover them with rubber so that it does not leave marks on the floor under the weight of a person's mass.
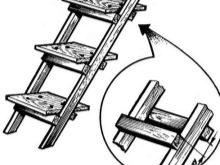
- Now it remains to make the steps according to the drawing documentation. In each, we make thorns on both sides, which should have a diameter of about 2.5 centimeters and a length of 2 centimeters.
Assembly
Now the direct assembly of the structure begins.
- First, steps must be placed in the rack grooves. Prior to this, the spikes must be treated with carpentry glue.
- The spikes of the steps with a hammer should be driven into the rack grooves. After installing the steps, you should make the fastening from the end of the bowstring with nails.
- When assembling a ladder from planks, instead of bars, the actions will be slightly different. The grooves should not be made, as the board will have a small thickness. The treads should then be attached to the bowstrings using corners made of steel with wide shelves.
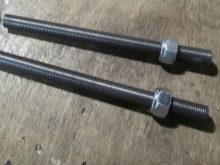
- Now the bowstrings of the work area should be fastened using the pins. This makes it possible to increase the durability and reliability of the structure. We make holes under the grooves, where, after installing the steps, we put the studs and on both sides we carry out the screed with the help of bolts.
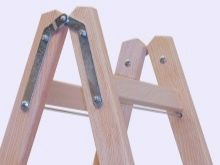
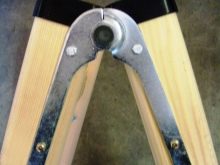
- When the work and support areas have been assembled, they should be assembled into one structure through hinges with hinges, or alternatively, brackets.
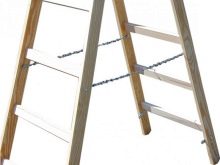
- Now, at the last stage, a fixing chain is attached from the bottom of the ladder, which will not allow the working and supporting parts to diverge very much.

Finishing
It should be said that ladders and ladders made of wood must be finished. Its algorithm will include a number of steps.
- The details that a person picks up should all be sanded with emery. As mentioned, this is necessary to reduce the risk of a splinter. And also, both before and after the assembly of the structure, surfaces that have been deformed by mold should be cleaned. You can even use special tools here.
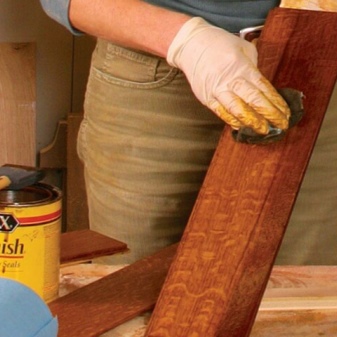
- To improve the characteristics of wood in the matter of resisting the effects of various natural and anthropogenic factors, the structure should be impregnated with a special substance - stain. It is an antiseptic that will prevent wood from rotting and mold from forming. Naturally, this will significantly increase the operating time.
- When the product is assembled, it is necessary to soak it with drying oil, and then cover it with paint or paints and varnishes.
- Of course, what kind of ladder to make and how - everyone decides independently. But we should not forget that it should not only look aesthetically pleasing, but also be safe, functional and durable.
Professional advice
Now here are some tips from professionals, which will make the process of assembling a wooden ladder better, easier and more efficient.
- The first thing you need to know is that when creating a wooden step-ladder, you need to make a special support with beams with your own hands and use a technique that involves laying out various elements with an overlap.
- Another important point, which will also be useful, is that to provide additional rigidity, each transverse bar should be attached to the rack using special bolts. Each such self-tapping bolt must have a length of at least 65 millimeters.
- The third point that you should know is that if you install corners made of steel on the end side of the support, the structure will become much stronger and will withstand heavy loads.
- You can also make a removable top step that can be easily placed on the ladder. Such a detail is convenient if you want to paint the ceiling. In this case, the bucket of paint can be placed next to it.
- And you can also equip the ladder with at least one handrail - the descent and ascent will then become faster and much easier.
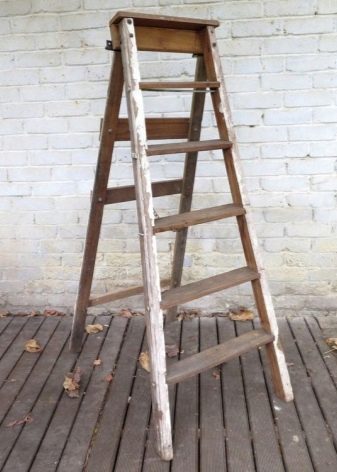
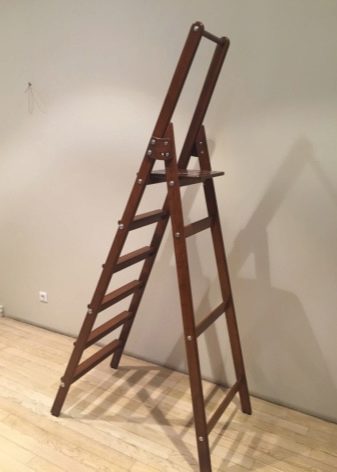
As you can see, making a stepladder with your own hands is not too difficult and feasible for many. The main thing is to clearly know from what material you will make this structure, as well as to develop correct and accurate drawings, which, after creation, will only have to be translated into a real step-ladder.
After watching the video, you will learn how to make a step-ladder from a profile pipe with your own hands.


The comment was sent successfully.