How to make a pool in the country with your own hands?
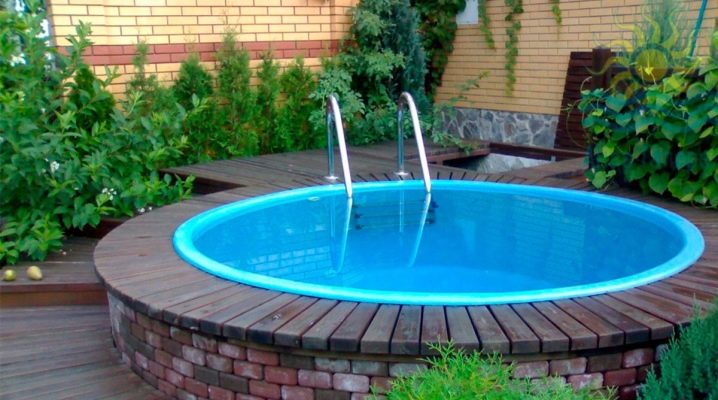
The dacha is a place where we take a break from the bustle of the city. Perhaps the most relaxing effect is water. By building a swimming pool in the country, you "kill two birds with one stone": you give your backyard a luxurious look and enjoy swimming in clear water.
Peculiarities
The construction of an object can be ordered from companies directly involved in this type of service, but an independent solution to the problem will be much more interesting and more budgetary. Moreover, building a pool with your own hands is not as difficult as it seems at first glance.
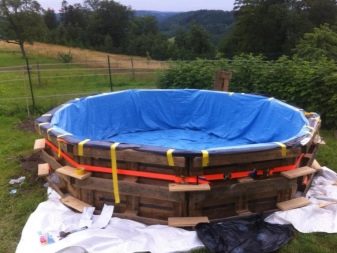
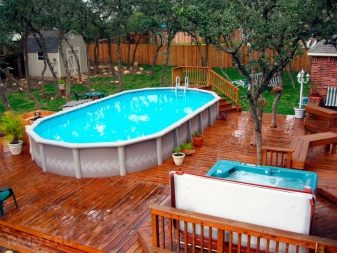
Depending on the service life allocate temporary and stationary pools... Each of them has its own characteristics, which must be taken into account when choosing one or another option. Stationary structures are sturdy structures that do not move from one place to another. Their bowl is a monolith made of concrete, brick, etc. Moving such an object will cause its destruction.
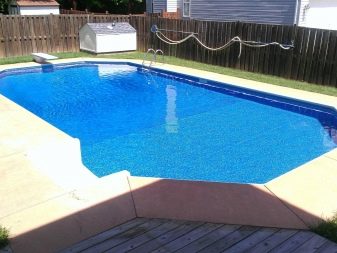
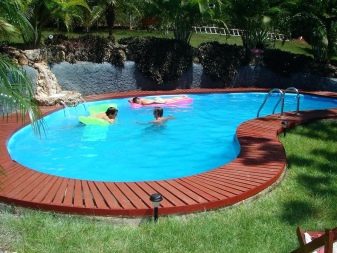
The temporary pool can be removed when the summer season is over and used again the next year. This category includes inflatable pools and frame structures. Their service life is 2-4 years.
Tips for choosing a location
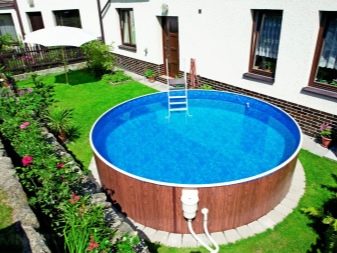
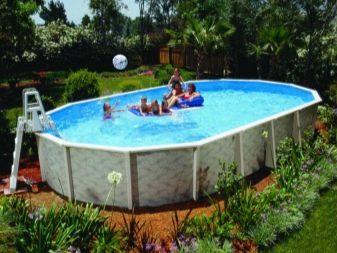
For a pool that will only be used in the summer, any location will do. Inflatable pools are a cheap option that does not require drastic changes on the site.
If you opted for a stationary pool, before you dig it out, you need to choose the right location on the site. After all, it will not work to move such a structure after the completion of all work on its creation.
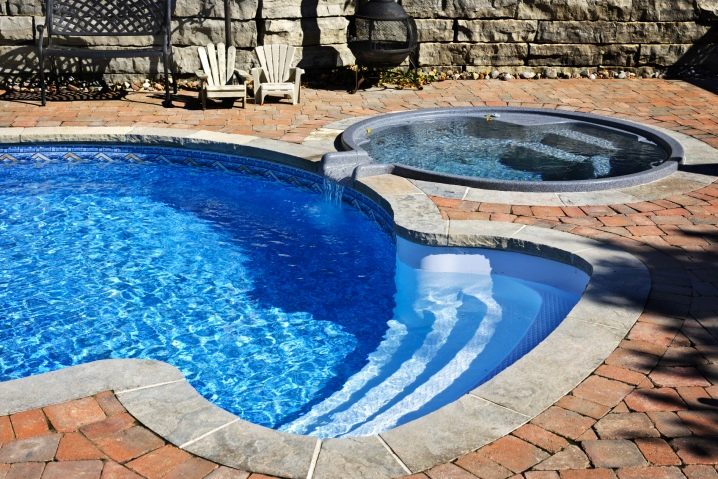
There are several important points to consider:
- Trees. They should not be near the pool for two reasons. The first is the root system, which negatively affects the waterproofing of the pool. The second is foliage that pollutes the water surface. If the leaves are not removed in time, the water “blooms” and the pool loses its attractiveness.
- Soil type. Ideal if your site has clay soil. It does not allow water to pass through, which is important if damage to the waterproofing suddenly occurs.
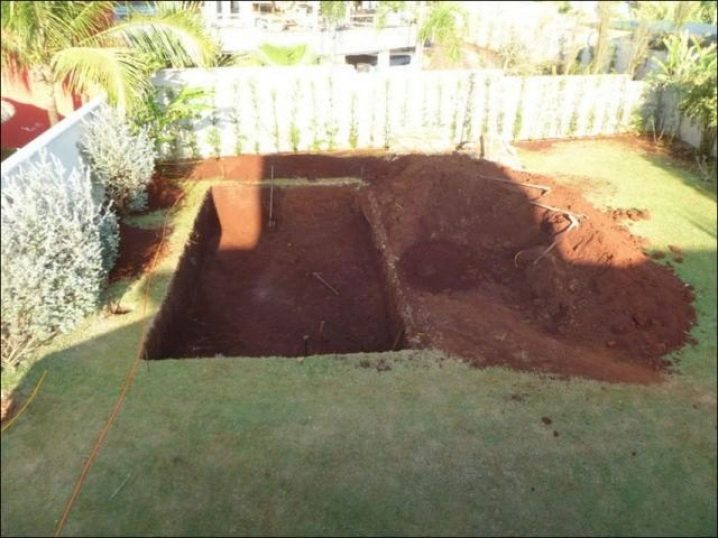
- Direction of the wind. The pool will somehow become clogged with wind-blown debris. It will be nailed to a certain board. Therefore, make sure that it is there that the cleaning of the pool is as convenient as possible and you can quickly remove the foliage, grass, etc. brought here. The drainage system should also be placed here.
- Water pipes. By placing the pool close to the water supply, you will ensure that the bowl is filled quickly and easily.
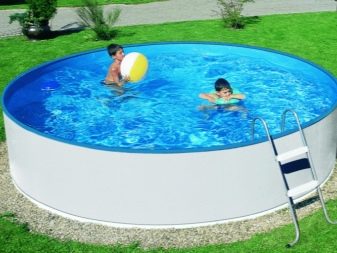
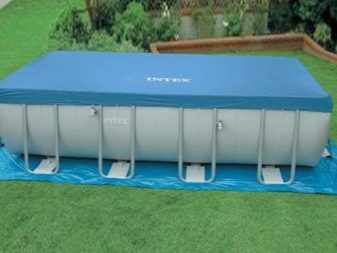
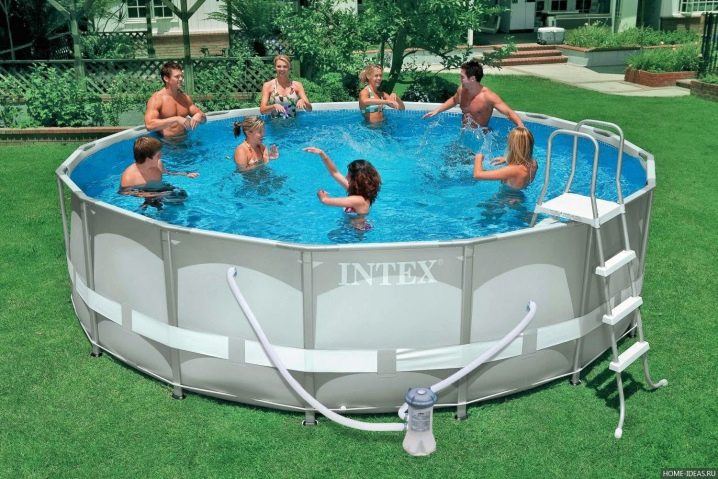
If you decide to install a frame pool, try to make sure that the surface set aside for it is absolutely flat. Potholes, irregularities, dents, remnants of tree roots - all this should not be. Ideally, the site is concreted, creating a smooth base for the pool.
Varieties
The monolithic pool is a one-piece sealed structure with its own drainage system. Created with your own hands, it will not only save money, but also allow you to equip the site in the best way.
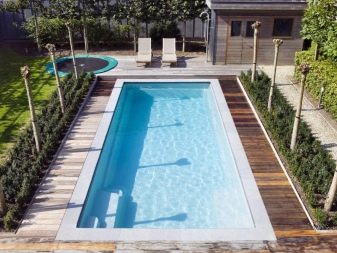
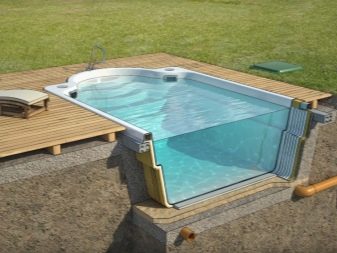
The advantages of a monolithic construction are obvious. Compared to all possible pool options, the monolithic one is the most durable. Its service life exceeds 50 years. Structures are not afraid of temperature drops, mechanical stress.If the soil on the site is "problematic", a monolithic pool will be the only option that can be used in the country.
Another advantage of a monolithic pool is the variety of shapes. The cup can be made either of the correct shape or of an unusual one, which will look very impressive. Using different finishing materials (mosaic, tiles, stone), you will turn the pool into a real masterpiece.
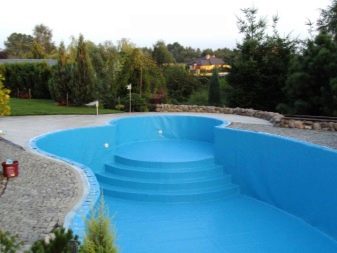
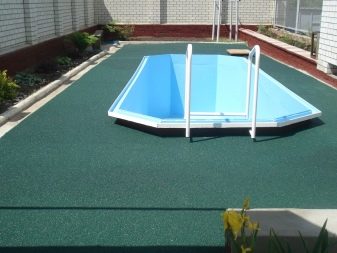
After the end of the swimming season, the water is drained, some of the equipment is removed. If for the winter the dacha is left without owners, nothing threatens the pool, it is simply impossible to steal it.

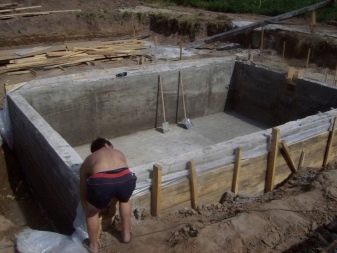
For beginners who do not have enough experience in the field of construction, it will seem difficult to make such an object. Certain financial costs will be required. It is not recommended to save at the same time, as this can cause breakdowns and repairs will bring serious losses. Therefore, we use only high quality materials.
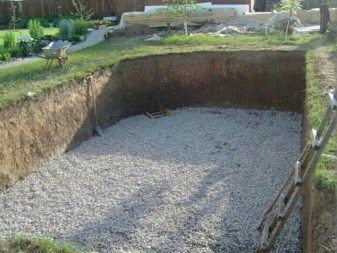
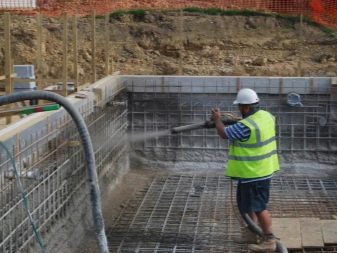
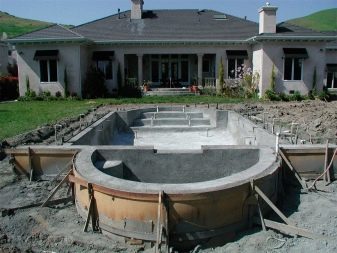
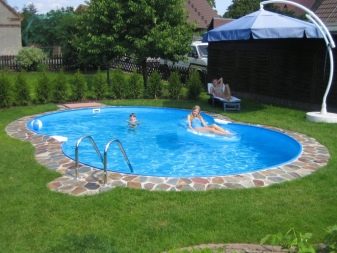
Construction is carried out step by step. Initially, a pit is dug, then a drainage system is created, and thermal insulation is equipped. The structure is sealed and reinforced, the bowl is poured. The last stage is finishing.
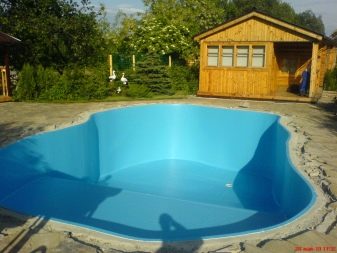
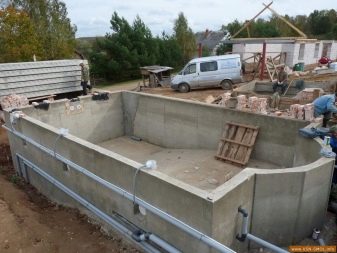
A monolithic pool can be created in two ways: pouring concrete into the formwork or using polystyrene foam blocks.
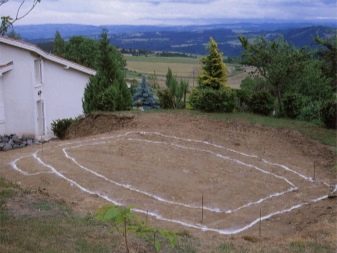
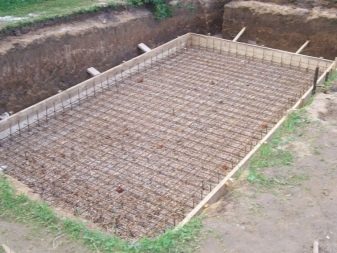
Let's consider the first option. Initially, we determine the size (large, medium, mini) and the shape of the future pool. Of course, the larger the structure, the more building materials and funds will be required. The pit should be slightly larger than the intended dimensions, since the bottom and walls will take about 50 cm of thickness.
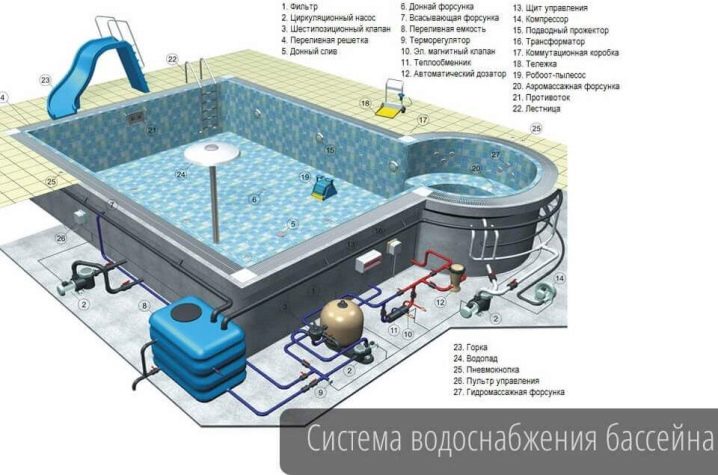
The project of the pool water supply and drainage system is being developed. This is a prerequisite for the proper functioning of the facility.
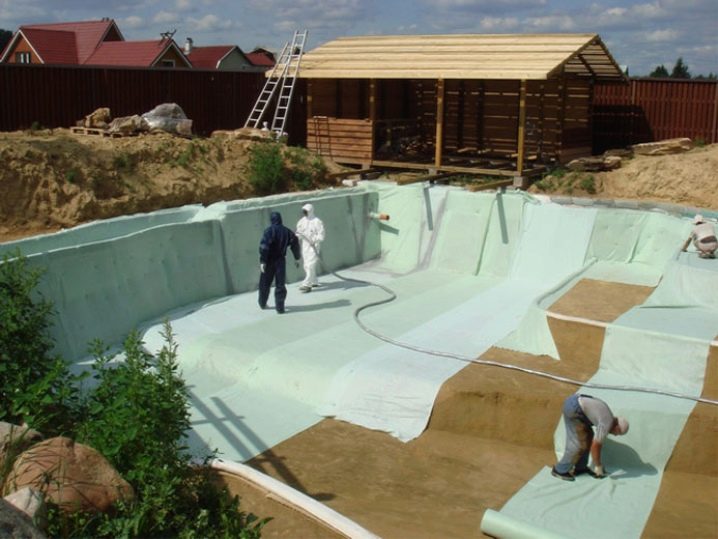
So that the walls of the dug pit do not crumble, they are made at a slope of 5 degrees. After the pit is ready, we proceed to backfilling the bottom, tamping and waterproofing. Sand is poured onto the bottom (layer thickness - 15 cm), then crushed stone (thickness - 15 cm). The layers are carefully compacted, a waterproofing double layer of roofing material is laid on them. Its edges should overlap the walls by 20 cm.
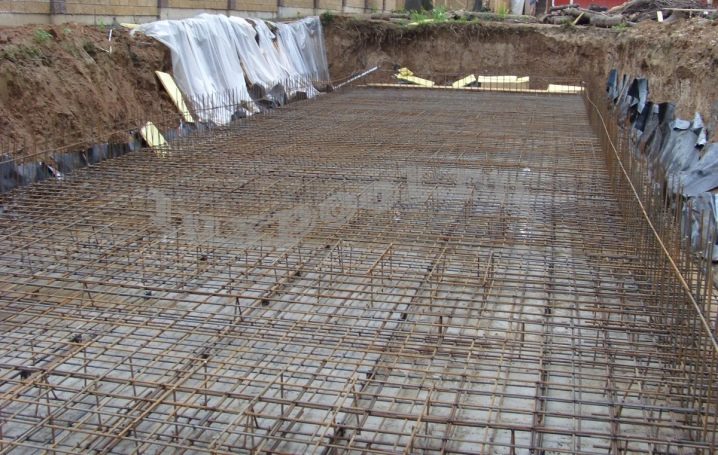
Before proceeding with pouring the bowl, it is necessary to make a metal frame structure from A3 class fittings. Only wire is used to fasten the reinforcement. Welding work is unacceptable, as the joints will rust over time. The distance between the horizontal ones varies from 10 to 50 cm, the vertical ones - from 20 to 30.
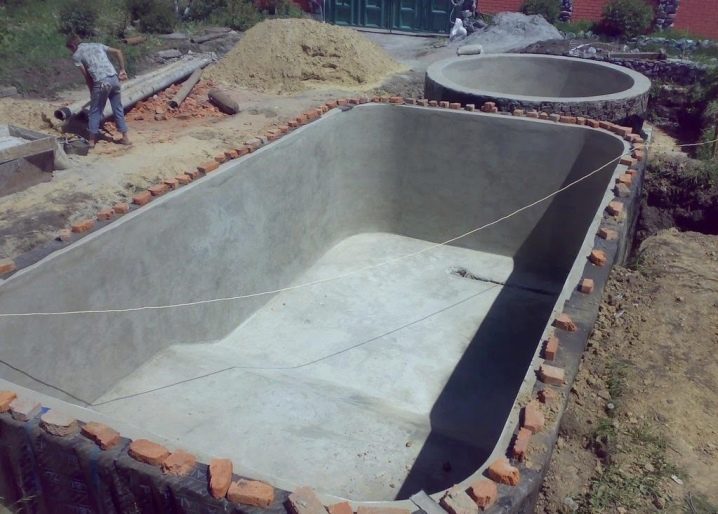
Reinforcement in one pass is considered ideal. This method makes the structure as strong and stable as possible. However, in reality, such a process is difficult to carry out. Therefore, the bottom of the bowl is poured first, and then the walls. It is important to consider that the bottom should not be completely flat. It is necessary to make a slight slope of 3 degrees and fix the drain pipe at the lowest point of the pool.
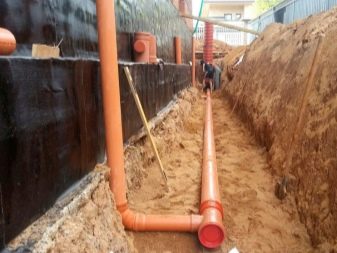
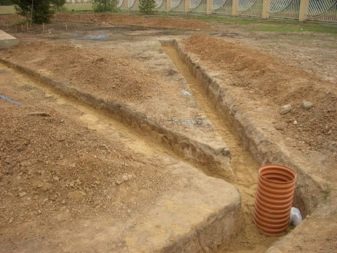
The solution hardens for 1-1.5 weeks. To prevent cracking during the drying process, wet the pool with water. While the pool dries up, you can start arranging communications: dig a trench for the drain pipe, lay it at an angle.
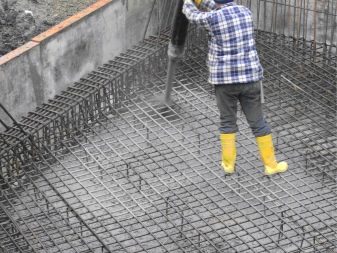
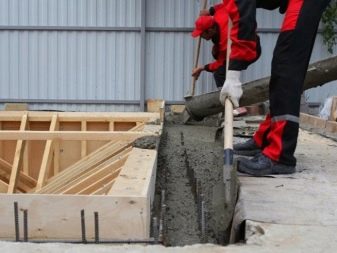
When filling the walls with mortar, it is required to build a wooden formwork. It is advisable to fill the solution with the help of special vibrating devices. This is what will make the pool durable.
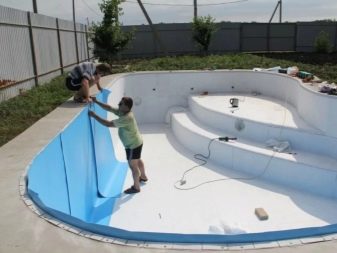
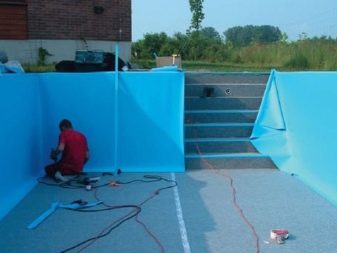
After the solution has dried, start finishing the pool: the joints between the seams are sealed, the surface is covered with water-repellent impregnations. In order for the water in the pool to shine blue, PVC film of the corresponding color is used. This will not only make the pool incredibly beautiful, but also provide additional sealing.
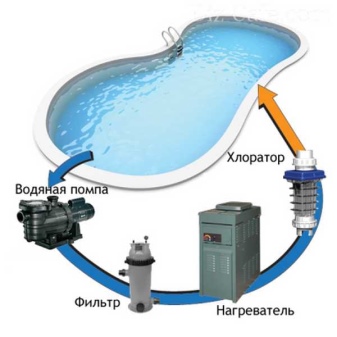
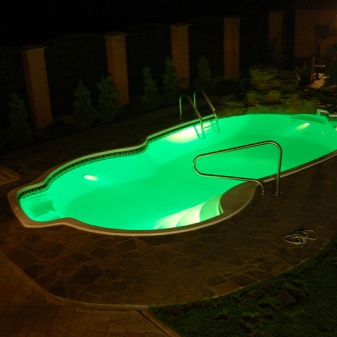
The final stage is the installation of equipment that will supply, purify and disinfect water. The pool can be decorated with nice and useful accessories: stairs, ladders, lighting, etc.
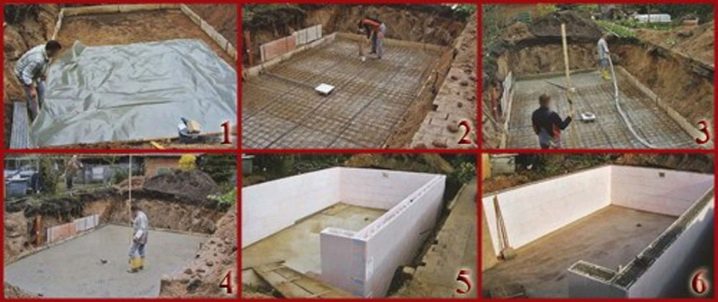
The pool can also be made using polystyrene foam blocks.The first stages are identical to those described above: we dig a foundation pit, create a drainage system, stretch the drain line, fill the bottom with concrete.
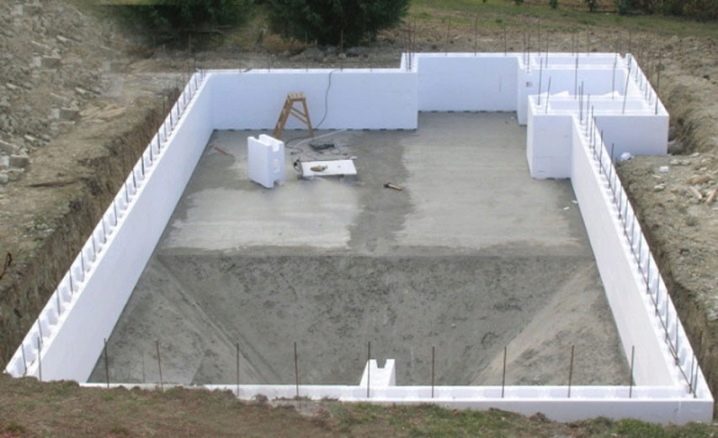
After the bottom of the bowl has dried, blocks of expanded polystyrene are laid around its perimeter. The material is lightweight, easy to connect. The height of the block is standard - 25 cm. Calculating the amount of consumables is simple: the height of the pool is divided by 25. So we find out how many rows are required to build the walls of the bowl. The blocks have vertical holes for reinforcing rods. The concrete is poured after the reinforcement is installed
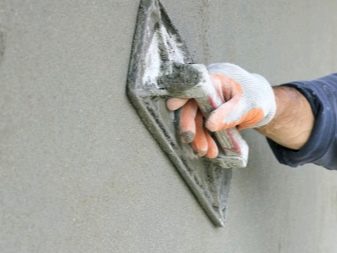
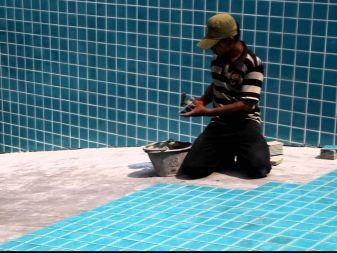
The block walls are covered with a layer of water-repellent plaster. After it dries, start finishing. As in the first case, you can use PVC film, tiles.
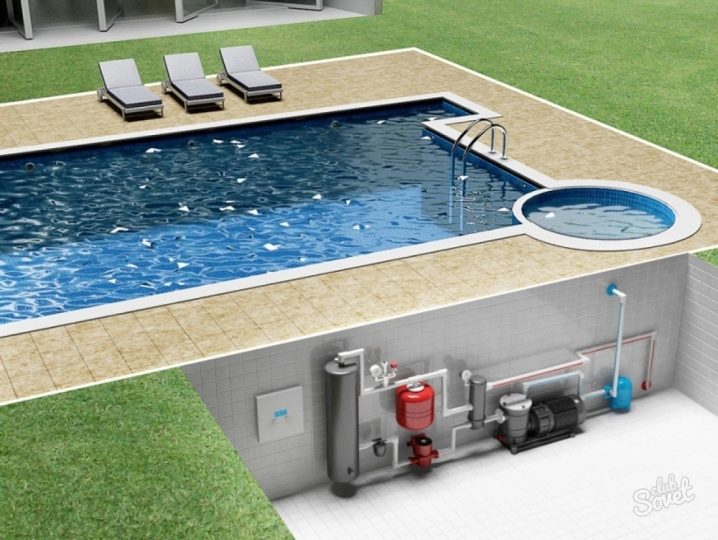
At the last stage, we install equipment for filling, cleaning and disinfecting water in the pool. The pool can be made indoor if you build a canopy. To keep the water warm enough, use special equipment to warm it up.
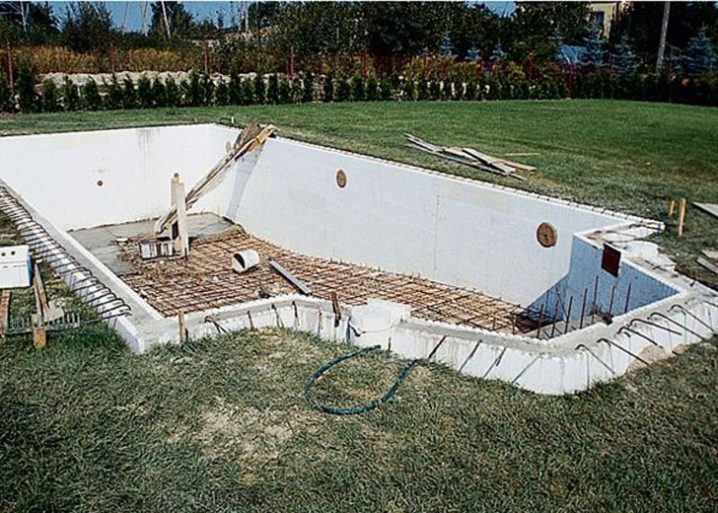
Building from expanded polystyrene blocks is much easier than reinforcing the walls and bottom with concrete. However, it cannot be called economical.
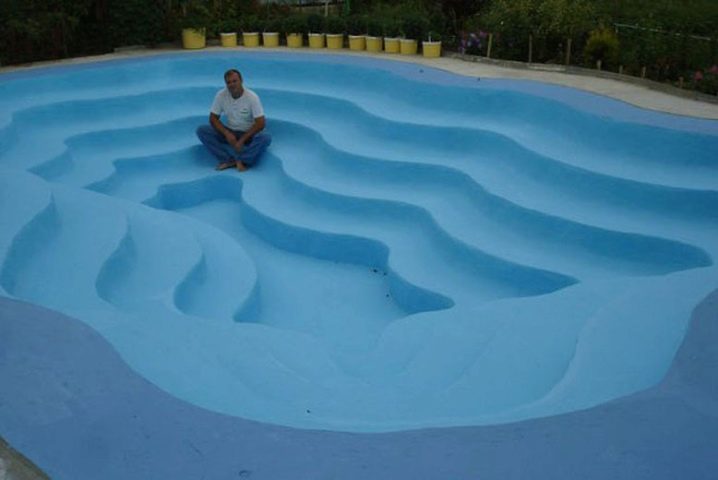
A multi-level homemade pool not only looks very impressive. Its walls look like steps, smoothly turning into the bottom. This design is ideal if the family has children. They will gladly splash in the water, sitting on the steps at a safe depth.
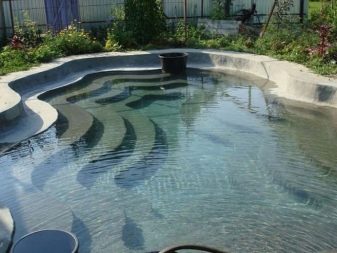
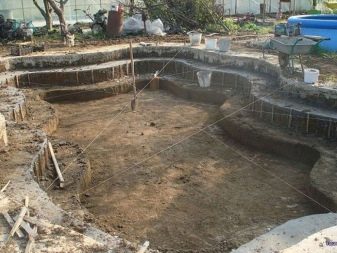
After you have decided on the shape and number of levels of the pool, we begin to dig a pit. We dig out the steps gradually. We dig the next step only after the previous one has been concreted. Be sure to do a test water inlet, which will let you know if the structure is airtight.
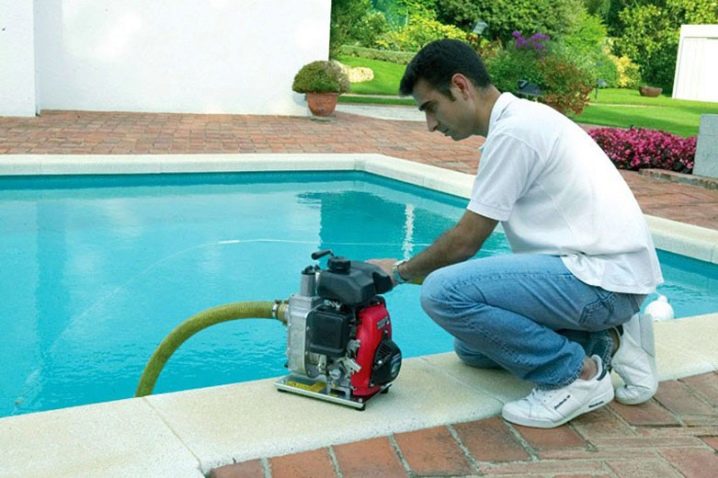
No additional hardware installation is required. This is the easiest and cheapest option. Periodically, water is pumped out using a submersible pump and replaced with fresh water.
A multi-level pool can be made not only of concrete. There are many materials for its creation. The construction of polypropylene is no less reliable.
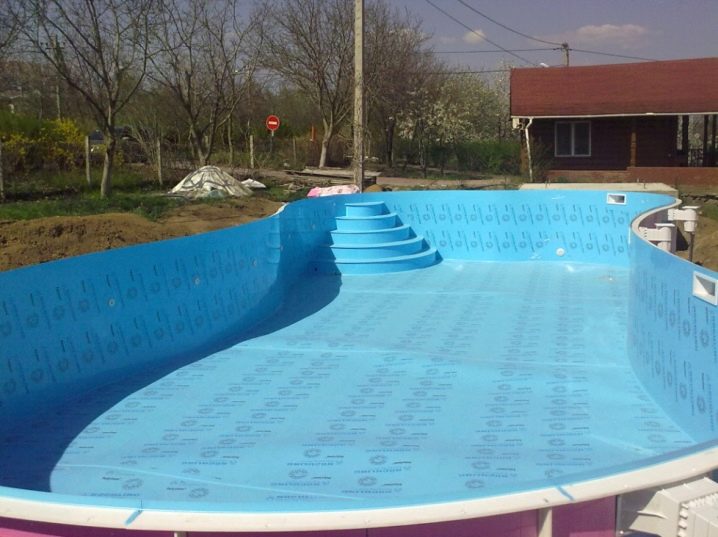
We choose a place for the future pool, carry out all the necessary measures for marking and start digging a pit. The bottom of the bowl is formed by several layers. The first is formed by geotextiles. This is followed by crushed stone (layer thickness 30 cm). The poured concrete layer should be 20 cm. Before pouring the concrete, create a mesh of reinforcement with cells of 25x25 cm. The mesh should not be placed directly on the concrete. We put bricks under it.
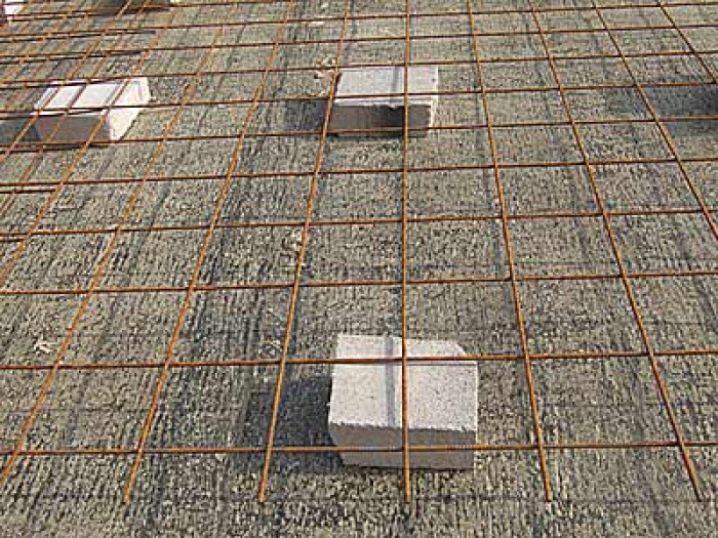
The bottom must be filled in one go. A lot of concrete will be required, so ordering the mix from a mixer is an ideal solution. We buy polypropylene in different thicknesses: 5 mm and 8 mm. The first one is more plastic, bends easily. Therefore, we will use it for the construction of the stairs. Polypropylene parts are connected using a welding extruder. The bottom is welded in the pit itself.
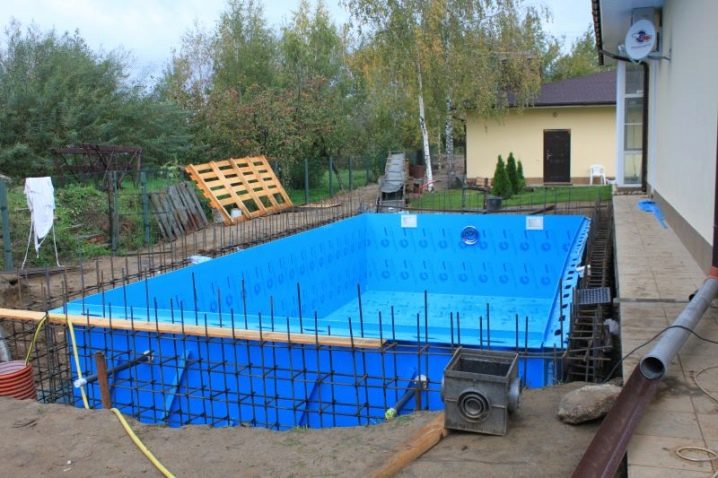
When welding the walls to the bottom, make sure that they do not move. Use wooden beams to fix it. The ladder is fastened last. Further, on the outside of the structure, stiffeners are attached (we use eight-millimeter polypropylene), the distance between which is 60 cm. These 60 cm are filled with foam insulation.
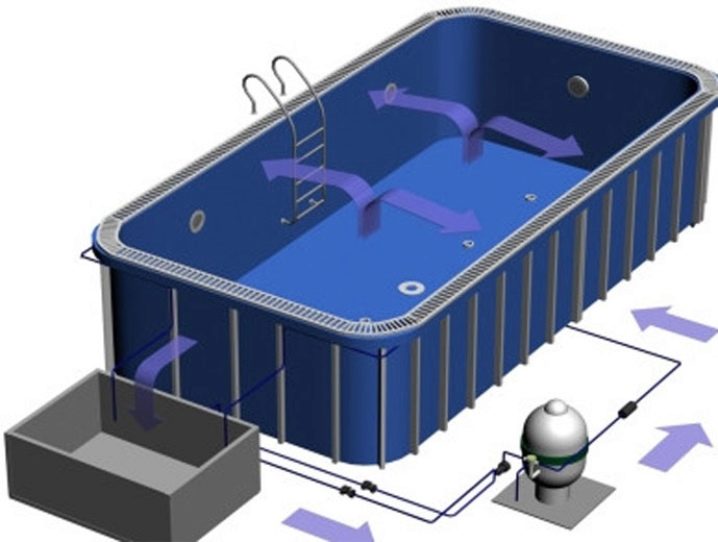
After the pipeline system has been laid, the pool is filled with concrete from the outside in several stages along the perimeter. One stage - a layer with a height of 30 cm. In this case, the formwork should be placed both on the outside and on the inside of the pool. Thus, polypropylene is not deformed by concrete. It is also necessary to collect water in stages into the bowl, the level of which will be equal in height to the level of the concrete layer located outside.
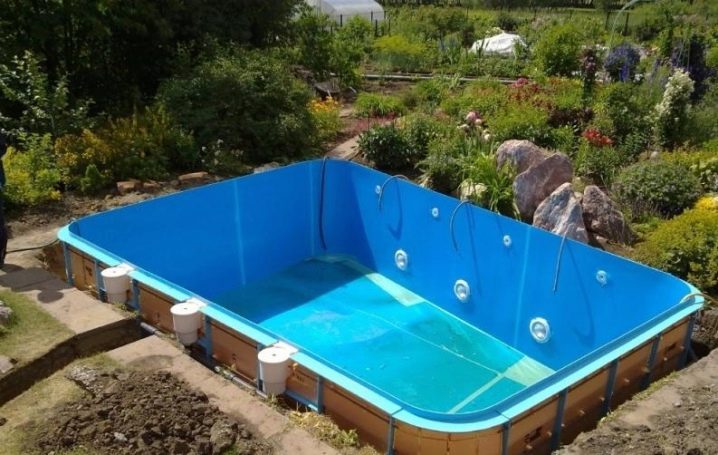
To decorate the finished pool, use available tools and items: chairs with cozy pillows, sun loungers, beach umbrellas, etc.
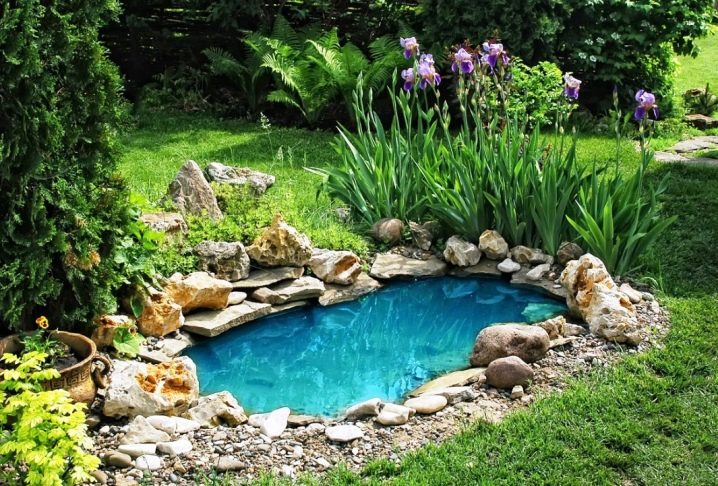
The decorative pool is small in size. It is often compared to a pond. It is not difficult to make such an object yourself, the cost of creating it is minimal. It will become a real highlight of your summer cottage. And since you will ennoble and decorate it at your own discretion, the pond will be exclusive.
We choose a place for a decorative pond in such a way that the sun illuminates its surface for only half of the day. Too much sun will negatively affect the health of the entire ecosystem of the reservoir. The shape of the pond and the style of the plot should be a single whole. The circle is ideal for English-style landscaping, and the oval is used for Chinese and Japanese-style designs.
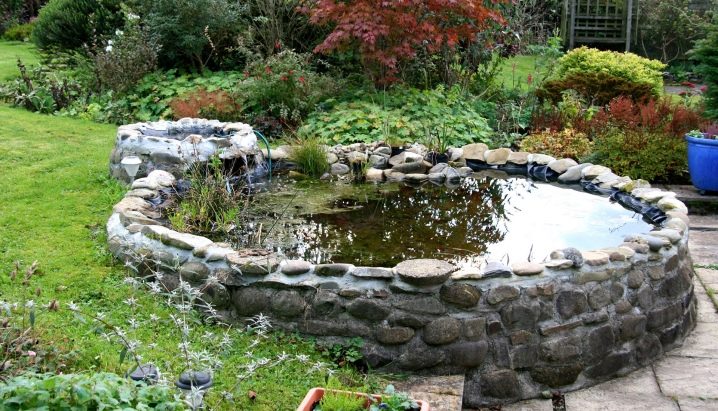
Initially, we dig a foundation pit corresponding to the size and shape of your reservoir. Its minimum depth is 1 meter, its area is 4 square meters. m. If you make a pond from a bathtub, then the shape of the pool must correspond to it. Don't be discouraged if you don't have a bowl ready. You can build a decorative pool of any shape, even the most incredible.
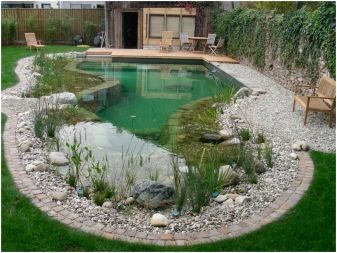
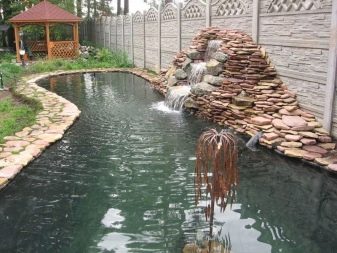
Please note that the bottom of the pit should be even: no stones, tree roots, sharp objects. We use sand as a drainage layer. Next, a composite material is laid - a strong film. Conventional polyethylene is not suitable for such needs, since it does not differ in strength. Ideal options are PVC or butyl rubber. Butyl rubber has different thicknesses, which allows you to choose the optimal coating for your pond.
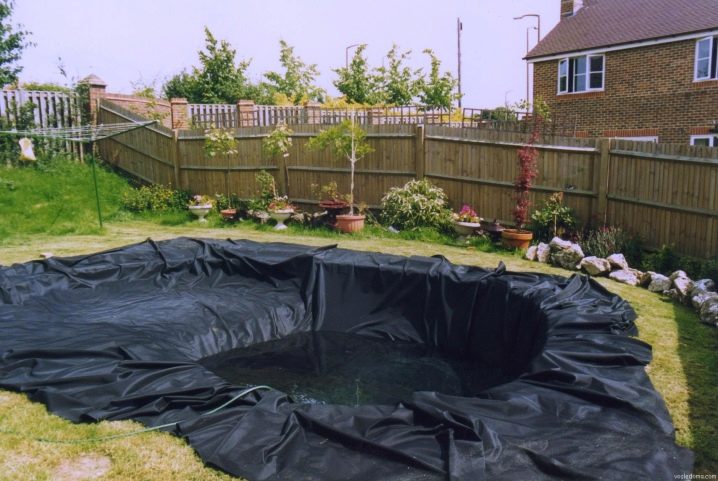
The edges of the film should go beyond the edges of the pit so that they can be fixed with large stones and covered with rubble or pebbles. The pond needs a device that circulates water. Otherwise, the water in your reservoir will quickly "bloom" and the pond will lose its attractiveness. The pond will not be disturbed by the lighting system, which will effectively highlight it at night.
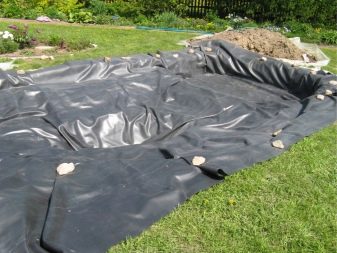
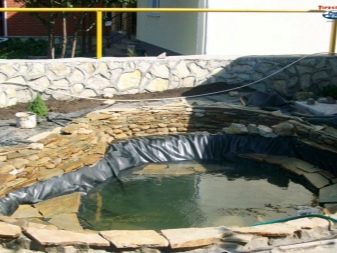
To give the pond a natural and aesthetic look, the bottom is laid out with beautiful stones. We place plants around the perimeter (creeping and shrubs are ideal) and various decorative elements: garden figurines, plastic flower vases, lanterns.
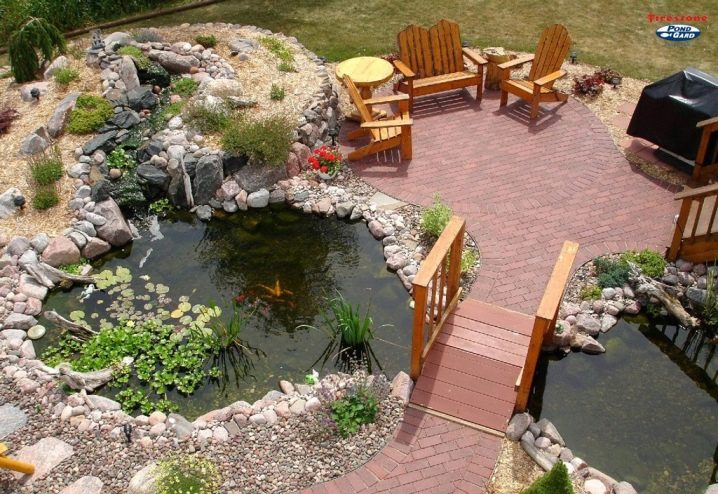
For a pond to be always beautiful, you need to keep an eye on it. In the spring we make the first inspection of the reservoir. We check how the plants overwintered, whether the shore of the pond has crumbled, we remove the foliage that has fallen since autumn. With the arrival of heat, we supplement the area around the pond with new plants.
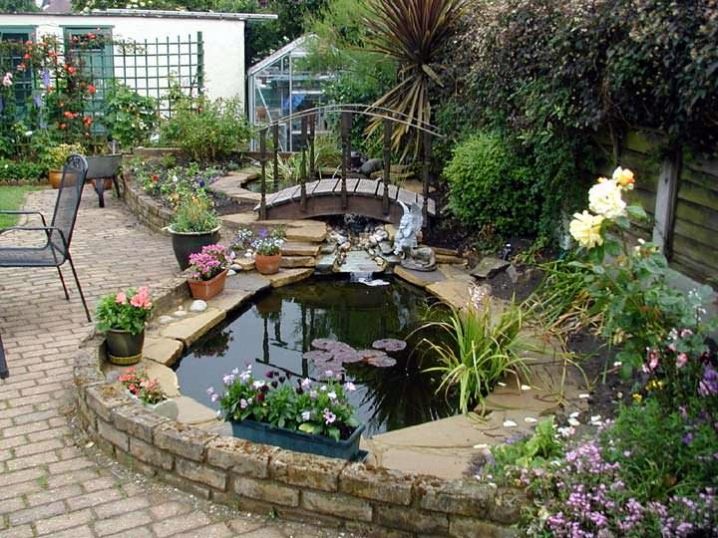
In the summer, it is necessary to carefully monitor the water level in the pool, as during the heat the evaporation is intense. The area adjacent to the pond is rid of weeds. In the fall, we prepare the pond for winter: we remove the dried grass, transfer the flowers in the pots to the home warmth.
Cleaning system
The arrangement of the pool is impossible without a cleaning system. If you do not use a special device, the water in the pool will become dirty and an unpleasant odor will appear. A specific plaque will appear on its surface.
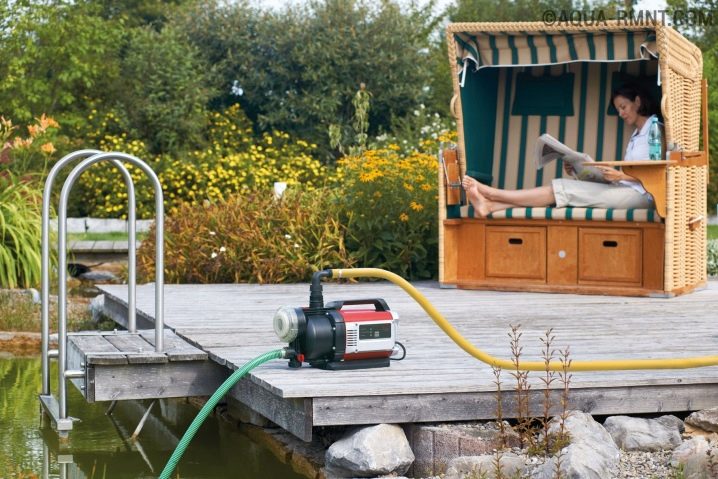
The most budgetary option is to use a pump to pump out water. You drain the contaminated water completely and fill the pool with clean water. But this method has one drawback: it will take time for the water to warm up again.
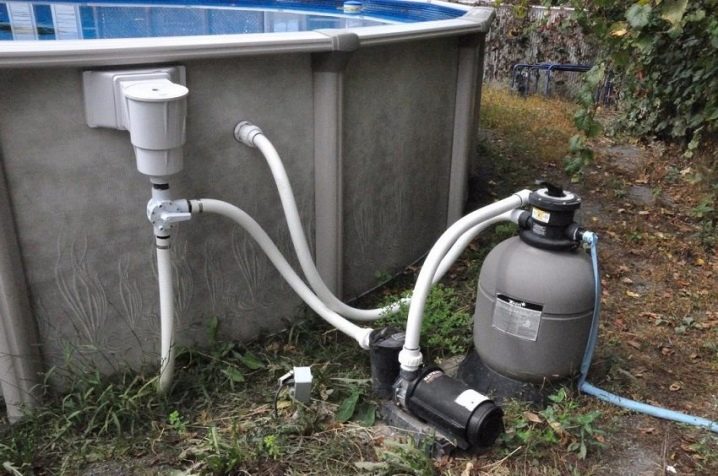
You can install a special installation with a filter for cleaning. Two pipes are supplied to the pump. One of them drains the water, the second feeds the purified and filtered water back to the pool. Filters are sand, cartridge, diatom.
Chemicals are also used for cleaning and disinfection. These include chlorine, bromine, overhydrol or agents specially designed for this. Before use, be sure to read the instructions.
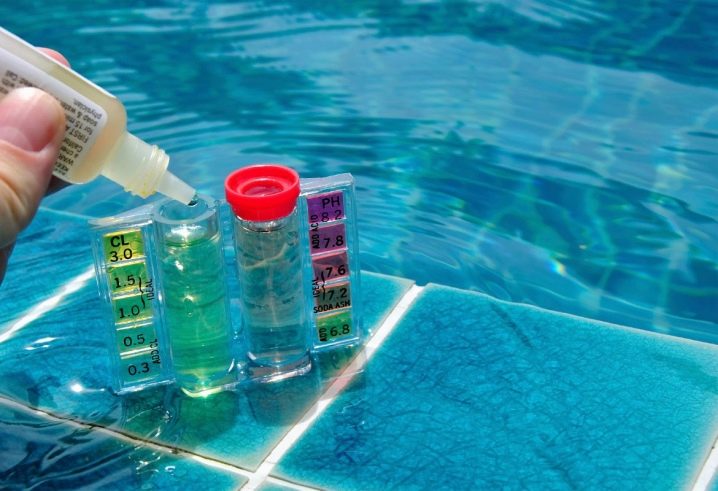
Clean the debris blown by the wind by hand using a sieve.
Beautiful examples and options
A frame outdoor pool is a good solution for a summer cottage. It is durable, easy to assemble and disassemble. It's a budget and easy way to treat yourself and your family with great outdoor activities.A distinctive feature of such a pool is its high sides, which does not always look aesthetically pleasing. But this gives unlimited scope for imagination to hide the sides and give the object a beautiful look.
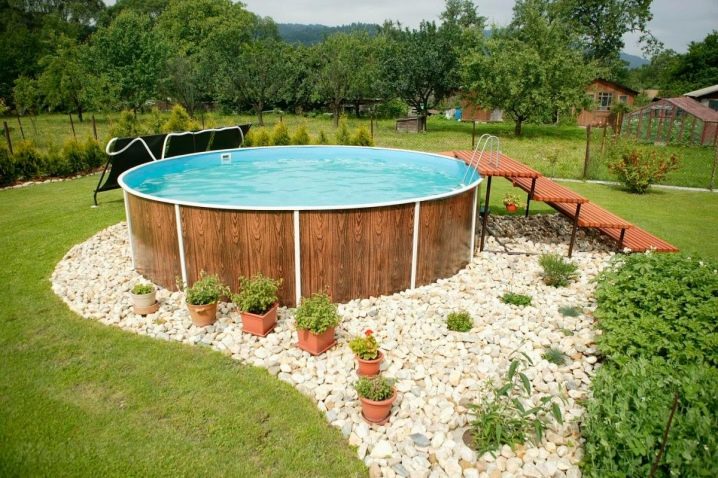
Create a surface of light colored stones around the pool. A note of greenery will be added by flowers located in pots of different sizes. At the same time, observe the unity of the color scheme. Brown pots look appropriate, in harmony with the outer pool cladding and a wooden staircase.
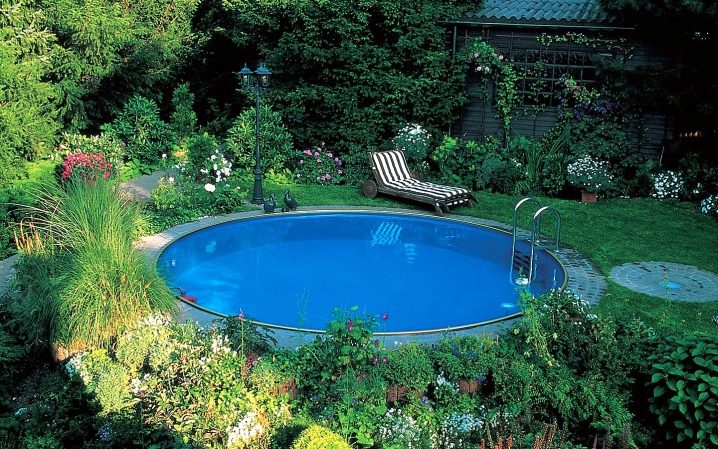
If the frame pool is completely immersed in the pit, the perimeter is trimmed with mosaics or stone, and the plants are planted, then you will get a very beautiful option for any suburban area.
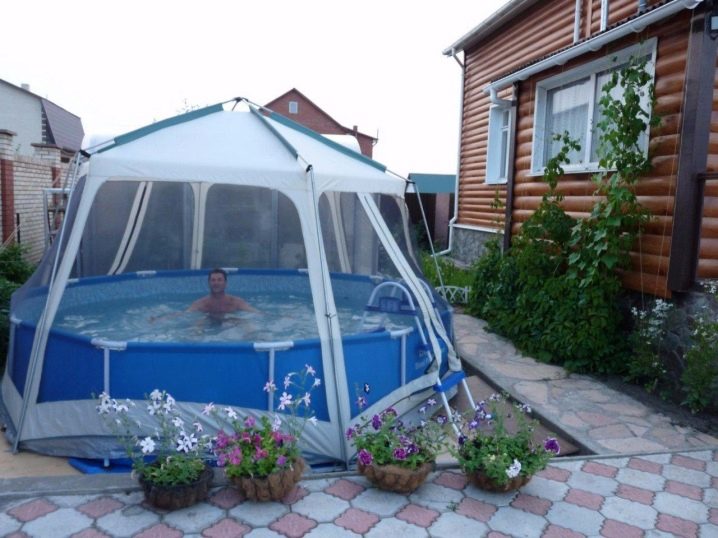
For a small frame pool, you can build a canopy. Thanks to this, you can enjoy swimming in any weather, even in rainy weather. The semblance of a tent looks especially interesting.
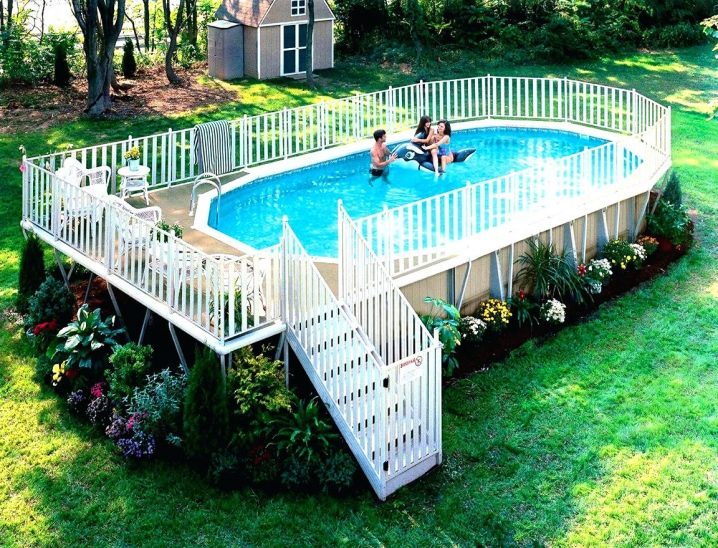
The frame does not have to be covered. Build a platform that will house the pool. Make the edges of the platform in the form of a lattice fence. Cover the lower part from prying eyes with an abundance of flowers and plants.
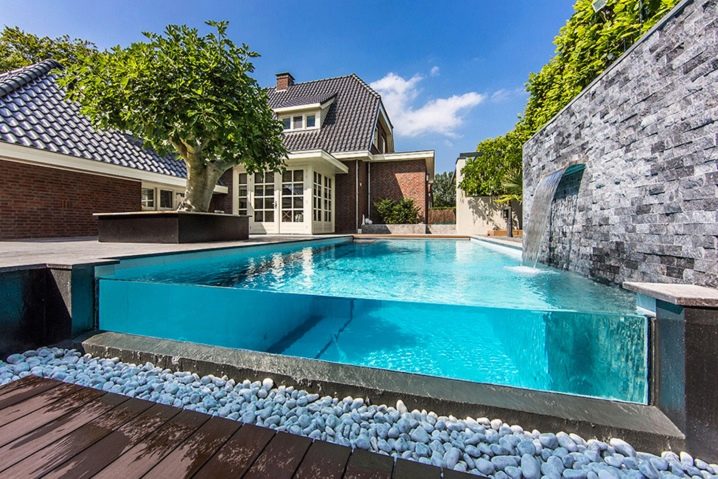
A pool with glass walls looks especially impressive. Of course, special knowledge and skills are required to create it.
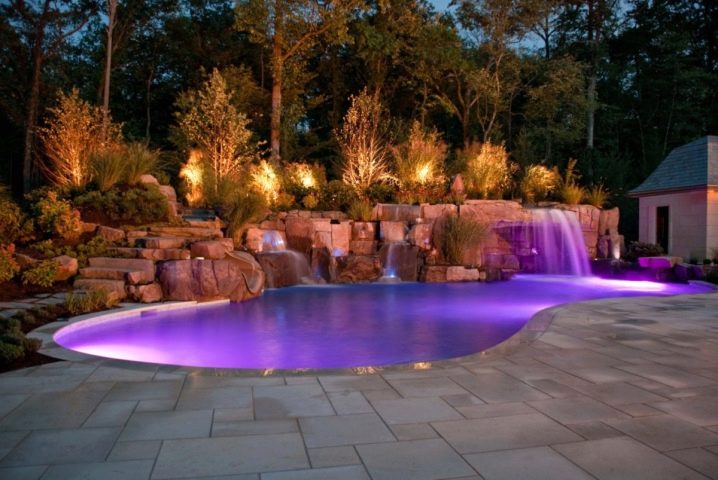
Various colors of lighting make the pool a fabulous and romantic place to enjoy even at night.
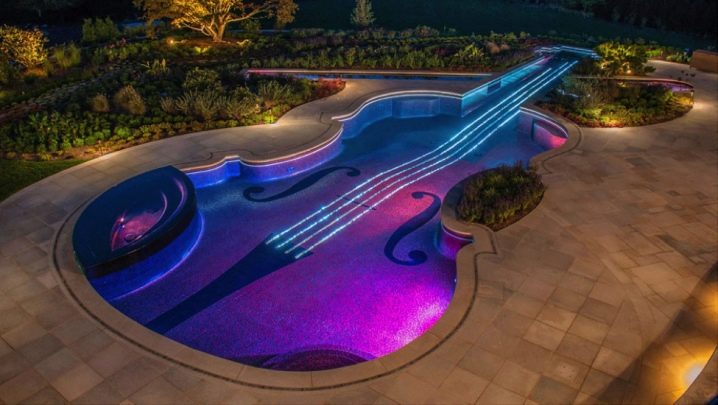
Outdoor pools are striking in their variety of shapes. The violin pool will be appreciated by creative and creative people.
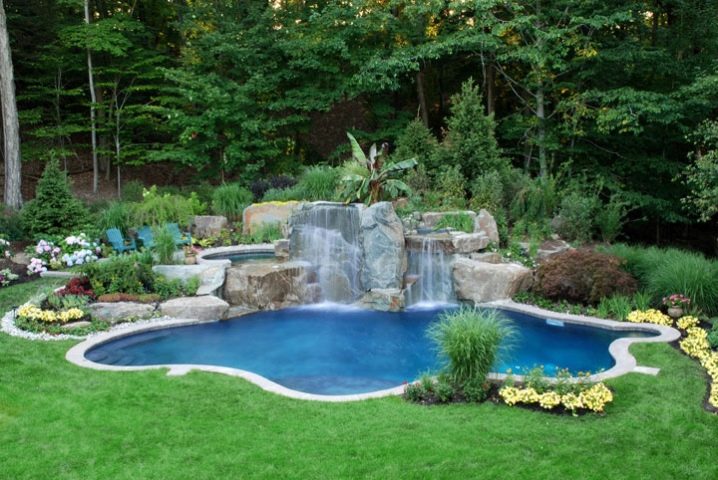
Often, the owners decorate their pools with miniature waterfalls, alpine slides, turning them into a real masterpiece. Several separate bowls are placed on different levels.
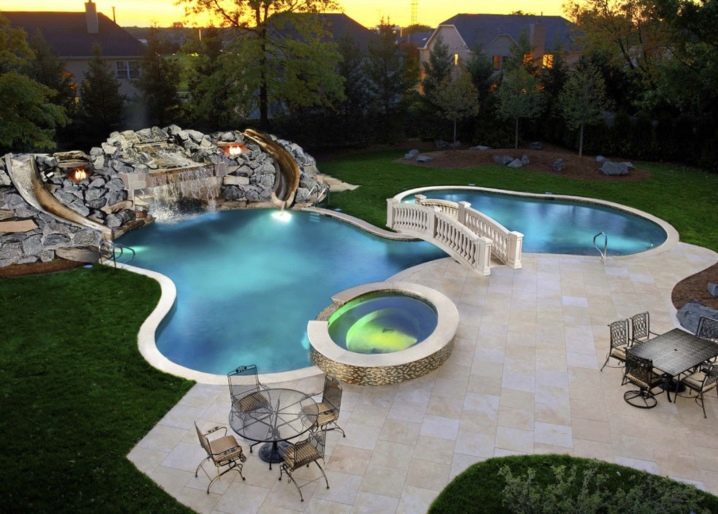
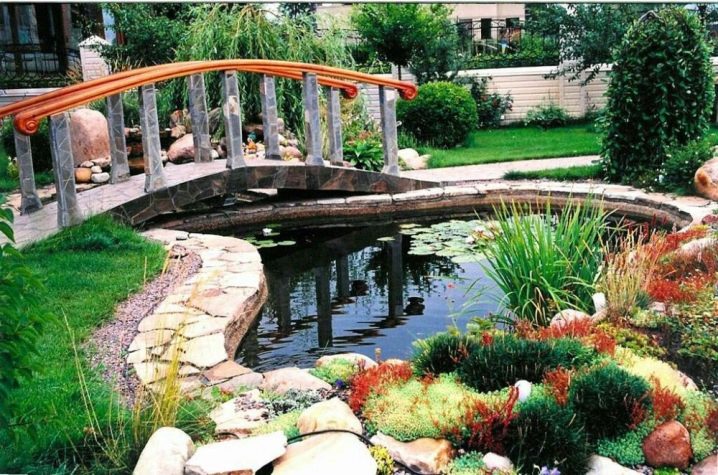
An unusual element of the decor is the bridge dividing the reservoir into two zones.
How to make a pool with your own hands, see the next video.


The comment was sent successfully.