How to make kitchen shelves with your own hands?
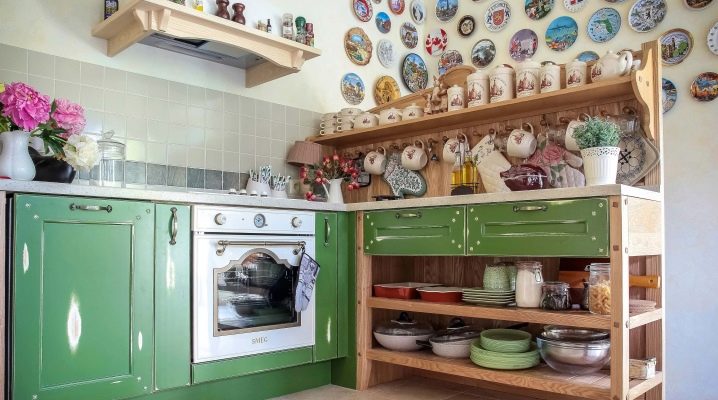
The functionality of the room is determined by the presence of those components that make it possible to access all the necessary things. If we talk about the kitchen, then we will talk about a variety of shelves, which are indispensable in this room. The simplest solution would be to order a ready-made headset, but not every option will be ideal for a specific kitchen. To make the room as comfortable as possible for use, you should start making shelves yourself.
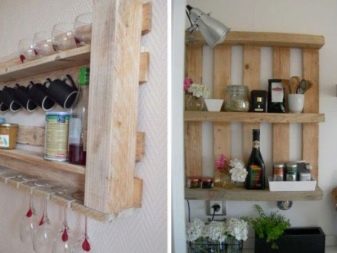
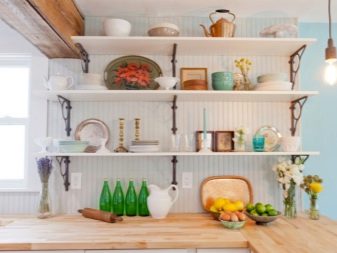
Materials for making
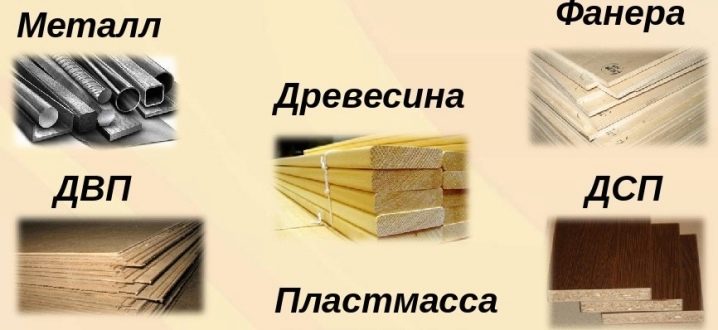
Depending on the purpose, kitchen shelves can have different materials from which they are made. This fact is especially important to take into account in the case of an independent creation of a product. The most popular materials are:
- wood;
- metal;
- stone;
- glass;
- plastic.
Wooden
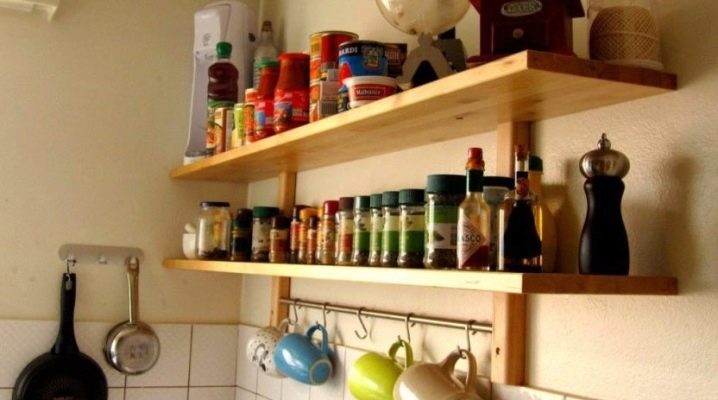
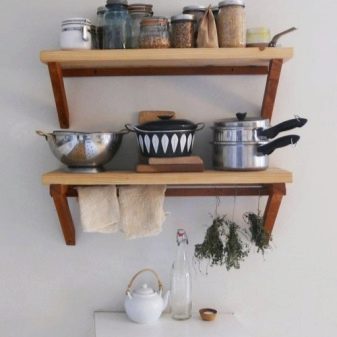
Wooden shelves are the most popular, as they fit into any interior and give it warmth, comfort and beauty. It is best to use natural wood, but if this is not possible, then chipboard and MDF will do. Most often, wooden products are placed on the wall and serve as a place for arranging dishes or for spices.
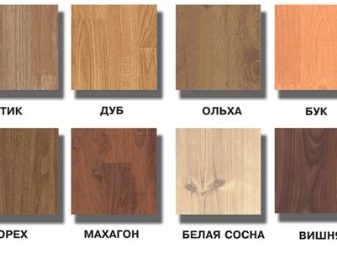
Depending on the purpose, you need to choose the right type of wood for the product, the most durable are oak, beech, alder and pine.
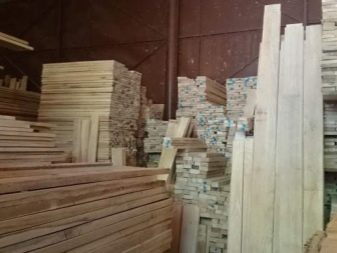
To ensure that wooden shelves last as long as possible, it is best to place them away from a source of moisture and heat. To protect the outer layer, it is worth covering it with a waterproof solution. Homemade wood products will cost less than purchased and custom-made products, but the natural material itself will have a rather high cost.
Metallic
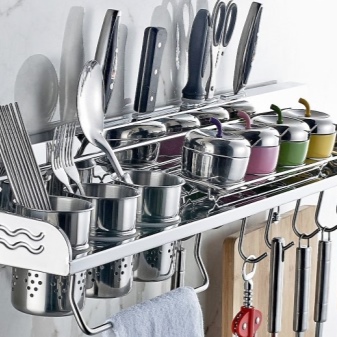
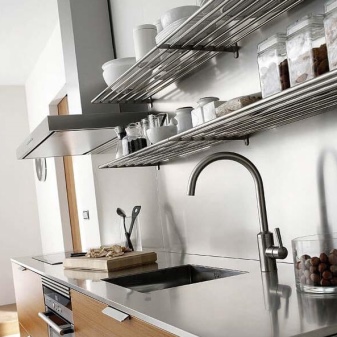
Metal shelves are gaining more and more popularity in modern interiors where simplicity and minimalism are valued. The convenience of products made from this material is that they can be installed near the sink and stove without worrying about the safety of the product. Most often, lattice structures are used, which are easy to use and give the room lightness due to their appearance. For the longest possible service, the products are treated with an anti-corrosion coating, and if necessary, they can be painted in any shade that is needed for the kitchen.
Stone
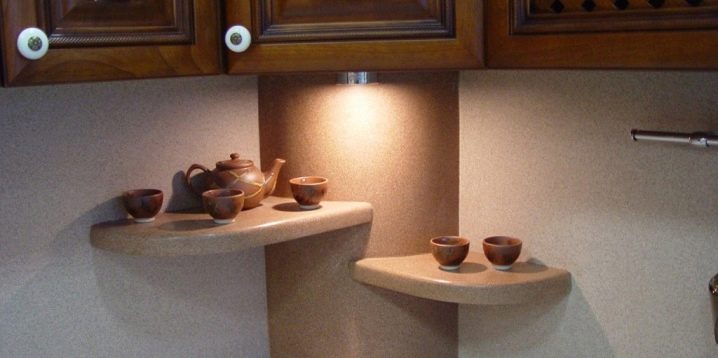
Stone options are rarely used, but there are those who appreciate the beauty of natural stone. Since the weight of the products is quite large, it is important to know how to properly hang the shelf so that it can support both its own weight and everything that will be on it. Strong supports are the basis of this design, therefore it is important to take care of the reliability of all fasteners. Such kitchen shelves will cost quite a lot of money, so you should think in advance whether it is worth choosing a natural stone, because it can be replaced with an artificial one, without losing the external beauty, but making them lighter and less expensive.
Glass
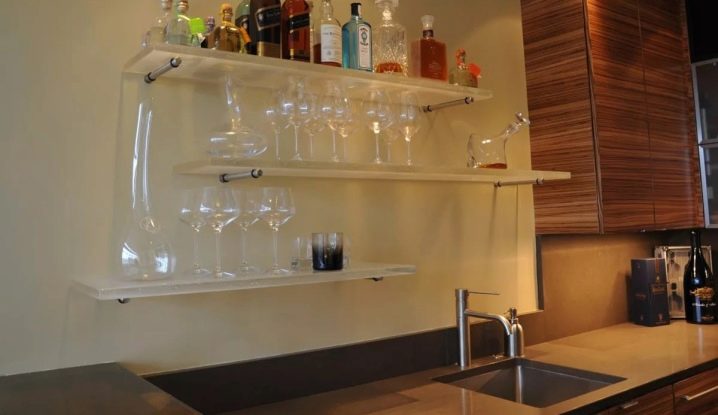
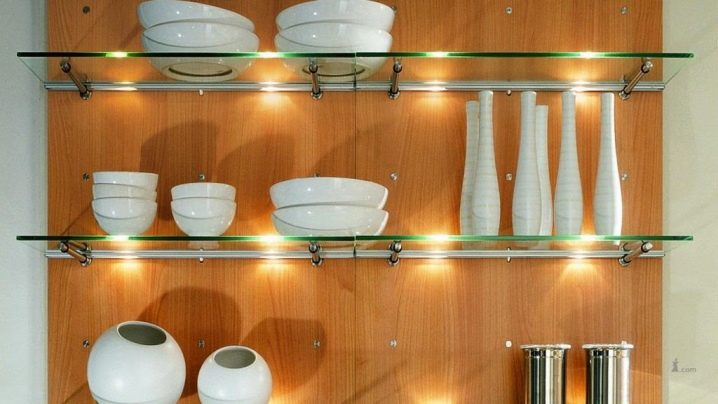
Glass shelves are considered suitable for those rooms where it is imperative to create a feeling of lightness and spaciousness. For products to be durable, it is important to choose a flow with a thickness of at least 6 mm. The most suitable styles for using glass shelves are hi-tech and minimalism. With all its advantages, glass has an obvious disadvantage - it is low impact resistance; if used improperly, scratches will quickly appear on the surface, which can subsequently become cracks.
Plastic
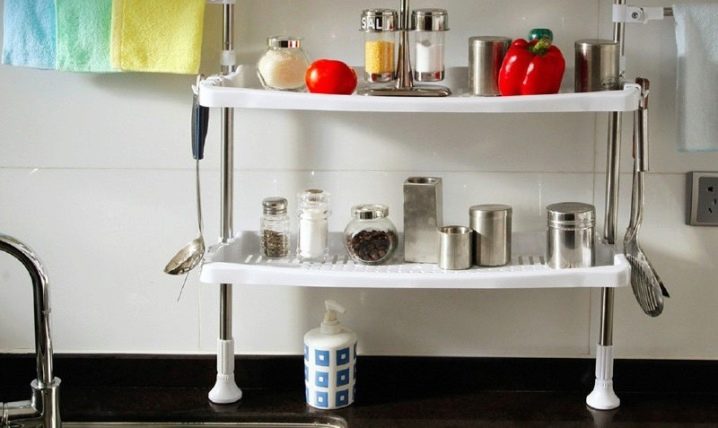
One of the modern materials for kitchen shelves is plastic. It is inexpensive, easy to use, and can be used to create interesting designs. The least toxic material is used for the manufacture of shelves. Due to the peculiarities of plastic, it can be used to imitate wood or stone and create interesting product designs. The downside of plastic is only its strength, since only light objects can be placed on the shelves, it cannot withstand others.
Types of structures
To make kitchen shelves yourself, you need to know what the designs of such products are. Allocate:
- classic;
- corner;
- lattice;
- roll-out;
- retractable;
- with an additional drawer;
- supplemented by backlighting.
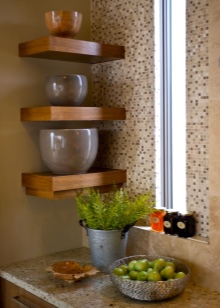
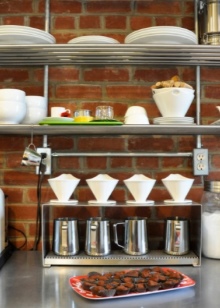
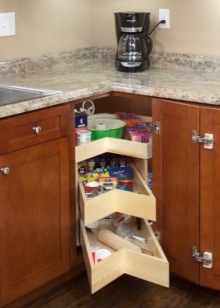
Classic shelves include open and closed shelves that are placed in a convenient location in the kitchen. They do not have doors, which visually increases the space and makes their use more convenient, as finding the right thing becomes easier. Corner structures were originally envisaged for small rooms, allowing you to arrange everything you need in a small space.
Now they can be placed in rooms of any size, the main thing is that the shelf is appropriate and functional.
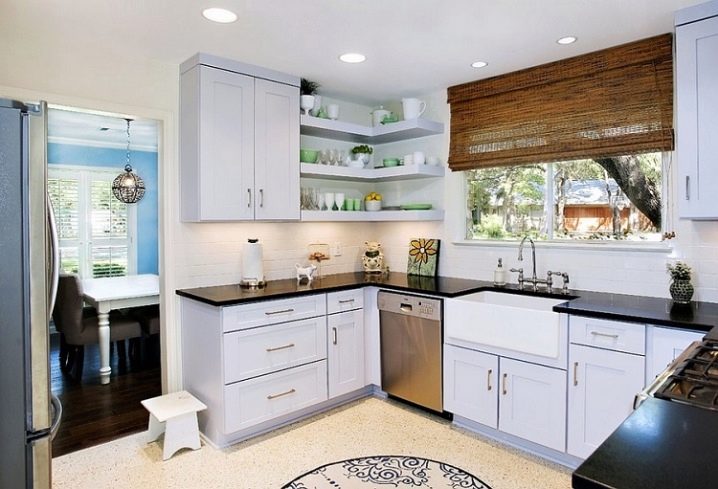
Lattice shelves can be of different shapes, sizes and colors, which is why they are popular. Thanks to the air structure, such shelves become invisible and do not overload the space, while at the same time fully performing the functions assigned to them. The roll-out design can be placed both at the top and at the bottom of the headset, most often it is made of wood or metal. For ease of use, it is placed on a slide or small wheels.
The pull-out shelf has a part of the structure that can be pulled out if necessary, which makes it possible to save part of the kitchen space. If there is a need to equip the shelf with an additional drawer, you can use some of the old furniture, where there is already such an element. By properly attaching it to the finished product, you can increase its functionality and add new storage space for the things you need.
Modern kitchens are often decorated with a variety of lighting that can be placed on shelves.
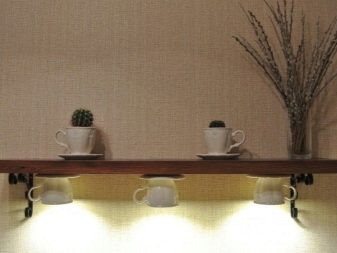

Such decor will be beautiful and functional, as it will allow you to find the right thing faster, and can also be used as a source of additional light in the room.
What do you need?
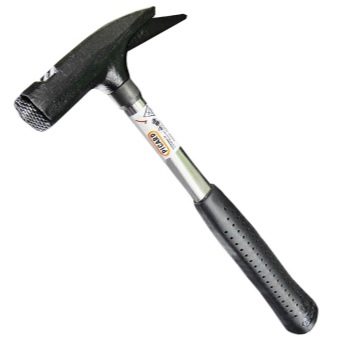
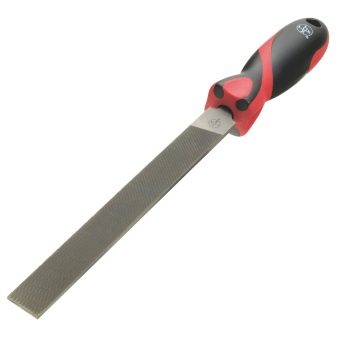
To make shelves in the kitchen with your own hands, you need to take care of the materials and tools that will be needed in the work. Among the main tools are:
- screwdriver;
- hacksaw;
- hammer;
- sandpaper;
- file;
- glass cutter;
- a ruler with a pencil;
- nails, screws, screws;
- glue;
- solution for material processing.
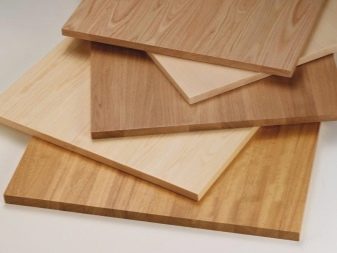
Choosing the material for the manufacture of the shelf, you can choose:
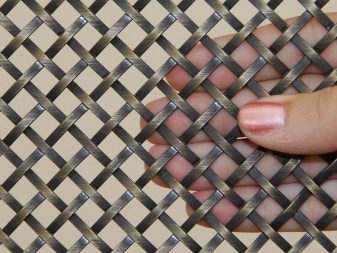
- metal sheet or lattice;
- natural wood or chipboard;
- plastic panel;
- glass with a thickness of more than 6 mm and the desired color;
- natural or artificial stone.
The type of work for making a shelf from each of the above materials will be different, therefore it is worth preparing in advance in order to do everything right the first time.
Process of creation
So that the work on creating a shelf for the kitchen goes quickly and correctly, you need to follow a certain sequence of actions:
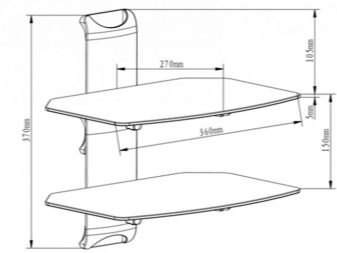
- creating a drawing of a future product, taking into account all the little things;
- comparison of the size of the shelf and the place where it is planned for placement;
- assembly of inventory that will come in handy at work;
- selection of fasteners that will match the selected material for the shelf.
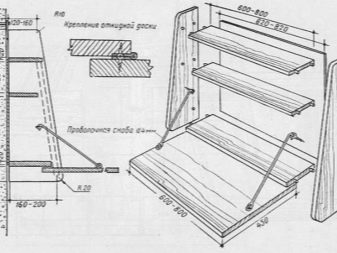
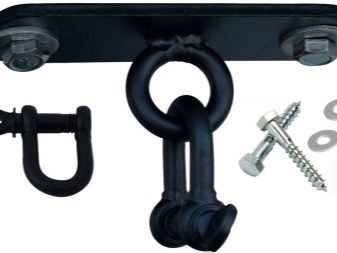
If a hinged wooden shelf is planned in the kitchen, then the instructions for its manufacture will look like this:
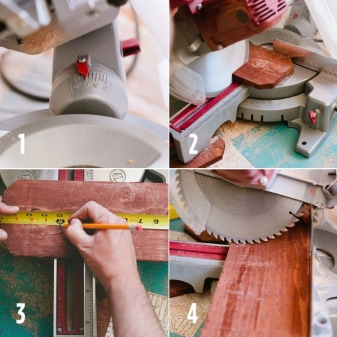
- according to the sketch, all the component parts are cut out from a sheet of wood or chipboard;
- wood products are sanded with sandpaper, veneer is used for chipboard;
- protective varnish is applied;
- brackets are attached to their places;
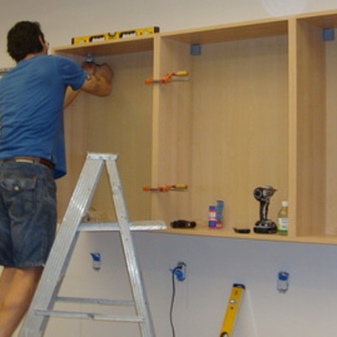
- the wall is being prepared for placing the shelf, holes are being drilled for the dowels;
- all parts are connected together;
- the shelf is mounted on the wall.
If there is a desire to make a metal shelf for the kitchen, then the process will not differ too much:
- creation of a project for a future shelf;
- selection of materials for the implementation of the idea;
- procurement of parts based on the drawing;
- choice of fastening;
- assembly of a structure, which may involve the soldering of parts or a combination of wood and metal in one shelf;
- wall preparation;
- installation of the structure in its place.
You can use solid sheets of metal if it is supposed to place something massive and heavy on the shelf, or a lattice for lighter kitchen utensils.
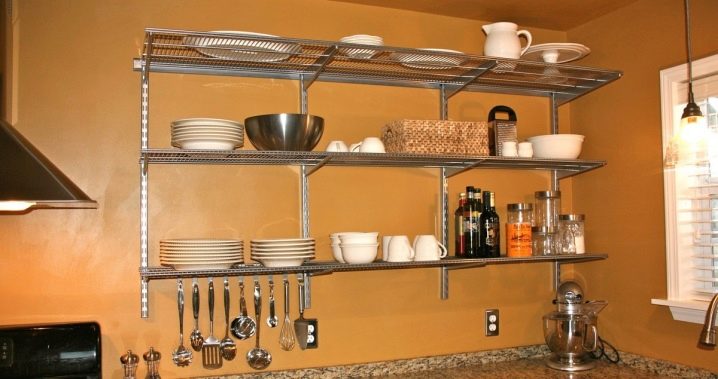
So that the metal shelves do not deteriorate from moisture and heat, they are covered with an anti-corrosion coating, which will need to be updated from time to time.
If you have very little experience with glass, it is worth setting aside time to hone your skills before starting work.
The progress of work on the creation of a glass product will be as follows:
- creating a sketch of the future product;
- transferring a sketch to a glass surface and cutting it out using a glass cutter;
- installation of glass on a flat surface with the edge where the lines were drawn to break off the desired element;
- sanding the edges with a belt sander, it is important to use a respirator for protection;
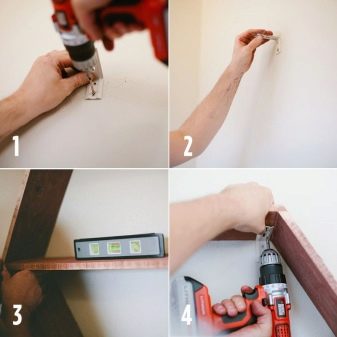
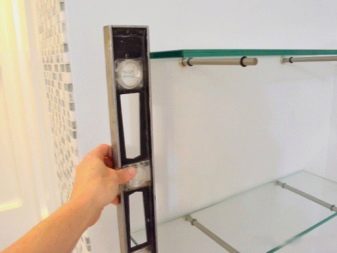
- marking the attachment points on the wall, checking them with a level, and making holes;
- placing brackets in the wall that do not fully deepen;
- creating holes in the shelf on which the product will be hung;
- hanging the shelf on the brackets, screwing it to them.
If we talk about plastic shelves, then the principle of their creation resembles all of the above options, since you need to make a layout of the future structure, clearly and correctly cut out all the parts, connect them into a single whole and install on the wall. It is much more difficult to make stone shelves, because specialized stone cutting machines are needed to create them, and few people have them in their home arsenal.
How to make a wooden shelf in the kitchen with your own hands, see the video.


The comment was sent successfully.