Stages of kitchen-living room renovation
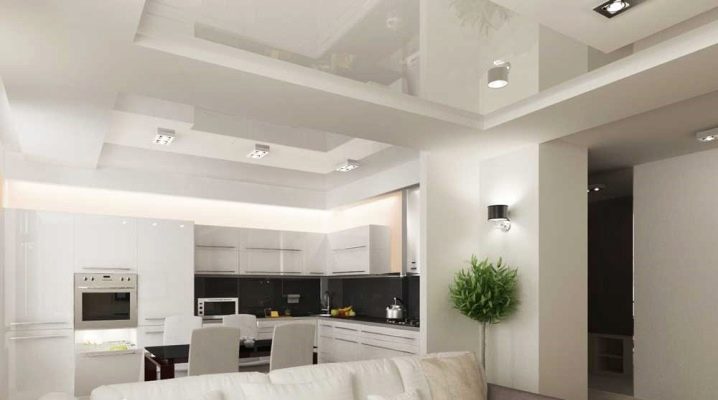
It is difficult to repair the kitchen, which is the most technologically advanced part of the apartment, and if it is also combined with the living room, then the situation requires a special approach. In this case, the cost of the error only increases. You need to act slowly, clearly understanding the correct algorithm.
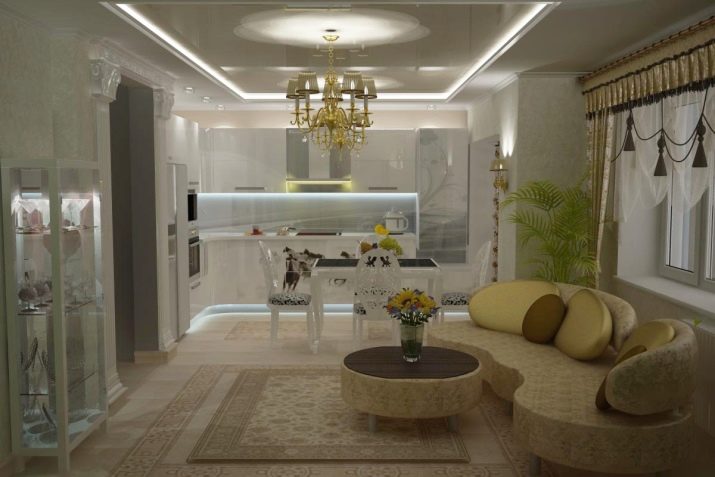

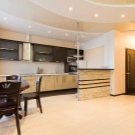
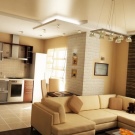
Peculiarities
The combined kitchen-living room should look like a complete ensemble. The abundance of small details in such a large space often leads to mistakes, because many people forget about practicality and existing realities. The result is an extravagant but impractical renovation of the kitchen connected to the hall.
The most common mistakes:
- there are too few outlets for technology;
- no space allocated for equipment;
- the materials do not fit together in different areas of the combined room.
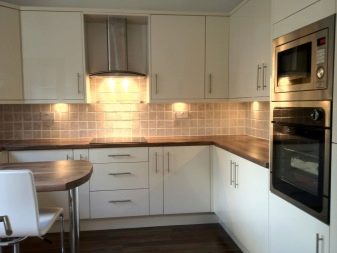

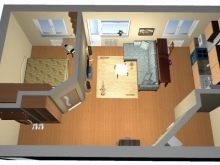
The first step in the renovation should be drawing up a detailed plan. Look at real photos, display your ideas on the layout and show it to your friends in search of new thoughts. Do not rush to implement your plans, but rather trust a professional designer who, seeing the flaws, will clarify how certain points can be implemented and correct them.
Consider everything: mark the layout and division of zones on the diagram, see if the desired equipment fits into the room. If you have a narrow room of non-standard sizes, select those models that suit you in terms of characteristics and fit into the project in terms of dimensions. Calculate all the costs and start making repairs only if you have the necessary funds to complete it.
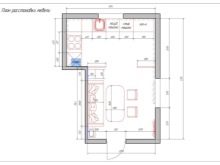

In some cases, even the sewerage and water supply systems, windows and electrical wiring will have to be replaced. In this case, the premises should acquire a "zero" appearance.
If replacing a window is part of your plans, you need to start with it: there will be a lot of dust, and the wall will be deformed. You can protect a brand new double-glazed window for the duration of further work with a simple plastic wrap.


The second important point is wiring and sockets. If the plan was drawn up correctly and in sufficient detail, the owner should know in advance where and in what quantity the appliances will stand, and there will be a lot of them in the kitchen-living room: a refrigerator, a microwave oven with an extractor hood, and a TV, a musical center or floor lamp. Sometimes it happens that because of a forgotten blender you have to buy an extension cord, which spoils the appearance of the room.
By the way, right now it is better to replace all the old wiring with a new one, because during the repair, new, more powerful equipment is often bought, and replacing burned-out wires requires breaking walls.

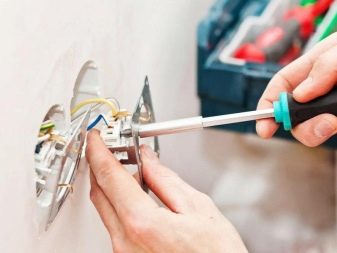
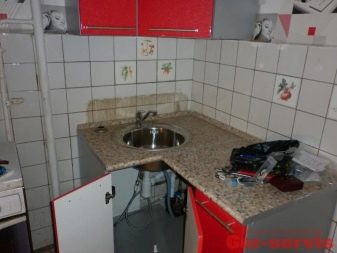
Proceed by analogy with the sewerage and plumbing: it is also better to replace them in order to avoid possible leaks and damage to expensive repairs. Particular attention should be paid to the pipes from above: if the joint of the new and old pipes remains in your apartment, the danger of a breakthrough still remains.
By the way, replacing pipes gives a small space for small redevelopment: for example, the sink can usually be moved within half a meter from its original place.

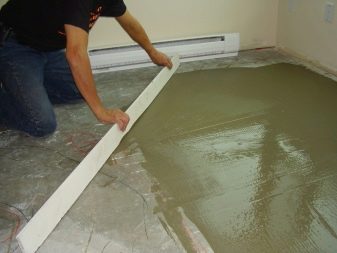
Leveling the floor takes a very long time, because a thorough replacement involves pouring a new cement screed, which dries for a long time - as a result, this stage will take at least a week. Moreover, today an increasingly popular solution is to install a "warm floor" (including under ceramic tiles), but then the repair will definitely drag on for several weeks.
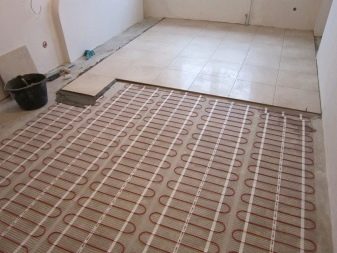
Before starting finishing, the surface of the walls must also be leveled. Ceiling preparation work depends on the type of installation.
As a result, at this stage you should have a kitchen-living room with communications and windows, ready for decoration - with leveled surfaces.

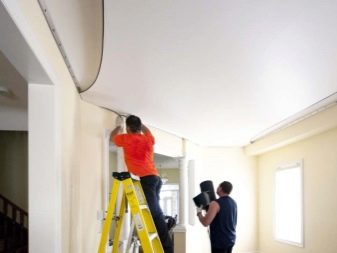
Ceiling and walls
In the process of finishing the kitchen-living room, an important rule should be remembered: all finishing work is carried out according to the scheme from top to bottom, so that later stages of repair do not spoil what has already been done. They usually start from the ceiling, although an exception can be made for stretch models: walls can be finished earlier.
However, it is almost always worth starting with leveling the surfaces, since even a stretch ceiling will not completely eliminate the visible curvature if it touches the geometry of the corners.

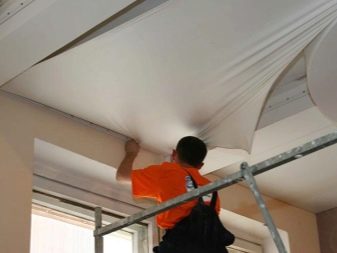
In addition to the options described above, wallpaper or even paint is also suitable as a decoration for the ceiling., as well as some other materials, but it is important to remember that they must be non-flammable: fire is not a rare occurrence in the kitchen, and it can spread very quickly through the combined room.
By the way, the zoning of the kitchen-living room is often performed precisely due to the multi-level ceiling, but such a design move should be thought out in advance.


The situation is similar with the walls. The kitchen and living room are sometimes zoned with a partition or a curly plasterboard wall that decorates the interior. Among the finishing options, the choice is very wide: wallpapers, wall panels from various materials and ceramic tiles are popular.

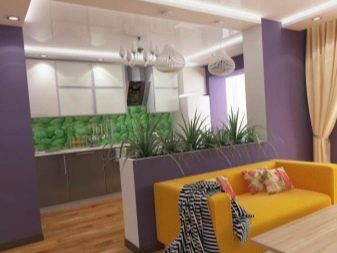
The difficulty lies in the fact that if the ceiling can still be the same, then the wall decoration must be different. The reason is simple: part of the kitchen area requires resistance not only to the effects of fire, but also to interaction with moisture. These materials are usually slightly more expensive and are not suitable for reception and family vacations.
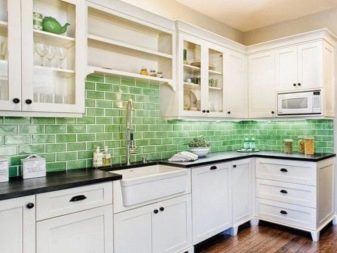
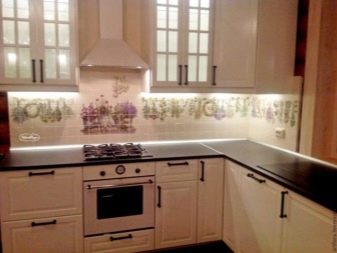
If a kitchen set is bought without a special panel as an apron, part of the wall near the working area should be trimmed with a special heat-resistant material, for example, tiles.
The task of the designer in this case is that such (or any other) insertion of foreign material not only does not seem alien, but, possibly, turns out to be a pleasant unobtrusive accent.
Floor finishing
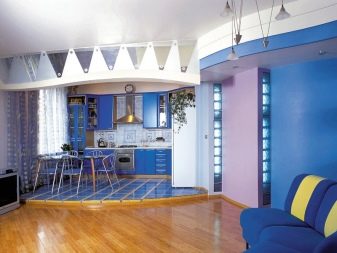
Floor repair is the last stage of finishing work, because wall decoration can lead to its damage. The requirements for the flooring in the living room and the kitchen part are completely different, therefore, two different coverings are often used in one combined room - at the same time, the division into zones becomes obvious.
In the living room part, the only requirement is the conditional comfort of the material., but in the kitchen area, it is advisable to use non-combustible and moisture-resistant materials that are neutral to detergents and resistant to abrasion. Most often, they choose linoleum, ceramic tiles, porcelain stoneware or a special moisture-resistant laminate - each material has its own advantages and disadvantages.

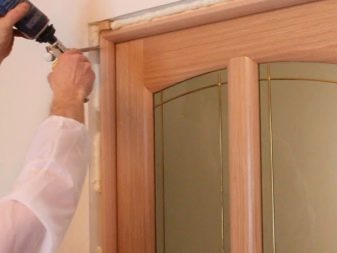
After finishing laying the flooring, the skirting board is installed only after the doors have been installed. In order not to damage the door, installation is carried out only after all the finishing has been done. Possible minor damage to the adjacent floor and walls are usually covered with a cover and sill structure. After installing the skirting boards, arranging furniture and equipment, the repair can be considered complete.

For an overview of the kitchen-living room, see the next video.


The comment was sent successfully.