Chair upholstery: step by step instructions
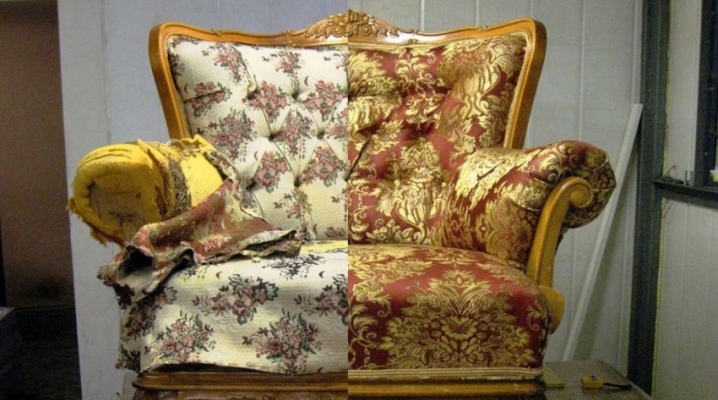
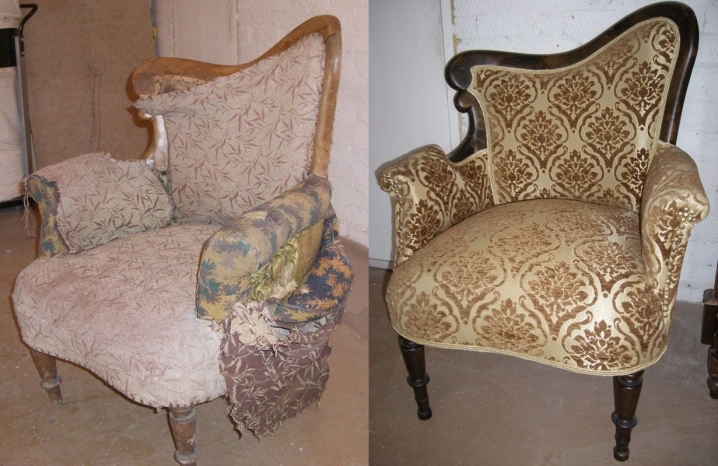
If the old chair has already lost its original appearance, but you do not want to throw it away, it is quite possible to try to carry out a constriction. This procedure is not particularly difficult, and therefore it is successfully performed independently at home.
Choice of fabric
When choosing a fabric for upholstery of furniture, it must be remembered that the fabric must be dense and quite durable. It is important that the material is easy to clean and, if possible, be impregnated with a special water-repellent solution. In addition, the conditions in which the chair will be used are immediately thought out. For example, if pets live in the apartment, then it is better to purchase anti-vandal material, for example, flock. Such coverage will not break from the claws of cats or dogs, and will not even be covered with holds.
For a chair in a children's room, a chenille or matting is more suitable, which do not wear out from everyday use, but are easily cleaned of stains and other consequences of children's games. The advantages of these materials include:
- density;
- naturalness;
- long service life.


The armchair in the living room should look impressive, so it is better to give preference to materials such as:
- jacquard;
- tapestry;
- leather.
It is better to choose fabrics with a distinct pattern that show good taste of the owners.
If the inhabitants of the apartment smoke, then it is reasonable to purchase a chenille canvas that does not absorb odors. Having picked up the material, it is better to ask the seller about the presence of impregnation, which provides additional protection from external factors.


Tools and materials
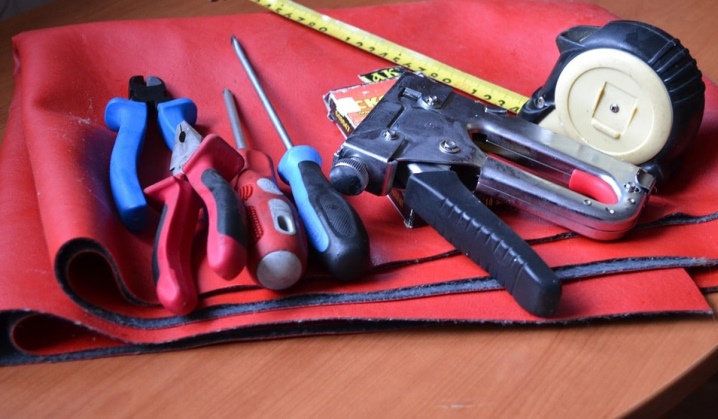
In order to successfully pull the chair, a number of essential tools are required. First of all, we are talking about a furniture stapler, which is necessary for fixing the upholstery material on a wooden frame. It is inexpensive and is sold in almost any hardware store. When buying a stapler, you should not forget about staples of the appropriate size. In the event that the old filler is already out of order, you will need to purchase a new one - foam rubber, batting, or both. This material is also easy to buy from the construction or household department.
You will probably also need a tool to remove the old staples. Although any metal stick can handle this task, it is best to prepare a flat screwdriver or even a pry bar in advance. If the chair is to be disassembled and reassembled, then you cannot do without a hammer, pliers, nailer, adjustable wrench, and other required tools.
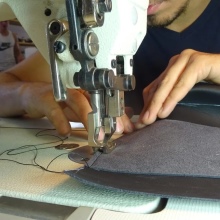
Sewing the cover itself, as a rule, is carried out on a sewing machine, although this procedure can be done with your own hands, using a thread and a needle.
You can make the right pattern with a small remnant or a special crayon.
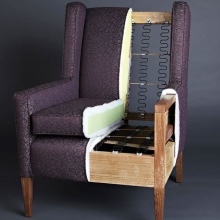

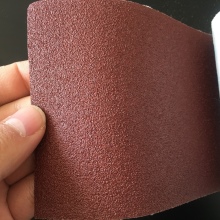
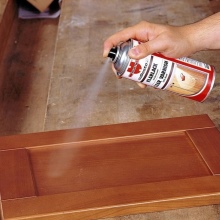
If it is necessary to restore the wooden elements of the chair, you cannot do without sandpaper of the required fraction, a brush with metal bristles, paint or varnish. When removing fasteners, a rust-killing spray may be required. Jute twine and belts are useful for shrinking the block itself.

Preparation
At the preparatory stage, the constriction of the old chair does not require any special actions. You just need to choose the right fabric with additional impregnation from dirt and wear, as well as prepare all the necessary tools. It is important to immediately understand what the final result will look like, and therefore buy materials yourself, and not order on the Internet. It should be remembered that an overly old chair cannot be restored at home, and it is better to leave this task to a specialist. Otherwise, the seat or legs may fall apart and the furniture will have to be thrown away. Professional craftsmen also recommend taking pictures of the chair from different sides in order to carry out its assembly without any problems in the future.
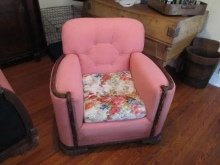
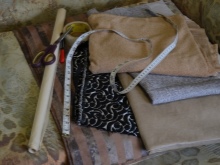

How to drag correctly?
Do-it-yourself chair upholstery at home is always carried out according to a certain scheme.
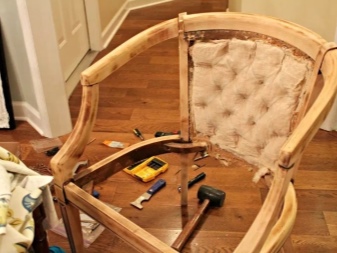
Disassembly
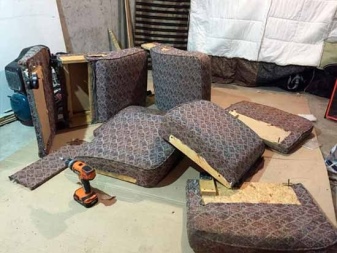
Easy step-by-step instructions makes it possible to independently disassemble the chair into separate components.
- The first step is to remove all removable elements, that is, covers and, possibly, armrests.
- Then the chair is laid on the back, and the legs are dismantled.
- Having disassembled the fasteners connecting the back and the frame, it will turn out to separate these parts too. Usually, for this, the screws are unscrewed with a screwdriver, and the nails are pulled out with a nailer.
- The old brackets are removed from the bottom, and then it itself is dismantled.
- If the armrests are still in place, they can also be removed by unscrewing the screws.
- At the end, the remaining staples holding the fabric are removed, and it is removed, but not thrown away. It is best to do this carefully and not create gaps, as the old material may be needed to create a pattern for the new cover. Moreover, it is reasonable to immediately sign where the top was and where the bottom of the structure was.
- If the chair was soft, and the filler has already gone out of condition, then it will have to be changed, which means that the old one can be thrown away immediately. In the event that the foam is in order, it can be left unchanged, or simply supplemented with a new layer.
- Before starting work with the fabric, the frame is also cleaned of dust, and the damaged fittings are replaced with a new one. Wooden elements can be sanded, repainted or varnished, and those that are not visible can simply be coated with a protective agent.
- In general, the processing of visible elements of wood is carried out using coarse-grained emery paper, which removes both the layer of varnish and paint. Then you can use another type of sandpaper - already with a fine grain, or even a grinder.
- After cleaning the wood from dusty residues with a soft cloth, you can immediately proceed to painting. For even coating, you will need a brush, sponge or aerosol can - the choice depends on the features of the part, on its size and on personal preference. It is better to apply the coloring agent in two or even three layers and, after waiting for complete drying, use two or three layers of varnish.
Cut fabrics
Initially, when purchasing a fabric cloth, it is necessary to track that this is done with a ten percent margin of length. You can cut out the cover using the old upholstery, or using a new pattern drawn on the remains of wallpaper or sheets of paper of the required size. In the first case, the new material should be placed face down on the floor, and then all parts of the old cover should be placed on it. It is important not to forget about the shared thread. If the upholstery of the sofa is decorated with patterns, then it is necessary to lay out the components of the cover, taking this into account. The villi of the material should always point downward. It is convenient to apply the pattern to the fabric with a bar of soap or a special crayon. The contours are outlined taking into account allowances equal to five or seven centimeters.
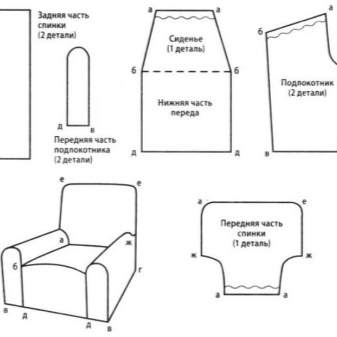
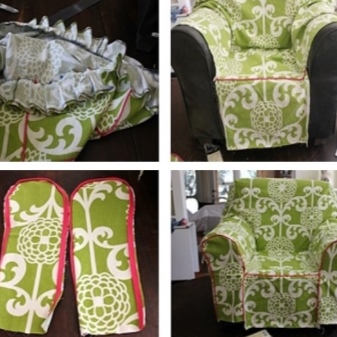
When using a new pattern, you will have to cut out the details taking into account the resulting folds. It will be convenient to fix the paper on the canvas with pins. You can sew parts together either manually or on a sewing machine. For the design of the edges, experts recommend using the hem seam.When cutting fabrics, one should not forget about cutting the filler, which is foam rubber and batting. Since the second material is used to fix the first, it will also need to be trimmed using either the old cover or a new pattern for this. In this case, there is no need for wide allowances.
If leather is chosen for the chair's constriction, then it is important to remember that the needle of the sewing machine is capable of stitching only thin samples of material, 1.5 millimeters thick. Before starting the main procedure, the workpieces must be “tried on” on the product, fixing themselves to each other using clothespins or other other device that does not harm the skin. Only after making sure of the correct cutting, you can proceed to direct sewing.
Padding and assembly
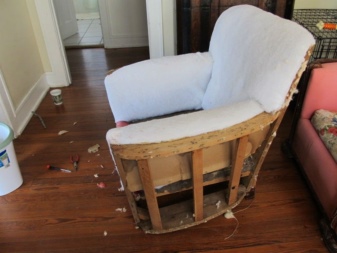
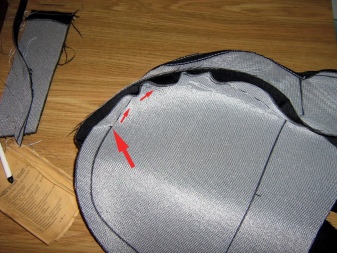
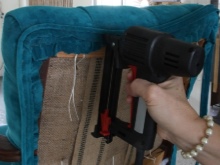
It is not so difficult to carry out the hauling of the chair yourself without restoring the frame. Basically, you can even cover the furniture with a new coating without removing the old one - this is not particularly welcomed by experts, but it saves enough time and makes the chair more voluminous. However, in the basic version, the old case still changes along with the filler. The upholstery must begin with the sheathing of the back. To do this, foam rubber is fixed on the inside, the corners of which, if necessary, are cut off to achieve a rounded shape, and batting is placed on top. With a furniture stapler, the edges of the material are fixed to the back of the back, although some people prefer to use regular glue for this. It is important to maintain a gap of several centimeters between the staples, and level the material itself, eliminating creases and wrinkles.
At the next stage, the back must be upholstered with fabric. The finished upholstery piece is attached to the frame and first fixed with brackets on the sides. The fabric gradually spreads over the entire frame, seat and armrests. Lastly, the new material is attached to the back of the chair back. In the case of a leather chair constriction, the material must first be wetted to prevent wrinkling. This scheme is basic, since sometimes the foam rubber is also placed on the bottom of the seat over the springs, and then it is covered with new fabric. The armrests can also be separately sheathed with dense material and upholstered on top of it.
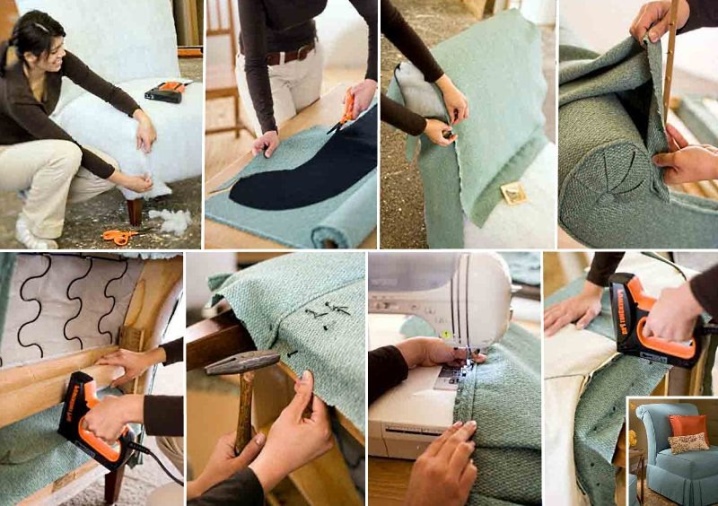
After completing the upholstery procedure, you can proceed to the assembly of the chair. At this stage, the entire sequence of parsing the furniture is repeated, but in the reverse order. In order not to make mistakes, earlier it is better to record each step with the help of photographs and be sure to write down the sequence in which they go.
In some cases, when a spherical or blind back of the chair fails, it is enough to put in order only this part, leaving the main array unchanged... To do this, after removing the old upholstery, it is necessary to inspect the frame for possible damage. It is likely that loose mounting bolts are to blame, which are easy enough to tighten.
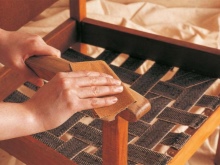
If there is a crack, it makes sense to try to get a similar replacement part or even grind it yourself. The loosened tie strap can be pulled back fairly easily and secured with a bracket. If necessary, the same tapes are simply replaced with new ones, and the excess material is cut off with scissors. The updated part is sheathed with fabric material using staples.
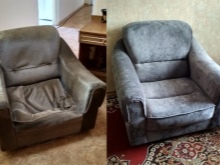
Next, see a do-it-yourself workshop on hauling an old chair.


The comment was sent successfully.