How to make a wooden chair with your own hands?
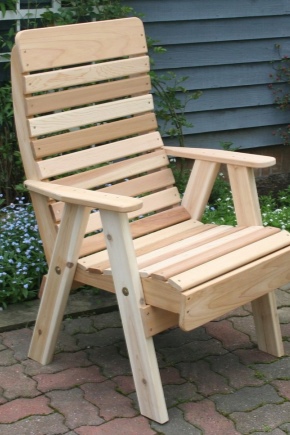
Furniture is one of the essential attributes for the normal life of people in any room. Moreover, it can be used not only for practical purposes, but also as an addition to the external decoration. One of the most common options is an armchair. This furniture allows you to comfortably spend time in the room reading or watching TV. Let's try to figure out how to make a wooden chair with our own hands so that it lasts a long time and is as comfortable as possible.
Tools and materials
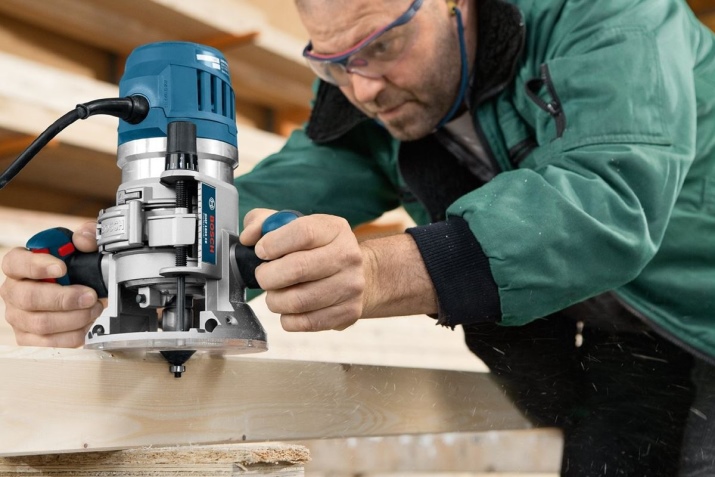
So, in order to make a wooden chair yourself, you need to prepare a number of tools and materials. If we talk about tools, then we should name:
- plane;
- Circular Saw;
- drill;
- screwdriver;
- hacksaw for wood;
- milling cutter;
- roulette;
- pencil;
- clamps.
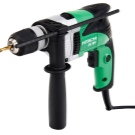

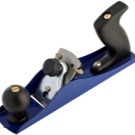

If we talk about materials, then you will need to have at hand:
- screws;
- furniture glue;
- sandpaper;
- stain or drying oil;
- masking tape;
- stencil cardboard;
- dowel or lumber.

It should be understood that the chair's ability to cope with the effects of natural factors, its stability, reliability and ability to withstand physical stress will depend on the choice of wood and the final processing method. For some reason, many people choose chipboard to create an armchair, although this material is completely unsuitable for armchairs. And especially for garden-type models. The reason is simple - extremely low resistance to moisture. And the strength of the chipboard models will be lower than that of solid wood or timber models.
And here natural wood, although not the most affordable material, is environmentally friendly and completely harmless... It will be the best solution if you want to make homemade chairs with your own hands. Before starting work, you should inspect the boards and bars for defects - cracks and knots. After that, the material is sanded, protective materials are applied to it, and assembly is performed. If we talk about wood, then it would be best to take alder, ash, birch, oak for such purposes.
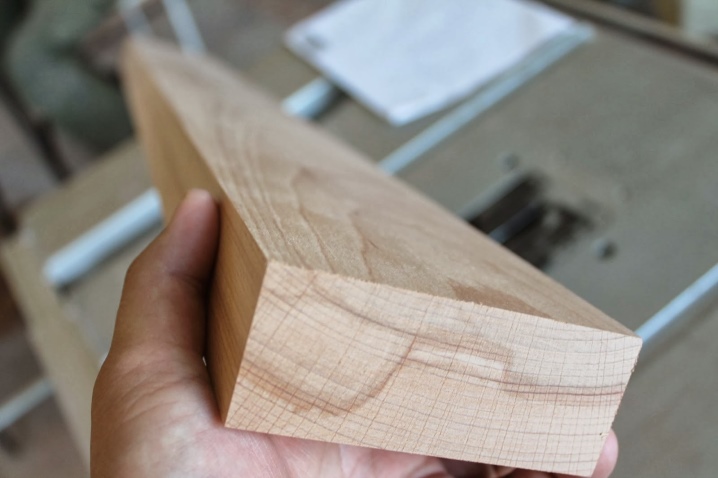
There are two reasons. The first is the presence of an unusual fiber pattern. The second is the high wear resistance of a product made of these materials. And the durability of such products will be high. The only drawbacks will be moisture deformation and low fire resistance. And one more important point that should also be prepared - drawings and diagrams. This issue should be resolved when it is already known from what material the furniture will be made. There are several options for solving this problem:
- make a drawing with your own hand, where the dimensions and features of this chair will be spelled out;
- make it on a computer;
- download the finished version on one of the specialized sites.
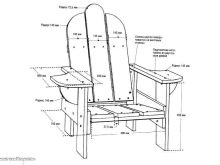
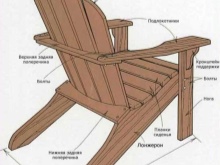
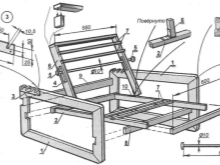
Which option is better to choose will depend on the availability of drawing skills and working with a personal computer.
Manufacturing instructions
Now let's try to look at the process of creating different types of wood chairs. Considering that there are different types of chairs - a lounger, with a back or "shell", it would be correct to consider the process of their creation in the context of placement on various objects and creation from different materials. In particular, a universal option will be considered, which can be placed in a country house or in a house, and a model of an armchair made of pallets.
Dachnoe
Specifically to create this type of chair, you will need to have on hand:
- connecting bar;
- additional bar;
- back;
- 2 armrests;
- 4 legs.
These parts are first cut out of cardboard, after which they are transferred to the wood and the elements of the future structure are cut. When this is done, you can begin to create the frame of the future chair. Before starting the assembly, all components must be very carefully treated with a special antiseptic, which prevents the appearance of fungus. Now it is necessary to carry out drying of all parts.
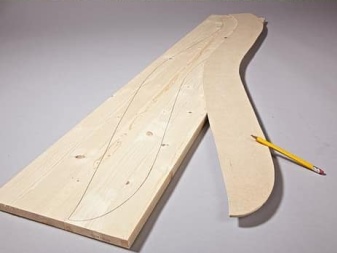
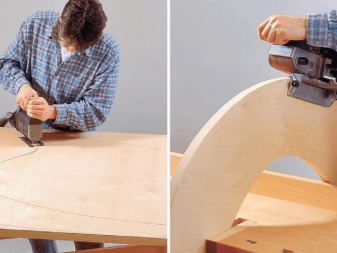
After all the structural elements have dried, it is necessary to begin fitting the parts to the required dimensions, which are prescribed in the drawing documentation. Right here markings should be made for holes intended for fasteners... Now we take a drill and drill holes where the fasteners will be inserted, after which the parts are fixed together.
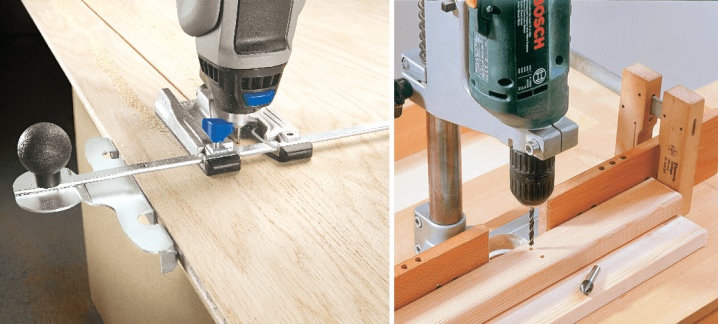
After that we fix the back leg of the chair at an angle of 90 degrees... Using the same method, we fix the legs on the other side. Now you need to connect the side structural elements. The end parts of the strips, as well as the ends of the legs located on the other side, must match. This will be the key to the correct location of the entire structure. The next step is to install the supports, which after installation should be fixed in the desired position using special clamps.
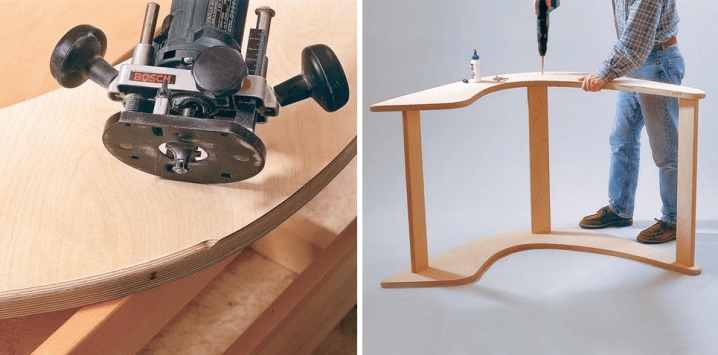
Now it is necessary to install the backrest guide from above using screws. During this process, it is required to adjust it to the transverse bar from below. You can put the markings with a simple pencil on all the crossbars and parts of the back, and then make a hole again, holding the bar firmly in your hand.
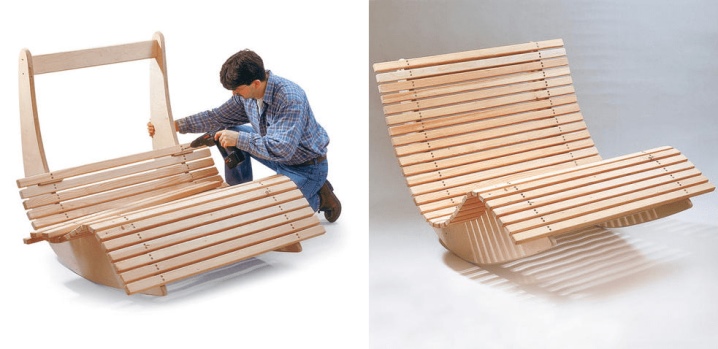
It remains to make the roundings, cutting off the boards along the pre-marked lines. Now all that remains is to grind the surface of the chair made with sandpaper. Here you should take a responsible attitude to this issue in order to get perfectly even and smooth wood without any burrs. After that, we treat the chair with linseed oil and several layers of varnish and let it dry.
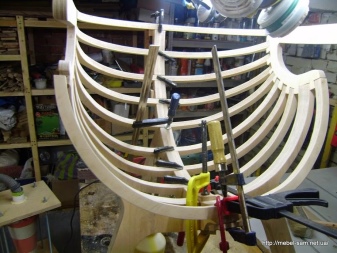
Shell
Now let's move on to looking at how to create a shell chair.
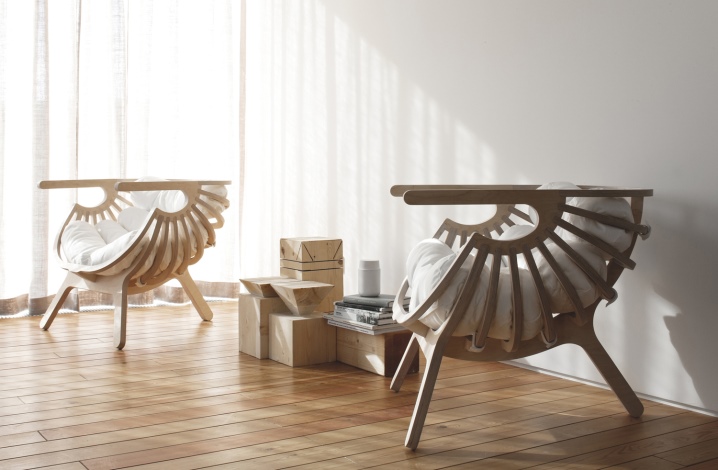
In this case, you will need to have skills in using a tool such as an electric jigsaw. For maximum time savings, the jigsaw should move as smoothly as possible during cutting so that there are no stops or accelerations. Each dash will definitely leave a mark that will take time to grind in the future. You should also avoid vibrations during cutting so that the cut quality is as high as possible. Otherwise, you will again need to spend a lot of time sanding the defects.
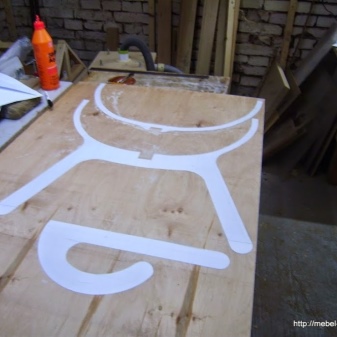
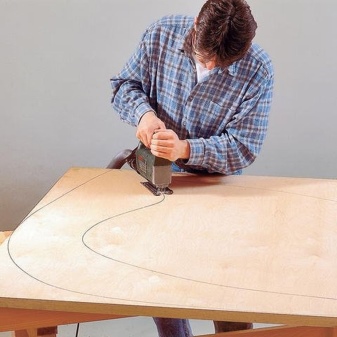
After the parts are cut out according to the drawings, it is required to varnish them. To begin with, you should very carefully grind all the chips and irregularities of the cut. Different abrasives should be used depending on the size of the defects. If very large cracks are present, then they need to be putty. The putty should be selected exactly to match the plywood or made by yourself. If the second option is chosen, then it is made from sawdust, PVA glue and a small amount of chalk.
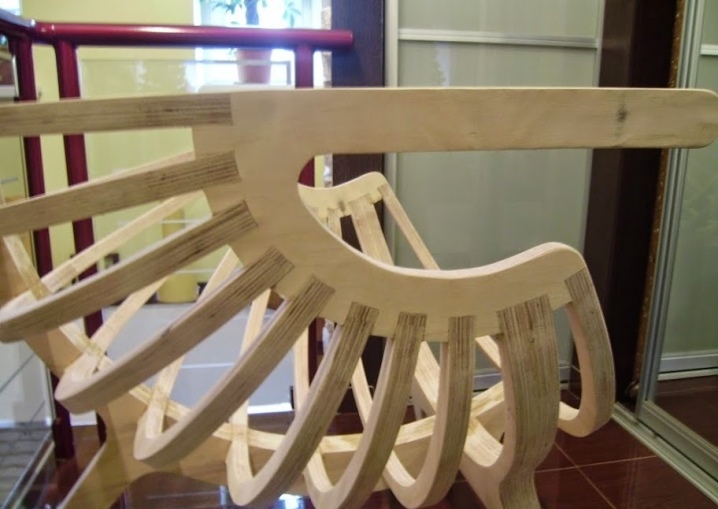
Also, the surface should be well cleaned from dirt and dust. A plywood must be completely dry... You should also choose a good varnish. We are talking about a varnish that will not raise the pile of the veneer, which can have a very negative effect on the appearance of the future chair. Nor should you save on layers of varnish. There should be at least 2. There should be 3 of them.
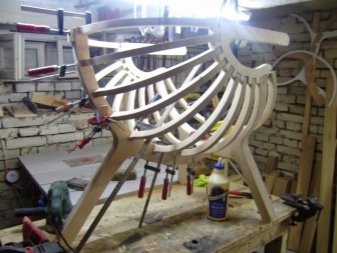
When the parts are completely ready for assembly, they should be fastened together with wood glue. Until it is completely dry, the parts can be pressed against each other using clamps. If for some reason you do not want to use only glue, you can also use self-tapping screws.The only thing, then you need to drown their heads as much as possible in the design, so that they do not look out and do not create a risk of clothing tearing when sitting on such a chair. Or you can use self-tapping screws with decorative heads. Note that the method of creating such an armchair will practically not differ in any way from creating a regular armchair made of wood.
From pallets
To make a pallet chair you will need to have:
- pallets;
- nails and hammer;
- primer;
- fasteners;
- sandpaper.
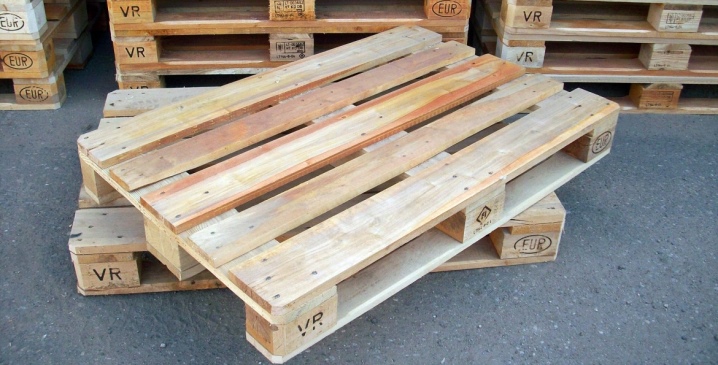
First you need to take 2 pallets that are the same size. Then they need to be divided into parts. By the way, if you want to make some more decorative elements, you will need more pallets. After that, all pallets should be carefully sanded with sandpaper. Now you need to connect the back and parts of the seat together. If you want to make a slight backrest slope, you can make a small cut.
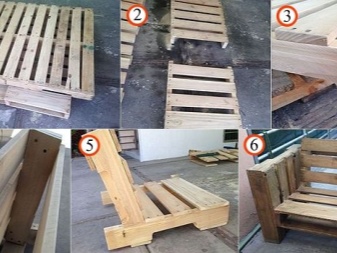
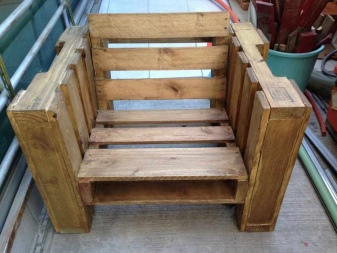
It should be said here that all parts must be fixed with screws, since the nails in this case will not be so reliable... This can be called the simplest way to create a wooden chair. The only thing you should know is that a number of craftsmen recommend fixing parts of the structure with an adhesive.
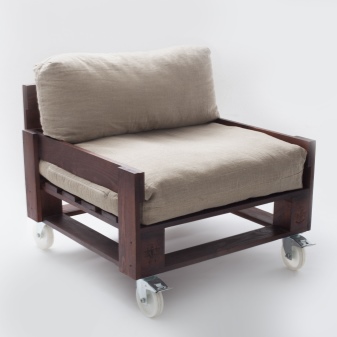
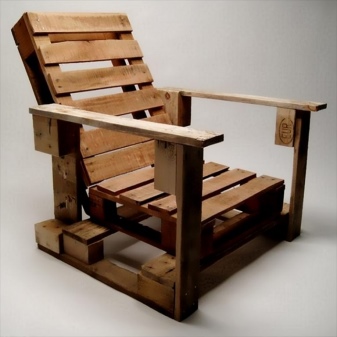
If you decide to do something like this, then it is better to use heat-resistant compounds, which will allow the structure not to break even in extreme heat and during cold weather.
Decor options
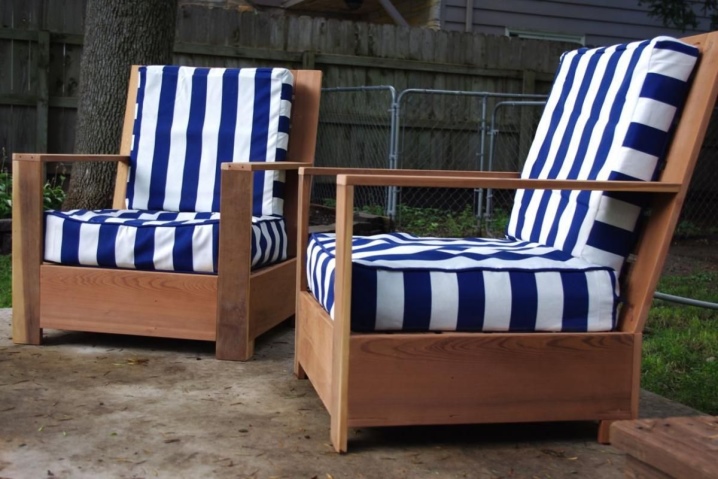
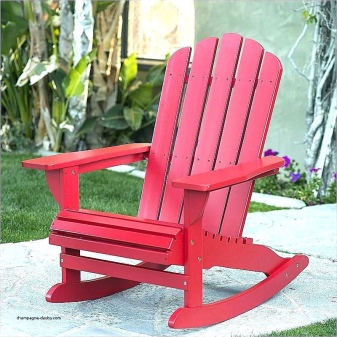
It should be said that even for such chairs, appearance is an extremely important aspect. At the same time, it is not necessary to buy some kind of accessories for this at an exorbitant price. For this you can use some old unnecessary things... For example, the same pillows and bedspreads to make the chair not only beautiful, but also soft. For example, you can sheathe the seat and back with padding polyester, and simply pull a decorative type fabric over this material. It is better to fix such upholstery using the simplest furniture stapler.
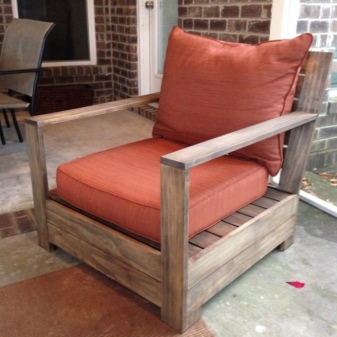

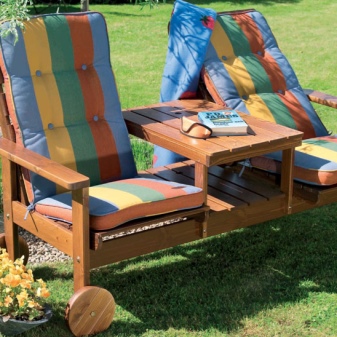
A number of people believe that the back will be best decorated with buttons and covered with a fabric of the same color... If you need to hide the staples, you can do this with laces or a simple decorative edging. The surface can also be painted with paint, which will make your furniture an even more interesting addition to the interior. And if you wish, you can make some bright and beautiful cape.
Recommendations
Here are some useful tips that will make it even easier to make a do-it-yourself chair out of wood. To begin with, let's say that before creating any structure made of wood, you should carefully consider how it will look approximately and how you want to see it. This will allow you to at least approximately determine how much of this or that material you need.
Another important aspect is that you should not neglect such a thing as blueprints. Many, for some reason, do not pay enough attention to them, which is why they later end up with crooked armchairs and chairs. In this matter, everything should be thought over to the smallest detail and the parameters of each detail should be checked. It will not be superfluous to say that it would be better to use a circular saw for cutting longitudinal parts, and a jigsaw for transverse parts.
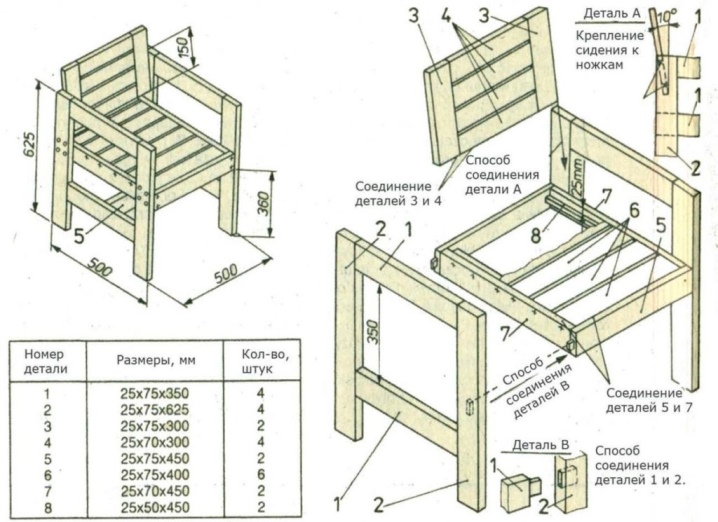
Another important issue concerns the connection of the elements of the chair. Everything is pretty simple here. In the joints where the main load is going, it is better to use self-tapping screws or screws. But in other cases, you can use glue or chopiks made of wood. Chopiki can also be used to fix the upper parts.
The selection of materials for processing will also be an important point. But here everything will depend on how high-quality wood is used. If it is "clean" and has no defects, then it will be enough to treat it with a stain and apply varnish. But if there are spots on it and some defects are present, then they should be putty, then covered with a primer and only then painted.Another important point is that you should not paint the wood right away. It must be pre-treated with linseed oil. Otherwise, it will quickly be absorbed into the surface. Then bald spots will remain, which will ruin the appearance of the chair.
For information on how to make a chair out of wood with your own hands, see also the next video.


The board is not processed, there will be splinters.
The design is good, should not be loose.
Chair class! Only the grinding is not professional.
The comment was sent successfully.