How to make a hammock chair with your own hands?
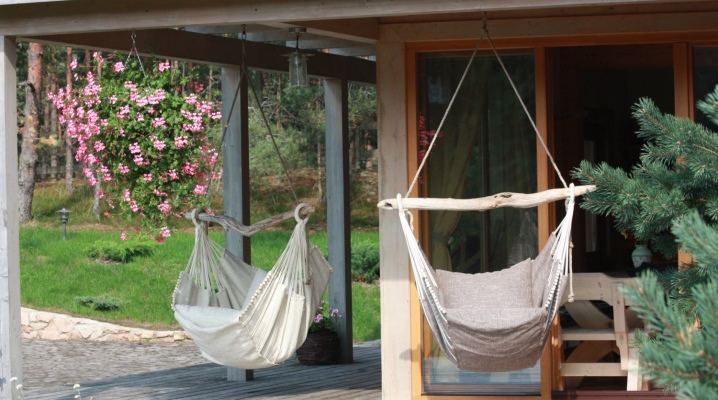
Hanging chairs have become very popular lately. One of the most popular is the hammock chair. It will perfectly complement the veranda or the interior of the apartment. How to make a hanging hammock chair at home and how to hang it? Consider several master classes on the manufacture of such products.
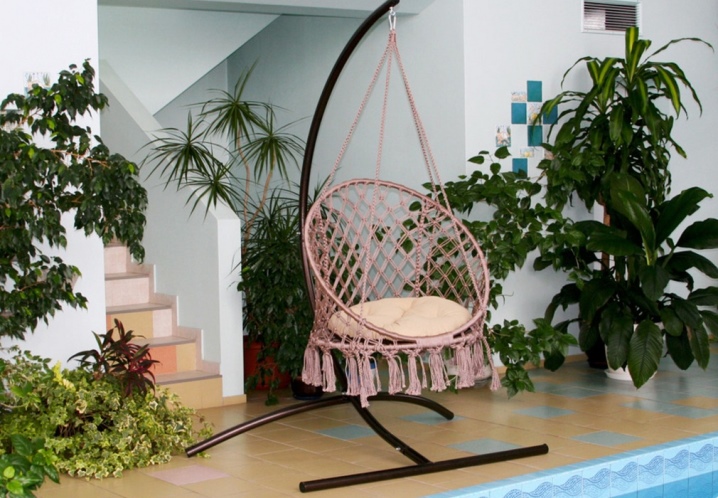
Required materials
A hanging chair in the house is not as common as a standard one, but it is already completely customary to see it on the veranda or in the garden. The popularity of these products is growing more and more. When choosing such a chair, it is worth considering a couple of nuances. All of them are attached to the ceiling or beam (it will be impossible to attach it to the stretch ceiling). You can buy a hammock chair in a store or online, or you can make it yourself. It will take some time, but you can save a lot.
A hammock chair is one of the easiest to use. It consists of a seat, crossbars (1 or 2, sometimes they do without them), metal slings or ropes, suspension, carabiners, tapes, pillows at will.


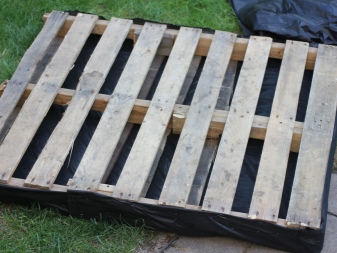
You can get by with a standard set of items. It should be noted that the chairs can be made from lamellas or old pallets, plastic bags and even from metal-plastic pipes. Everything is limited only by your imagination.

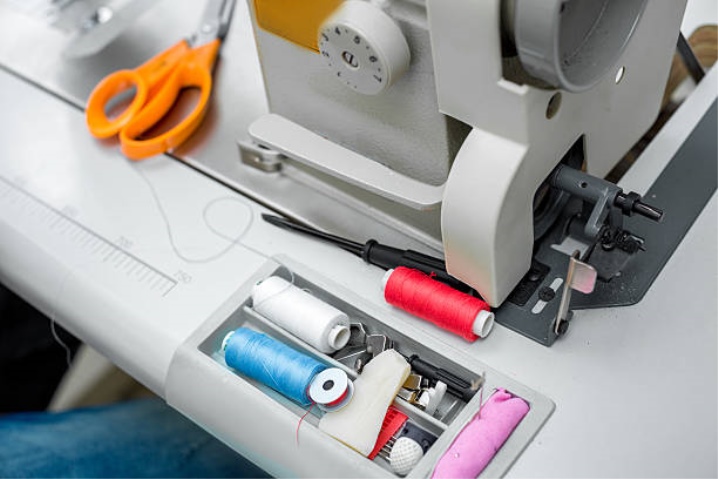
For standard production, scissors, needles, gloves and a sewing machine can be used, as well as an overlock (for a macrame hammock chair, a sewing machine and an overlock are not required).
Schemes
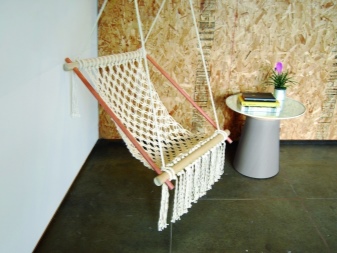
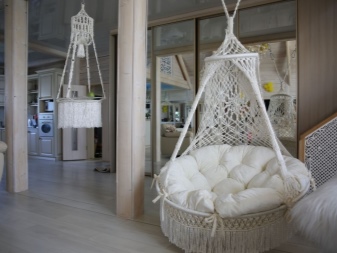
It is not so difficult to make a hammock chair from a gymnastic hoop with your own hands, we will consider it in the following diagram. A hammock chair using the macrame method can be made using the following weaving technique. A hammock chair in the classic version will be the simplest. It is made of fabric, but you can also use tarpaulin or canvas woven using the macrame method for the base. For this version, hoops will not be needed, the rigid frame is not used.
Step-by-step instruction
There are several ways to make your own hammock chair. Let's consider the most popular ones.
- The macrame hammock chair will be the most airy. This very airiness depends on the density of the weaving, it is made of ropes.
- A hammock chair made of hoops and fabric in its shape will resemble the previous version of the macrame chair, but it will be made of canvas.
- A hammock chair made of textiles or tarpaulin. For structural strength, you can use a fabric folded in half.
- A chair in the form of a standard frameless hammock is suitable for those who do not have much experience in making hanging chairs with their own hands. For a hammock you will need: a piece of thick fabric 1.1x0.8 m; threads; 2 ropes 1.6-2 m each - slings; scissors; crossbar 90 cm; sewing machine.
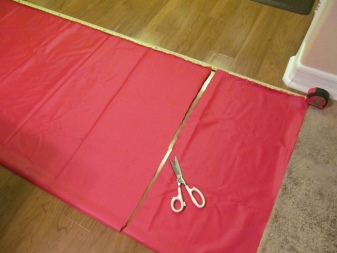
The edge of the cut is processed with an overlock or overcast over the edge with tape. Two sides with a size of 1.1 m are tucked, forming tunnels at least 5 cm wide, a rope-sling will be threaded through them. For a smoother transition, the tunnels can be divided into separate sections 5 cm long, then each of them will require separate lines. The slings are threaded into the tunnels, fixed in a side loop, each, hung over the crossbar to the ceiling, beam or tree.
The same fabric can be used to build a sun canopy over the hammock, provided that it is located in the fresh air.
This model is also perfect for a two-seater hammock. For such a hammock, they simply double the width of the cut used and enjoy the company of the interlocutor. If desired, you can use a synthetic winterizer stitched on a fabric basis as an additional layer, then the chair will keep its shape better, it will become warmer.
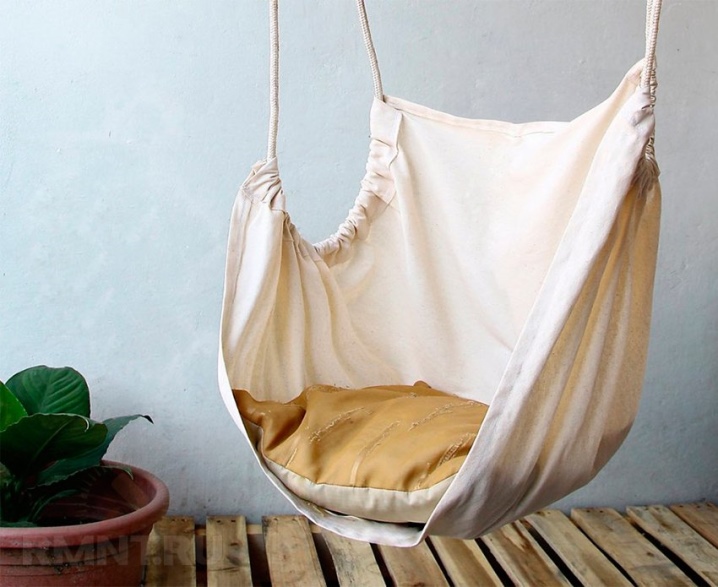
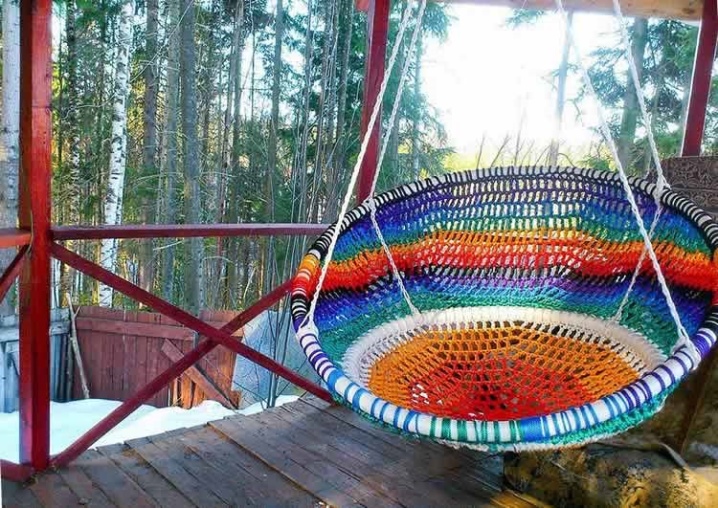
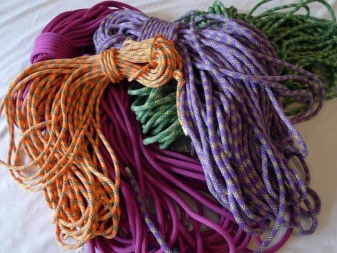
- To make a hammock chair using the macrame method, you will need: hoops with a diameter of 80 and 120 cm, a width of 3 cm; thick colored threads - jute, twine, clothesline, yarn from plant fibers; 2 rods; awl or knitting needles to untie the wrong knots; thick cord for braiding; roulette; scissors; gloves; two crossbars (optional); weights for leveling the web; PVA glue; centimeter; pins; a device for securing the thread - a pillow or foam; clamps; to fix the thread, you can use the back of a chair or chair; beads for decoration (optional).
Please note that the rope or cord should not slip too much. The material should be of high quality and easy to tie.
It is better to choose strong threads, as otherwise the product may break. It is better not to use too stiff threads. Knots will look nice if the rope is smooth. It is better to use pieces of thread of 40 cm. Fuse the ends of the threads or grease with PVA glue.
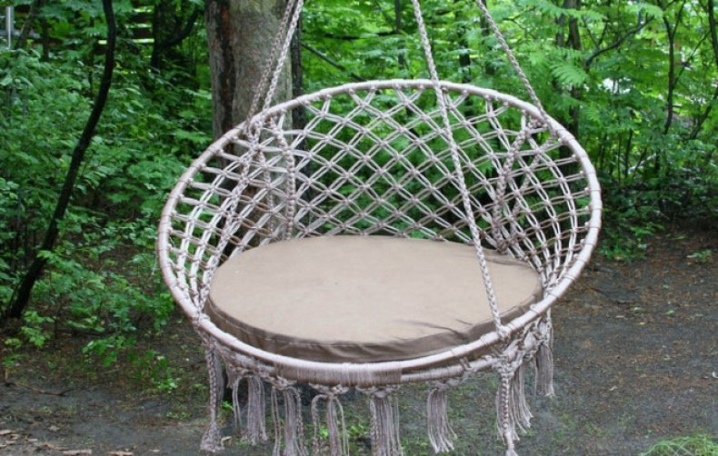
Threads are woven into a smaller hoop in parallel with an approximate step of half a centimeter, transverse threads are woven perpendicular to them in the manner of weaving a basket. On the other side of the hoop, the thread will do the exact same thing, but exactly the opposite.
For the convenience of securing the rope along the edge, it is recommended to drill the hoop.
After weaving is complete, the seat will need to be wrapped around the edge with a cord and pulled in knots with a step of 20-30 cm. With the same cord, the seat is attached to a hoop with a larger diameter, the winding place will be 15-20 cm. Opposite the winding, the rods are placed - they will make up the backrest frame. The height of the backrest is selected independently. The rods are secured with the same braid cord. We braid the finished seat with a back in a macrame manner in a checkerboard pattern, create the first row of nodes, the second, the third, and so on.
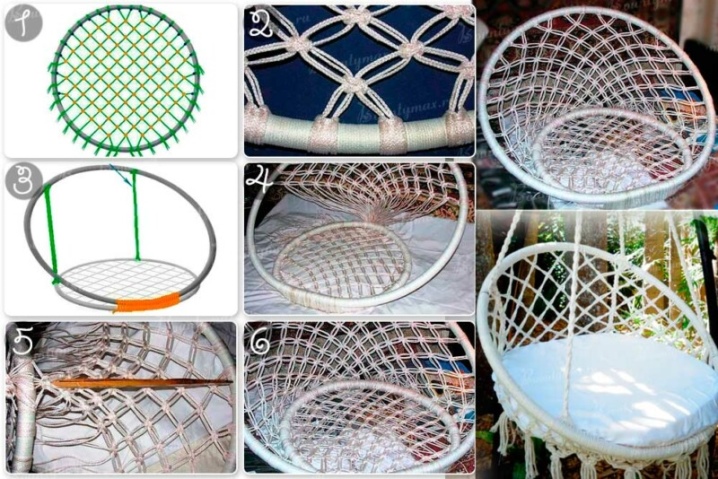
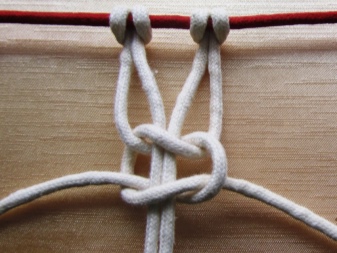
For novice craftsmen, it is more convenient to work with basic knots - a simple Herculean knot or a square flat knot, they are shown in the photo:
- simple herculean knot;
- square flat knot.
Craftsmen with a high level of skill choose the type of weaving to taste. From the threads along the bottom of the seat, it will be possible to make a fringe.

When the chair is ready, it is connected to the slings. Two slings are attached at the base of the winding of the hoops, two slings are attached to the back. The slings are immediately connected to a carabiner or placed on two crossbars.
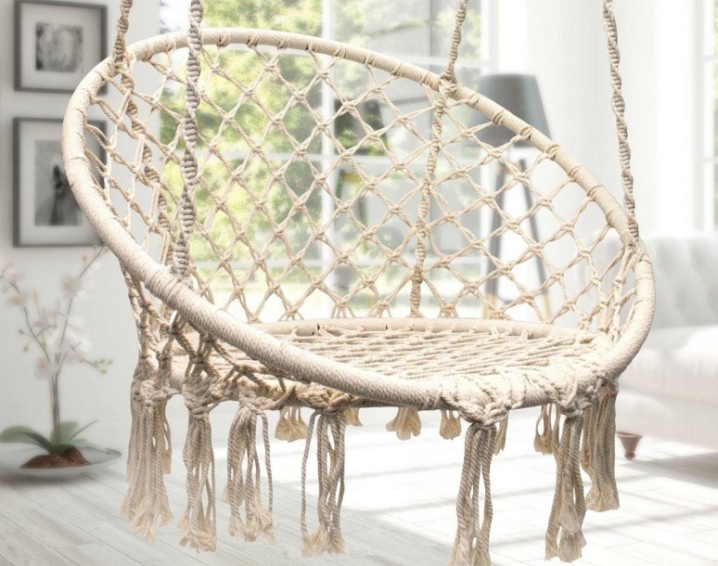
- To make a chair from a gymnastic hoop you will need: thick fabric or tarpaulin - 3 m; hoop with a diameter of 90-100 cm; 4 slings made of ropes (2 x 2.2 m, 2 x 2.8 m); zipper 90-100 cm (as the diameter of the hoop); two round cuts of tarpaulin or thick fabric; braid - 3 meters; tape - 9 m; sewing machine.

Cut 2 circles: one is 5 cm wider than the second, with allowances for the hoop. Along the perimeter of the fabric circles with the same pitch, 4 cutouts for the lines are left. To prevent the fabric from unraveling, it should be overlocked. A zipper is placed on a part of a smaller diameter, it will be located on the outside. Two circles are sewn together with the front sides, leaving about 1-2 cm along the edge. The cover is turned inside out. Holes for lines are sheathed with tape. The hoop is wrapped with a padding polyester, the padding polyester is fixed with threads or tape. The wrapped hoop is inserted into the cover. The lightning closes. Slings are threaded through the slits for the lines. Ropes 2.8 m long are passed through the slots in the front, 2.2 m in the rear.
The fabric pieces can be layered with padding polyester to keep warm. For the strength of the lines, the ends of the ropes should be melted.
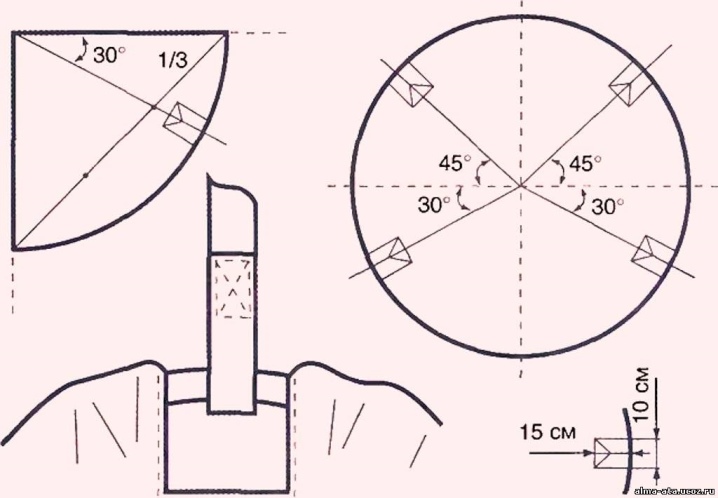
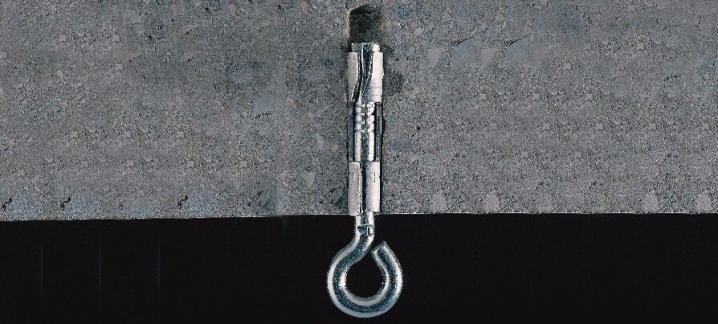
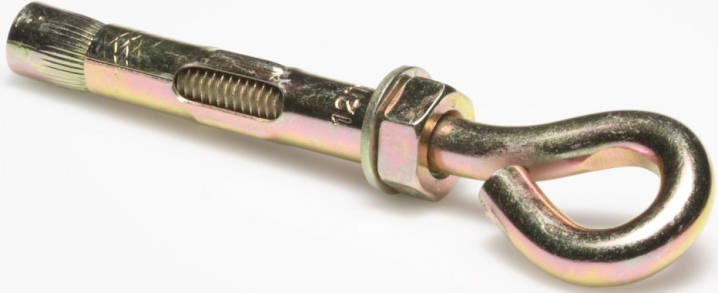
When the chair is ready, hang it from the ceiling. The mounting methods will depend on the material of the ceiling itself. You will need to screw a metal plate with a ring onto long screws to the wooden ceiling.An anchor hook with a ring is installed in the concrete ceiling. It is not possible to simply screw the anchor into a concrete ceiling with voids. It is recommended to fill the voids with a chemical anchor (special composition ready-made, sold immediately with a pistol), after it dries, it will be possible to screw in a metal anchor, and after 2 days - hang a hammock chair.
It will be more difficult if a suspended or stretch ceiling is already ready in the room. You need to get to the main ceiling. A long anchor with a threaded sleeve at the end should be used as a suspension; it is needed to cover the distance from the concrete ceiling to the stretch ceiling. A ring is screwed into the sleeve, the hole is closed with decorative overlays. For the convenience of installing the anchor, all operations should be carried out before hanging the artificial ceiling.
A hanging hammock chair is used quite often in gazebos, on verandas or at home; it is even replaced by office chairs. But it is worth noting that a workplace in this style will look very creative and, as practice shows, is not always appropriate.

In the next video, you can visually familiarize yourself with the process of making a hammock chair with your own hands.


The comment was sent successfully.