How to make a composter with your own hands?
Compost is a natural organic fertilizer, which absolutely everyone can get on their site. True, for this you need to make a composter. What it is, what goals it helps to achieve and how to do it correctly, we will talk in this article.
What to make of?
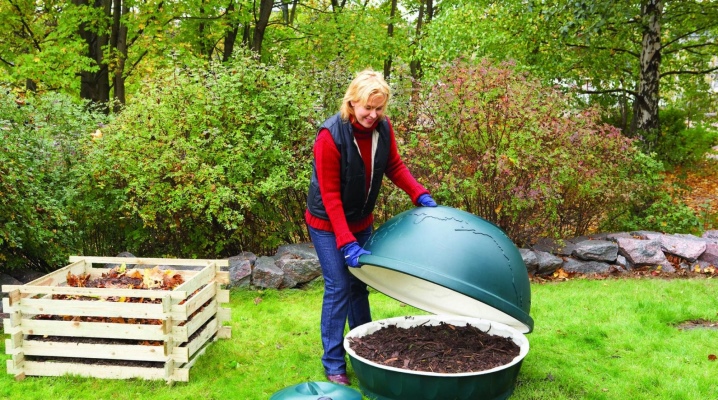
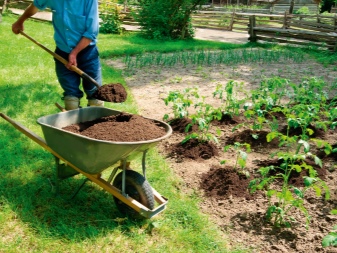
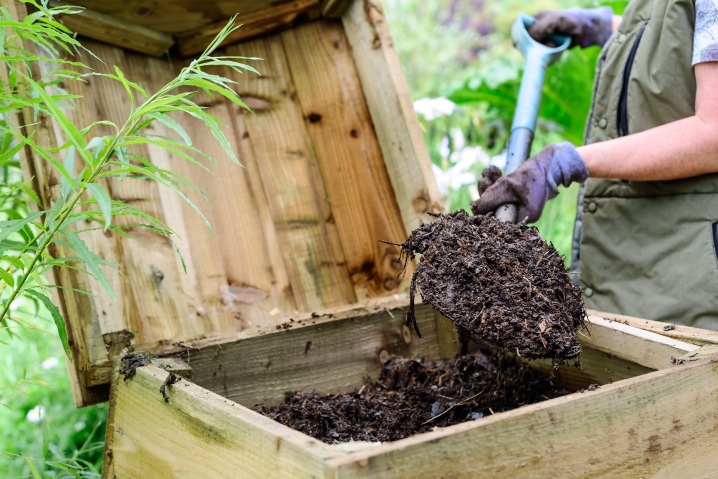
A composter is a special structure that is designed for folding and further processing organic waste from a personal plot. As a rule, grass, branches, leaves and other plants are sent to the compost.
When stored for a long time in a composter, they rot and the output is a completely natural useful fertilizer, which is suitable not only for applying to any type of soil, but also for any plants.
Build at home such an adaptation is within the power of everyone. You do not need to carry out any complex manipulations, but you can make it from scrap materials.
Most often, people build a composter with their own hands from:
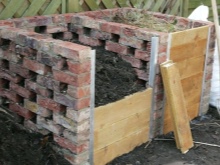
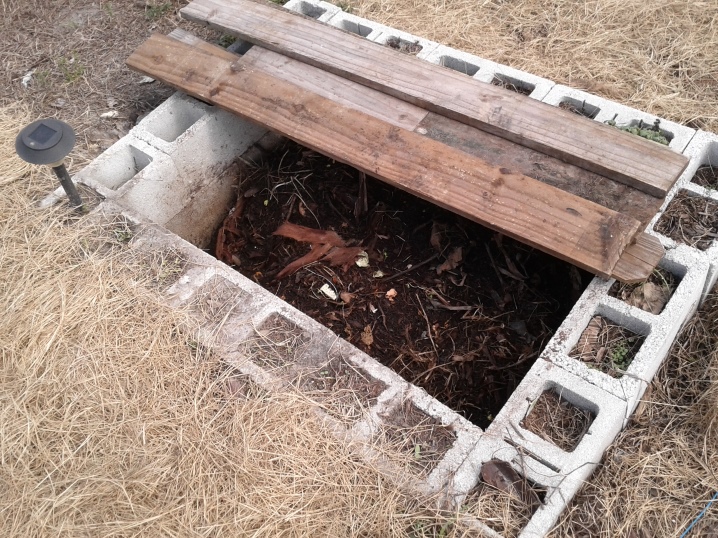
- bricks;
- slate;
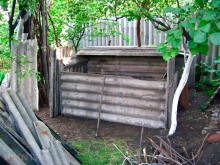
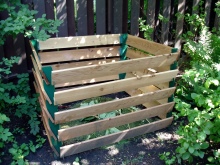
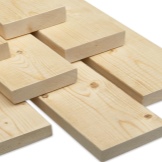
- boards;
- shingles;
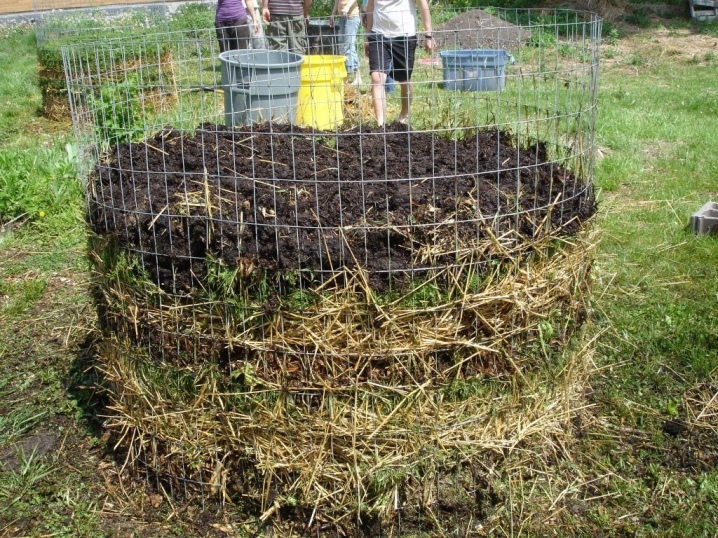
- pieces of mesh and metal profiles;
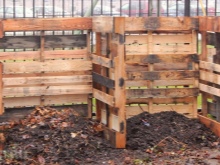
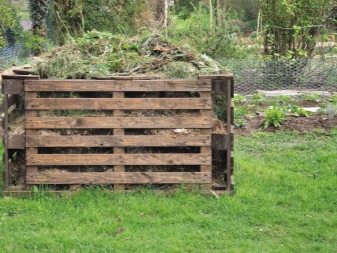
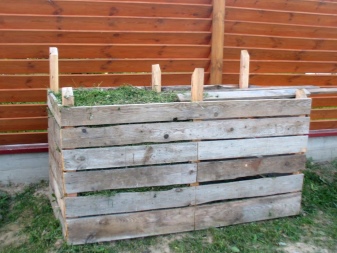
- old wooden or metal pallets.
Also under the compost bin You can also remake the Eurocube or just dig a hole and concrete it.
In principle, for the manufacture of this device, you can use all available materials at hand. However, it is preferable to choose those that will allow air to pass inside themselves. It is oxygen that is necessary in order to obtain high-quality and truly useful organic fertilizer at the exit from the composter.
Manufacturing options
So, deciding to make a composter for giving with your own hands, first of all you need to:
- determine its location;
- choose materials of manufacture;
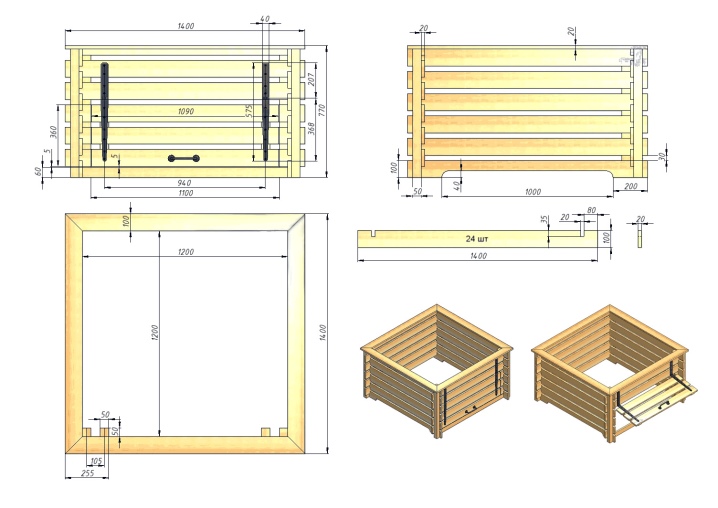
- prepare drawings of the future structure with the exact dimensions of all its sides;
- prepare tools and materials.
Below we will consider possible options for making a compost heap with our own hands in different ways, except for one - concrete pit... It is done very simply - dig a trench of a certain height and width, it is concreted and simply covered with plants.
But in the manufacture of composters of other types there is several important nuances, which must be taken into account before starting work.
Seat selection
Having decided to make a garden homemade composter, first of all you should choose the right place for its future location... It is very important to install it at some distance from the house itself and the nearby recreation area. The fact is that when the air temperature rises, the process of plant decay will accelerate and be accompanied by a very specific smell, which may not please everyone. That is why it should be installed as far as possible from flower beds and berry or fruit bushes.
The composter should not be placed next to a well or borehole. and even more so direct in direct sunlight. In the first case, the processing waste will pollute the source, and in the second, the plants will simply dry out, and it will be impossible to get high-quality fertilizer from them.
It is best to position the compost bin in partial shade, in a place protected from piercing winds and so that there is free access to it from all sides. So, inside the box and between the remains of plants there will be a sufficient amount of oxygen and a normal level of humidity.
The compost must be constantly watered, tamped and new organic elements added to the box.
Only a composter installed in such the right place will become a really effective and useful structure on the site, allowing you to get organic fertilizer profitably and practically without hassle.
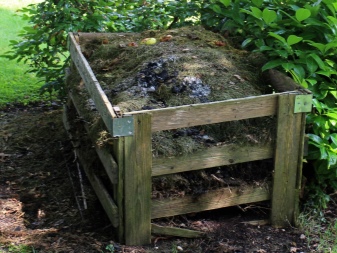
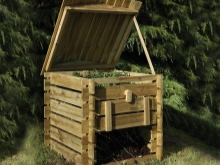
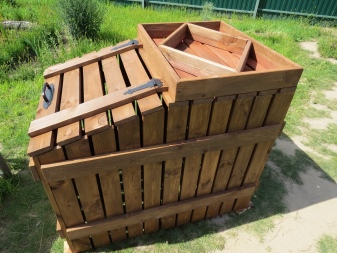
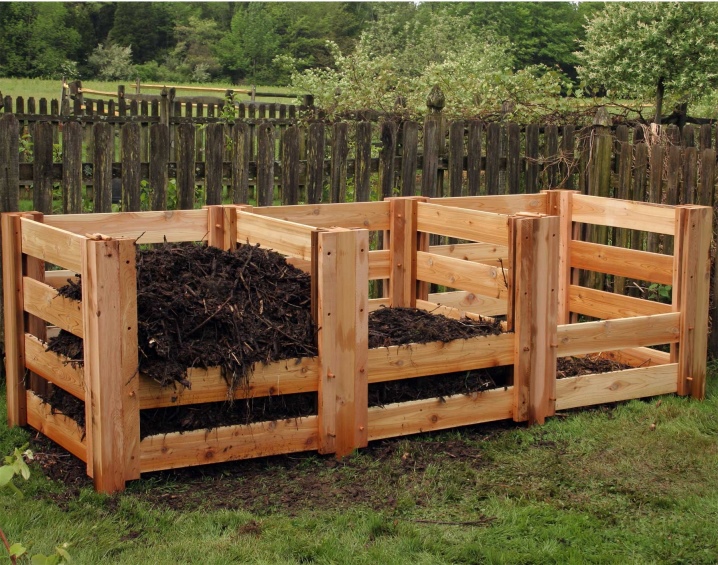
Assembling the box
So, you need:
- bars;
- boards;
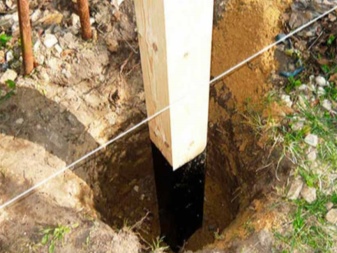
- stakes;
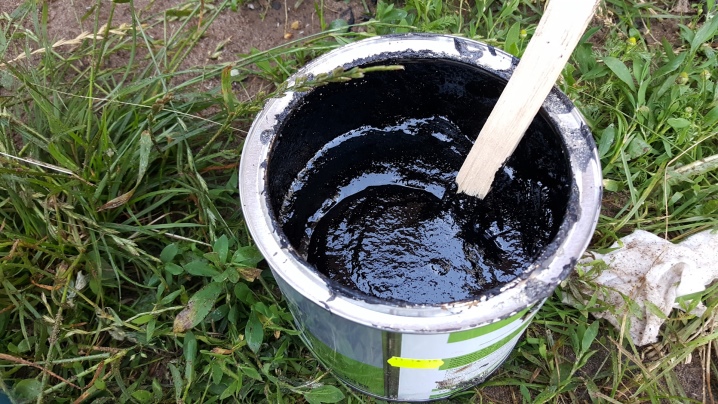
- fuel oil;
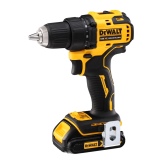
- screwdriver;
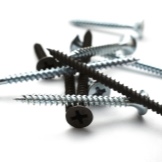
- screws;
- metal corners, if the box is on a metal frame.

Before starting work, the lower part of the stakes must be abundantly lubricate with fuel oil or tar - this will prevent wood from rotting and will extend the life of the box itself.
The further work plan is as follows.
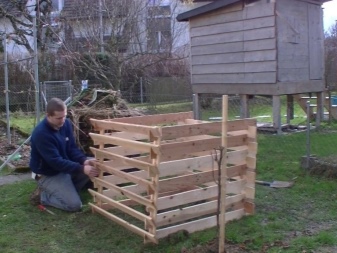
- The front part of the box is sheathed with boardsstarting from the top to the middle. There should be about 2 cm of free space between each new board, that is, they are not attached to each other end-to-end. At the bottom there will be drawer doors.
- By the same principle with boards sheathe the sides and back of the drawer... If all materials and tools are prepared in advance according to the drawing, then the work is done easily and quickly.
- Now two doors are attached to the drawer - each for a separate compartment. They can be made independently from a piece of chipboard or boards, or removed from any old furniture.
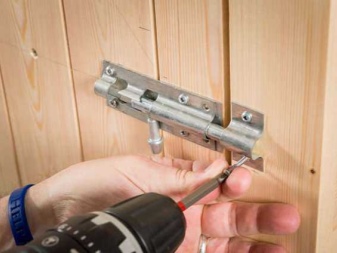
- At the final stage, they hang on the composter lock, latches and handles.
After the composter is completely assembled, it must be paint. At the same time, it is better to first treat the wood with a primer, then after it has completely dried, apply 2-3 layers of paint. And only after it is completely dry, the box is ready for further use.
If it is assembled from metal, slate or other materials, then painting them is not at all charming, but it is still worth priming.

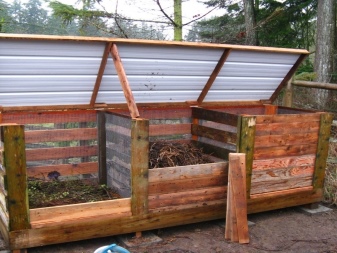
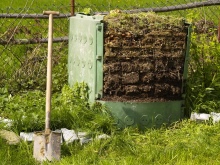
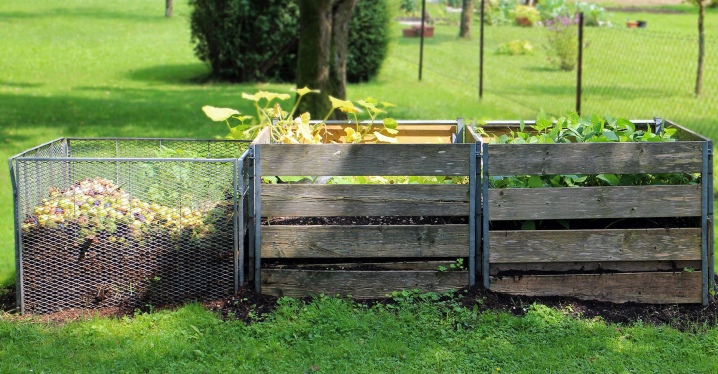
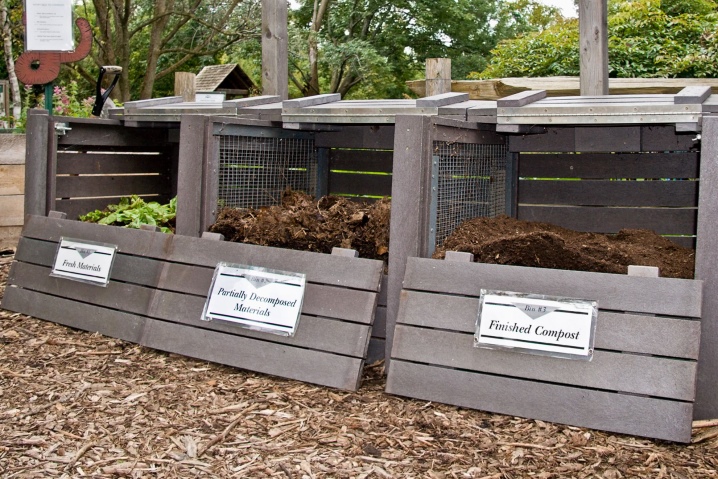
Finnish composter
- The first one is very is similar to the container created above. The difference lies in the fact that it always consists of three compartments - raw materials - semi-finished raw materials - finished compost. Plants are transferred from compartment to compartment once a year. Filling always starts only from the first box. In three years, summer residents and gardeners will receive an uninterrupted operating conveyor for the production of organic fertilizers. Another difference is that the very first compartment is made either from mesh or slate, while the other two must be made of wood and have a turf pillow about 5 cm thick at its bottom.
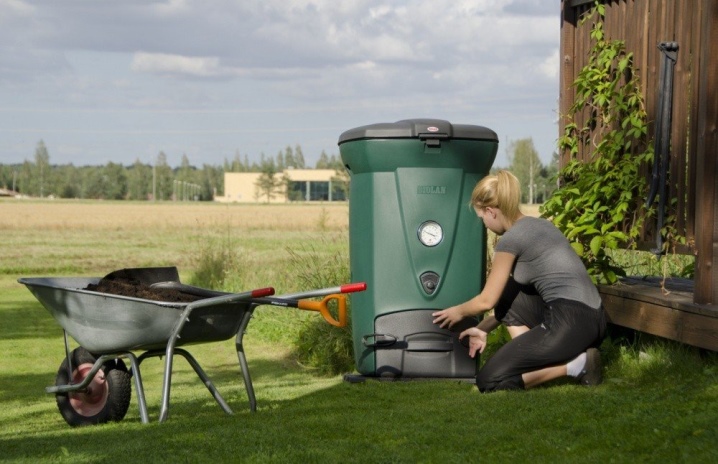
- The second option is for many domestic gardeners innovative. Basically, these are two connected containers with aeration tubes that allow you to compost from waste. Its second name is a compost pit similar to a Finnish dry closet... Here, the basis for creating compost is human waste.After visiting the dry closet, it is necessary to pour a layer of peat or sawdust of a certain thickness into the container. When it is completely filled, it is pushed aside, and a second tank is placed in its place. Compost from the first container is ready to use. All types of human food waste can also act as raw materials for obtaining fertilizers.
The first version of the composter Finnish technology suitable for those who have large personal plots and want not only to keep them clean, but also to do it with further benefit.
The second type of Finnish composter will be an ideal option for those who have little land, therefore, the raw materials for composting too. But at the same time, the soil must be approved, and there is a lot of food waste available.
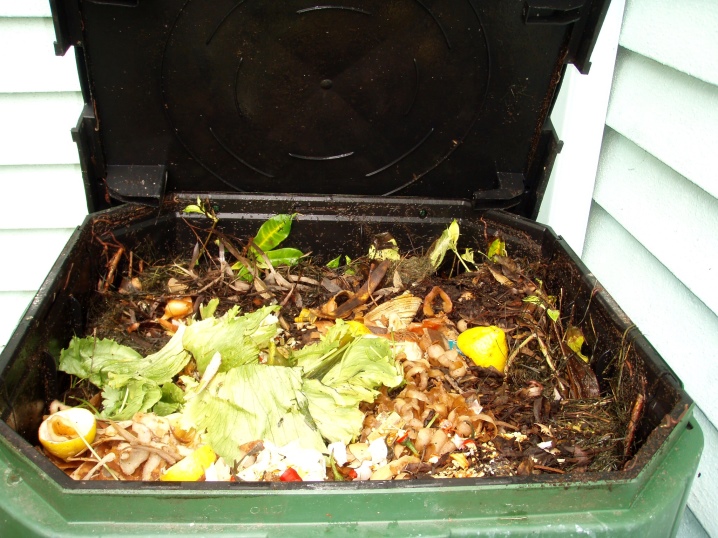
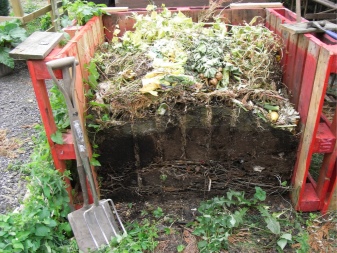
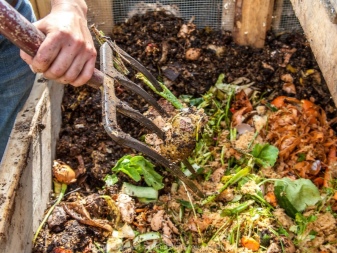
Bookmark
Raw materials are put only in the first box. Before that, it is crushed into pieces of approximately the same height - so the decomposition process will occur more evenly. Any plants can be used as plant raw materials - grass, leaves and branches. In this case, it is better to lay the weeds without seeds.
And further it is best to put future fertilizer in the composter after rain or any precipitationwhen it's already quite warm outside. In this case, all the necessary conditions for normal composting will be obtained naturally.
Creation of conditions
This requires:
- Make sure that the temperature inside the composter itself never drops below +16 degrees. Otherwise, the fermentation process will stop, and the plants will simply deteriorate, it will be simply impossible to use them later as fertilizer.
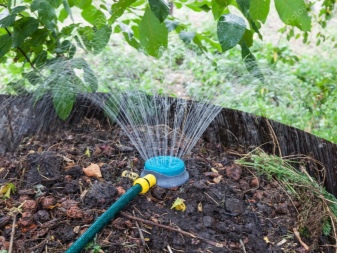
- The humidity level also plays an important role - it should be at least 60%. Otherwise, the compost will rot or dry out. Therefore, depending on the air temperature outside, it is watered with warm water 1-2 times a week.
And still needed every year transfer the compost to the next compartment. This is necessary because the bottom layer of plants in the composter is ready to be used as fertilizer after a year. But if the box is constantly replenished, do not shift or sift the raw materials, then it will simply disappear. Therefore, a year later, the semi-finished compost is transferred to the second compartment of the box, and the first is again filled with new raw materials.
Recommendations
Experienced gardeners claim that compost containers will be more efficient at producing fertilizer if you keep some guidelines in mind.
- While weeds can also be used to produce fertilizer, it is best to store them separately. To do this, you can select a separate box in the composter, or even make a separate box for them with your own hands.
- The finer the size of the raw material, the faster the compost will be ready for use. Therefore, it is recommended, if possible, to chop the plants as finely as possible, especially large grass and branches.
- In addition to garden plants, you can also fill containers with food waste from fruits and vegetables. The increased content of starch and sugars in them will only speed up the process of compost maturation.
- Water the compost with warm water. But it is much more effective to use a special herbal infusion. To do this, freshly cut nettles should be slightly dried in the shade, stuffed into a barrel and filled with water. Leave in the sun for 2 weeks, and then use the resulting watering liquid.
And one more thing: to protect the contents of the composter from small rodents or earthworms, from the inside it should be sheathed with a metal mesh with small cells.

How to make a composter with your own hands, see the next video.


The comment was sent successfully.