Drip irrigation for indoor plants: how it works and tips for organizing
Drip irrigation for indoor plants becomes relevant in the event of a prolonged departure of all family members, as well as if the florist wants to facilitate maintenance activities. This is one of the options to save flowers without complicated procedures and schemes. It can be either temporary or permanent, and is especially used by people who have a lot of greenery and spend a lot of time watering.

Device
If we talk about the positive aspects, it should be noted that in the case of organizing drip irrigation of domestic plants, moisture access to their roots will be provided regularly and in the quantities required. In the case when it is planned to equip a small greenhouse, the water source will only increase the effect of it. Moisture will constantly flow into the soil.
Such systems can be purchased at specialized retail outlets, or you can make your own. The principle of operation will be the same in both cases. Most often, the device includes a certain container, from which small thin tubes come. There is a control system, according to which water will flow to the plants after the required time.
Pros and cons of ready-made systems
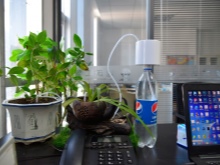
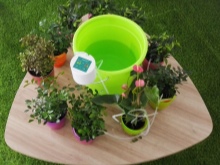
One of the simplest options for organizing a drip irrigation system is to purchase a ready-made system in a store. Such products are most often automated, they include a low-power pump and filter. The base is a bundle of long, thin tubes and droppers. A power supply with a timer may also be present. It is this device that is designed to start and stop the pump at the required time.
Autowatering really gets positive feedback from consumers most often. Ease of installation and operation, as well as ease of use, are noted. But at the same time, one cannot fail to mention the shortcomings, the main of which is the electrician. Homelessness can be quite long-term. During it, a power outage may occur, which affects different devices in different ways. And if, for example, the refrigerator continues to work after a break, then difficulties may arise with the drip irrigation system, and this, in turn, can lead to the death of plants.
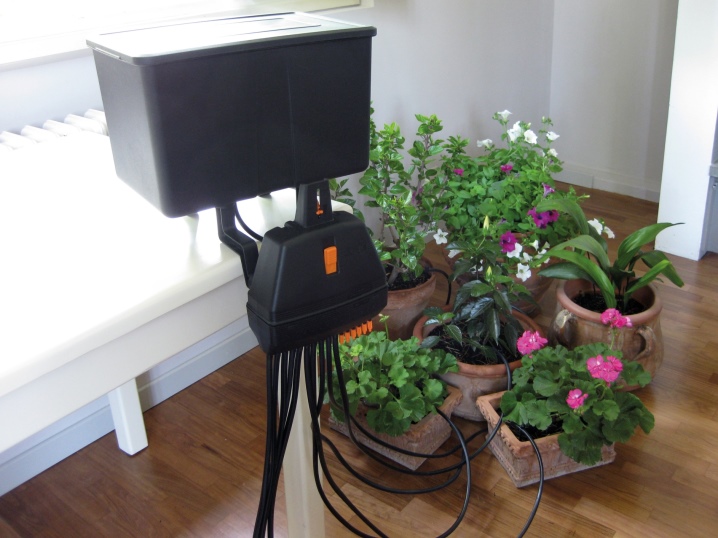
There are kits that have no connection to electricity. These are ceramic cone dripper sets designed for gravity-fed water. But their use also has its own nuances. According to the testimony of users, the units can clog up rather quickly, respectively, the flow of water into the ground will be stopped.
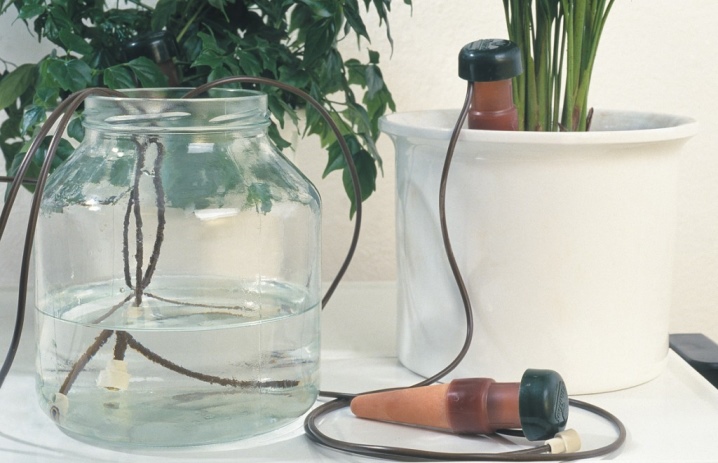
The same applies to ceramic droppers in the form of cones, which have special membranes at the base, which act in this case as a moisture indicator. They are also sold separately from the kits, which means they can be used on your own systems. The cone, made of ceramic, is porous and has a plastic tip at its widest part. A flexible membrane is located inside it.
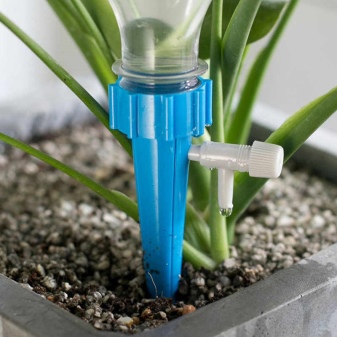
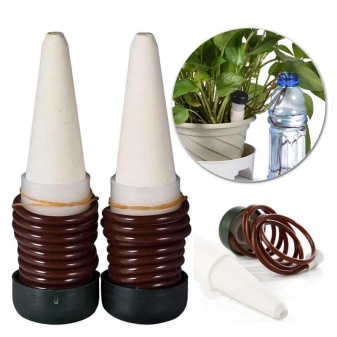
A small hose is supplied to the nozzle, which connects it to the droppers. Moisture through the membrane will exert pressure through the pores, as a result of which the inlet of the hose will be pressed. When the soil is dry, it will allow the pores to free themselves of water.The opening of the membrane will open, and the liquid will begin to flow through the droppers, which are stuck near the plants.
However, it is necessary to use the system with care, because the pores can easily become clogged, as a result of which the indicator will cease to work.
How to do it yourself?
A drip irrigation system for home flowers can be made by hand. This will not require serious material costs, and the work will not take much time. There are 3 most popular ways, let's consider them in more detail.
The first way
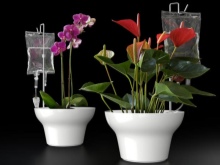
Several hospital IVs will be required from the materials. They should match the number of flowers that need watering. You also need a plastic bottle with a volume of 5 liters and an elastic band to hold the ends of the tubes together. The elastic can be replaced with wire.
First of all, you need to remove the tips with the needles, they are not required. By blowing into the droppers, you can check if they are intact. If the tubes are intact, the air will pass well. Their ends should be tied together and tied with an elastic band, which will help them settle at the bottom of the bottle and not float to the surface.
It should be borne in mind that pinching the tubes can disrupt the operation of the entire structure.
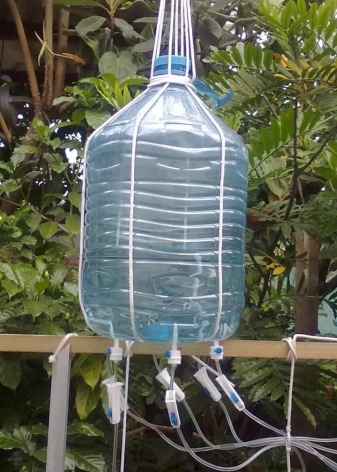
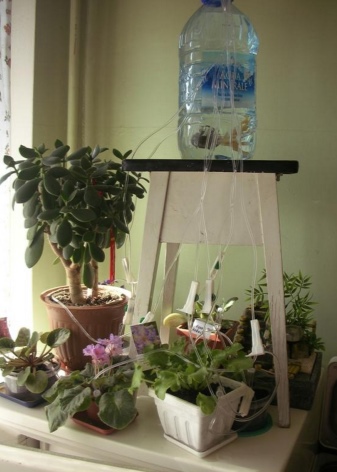
After the tubes are lowered into the container, it rises to the maximum height. The dropper regulator opens to allow water to run through the tubes, and then immediately closes. The free ends are stuck into the ground near the plants, and the required amount is adjusted with the wheel. Users say that in the absence of a dropper, syringes can be used to organize a drip irrigation system. They will need to be connected to a plastic container and PVC pipes.
Second way
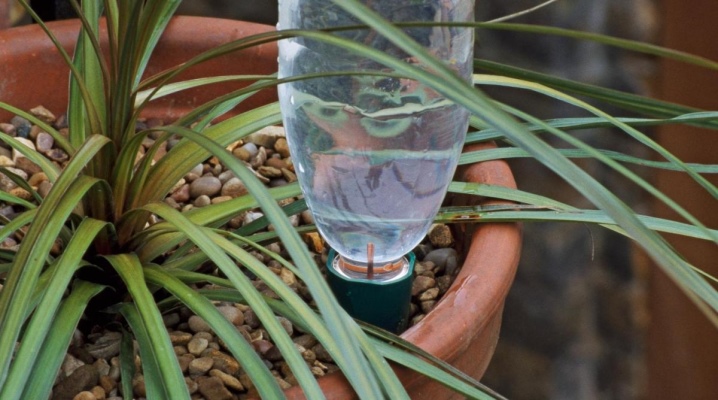
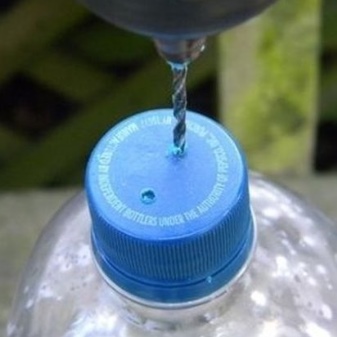
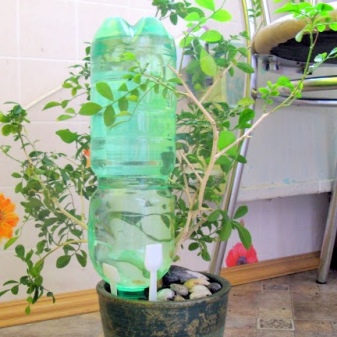
This method also requires a plastic container... What size it will be depends directly on the plant. When it comes to a tub, it is advisable to use several medium bottles. In the case of a small flower pot, a lot of liquid is not needed. To make the system, small holes are made in the bottle cap, after which the container is turned over and fixed in the pot with the plant.
This option of moistening the earth can also be used for indoor seedlings.
Third way
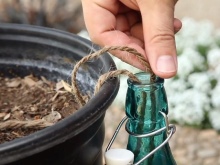
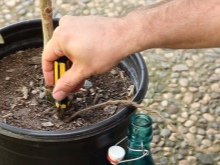
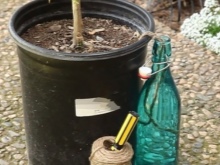
In this case, you need nylon laces, woolen threads or any other fabric materialssuitable for making wicks. You will also need a container filled with water and a peg to secure the wick. The manufacturing process is straightforward. The wick is made from prepared materials, after which one of its ends is placed in a bottle of water. The second is fixed directly in the pot. It is best to use a peg to secure it.
You will learn more about how to make a drip irrigation system from a conventional dropper.






The comment was sent successfully.