Growing strawberries under agrofibre
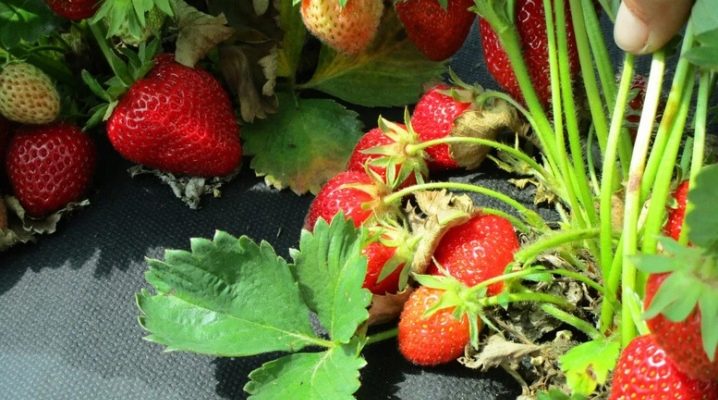
Many gardeners grow strawberries on their plots. Currently, a huge number of different technologies for planting this crop have been developed. Planting under special agrofibre is gaining more and more popularity.
Advantages and disadvantages
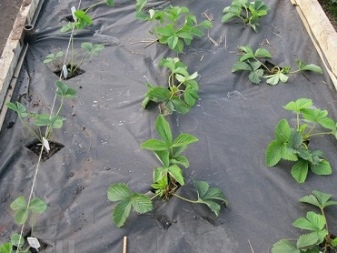
Planting a crop under such a covering material has a number of advantages.
- Mulching. The product will perfectly cope with the mulching procedure, it will not need to be carried out on its own.
- Moisturizing. The material prevents rapid evaporation of moisture, maintains a suitable moisture content, which allows you to reduce the number of irrigations.
- Prevents the formation of weeds. Agrofibre prevents weeds from growing, so you do not need to do regular weeding.
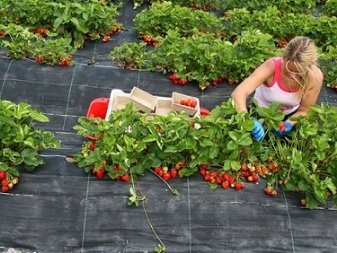
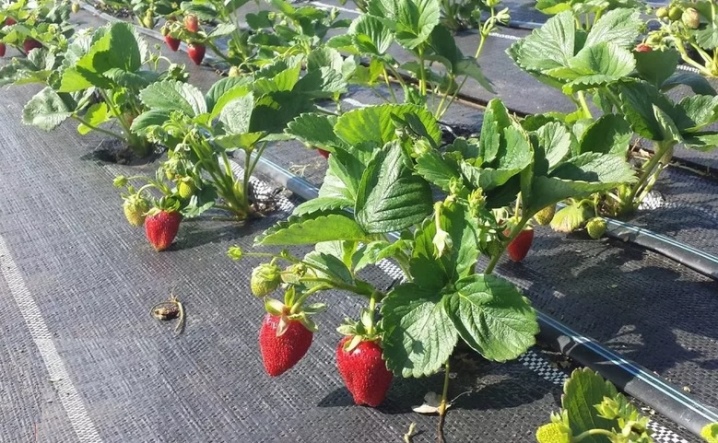
- Harvesting is easy. In this case, ripe bright fruits will stand out strongly against a black background, while all of them will not come into contact with the ground, so they will remain clean.
- Saturation with light. These textile bases easily let in the sun's rays, which are necessary for normal growth and development of culture.
- Rotting is excluded. With heavy and frequent rains, the vegetation will not come into contact with the wet ground and will not rot.
- Protection against pests and fungal diseases. Agrofibre prevents harmful organisms from entering the strawberry root system. Geotextiles often provide reliable protection against weathering.
- Multiple use. One and the same covering material is quite enough for 4-5 seasons.
- Fast fruiting. When a culture is planted under geotextiles, it begins to bear fruit after only 2-3 weeks.
But there are some disadvantages of this planting method.
- High price. Today, in specialized stores you can find budget options, but if you plan to plant large areas, then you will have to spend a lot.
- Low level of strength. Such geotextiles can be easily damaged by mechanical stress, so you will have to work with it as carefully as possible.
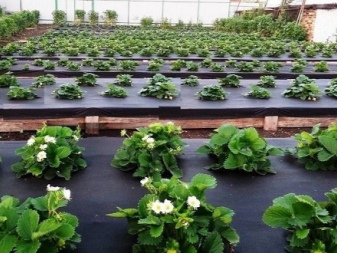
Types of material
Currently, various types of geotextiles are produced for this culture.
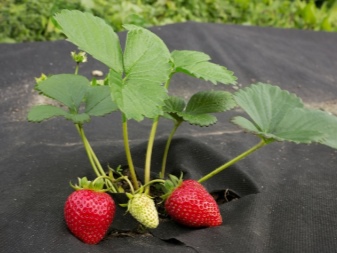
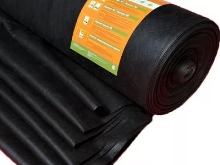
- Black. This material is used to cover the land plot as a mulch layer. It is often also called black spunbond. Products have the same density, which is 50 grams per 1 sq. m. They prevent the growth of weeds.
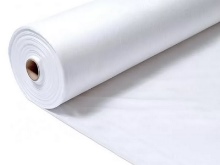
- White. This geotextile creates a greenhouse effect. But at the same time it is able to pass moisture and air. As a rule, the white variety is used as a reliable shelter from rains and winds. It makes it possible to keep warm. But for strawberries, this agrofiber is rarely used.
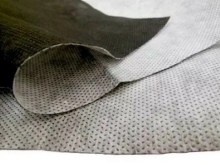
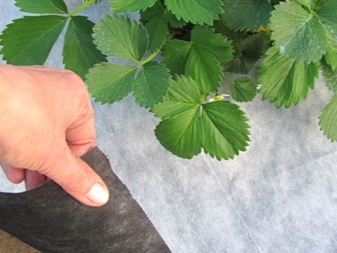
- Black and white. This covering option is laid with the black side on the ground. It has all the same properties as regular black agrofibre. The white side is placed towards the sun: the white light will reflect the rays, so the plants will not overheat.
In addition, such geotextiles can vary in their density. The denser the material, the better it protects the crop from frost.
Disembarkation dates
It is best to plant strawberries under a covering cloth in the spring season. In regions with hot climatic conditions, this is carried out in April, with cold ones - in May. Young seedlings develop quite quickly in spring, and new tendrils also quickly appear.
Next year it will be possible to get a full harvest. Sometimes planting is carried out in the fall. But this can be done only before the onset of frost - in October. It will be most convenient to work in the warm autumn season, in this case, the culture will definitely have time to take root.
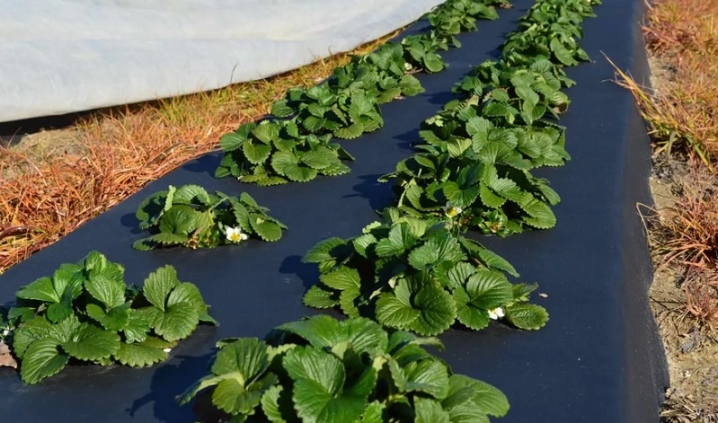
Landing
Next, we will analyze the scheme for planting strawberries under agrofibre in the fall.
Preparation
First, you should carry out all the necessary preparatory procedures. To do this, you should choose the most suitable place on your land plot. Remember that it must be well lit by the sun and also well ventilated.
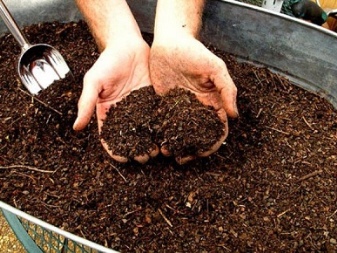
The place for future beds is thoroughly cleaned, all weeds must be removed from it, along with the roots. After that, fertilizers are laid out on the site. In this case, it is better to use humus, superphosphate, potash components, wood ash.
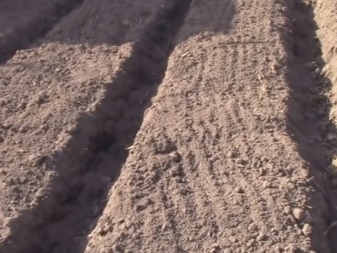
Then it is necessary to dig up the territory with all the compositions introduced. The approximate digging depth should be about 25-30 cm. The place is slightly leveled with a garden rake.
Technology
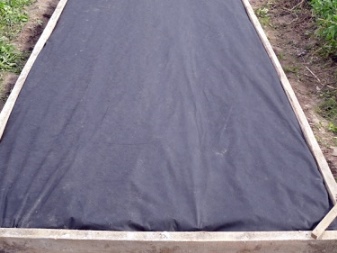
Next, the agrofibre itself is laid. It is necessary to spread the material in strict accordance with the dimensions of the rows that you previously prepared for the culture. If you take separate pieces of geotextile, then remember that they should be fixed on top of each other with a slight overlap (no more than 20-25 cm). It is best to water all rows before pulling on the fiber. In this case, it will be much easier to make landing holes. After that, the edges of the material should be temporarily fixed, this can be done with stones or other heavy objects.
Next, it will be necessary to securely fix the geotextile to the ground. For this, it is best to use special staples made of metal. You can make a suitable mount with your own hands. For this, pieces of thick metal wire are prepared, the length of which is about 75–80 cm. They are bent on both sides at once, so that as a result a bracket is obtained.
With the help of metal fasteners, the edges of the garden cloth are fixed at the edges. Remember that the agrofiber should be pretty tight. After that, you can proceed directly to planting seedlings. This can be done in two main ways.
- One-line technology. In this case, the distance between the strawberry bushes should be about 15-25 cm, and the gap between the individual rows should be about 75-80 cm.
- Two-line technology. In this case, the distance between the bushes will reach 30-40 cm, and the second row of plants is planted through the same distance. After 70–80 cm, another two-row row begins to form.
- Three-line technology. This method is used quite rarely: it is very laborious. The distance between the lines will be about 40 cm, between the bushes - about 30 cm.
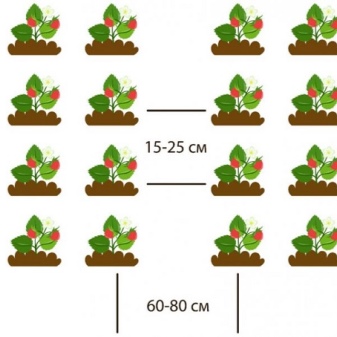
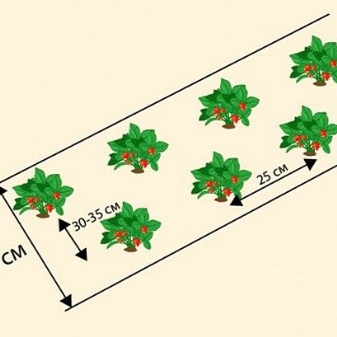
Often, schematic markings are made on agrofibre, depending on the chosen planting method. To do this, you can use simple chalk. Then you should immediately outline the place where you will make paths along which a person can move.
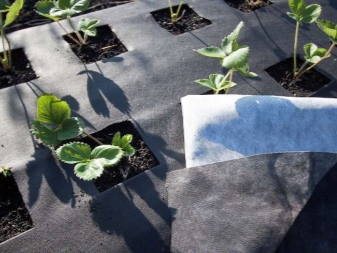
Further, holes are made in the stretched canvas. In the future, crops will be planted in them. You can use a regular utility knife to shape them, but another sharp tool may work as well. It is most convenient to cut out circles or make cross-shaped cuts with dimensions of 10x10 centimeters. Too small holes should not be cut, otherwise the vegetation will be too crowded.
It is better to wrap all the sharp edges of the cuts immediately into the inner part. Later, planting holes are formed, their depth should be about 10-15 cm. If you are using vegetation with a closed root system, then the holes in depth should correspond to the size of a coma with the ground.Check that there are no bumps on the surface, the material should be even.
If you have not applied fertilizers before, then this can be done at this stage. Often, a small amount of humus and wood ash is placed at the bottom of each planting pit, and all this is sprinkled on top with earth. Only then can vegetation be planted. Saplings are placed in prepared holes. In this case, it is recommended to slightly straighten the root system of the plants. If you are using seedlings with an open root system, then they will need to be placed straight.
The growth point of each seedling will need to be located at the level of the soil surface. At the final stage, the planted plants are slightly sprinkled with earth and lightly tamped. Immediately after the procedure, the bushes should be well watered (about one liter of water should fall on one bush).
Care
Taking care of this crop, which was planted under agrofibre, is almost the same as for the bushes with a standard planting. Moreover, leaving will be even easier. In order for your covering cloth to serve as long as possible, you should not walk on it. It is better to lay wooden boards on the formed paths or pour sawdust and straw there.
For agrofibre plants, drip irrigation is best. The structure is permissible both to be fixed under geotextiles, and simply to be fixed on top of the surface. For areas with mild winters without subzero temperatures, the first option is preferable. If the liquid begins to freeze, then the tape may be damaged, therefore it is mainly attached over the covering material so that in the autumn season it can be easily and quickly put away for storage.
When fixing such tapes, you must first correctly calculate where the strawberry bushes will be placed. Strictly along these lines, the drip irrigation structure is being laid. After fixing it, the row is covered with geotextiles. In this case, you do not need to pull it too much. Otherwise, you can easily move the elements. It will be possible to check again if the part has not turned over, whether it is close enough to the holes. If you plan to place the system simply on top of agrofibre, then all elements should be placed as close to the seedlings as possible.
If you are going to water with a hose, then you will need to use the appropriate additional nozzles for it, because too much water pressure can simply erode the soil near the root system. It is not recommended to use cold liquid; settled water will be the best option for irrigation.
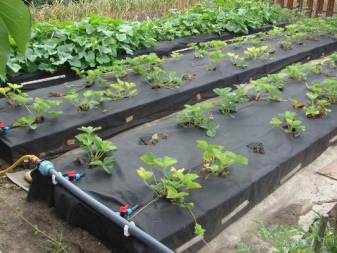
Periodic hydration will allow the strawberry bushes to take root much easier after planting. In the first two weeks after planting, it is recommended to water the vegetation as the soil dries out. After that, about once a week.
If the weather is hot and dry, then moisturizing is best done three times a week. Moreover, for 1 sq. m. should account for about ten liters of water. But during flowering, 1 sq. m. it is worth using already about 25 liters of liquid, since during this period the seedlings need to be moistened as much as possible. Don't forget about top dressing. They must be brought in from the second year after planting. When growing, strawberries need various mineral elements: phosphorus, magnesium, nitrogen. You can buy special complex mineral fertilizers for strawberries in garden stores. The first time they are used in the spring after a thorough digging of the earth. When carrying out this procedure, it is worth adding humus and manure.
During active fruiting, plants will not need additional nutrients, so no fertilizing is applied during this period. After harvesting, you can use a complex of fertilizers or simply diluted mineral components.For strawberries that were planted on agrofibre 3-4 years ago, inorganic fertilizers will be the best option.
Don't forget about regular pruning. Such procedures are carried out in the spring. In this case, all the bushes are carefully examined. Sick and damaged parts are removed immediately. In the summer season, you will need to cut off all antennae, except for those that you plan to use for seedlings.


The comment was sent successfully.