Support for clematis: an overview of the species and ideas of the garter
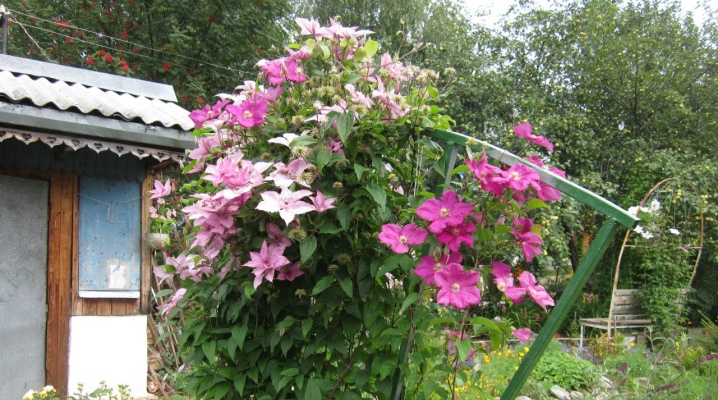
Clematis is a plant that is often used to decorate home gardens. The beauty of clematis lies not only in the large number of flowers, but also in the vines themselves, which completely wrap around a nearby wall or pergola. To support long vines, they need to be tied to supports.... Of course, you have to spend a little time creating such props, but in the end you will get an original composition of flowers, green shoots, as well as the most beautiful support.
Why do you need support?
Gardeners who have just decided to start breeding clematis can say that this plant can exist without supports. But this judgment is completely wrong. When growing such climbing plants in your country house or in your garden, you must definitely use supports to support their shoots. After all, the length of vines in some cases can reach 4 meters.
They will not be able to grow independently in an upright position, especially if there is no support nearby on which they can trail. After all, the bush itself is quite massive and, under its own weight, will simply fall to the ground. But there are other reasons for installing such supports. Here is a short list of them.
- Clematis looks much more attractive when placed in an upright position. In addition, most of all landscape designers use supports to create the most fashionable compositions.
- Most often the bush is very dense. If you fix it correctly, then the plant will look beautiful and stay healthy. No slugs or snails will grow on leaves and vines.
- It will be much more convenient to care for a plant that is fixed on a support. It will be easier for the owners to do both watering and feeding, as well as spraying clematis with chemicals. In addition, it will be convenient to trim it when needed.
- Do not forget that the supports themselves are a decorative element. After all, clematis is beautiful only when it has a lot of leaves and flowers. In cold weather, the support remains completely bare.
Accordingly, she herself should look beautiful at any time of the year.

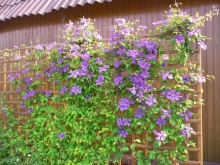
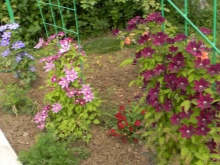
Species overview
Each owner dreams of creating a cozy corner on his garden plot, where you can not only relax, but also hide from the hot sun rays. It can be created in different ways, including using clematis placed on supports of various shapes. It is worth considering the most common among them and choosing the option that is most suitable for a certain personal plot.
Lattice
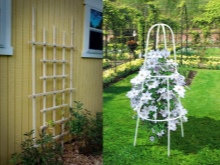
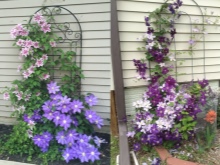
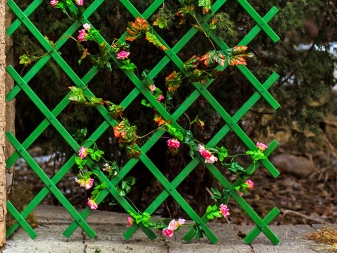
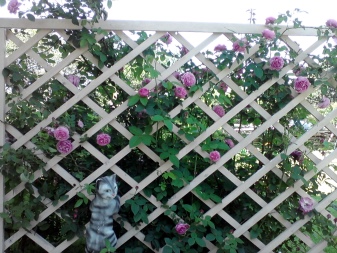
The most common and simplest option is a trellis made in the form of a lattice... You can buy it or do it yourself. Generally speaking, the main part of the grille consists of a sufficiently strong frame. Inside, most often there are figures in the form of rhombuses or squares.
As for the size of the cells, then by standards, they should be within 5 by 5 centimeters. Such grilles can be installed as a stand-alone structure or attached to the wall. In the first case, the support will need a support so that it does not fall from strong gusts of wind. But in this case the support should also be attractive and not stand out too much.
Support-ball
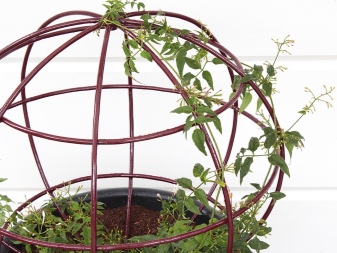
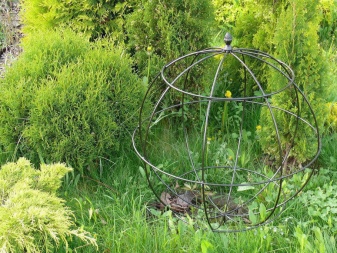
Clematis will look very nice, if a balloon delivery is to be used to support it. In addition, this option is very convenient, because you can install such a support anywhere: in a flower bed, in a garden, and even near a terrace.
Most often, it is made from several curved rods, and its pin legs can be deepened into the ground, which will give it stability. As a material for its manufacture, you can use metal-plastic or aluminum tubes, which have the ability to bend well.
Cylinder support
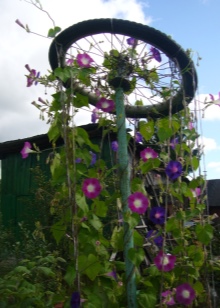
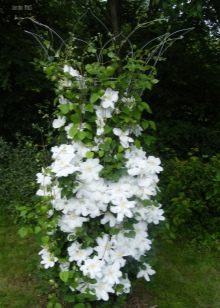
With the help of such a structure you can decorate any vertical objects. It can be electric poles, and dried tree trunks, which ultimately create the appearance of flowering poles. Their height should be within 2 meters.
An iron mesh can be used as a material for the manufacture of such a cylinder. It must be twisted into a cylinder and fastened with ordinary wire. From the sides, it is necessary to weld to it along the reinforcement, and then with their help, dig the entire structure into the ground.
Clematis must be planted near the reinforcement posts or in the very middle of the cylinder so that they can completely braid the mesh. In this way, you can hide any flaws in your area.

Arch
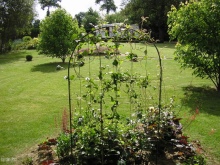
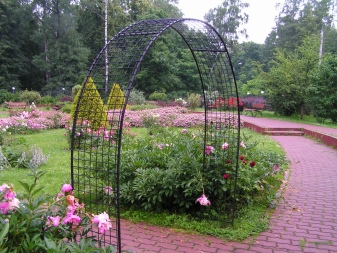
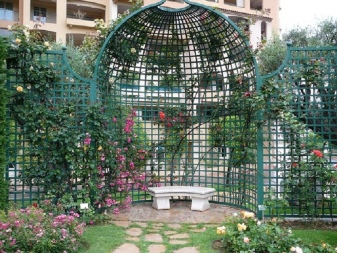
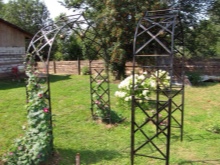
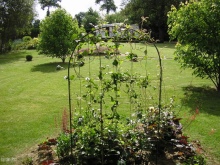
The forged arch looks very nice. It can be placed at the entrance to the courtyard or used to justify a place to rest. Most often, such a structure is made of iron pipes or metal. In order to make a semicircle, you need an armature that must be bent. The arch should be high and wide. This is necessary so that both the table and chairs can fit under it. Around such an arch, you need to plant several clematis bushes. The composition will look very beautiful if the flowers have different shades.

Support-pergola
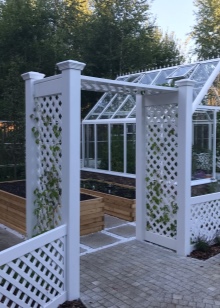
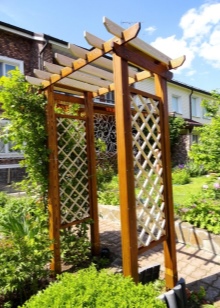
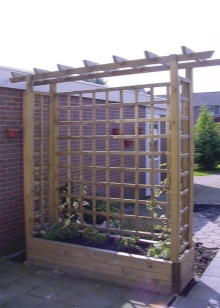
It is a horizontally or vertically installed canopy, which is subsequently braided with clematis. Most often, a pergola is made from very thin wooden planks. It can be one or more knocked down frames. It can be placed on the site both as an independent structure and near the wall.
Support-obelisk
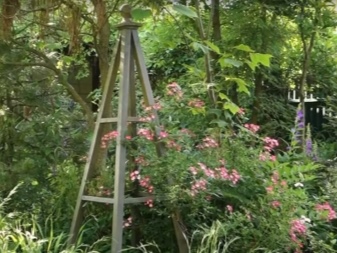
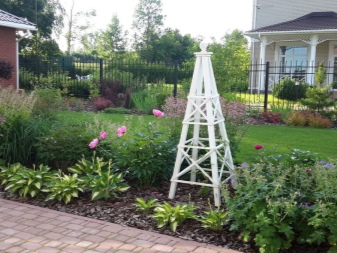
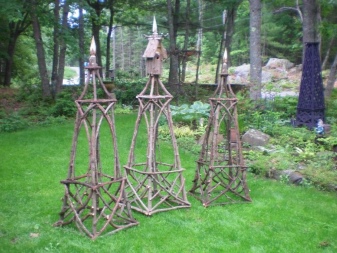
Structures made in the form of pyramids are called obelisks by many gardeners. They are made from iron rods or wooden planks, which are fastened together with special crossbars, as a result of which they are very stable. You can install such structures in the most unusual places, for example, in flower beds, in the garden or even near the terrace.

Support with cord
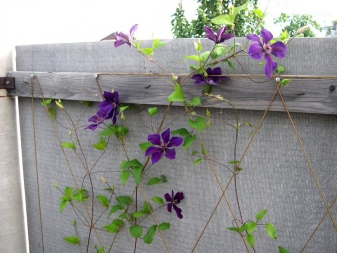
It can be made from ordinary ropes or dense threads, which are quite capable of supporting the weight of the clematis bush. Such supports have several advantages. For example, when you need to prune, the vines can be easily removed from such supports. After all, they will slide off them without much effort and at the same time will not be damaged.
Support trellis
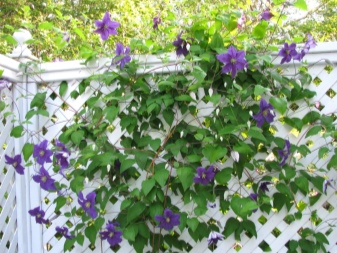
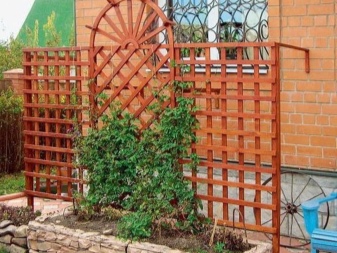
This design represents the same trellis made in the form of a lattice. Its only difference is that it consists of several sections.... The most popular option among gardeners is the one made of 3 or more sections. Each of them is collected separately. The cells of the central section are made in the form of rhombuses, but the lateral ones are made in the form of squares of the correct shape.
All these sections must be connected together into one wall. Above the middle pillar, you need to install a small semicircle that will look like the sun's rays. The trellis must be carefully anchored in the ground with guy wires, which must be very strong. After all, such a design, together with flowering clematis, will weigh quite a lot.
DIY making ideas
If it is not possible to purchase supports in the store, then you can do them yourself. To do this, it is enough to use any available means that are in the house, a tool, as well as a little imagination and time.
Tapestry
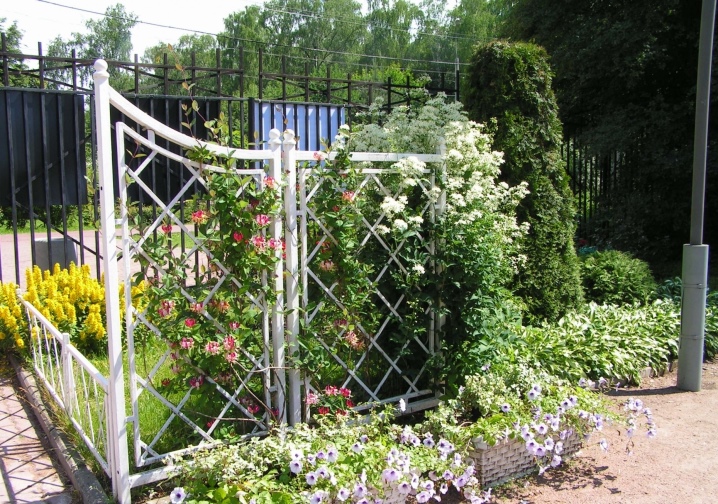
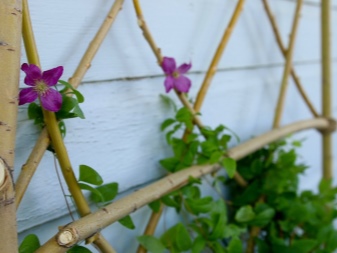
Probably one of the most difficult supports is the lattice, which is attached to a blank wall. Its advantage is in incredible beauty. Wall grilles are best made from thin wooden planks, the cross-section of which will be about 1x4 centimeters. But for the frame, you need to use thicker blanks.
Besides it is imperative to make sure that the size of the cells is approximately the same (within 6x6 centimeters). This is necessary so that clematis shoots can freely pass through them.
The trellis can be fixed to the wall of any building. In addition, it allows you to hide any irregularities or cracks in the building under the clematis. The height of the trellises can be from 3 meters up to the roof itself. The multi-tiered structure, consisting of several elements, looks especially beautiful.
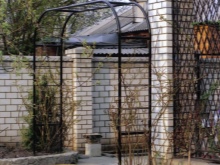
Rebar arch
This material is very comfortable due to its elasticity. After all, it can be easily bent, while forming a regular semicircle. All connections are fixed with a welding machine. To begin with, you need to bury racks of metal pipes in the ground, and then concrete them. After that, you need to bend the arcs from the reinforcement and bring them inside the racks. Next, they must be secured by welding.
The cells are also made from reinforcement. They are also welded with a welding machine. When the whole structure is completely finished, you can start painting it. This will protect the arch from corrosion and also make it more attractive. The base will have to be tinted at least once every two years so that it does not look untidy.
Mesh support
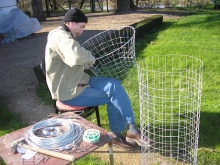
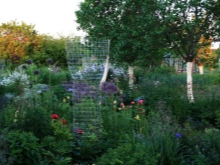
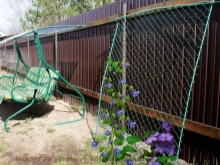
The flexibility of this material allows you to make supports of the most varied and unusual shapes. It is very good if the fence is made entirely of mesh. In this case, clematis seedlings can be planted around the entire perimeter, which will make the fence more beautiful due to the abundance of flowers.
Besides, you can install such a support right in the middle of the site. In this case, a cylindrical support can be made from the mesh and secured with a wire. In its center, you can plant a clematis bush, which will eventually braid the entire mesh.
Pergola
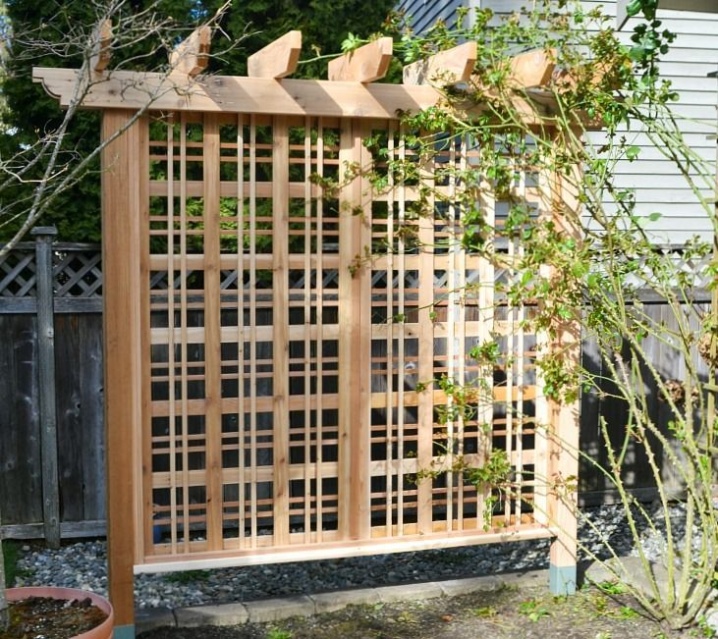
According to the standards, the pergola cannot be higher than 2.5 meters, but it is not worth making it lower either. Such a structure looks quite light and airy, but in fact, its structure is very strong. You can make a pergola from plastic pipes and wood. Everyone chooses the option that is both affordable and attractive to him.
To mount the pergola, you need to dig the pillars into the ground. The holes for them must be at least half a meter deep. After that, they must be concreted. Transverse beams and crossbars must be fixed between the posts. On the sides of the pergola, it is necessary to plant several clematis bushes, which over time will wrap the entire structure with their vines.
Support from branches
As a holder for clematis, you can use shrubs that are located on the site. In this quality, a chubushnik or forsythia will fit, clematis will look no less beautiful on the branches of lilac, which fades very early. Even when the lilac itself already looks unpresentable, vines with delicate flowers will decorate it. The main thing is to make sure that the clematis branches do not clog the bush itself. Otherwise it will start to wither next year.
To do this, a clematis seedling must be planted near the desired shrub. When it blooms, you need to send its vines in the right direction.
Wicker support
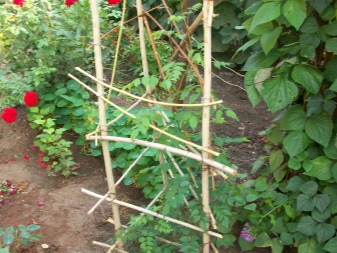
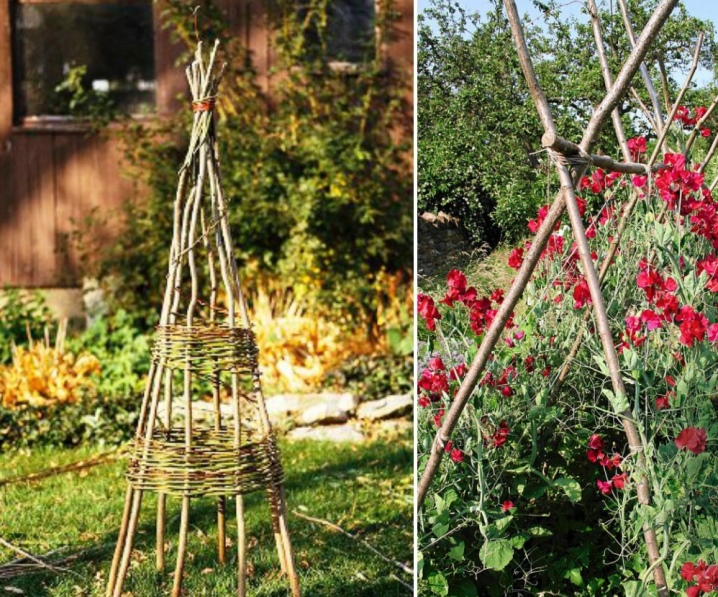
This type of support will in any case look beautiful on the garden plot, even when the clematis has completely faded. For its construction, you will need a tool, as well as willow or vine twigs and several perches.
The latter must be sharpened well, and then stuck into the ground in the place where clematis will be planted in the future. From the branches of a vine or willow, you need to weave two circles and attach them with twine to the prepared poles. After that, the remaining space must be braided with vine. The weaving pattern must be selected in advance. When the structure is completely ready, you can plant a clematis seedling. As it grows up, young shoots need to be started in the right direction.
How to tie up clematis correctly?
Regardless of what kind of support was used to support the clematis, its vines must be tied to the structure at the very bottom. This can be done using ordinary twine, fishing line, or a fairly dense thread. You should not use coarse ropes or fabrics, because they will not only damage the delicate shoots of clematis, but also spoil the appearance of a neat composition.
After that, the vines must be beautifully fastened around the entire support. As the shoots grow, they will need to be guided in an upright position. This will help them cling to the higher jumpers on their own. Most often, clematis vines themselves weave in the right direction. However, a timely garter will prevent the shoots from intertwining with each other.
Especially it is necessary to monitor the location of the vines on supports such as trellises on the wall. If this is not done, then the shoots will not be able to braid the structure correctly. To summarize, we can say that supports for clematis are very important. Without them, plants will not be able to fully exist and certainly will not delight with their charming appearance.
Therefore, before buying their seedlings, you must make sure that the stands are already ready. So clematis will fully develop from the very first days.
For information on how to properly tie the purchased clematis seedling to the support, see below.

















The comment was sent successfully.