How to lay decorative bricks correctly?
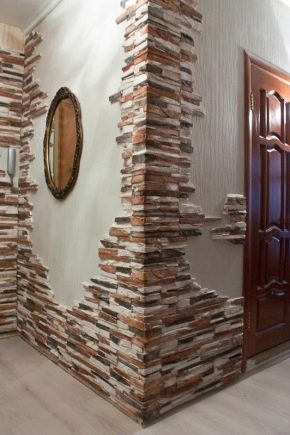
For arranging the design of an apartment or your own house, the construction world is ready to offer a wide variety of materials. From simple and banal wallpaper to decorative plaster. Among this list there are many special finishes, one of them is decorative brick.
Material features
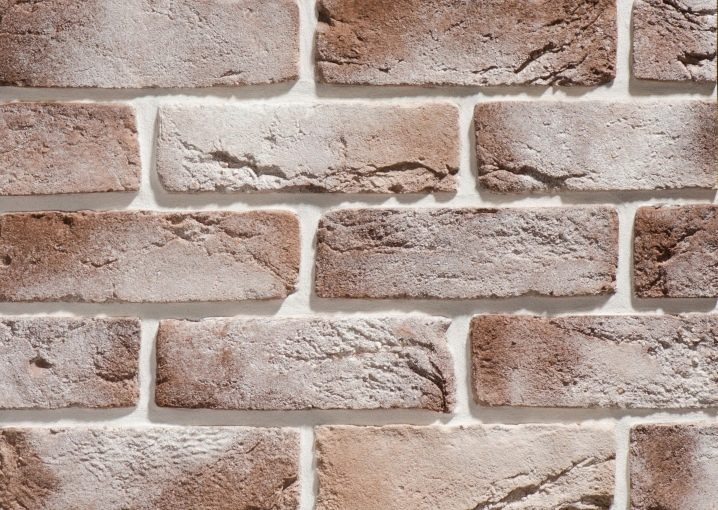
Despite its uncommonness, decorative bricks began to be in demand only recently. When choosing decorative cladding, more and more people are inclined towards this type of wall decoration, realizing that brickwork is ideally combined with any interior. To understand what qualities and features are inherent in decorative bricks, you should read this material more closely. Today, the construction market offers customers several options for brickwork for decorative finishes, which are made of various materials.
Clinker
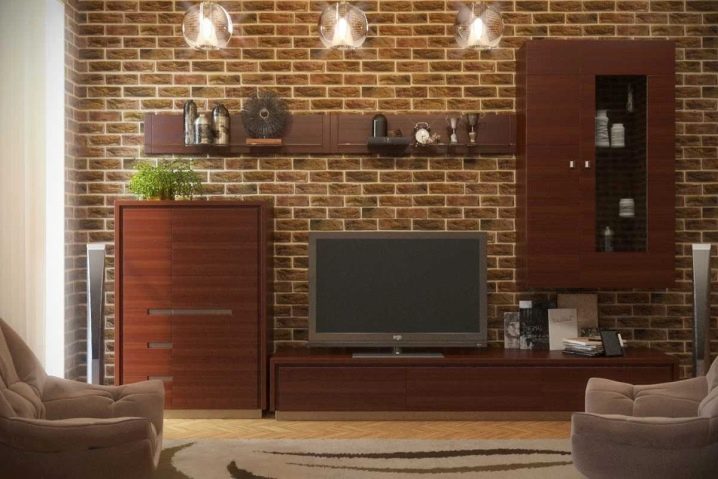
The main part of the composition for this type of decorative brick is clay. During production, it goes through a special process of pressing and subsequent firing. Thanks to these procedures, clinker decorations can easily withstand changes in temperature and weather conditions. It follows from this that this type of brick can be used not only for interior decoration, but also for exterior cladding.
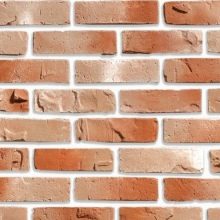
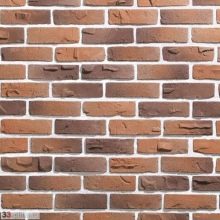
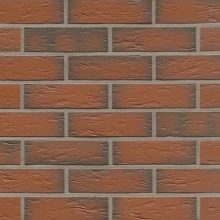
The clinker is distinguished by its increased level of strength. It is, of course, possible to damage it, but for this you will have to make every effort and construction equipment. In addition to its strength, clinker easily tolerates exposure to ultraviolet rays, and is also not afraid of chemical elements. A humid environment for decorative clinker bricks is not terrible. Of course, it absorbs some moisture from external influences, but this does not affect its appearance in any way. An important feature that is to the liking of residents of regions with harsh winters, clinker bricks are immune to low temperatures.
During the production process, a coloring pigment is added to the main composition, due to which the finished product acquires various shades, from which you will have to choose the one suitable for the overall style of the interior. In addition to a number of advantages, clinker has one important disadvantage, which is the price. This cladding option is not cheap at all, but having paid once, you can be content with the beauty of the brick decoration for many decades. Especially when it comes to the exterior of the house.
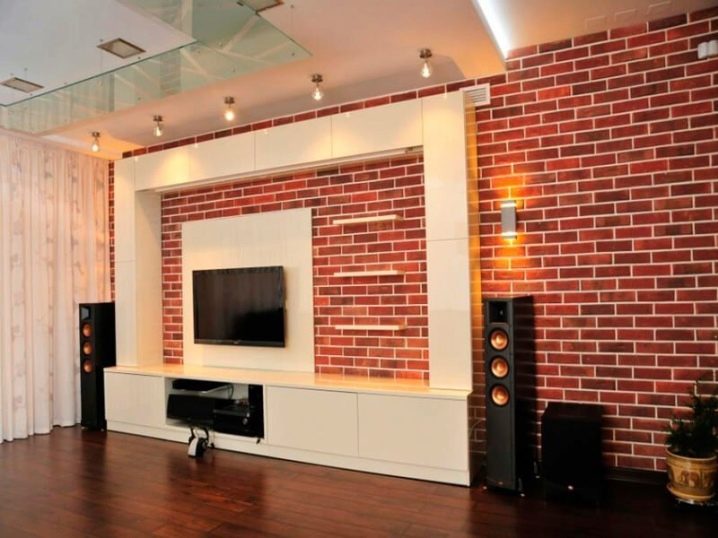
Gypsum
Gypsum is widely known for its characteristics in the construction industry and is used in almost all types of repair work. It is very easy and convenient to work with him. Installation of gypsum bricks is very simple, any person can cope with this task. Do-it-yourself lovers will be delighted to learn that decorative gypsum-based bricks can be made with their own hands, you just have to stock up on plaster mix and several forms.
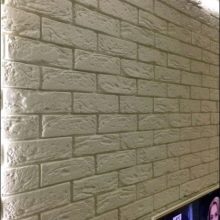
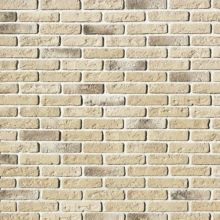
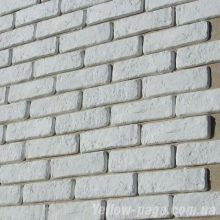
According to its characteristics, gypsum is a very flexible material. It lends itself to processing without hesitation, due to which it has a huge variety of color palette. In addition, gypsum is safe, which is also a positive quality for interior decoration. Decorative gypsum-based bricks have heat and sound insulation.But, despite the many advantages, this material can only be used in closed warm rooms, since gypsum does not tolerate a humid environment and low temperatures.
Polyurethane
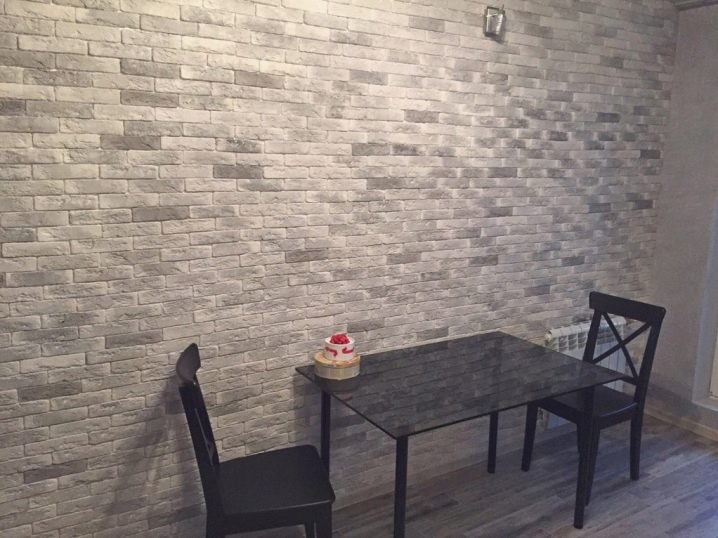
Polyurethane is considered the most affordable option. But it is not suitable for finishing indoor rooms or facing the facade of a house. Mainly polyurethane decorative bricks are used for decoration of public places. Its appearance resembles the outline of bricks, but upon closer inspection, the props become visible. The main disadvantages of this version of decorative bricks are the intolerance of sunlight. Under the influence of ultraviolet light, the paint becomes faded, and then completely fades.
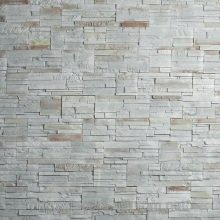
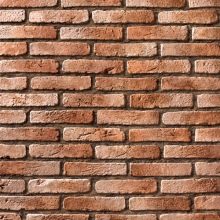
Styrofoam
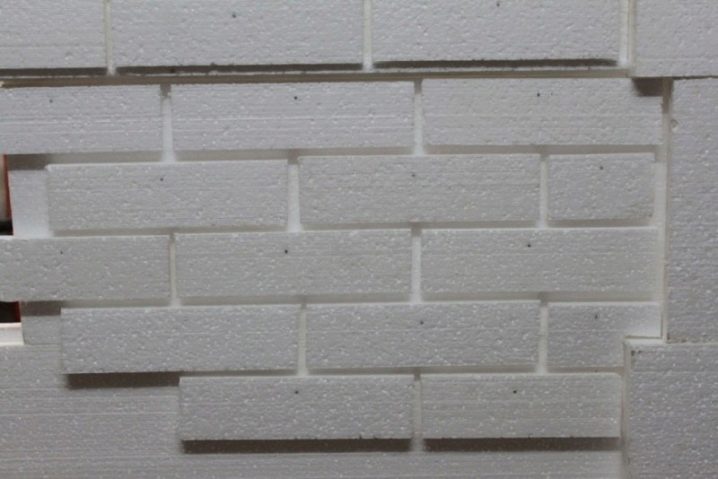
Styrofoam is itself a brittle material. Styrofoam decorative bricks have several qualities. Of course, the cost of this material will be invisible to the family budget. But children, studying their surroundings, may stumble, fall and bump their heads against the wall, but the foam lining will not harm, it will only soften the blow.
In addition to the standard characteristics of decorative bricks, special attention should be paid to compositions that are suitable for laying facing material.
- For the installation of gypsum and clinker bricks, cement glue will be most suitable. It adheres without difficulty to concrete and plaster. Not afraid of contact with moisture. Easily tolerates temperature fluctuations.
- Plaster based putty is only suitable for interior decoration. Its composition will be able to withstand decorative clinker bricks, gypsum and foam varieties.
- Silicone mass is suitable for working with every type of decorative brick. In addition, silicone is an indispensable material for mounting decorations in rooms with high humidity.
Types of masonry
Today, modern craftsmen are ready to offer their services for laying decorative bricks in a variety of forms. The most common are block, gothic and cross ways. Of the options presented, the block method has the simplest laying technique. This does not require drawing. The bricks are laid in a straight line, taking into account the differences in the lower lane. In simple terms, there should be a whole copy above the seam between the two laid bricks. The seams should not overlap.
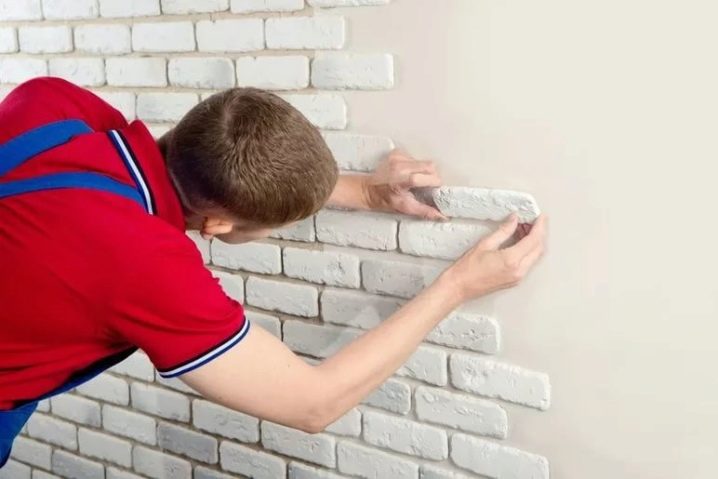
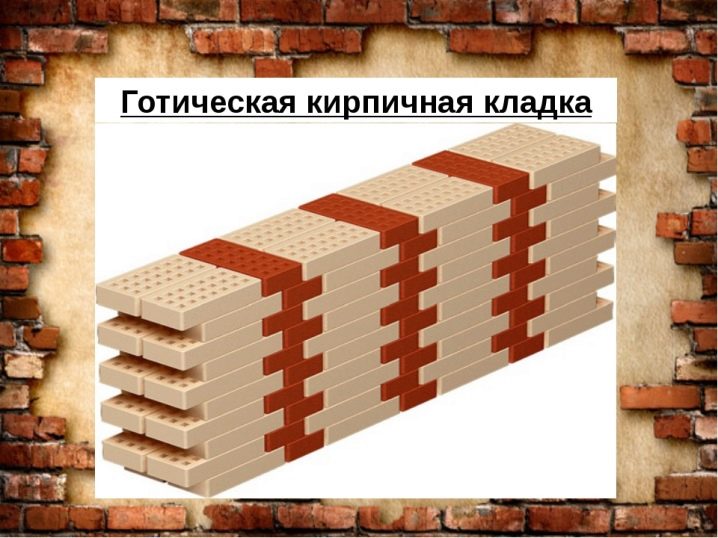
For the Gothic styling method, certain rules must be followed. First, a solid brick is glued, after which a small element of brickwork is glued. The next row already needs to be done with a slight offset to the right. In this case, the seams should not be located far from each other. At the end of the work, the brick wall will look extremely unusual. The presence of various sizes of decorative cladding gives the impression of a chaotic masonry, but still the presence of some pattern is visible.
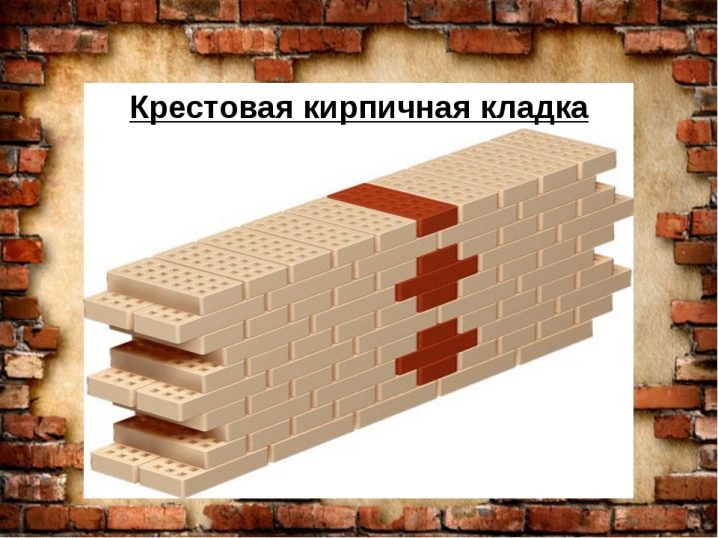
The cross-type installation is characterized by an increased complexity of installation. Bricks are required to be placed on different sides in an alternating sequence. Observing the installation rules, it will be seen that the seam of the new row has begun to move slightly relative to the lower strip.
Required tools
Before proceeding with the installation work, it is necessary to prepare the tools which cannot be dispensed with:
- tape measure;
- ruler;
- stationery pencil;
- brush;
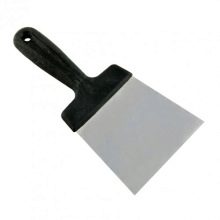
- putty knife;
- level;
- rope;
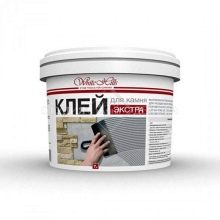
- glue;
- saw.

Surface preparation
In addition to beauty and originality, covering with decorative bricks allows you to hide flaws in the walls. Therefore, there is no need to level the substrate before laying. For the rest, surface preparation should be carried out using a special technology.
- The walls are thoroughly cleaned, old wallpaper and peeling paint are removed.
- Next, you need to get rid of the remaining fat. Use water to check for the presence of oily deposits.
- If the decorative brick is glued to a wooden or metal base, then the surface will have to be treated with an insulating material. In some cases, a lightweight cement based mortar can be used.
- To increase the adhesion strength, frequent scratches are required over the entire surface of the substrate.
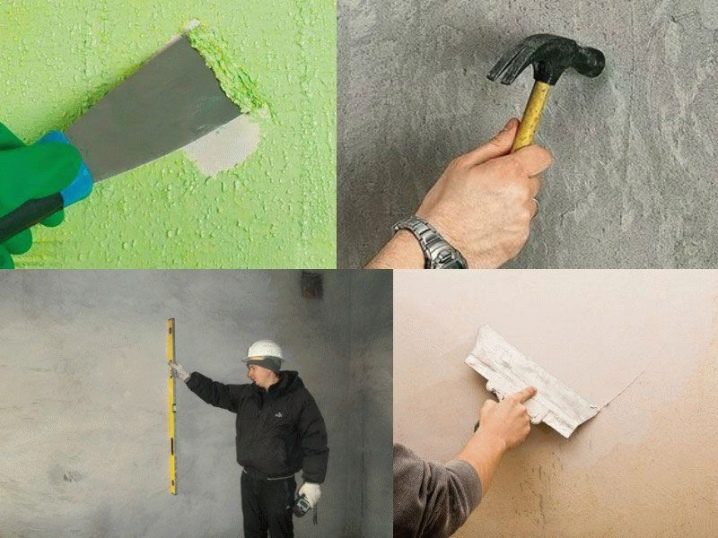
After preparing the base, you can proceed with the installation of decorative bricks. In order for the result to exceed all expectations, it is necessary to remember several important rules.
- For the evenness of the seam between the bricks, you must use special crosses. Nails can serve as an analogue of crosses.
- At the end of the laying work, the seams between the bricks must be wiped off. The ideal composition will be a special mixture for grouting or plaster.
- To preserve the appearance of the finished decorative surface, use wood varnish.
- In the apartment, you can equip any room with brick decorations. For example, in the corridor, paint the surface with varnish, and paint in the rooms with paint that matches the interior.
How to lay a brick with your own hands?
Installation of decorative tiles in the form of bricks begins with checking the level of the floor covering. If there are flaws, you need to beat off a straight line and outline it with a pencil. It is necessary to lay bricks in the direction from bottom to top. It is very important to note that the joints should not overlap. The cladding is laid out in a checkerboard pattern.
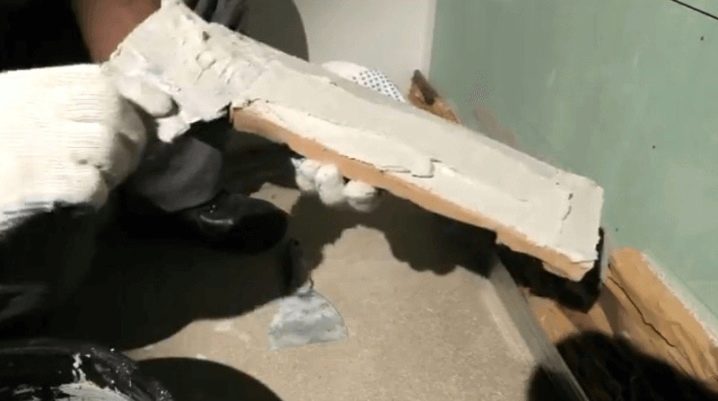
It is extremely difficult to compose an integral composition in advance, everything is done already at the place of work. Therefore, the bricks are selected different in shape and size. If there is a match, then you can slightly trim the decorative element, sand the edges to create a realistic effect. The adhesive mass can be applied both to the surface and to the tiles. When laying, it is very important to press harder on the brick. Due to this action, the gaps in the joints and possible empty space in the wall will be filled. If there is a lot of surplus, then it must be removed.
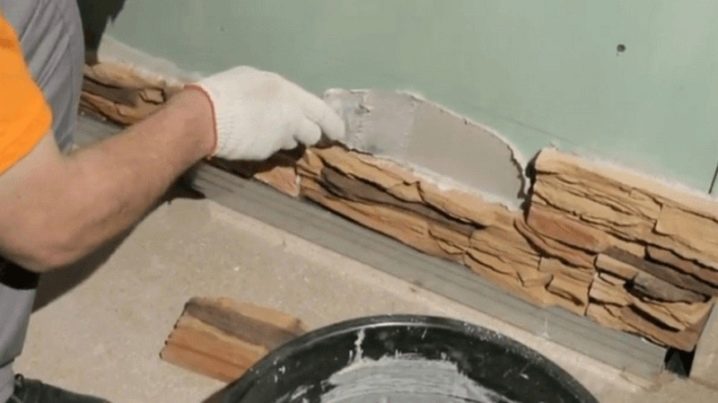
It is easy to stick the tiles on the base, the main thing is not to get lost, since there are only five minutes to correct the error. When processing doorways and slopes, an approximate drawing with the location of the bricks should be drawn in advance. This action will facilitate the process of laying the decorative surface. When working with corner joints, you will need to show maximum concentration and make cuts at an angle of forty-five degrees using wort. At the same time, put the tiles so that the angle is ninety degrees.
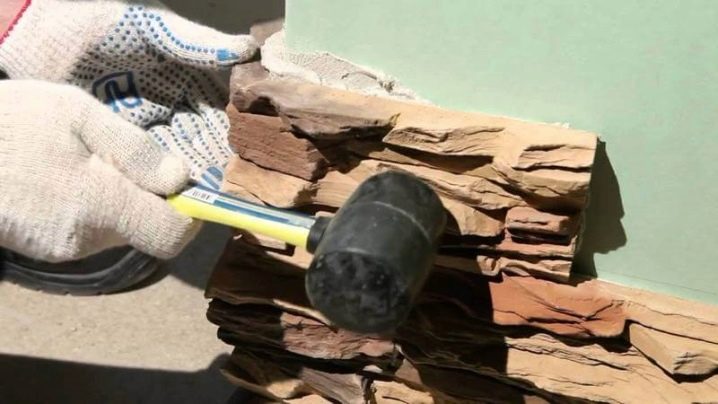
Particular attention is required to focus on the seams between decorative bricks. The appearance of the cladding largely depends on their thickness. You can stack decorative elements on top of each other, but the essence of the design will be lost. Thus, it becomes clear that every person can lay out a decorative brick. Initially, the markings are made, after which the bricks can be glued to the wall. With the help of crosses, the evenness of the seams is maintained.
After the main work is over, it is necessary to start decorative processing of the brick surface. This procedure will be the final stage of finishing. In places where there are defects in the form of chips, cuts, as well as near switches and sockets, it is required to fill the voids with plaster putty. A small spatula is suitable for this job. If there is more solution on the tile than required, then the excess must be removed with a damp sponge. The same goes for the seams. The voids must be filled with the basic material.
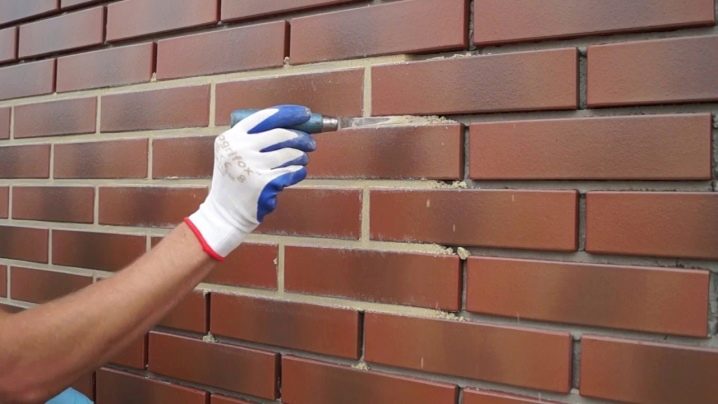
After drying, the seams must be wiped off. Sandpaper is suitable for this procedure. The work will take a little more time, but scratches will not be visible on the basis of the seams. After the entire surface has dried, gray spots may appear on the bricks themselves. A stiff brush will help get rid of them. After that, at the request of the owners, the surface of the decorative brick is covered with varnish or paint.
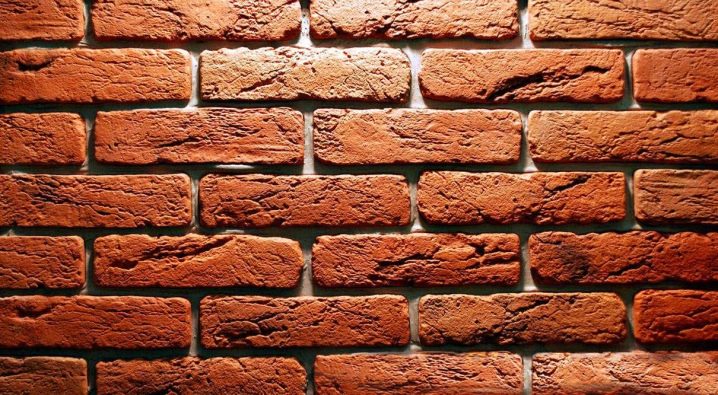
You will learn how to lay decorative bricks from the video.


The comment was sent successfully.