How and when to dig potatoes?
Every gardener strives to grow an excellent harvest. To achieve the desired result, it is important not only to responsibly approach the procedures for planting and growing crops, but also to take care of the quality of the collection. In most cases, it depends on this how well the storage of fruits will be organized. How and when to dig potatoes - this issue is worth understanding in more detail.
Timing
Usually, potatoes are harvested from late August and continue until mid-September. In October, tubers are dug up mainly in the southern regions, where the second or third harvest takes place.
Experienced gardeners, by a number of signs, determine when to start harvesting potato tubers. They are mainly guided by the appearance of plants. Key features:
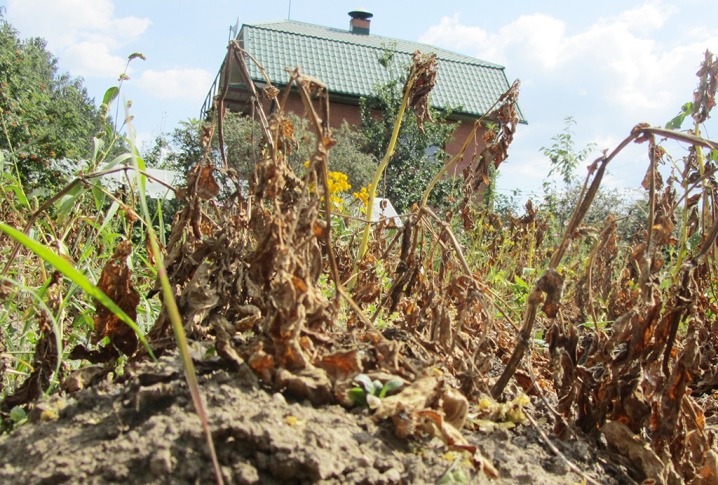
- drooping tops;
- yellow tint of foliage;
- withered stems.
All this means that the tubers are already ripe. If you wish, you can additionally verify this by digging up a few bushes and checking the quality of the product. Ripe potatoes have a dense skin, which can only be cut with a knife.
However, these are only general signs. If you take a closer look at the issue of collection, you can find out that the ripening period of potatoes depends on the variety and averages from 35 to 140 days.
In addition, the speed of formation is influenced by other factors, taking into account which will allow you to start digging the crop in a timely manner.
New potatoes
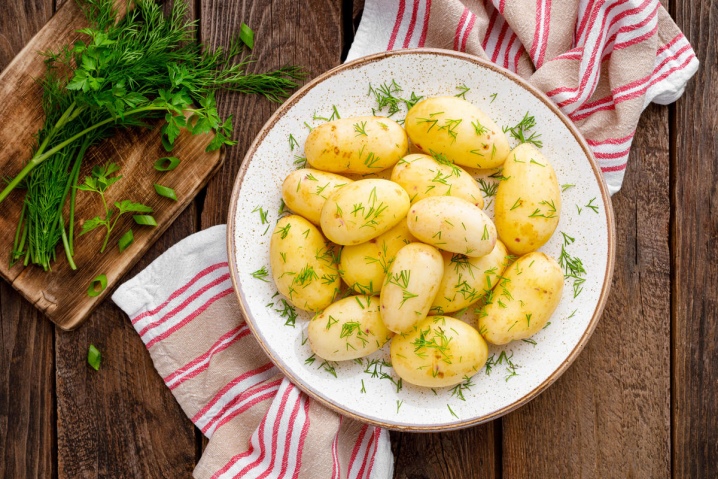
This category includes early maturing varieties that are not suitable for long-term storage.... Vegetables are eaten immediately, but they are formed quite quickly. Young potatoes are dug out within 2-3 weeks after flowering, when the tubers reach a size of 6-7 cm. Ripening can be determined by the state of the lower leaves, which begin to turn yellow.
Before digging up a young potato, you should carefully scrape off the ground from the bush with your hands and feel for the fruits. Ripe potatoes will seem large, and you can only dig them out in this case.
It is worth immediately paying attention to the fact that tubers of early ripening varieties quickly deteriorate. Therefore, it is recommended to use young potatoes for cooking within 7 days from the moment of digging up.
Potatoes for storage
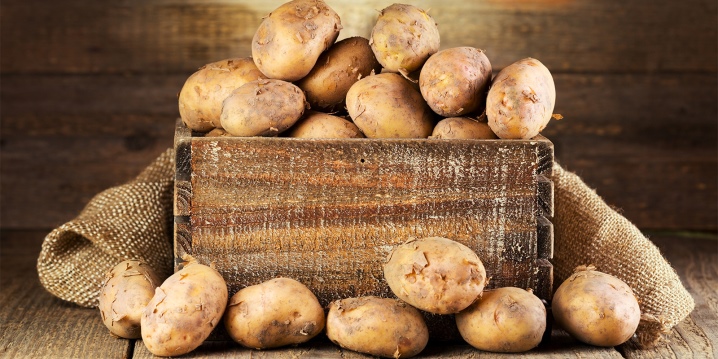
A group of standard varieties that almost all gardeners encounter. Ripening of potatoes is characterized by yellow and withered tops, which appear closer to autumn. To make sure the tubers are ready, it is recommended to dig up a couple of bushes and check the skin and ease of separation from the stems of young potatoes. If you don't have to make much effort, you can start harvesting.
The peculiarity of late-ripening potatoes is that the bushes do not always ripen at the same time. In this case, it is worth digging first the harvest ready for harvest, and then returning to the next bushes after 1-2 weeks.
In turn, regardless of the type and variety of potatoes, it is also worth deciding on the weather for harvesting. The best solution would be to go to the field on a clear and cool day, when the soil will easily crumble from the tubers, and the fruits will not have to be washed before laying in the cellar.
You can also harvest on rainy days, but in this case you will have to dig quickly. At the same time, if during the rainy season it is not possible to dig up potatoes in a short time, they will begin to rot in the ground, and part of the crop will be spoiled.
What and how can you dig it up?
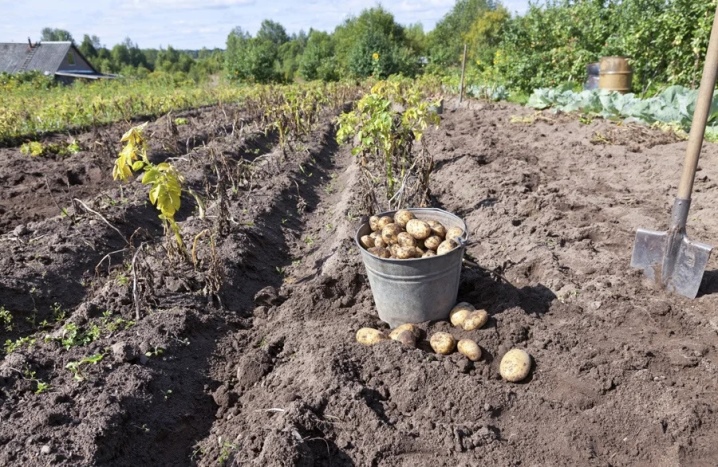
Harvesting, as already noted, is carried out on a sunny and warm day, when the earth is not soaked in rain and does not stick to the fruits. Loose and well-cultivated land will allow you to quickly get to the tubers, while dense land will require a special approach to harvesting in accordance with agrotechnical requirements.
Gardeners prefer to use different tools, the most popular will be discussed in more detail.
Shovel
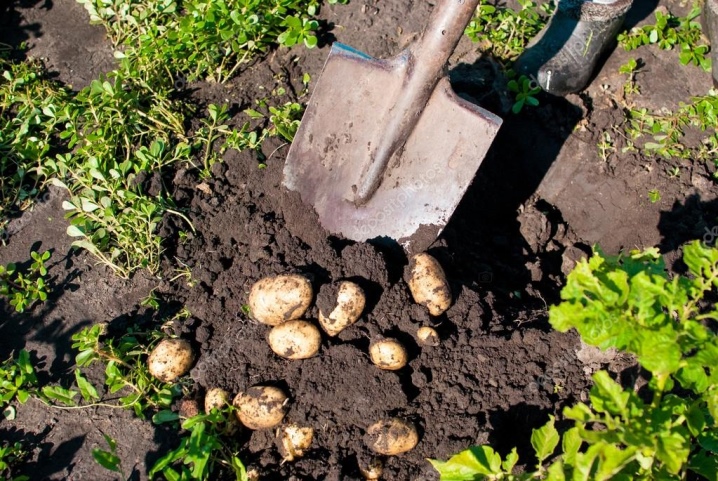
The traditional method of harvesting, which involves digging out the potato bushes one by one. Work starts more often in the early morning. Tips for choosing and using a shovel:
- it is recommended to select a tool depending on the type of soil on the site;
- it is better to dig sandy soils with a bayonet shovel, the corners of which are rounded;
- a shovel with a rectangular blade will help speed up the process;
- heavy soil will require the use of a sharpened shovel.
The only disadvantage of this technology is the careless digging of bushes. Often the blade of the shovel cuts the tubers, which is why the quality of the crop is noticeably reduced.
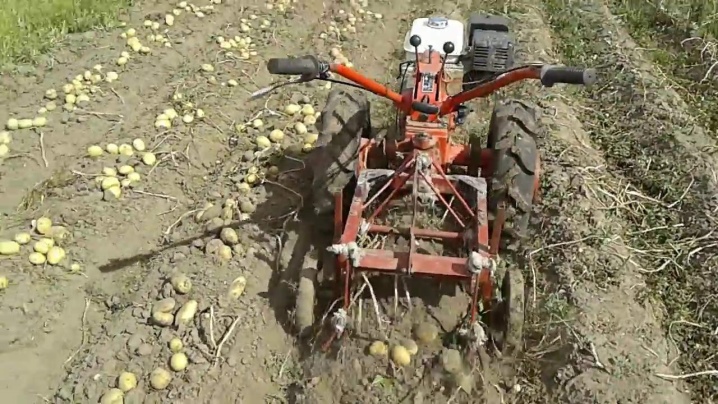
Motoblock
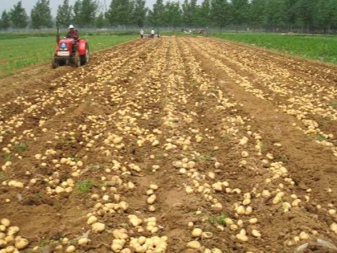
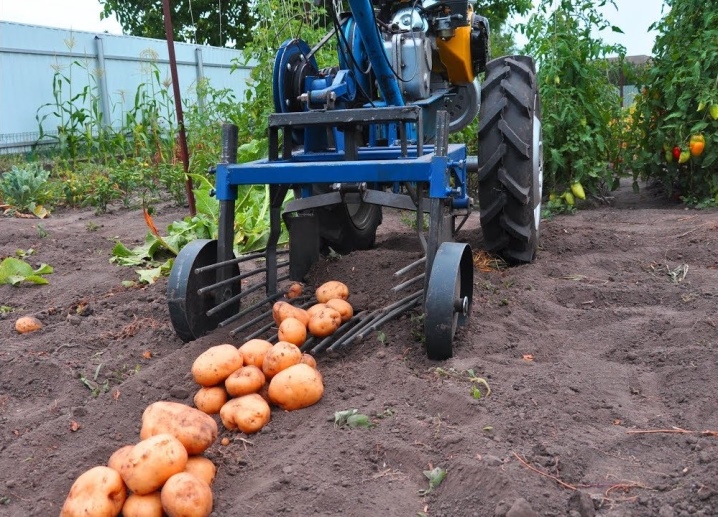
A modern option that is suitable for owners of large areas. If there is no opportunity to use a walk-behind tractor, a cultivator will do. Regardless of the type, the equipment significantly speeds up the process of collecting potatoes, because in 5 minutes the equipment is able to process an area of 5 acres.
Before doing the work, it is necessary to correctly configure the walk-behind tractor so that the device does not spoil the crop. The adjustment of the burrowing of the soil with the blades is done by a trial method, which avoids clipping tubers during harvesting.
Stages of digging up potatoes using a walk-behind tractor:
- setting up equipment;
- passage of machinery through the site;
- collection of dug tubers in the garden by hand.
With the help of modern devices, it will be possible to dig out potatoes in a day, even if it is necessary to harvest from large areas.
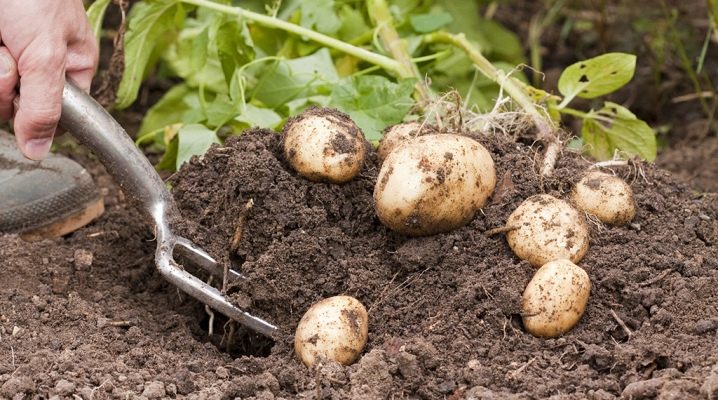
Pitchfork
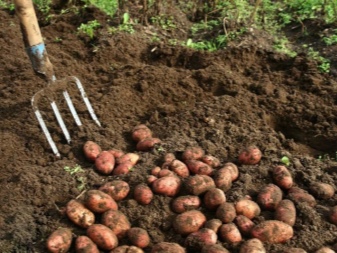
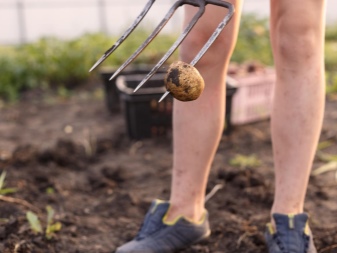
A non-standard option that many gardeners in the country like. Most often, the use of a pitchfork is resorted to if the potatoes grow in loose soil, and the weather is sunny outside. The tool will not cope well with wet and dense soil. Pros:
- the convenience of use;
- fast digging;
- small price for the tool.
When working with a pitchfork, it is worth wearing tarpaulin boots to help avoid unexpected injuries. Preference should be given to the classic four-flute tool, which is perfect for digging potatoes.
The only disadvantage of a pitchfork is that if you accidentally pierce a potato with your teeth, it will immediately start to rot. It is better to use such tubers immediately for food, since they will not be stored.
How to prepare for storage?
When the potatoes are dug up and harvested, the next question arises regarding its storage. Let's name the main recommendations.
- Damaged and diseased tubers must be discarded immediately. It is best to do this during the harvesting process so that later it will take less time to distribute the potatoes. In addition, if the damaged fruit is left with healthy ones and the bag or box is placed in the cellar, the crop will quickly rot.
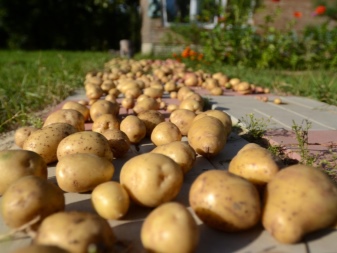
- After harvesting, potatoes should be left under the sun for a while.... This approach will kill harmful bacteria on the skins, dry out the potatoes and extend their shelf life. The average heating time for tubers is no more than 2 hours. If kept longer, the potatoes will turn green and not suitable for further use.
- Dried tubers must be carefully sorted... Large, medium and small potatoes, as well as cut or damaged by pests and diseases, are laid out separately. Subsequently, the first two groups are stored.
- To strengthen the peel and ripen potatoes, the tubers are scattered on the floor in a closed room, where the temperature does not rise above 18 degrees, and the humidity is 95%. The shelf life in such conditions is 2 weeks, after which the potatoes will need to be sorted again, and then moved to the cellar.
- It is recommended to store tubers in winter in dry, cool rooms with an air temperature of 4-5 degrees.... Potatoes must not be washed before being sent to the cellar, so as not to reduce the shelf life. Washing damages the skin and causes the multiplication of various infections.
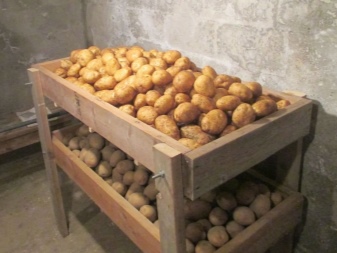
To maximize the shelf life of your crop and maintain the quality of your potatoes, there are a few additional guidelines worth considering.
- When harvesting with a walk-behind tractor, it is worth first mowing the ground part of the potatoes... This will prevent damage to the mechanism and extend the life of the device. In addition, the tops will cease to interfere with the work, and the harvest will turn out to be harvested many times faster.
- When collecting tubers, it is necessary to immediately remove the tops, since the young peel is susceptible to spores, which often affect the greens. Timely removal of withered and decaying foliage will prevent a decrease in the shelf life of the crop.
- If it rains while digging the potatoes, you must first dry the roots in a special room.
- Working with your back to sunlight will help prevent accidental damage to tubers.... This situation will improve the observation of the process.
- When the crop is harvested, it is worth sowing the field with rye, mustard or other siderates, which will restore the fertility of the soil and rid it of insect larvae.
Collecting potatoes is a process, the quality of which will determine the number of intact tubers and the maximum shelf life.


The comment was sent successfully.