Planting potatoes in the combs
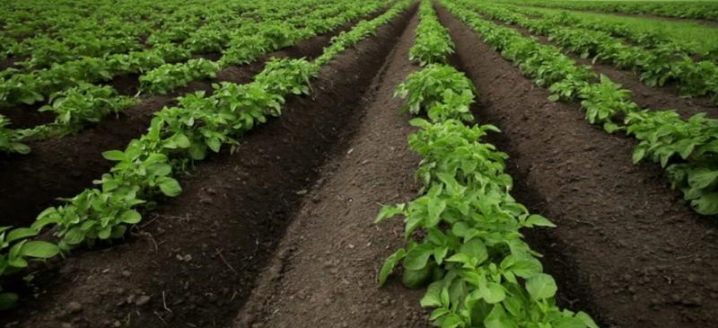
Planting potatoes in the ridges is especially beneficial if the spring can be cold. In the ridges, the soil warms up faster. Ideal technology for RF with its unstable cool climate.
Advantages and disadvantages
The ridges warm up faster and are better ventilated. Landing using Dutch technology allows the following.
- Plant potatoes earlier.
- Minimize the effect of return cold or frost.
- Stabilize soil moisture and prevent damage by bacterial and fungal rot.
- Get plants with a stronger root system.
- Do not spud potatoes during the season.
- Simplify watering. No crust forms on the ridges because the irrigation is done in the furrows. The plants are better supplied with moisture and it is distributed optimally.
- Dig up the crop before the mass spread of late blight.
- Collect the tastier tubers with a higher starch content.
- Facilitate harvesting, because the tubers are shallow.
- Maintain soil fertility for a longer period, because the ridges alternate every year.
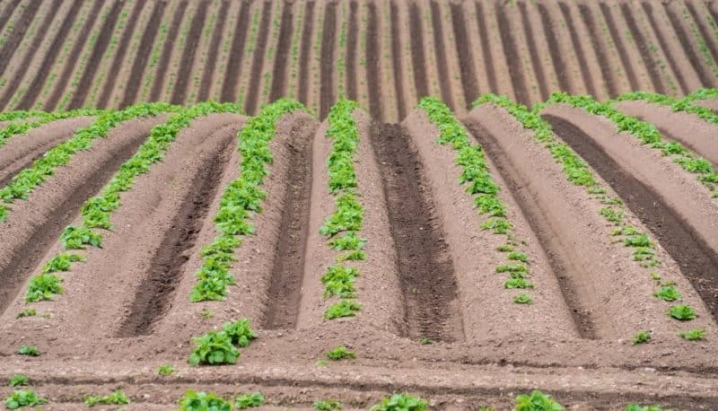
Planting potatoes in the ridges increases the yield, reduces the load on the gardener. It is believed that this technology increases the yield of marketable tubers by 20%.
If done correctly, the method has only advantages. Best suited for heavy soils, regions with unstable springs and short summers, and areas where there is excess moisture.
It is better not to use Dutch technology on dry and loose soils - due to a lack of moisture, the crop will be weak and small. The method is not suitable for hot southern regions where the soil is rapidly weathering.
Soil preparation
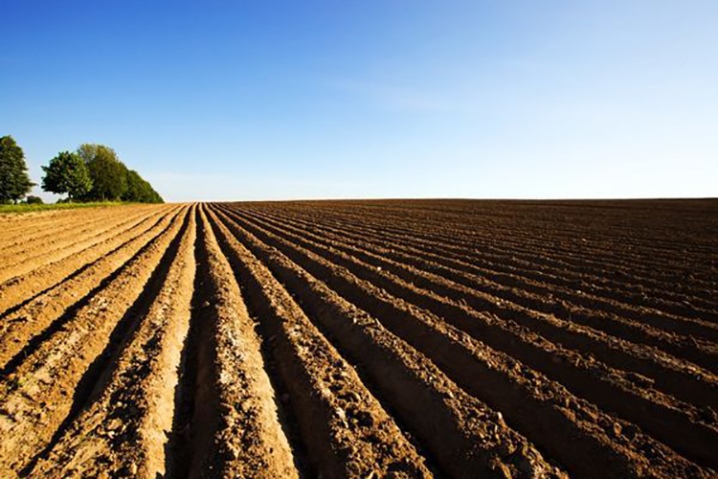
Soil preparation is possible in autumn or spring. In the fall, they carry out a continuous digging, bring in humus, manure, compost, lime, ash as needed. If the digging is carried out in the spring, nothing needs to be done before planting. Dig to a depth of 20 cm. Before planting, measure the temperature of the soil. The soil should warm up to + 8 ... + 10 ° С at a depth of 10-15 cm.
The ways
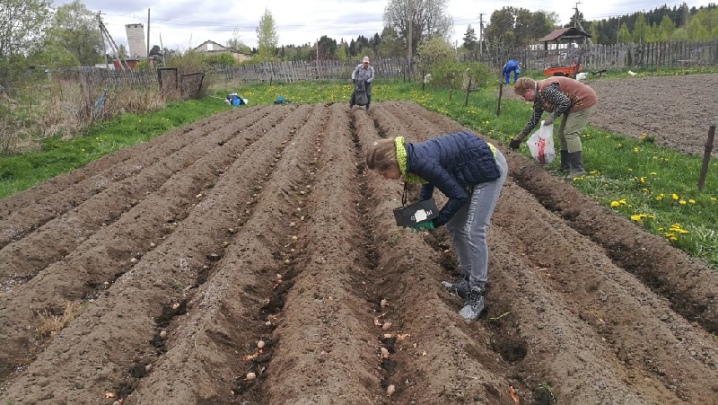
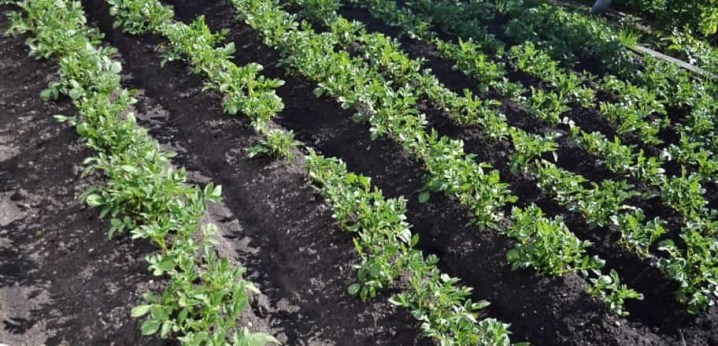
In the spring, immediately after digging and leveling the surface with a rake, at a distance of 65-70 cm from each other, even furrows with a depth of 8-10 cm are made.In the resulting ridges, the width of which is not less than 30-35 cm, seed potatoes are placed at a distance of 25-30 cm apart. The laying depth is 8-10 cm. Thus, the tubers in the soil are at the same level as the adjacent furrows. The pattern can vary slightly depending on the size of the potatoes.
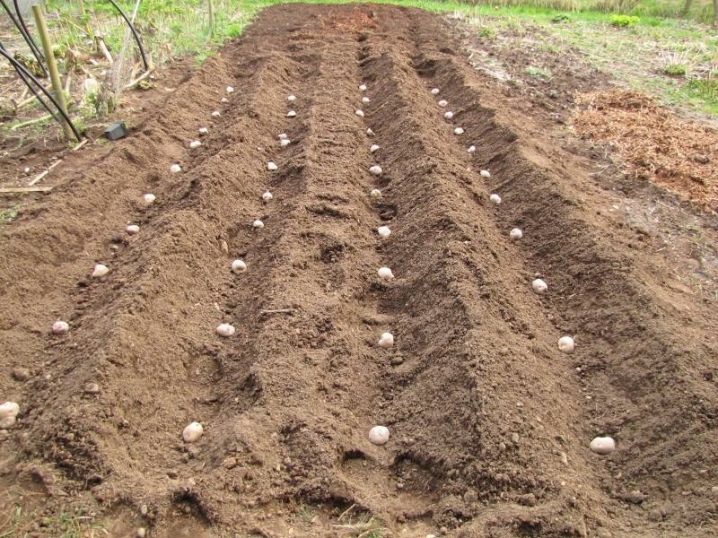
Scheme options.
- The combs are 25 cm high, between the rows - 1.2 m. This distance is convenient for mechanized maintenance.
- The height of the ridges is 8-10 cm, the distance between their centers is from 75 cm. The height of the ridges increases with hilling. Sometimes this method is called Dutch. This method works best for small or cut tubers.
- Landing with a ditch. Similar to the classic method, it only allows you to make the beds even warmer. In autumn, ditches are made on the site for potatoes, organic residues are added to them, lightly sprinkled with earth. In the future, the ridges are made just above the ditch.
- Wide crest (landing on the Meatlider). The width of the ridge is 65-70 cm. It fits 2 rows of potatoes. The method increases yields, but is not beneficial in regions with frequent rains at the end of summer. The wide comb does not have time to dry out, the potatoes turn out to be watery, poorly stored.
- Combs are made from autumn... If the snow cover is not too high, then the snow will accumulate in the furrows, and in the spring the ridges will warm up much earlier.In the spring, the ridges do not need to be formed, but you will need to walk around the site with a hoe or a motor-cultivator in order to break the crust formed on the soil.
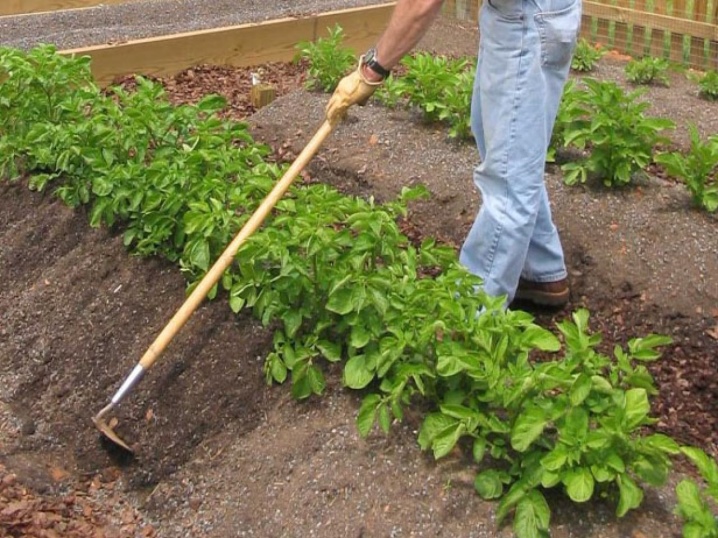
The formation of ridges is possible after the placement of the potatoes. On a flat area, pegs are driven in so as to set the first line for planting tubers, pull the cord. Small grooves, 5 cm, are made under the cord with a shovel or a hoe. 75-80 cm retreat and the "line" is drawn again. Potatoes will be laid out in these lines. Tubers are laid out at a distance of 30 cm from each other. You can mark out gradually, after laying out each previous line.
A nutrient mixture of humus and ash is poured onto each tuber. Then, working with a hoe, ridges are formed around the tubers 8-10 cm high and 20-22 cm wide. The comb in the section should resemble the letter "m". To do this, you need to row the earth with a hoe on each side, without bringing it to the center. Then the ridge "horns" will form, it will have almost sheer walls.
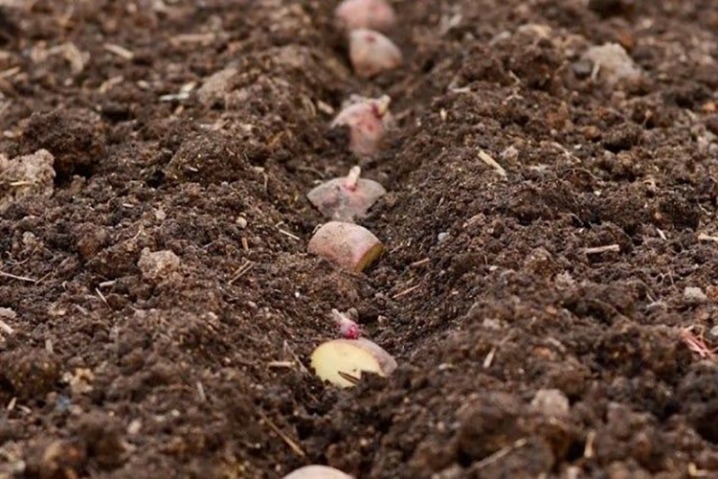
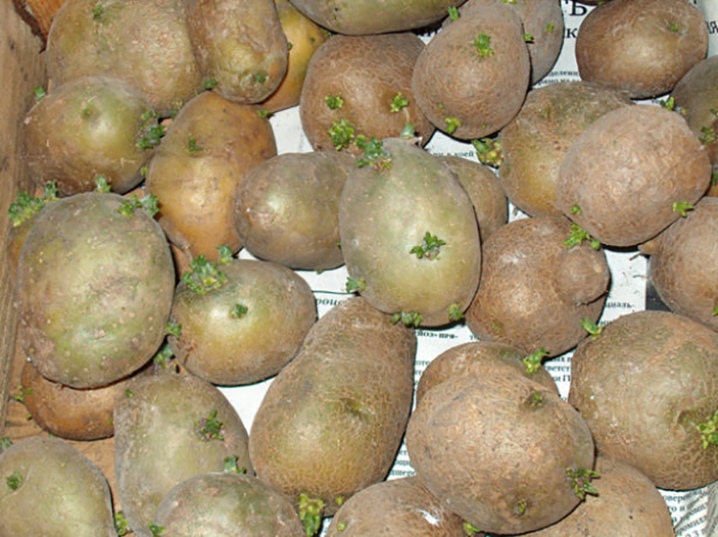
The best potatoes for planting are with green sprouts 1.5-2 cm long, treated with Maxim. The size of potatoes for planting is up to 5 cm. Long shoots break off. It is advisable to choose potatoes with the number of eyes from 5 pcs. Previously, you can soak the tubers in a solution of potassium permanganate (10 g per 10 liters of water, hold for 1 hour).
The tubers must be planted correctly: carefully put in the hole, and not thrown in a big way.
Humus can be poured into the furrows with a layer of 2-3 cm, in this case they are initially made a little deeper.
It is important to note: the ridges should not resemble a cone with a sharp top in section. In this case, the potatoes will not sprout up, but to the sides. This will reduce the yield, the plants will be deformed, and the load on them will increase. The ridge should have the shape of a not too steep trapezoid, with a sufficiently wide top, 17-20 cm.
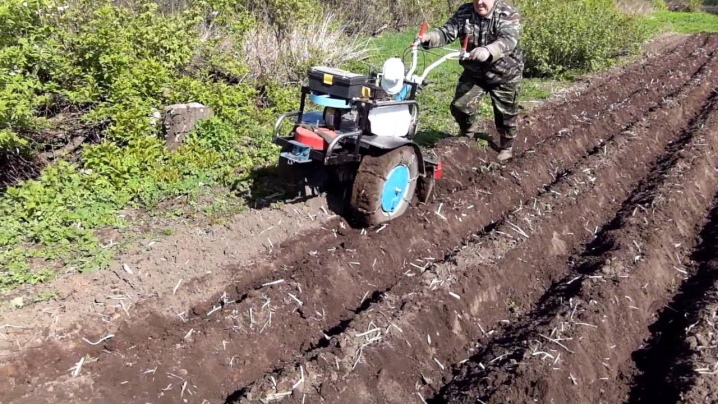
Making the combs with a shovel is not very convenient. For cutting furrows, it is optimal to use a ridge former (hiller) for potatoes. For work in a small area, homemade and purchased devices are used. The first ones can be made from scrap materials.
Planting by hand
For the needs of 1 family, there is enough potato planting on an area of 1 are... In this case, a hand tool is used. Purchased potato planters cost 1.5-2 thousand rubles.
To create pits, if you plan to plant tubers directly into the ridges, it is convenient to use a tool that resembles a device for planting seedlings - a metal rod with a pointed end. A conventional plow or hiller is used to create furrows.
Mechanized technology
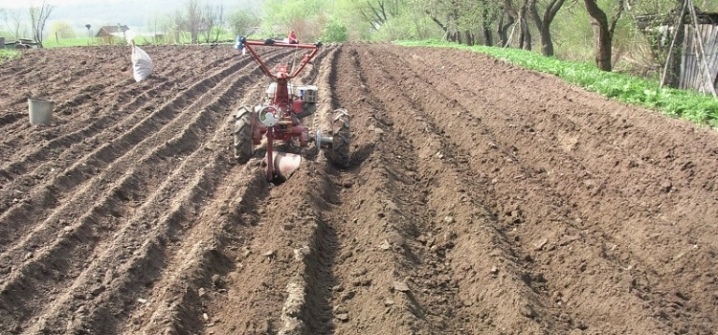
You can automate planting in large areas using motor-cultivators (walk-behind tractors) with attachments. Examples of attachments.
- Potato diggers... Throw the tubers to the surface.
- Rake - for loosening, cleaning garbage from row spacings, tops.
- Cultivators - multifunctional, with their help you can loosen, fertilize, remove weeds.
- Plows - to create furrows, plowing, digging tubers.
- Hillers - for processing row spacings.
For watering potatoes planted according to Dutch technology, contour irrigation systems are used.
Further care tips
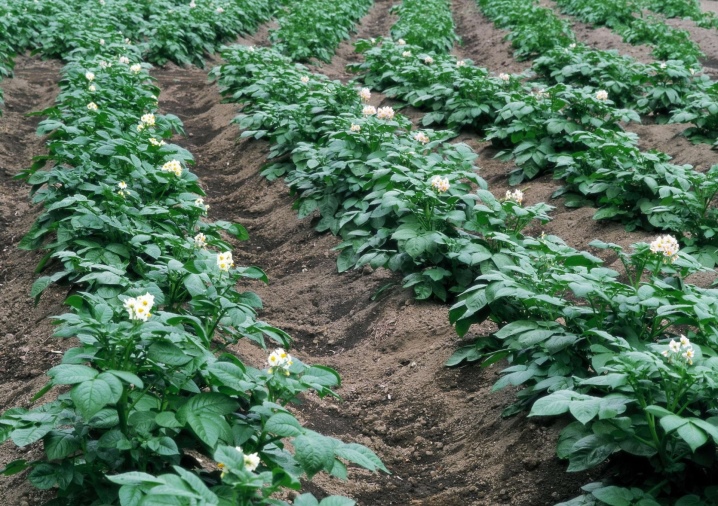
Growing potatoes in ridges makes the main points of grooming easier. Leaving comes down to the following.
- Weeding row spacing 14 days after landing.
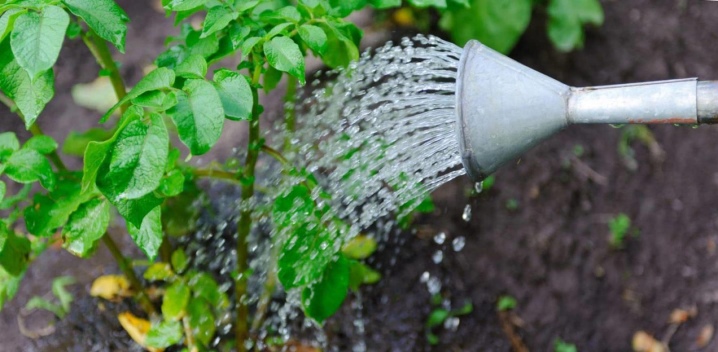
- Three waterings (not dry summer): before flowering, 2 weeks after flowering, repeat 3 weeks after the second watering. When the shoots have reached 20 cm, the soil should always be slightly damp, but not soggy. Watering is necessary if the soil is dry at a depth of 10 cm. In hot summers, weekly watering is usually required. By the harvest season, watering is reduced. Water is fundamentally important precisely during the period of tuber growth.
- Flowers are cut off at the bud stage. They are wasting the power of the plant.
- Top dressing: seedlings reached 10 cm - mullein (1 in 10), flowering - for each bush, 0.5 liters of mullein and superphosphate solution (1 glass and 2 tbsp. l.10 liters of water), after flowering - spraying with a solution of 1 tbsp. l. superphosphate in 10 liters.
- For the prevention of diseases - watering with a solution of potassium permanganate (2 g per 10 l) during the period when the seedlings reach 10 cm.
The harvest ripens in late August - early September. The tops are mowed 2 weeks before the date of harvest. This speeds up the ripening of the tubers. The cut tops are removed from the site, otherwise it will attract pests.
To prevent an attack by the Colorado potato beetle, beans can be planted around the garden. If the soil is acidic on the site, then during autumn digging, chalk, slaked lime, dolomite flour or ash must be added to the soil.
Manure, mustard cake, and bone meal are used as organic fertilizers. They are brought in in the fall or spring.
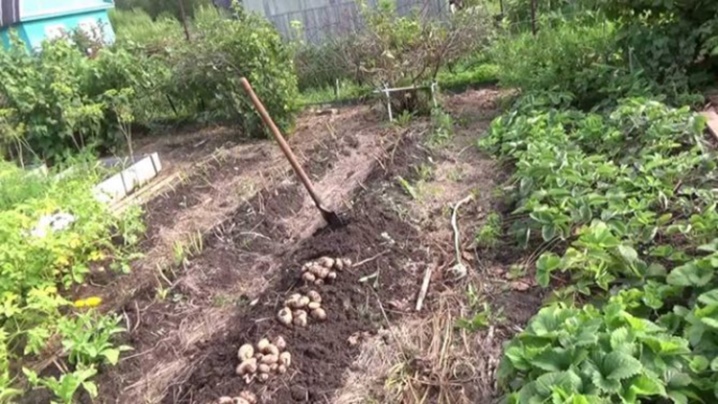
The Dutch planting technology successfully works in the cold regions of the Russian Federation: in the Urals, Siberia, the middle lane. The method is not beneficial for the south. In the Stavropol Territory, the ridges dry too quickly, and the soil is subject to erosion due to hot air and winds. The soil is depleted, it needs an increased amount of fertilizer. When evaluating this method, the individual characteristics of the site should also be taken into account.
The best landing in the ridges is suitable for low-lying areas with heavy soils, poorly blown, with slow melting of snow in spring.


The comment was sent successfully.