How to plant potatoes?
Potatoes are an integral part of most gastronomic dishes, so it is very difficult to imagine that it was not once on the menu of our ancestors. Peter I tried to introduce tasty tubers into the diet, but the young ladies wore potato flowers in their hair for a long time, not knowing what to do with the roots.
Today this crop is second only to wheat in importance. Potatoes are grown by farmers and owners of suburban areas, believing that their product tastes better than the purchased one. For those who decided to start growing potatoes, we will tell you how to do it correctly.
Timing
Before planting potatoes in open ground, you should familiarize yourself with the forecast of weather forecasters. If frosts on the soil are in the past, and the earth has warmed up to + 6-10 degrees, it's time to start planting. There is no rush in this matter: belated frosts can freeze the tubers and deprive the gardener of half of the harvest.
But it is not worth pulling with planting, because after the snow melts, the soil is moist, favorable for the emergence of planting material.
Over time, the sun will dry out the earth, and it will be difficult for root crops to germinate. To plant potatoes, you need to find that "golden" moment between "early" and "late". Each region has its own:
- in the central part of the country, planting is completed by about May 15;
- in the Volga region, Central Black Earth region - a week earlier;
- in the northwestern regions, in the Urals and the Far East, potatoes can be planted throughout the second half of May, until early June;
- in Karelia and the northern regions of the country, planting is carried out in July;
- in the very south of Russia, plant tubers are planted throughout April.
In the Krasnodar Territory and in the North Caucasus, if you wish, you can harvest two crops per season. The first is grown under film and early young potatoes are obtained in late spring. Then later varieties are planted in another area.
But some summer residents use part of the potatoes from the first planting as planting material for the second.
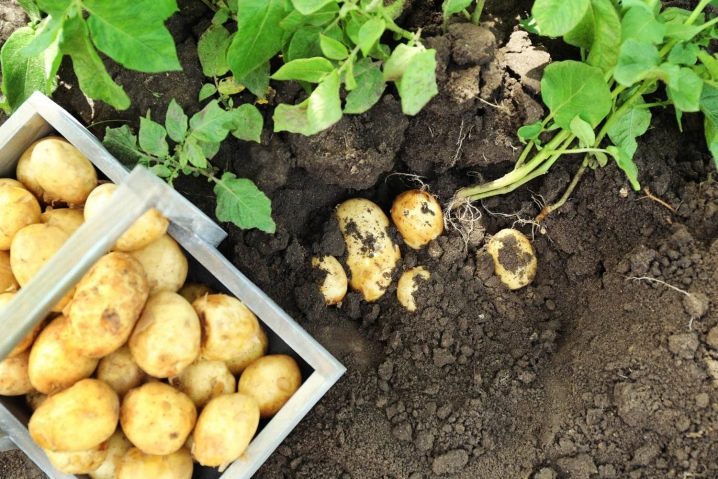
The harvest time is influenced not only by the planting time of the tubers, but also by the plant variety:
- for the first consumption, the earliest variety is planted, the fruits of which are harvested after 30-50 days;
- the harvest of medium crops is ready for harvest in 2-2.5 months;
- later vegetables will have to wait up to 4 months, but they are suitable for winter storage and allow us to have potatoes on the table until the next harvest.
Best predecessors
For correct crop rotation, it is necessary to change the vegetable beds on your site from year to year. This is due to the fact that each family draws nutrients from the soil, guided by its own preferences. During development and growth, the crop can be accompanied by certain diseases and pests. When they talk about good and bad predecessors, they mean in what conditions the planted vegetable will have to grow.
Potatoes are usually planted after those crops with which nutritional preferences and diseases do not coincide.
For potatoes, the following plants are the best predecessors:
- cruciferous: all types of cabbage, radish, radish, turnip, as well as beets, watercress, mustard;
- pumpkin: cucumbers, watermelons, melons, zucchini, squash, pumpkins;
- amaryllidaceae: onions, garlic;
- legumes: beans, beans, peas, peanuts;
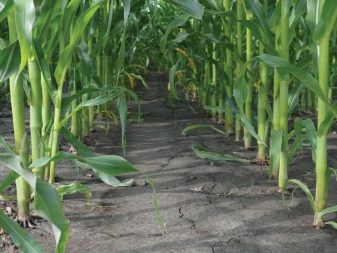
- cereals: corn, wheat, rye.
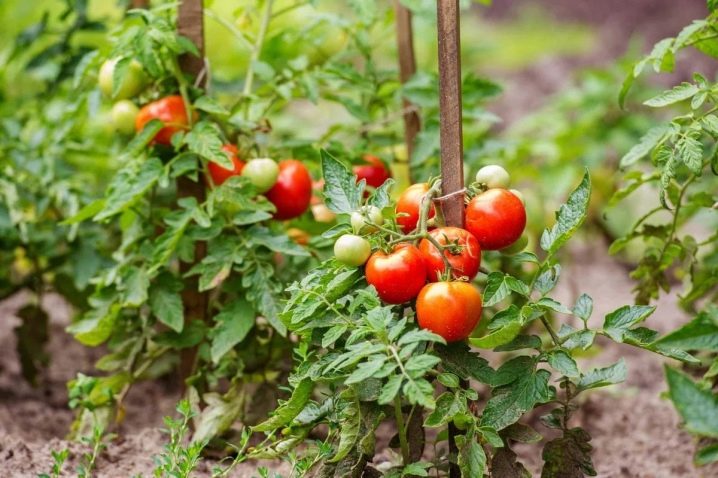
Poor predecessors include potatoes themselves and other types of nightshade: tomatoes, peppers, eggplants, physalis.They draw the same nutrients from the soil and suffer from common diseases and pests.
Preparation
Both the soil and the tubers are prepared for planting potatoes. Great importance is attached to the choice of the site. In order for root crops to be a success, gardeners adhere to certain rules in the process of growing potatoes.
- For landing, choose a sunny open place.
- It is better that the site is flat. Lowland should not be planted. Precipitation will drain there, and excess stagnant moisture will harm root crops.
- Groundwater should be about 60 cm from the soil surface, their proximity can lead to rotting of tubers.
- Potatoes like to grow in light sandy or loamy soils, loose and fertile. Heavy clay soil does not allow root crops to develop.
If the land does not meet the planting requirements, it needs to be modified:
- the moisture content of too dry sandy soil can be increased by introducing peat into it and mixing it with sod soil;
- for heavy clay soil, loosening compounds will be needed: sand, ash, slag, humus.
It is hard to plant potatoes on virgin soil.
Some gardeners advise not to dig up the soil, but simply remove the weeds when the ground is wet and make planting holes.
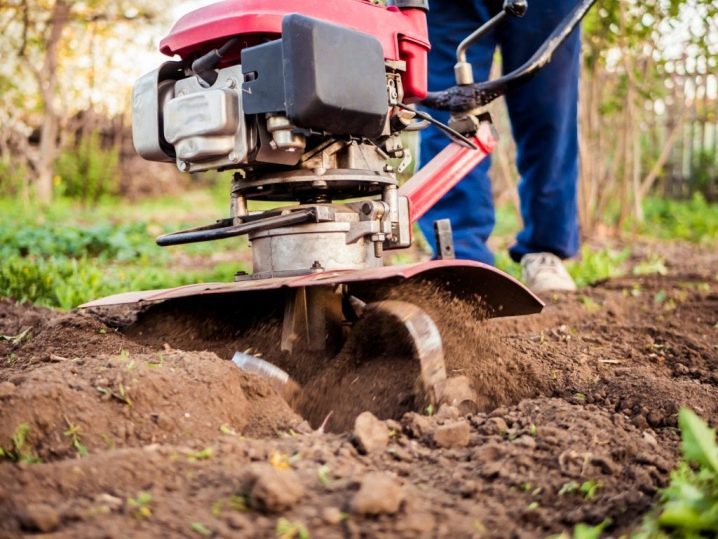
Others still recommend resorting to a walk-behind tractor or cultivator, citing the fact that it is easier to remove weeds immediately after plowing.
The soil
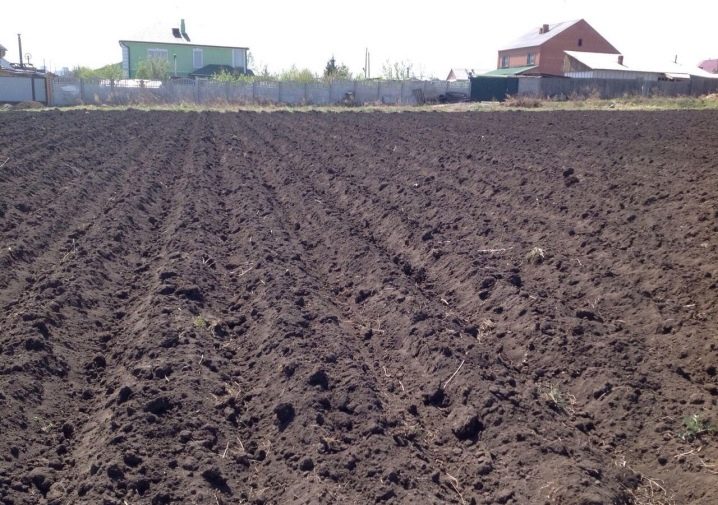
The place for planting was chosen, the groundwater and the composition of the soil were sorted out. Now you need to prepare the site for planting potatoes. You can start working with the soil in the fall or a month before planting the tubers. Those who prefer traditional methods will dig up and loosen the earth. 5-7 days before planting, they dig holes or make furrows - the so-called ridges.
It is better to feed the soil in the fall or a month before planting potatoes in order to restore its fertility, reduced by the previous harvest of vegetables.
The organics will have enough time to overheat, and the mineral components will have time to decompose. Fertilizers are applied during digging.
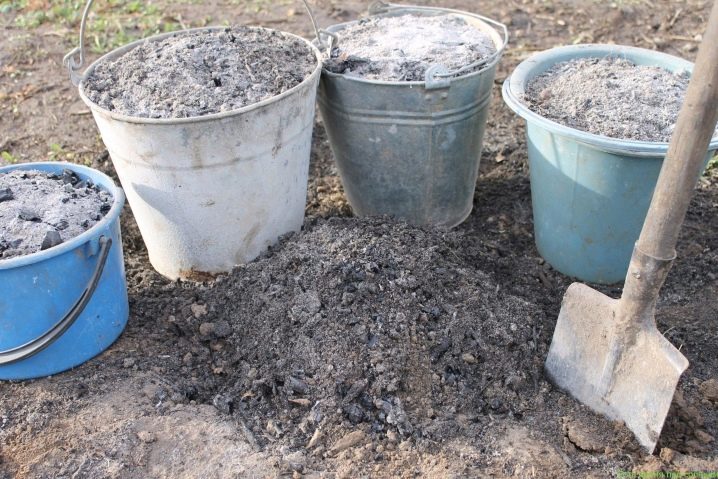
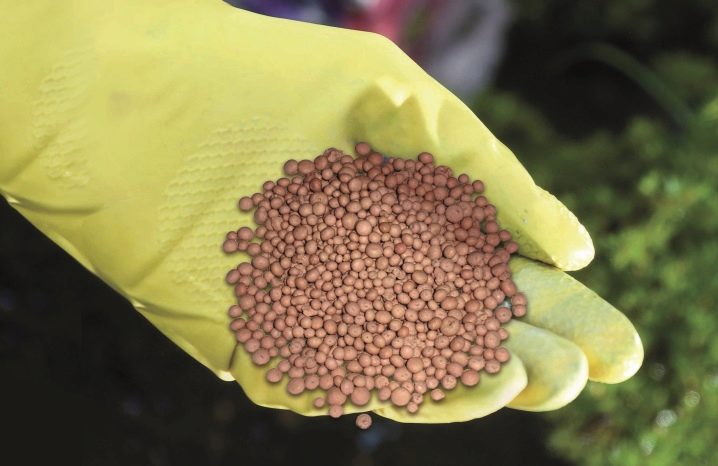
When choosing a top dressing, you need to remember that potatoes prefers combined compositions: mineral and organic. During this period, nitrogen and potash fertilizers are applied, which are necessary for the formation of tubers, as well as phosphorus fertilizers to increase their number. If this is not done, the potatoes will be small and few in number. Manure, compost, ash or humus are added as organic matter.
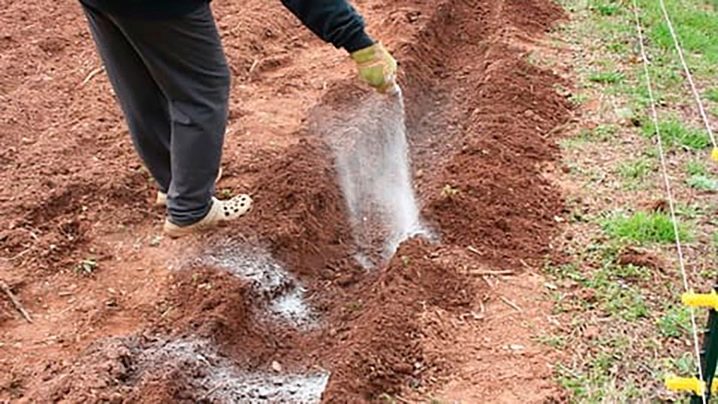
Some gardeners apply top dressing during the preparation of the holes or even just before planting. In this case, after placing the fertilizer in the hole, lightly sprinkle it with earth so as not to burn the tubers. Nitroammofoska and Azofoska are used as bait.
From organics, bird droppings diluted in water in proportions of 1:10 or even 1:15 have proven themselves well.
Too concentrated composition can damage plants. You can also use ash or humus before planting. Sometimes onion peels are added: it is believed that a large amount of minerals is concentrated in it.
In retail outlets for gardeners, you can buy ready-made mixes of potato bait ("Fasco", "Fertika").

Planting material
The preparation of planting material is a prerequisite for a good harvest. We will talk about the preparation of tubers, since in most cases they are used when planting a plantation. But there is also a seed planting with the help of material obtained from green fruits formed in the place of a flower.

They begin to work with tubers long before planting, and this happens as follows.
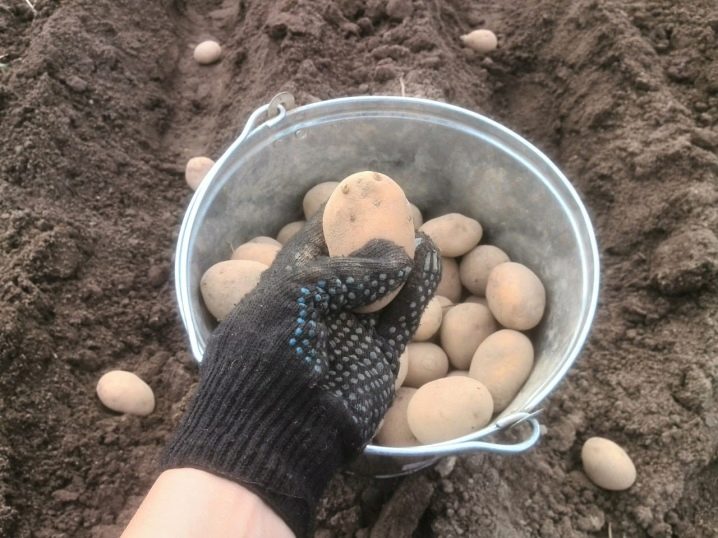
- First, high-quality planting material is selected. Frozen potatoes are discarded, they are not viable. A sluggish one can be planted, but it is unlikely that it will be possible to achieve great results from it. Green potatoes are unsuitable for food, and very good for planting.Damaged material with traces of rotting and other lesions should not be considered, otherwise pathogens will pass into the soil.
- The ideal tuber is the size of a chicken egg. Large specimens can be cut, and too small potatoes do not have enough strength and nutrients to develop a powerful bush.
- Protecting the future harvest from the bear, Colorado potato beetle, wireworm and other pests, the tubers are treated with special preparations: "Prestige", "Tabu".
- Immediately before planting, potatoes are disinfected with a special solution. For 8 liters of water add 1 tbsp. l. copper sulfate and ¼ tsp. potassium permanganate. Potatoes are left in solution for half an hour, then dried and planted in prepared grooves.
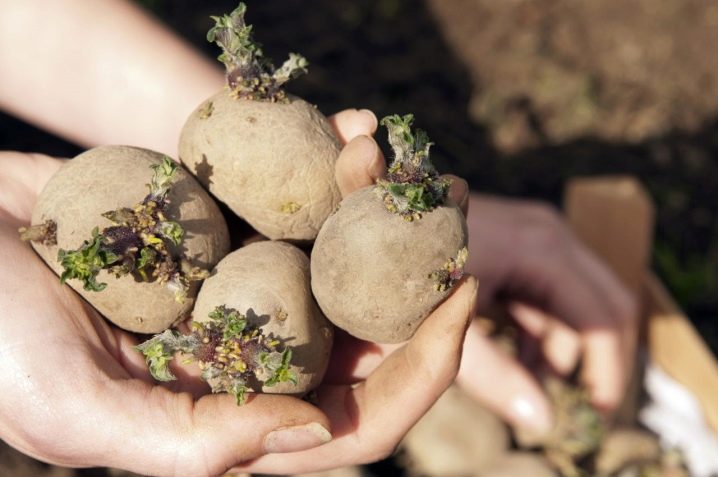
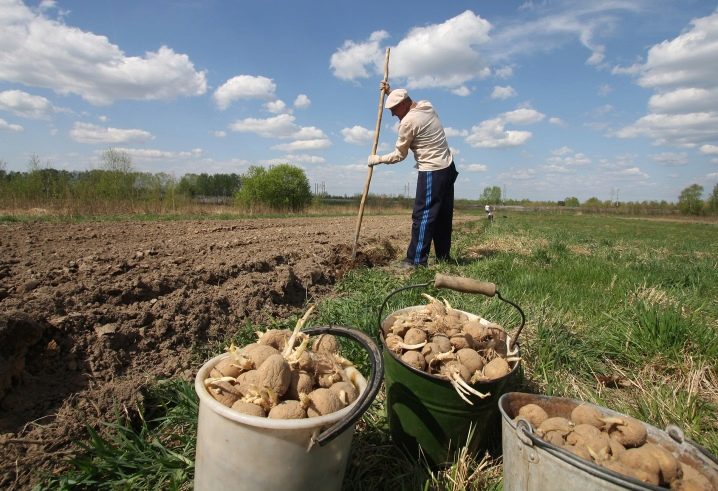
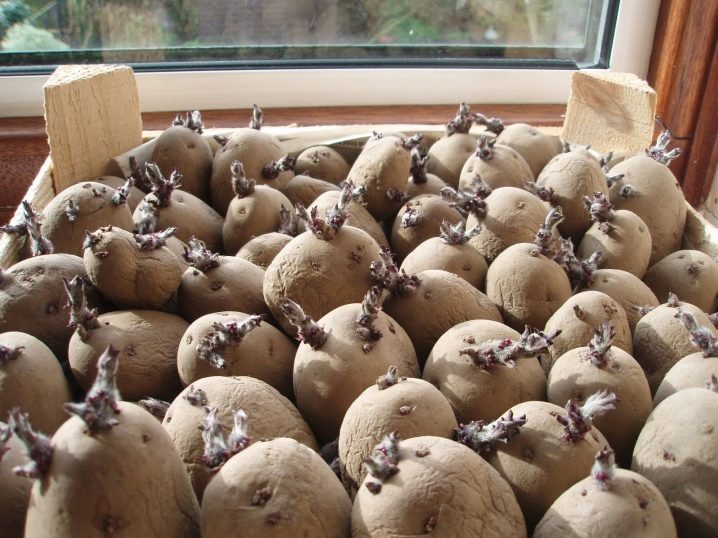
They try to plant already germinated potatoes in open ground, then the process of plant development goes faster. Germinate it in different ways.
- Due to the abundance of light. Tubers are laid out in a box in one layer in a well-lit and ventilated room with an air temperature of + 16-20 degrees. It takes 3 weeks before the shoots appear.
- Planting material is left in a shed or cellar without access to light and at a temperature of +16 degrees. Germination can be expected within a month.
- Preparation of tubers in a humid environment. Lay the potatoes in a layer in a box, cover them with sawdust, humus and peat. Moisten well with a spray bottle. A second layer of tubers is placed on top, again covered with organic filling and moistened. The same is done with the third layer. The box is placed in a dark, cool place (up to +15 degrees) and left until sprouts appear. Check daily that the environment is always moist. Germinated potatoes make themselves felt as early as 10-15 days.
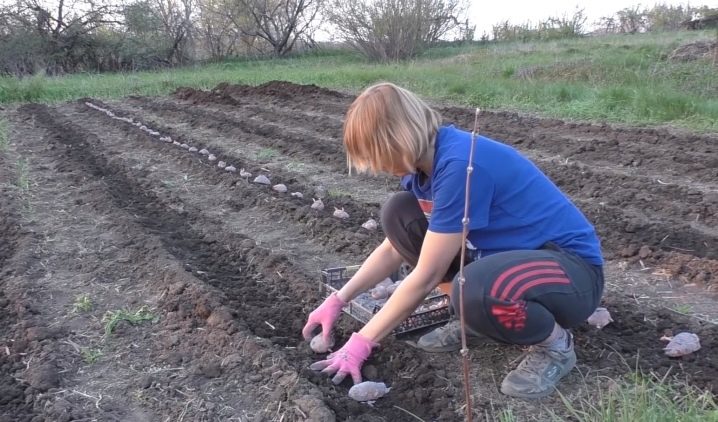
Landing methods and technologies
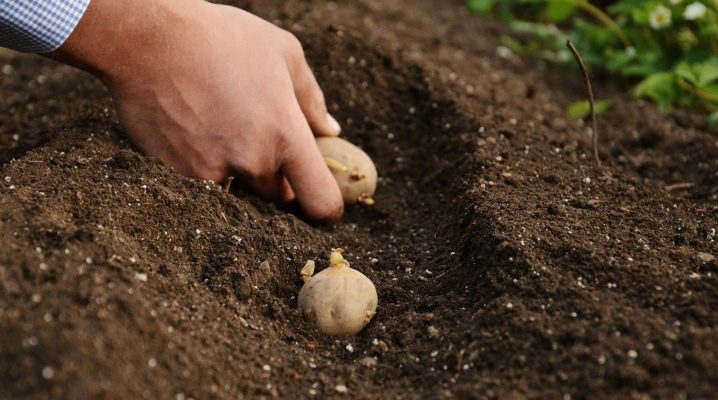
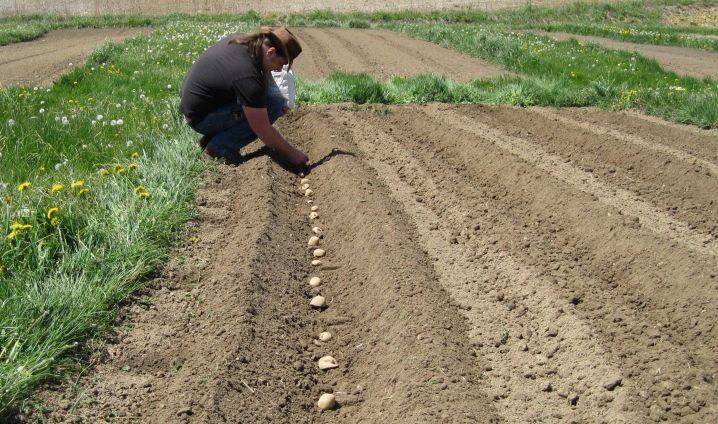
The most popular way to plant potatoes in summer cottages is under a shovel. You just need to make holes and dip the tubers into them. The plot is planted in rows or by the square-nesting method. Works well under a shovel on light, fluffy, sandy soils. For heavier clay and peat soils, furrows (ridges) are made.
The depth at which the tubers are planted also depends on the composition of the soil. It is difficult for sprouts to break through in clay soil, the holes are made no more than 8 cm deep, while on light soils, the tubers are deepened to 12 cm.
Too high a planting can expose the tubers, then they will turn green from the light, become unsuitable for food. The holes also depend on the size of the planting material: large specimens deepen more than small ones.
Whichever planting method is chosen, it is important to use the same variety of potatoes. Mixed material germinates at different times, and the height of the foliage also varies. In such conditions, tall or earlier plants interfere with the development of undersized or late varieties.
It would seem that what could be easier than planting a potato: buried it in the ground and wait for the result. But there are many ways to put a tuber in the soil, and we'll talk about them.
Traditional
Shovel and furrow are both traditional options. In the first case, the landing takes place according to the following scheme.
- Use a shovel to make holes. The distance between small tubers is maintained up to 20 cm, between medium ones - up to 25 cm, between large ones - 30-32 cm.
- If fertilizers have not been applied in advance, then they should be applied to the holes during planting.
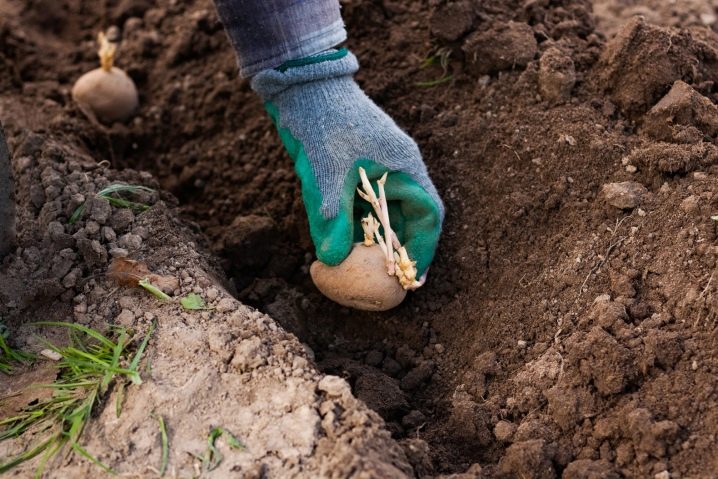
- Traditionally, tubers are placed in the grooves with the sprouts down, but there are also unconventional methods. Everyone chooses their own type of landing.
- Then the holes are covered with earth and the soil is leveled.
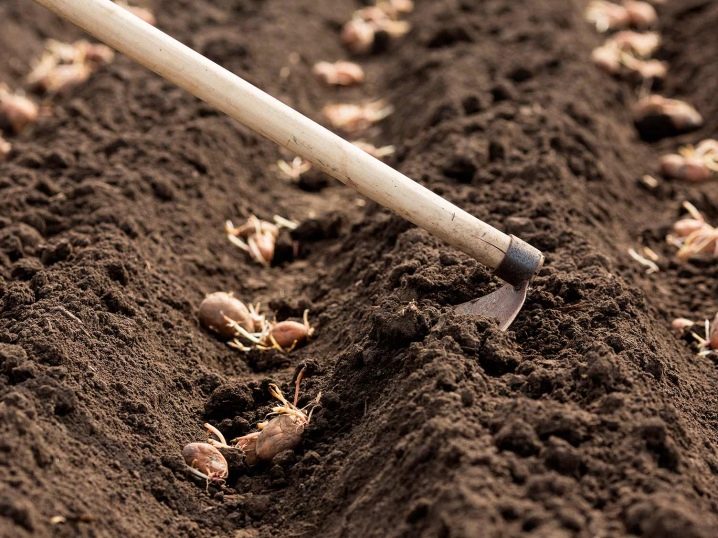
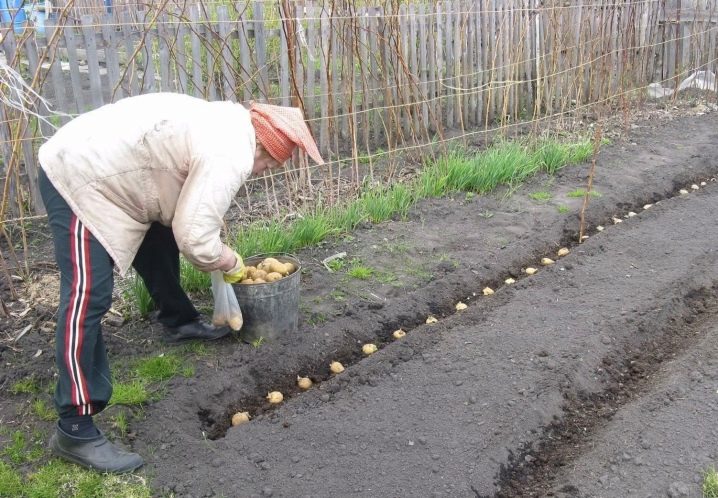
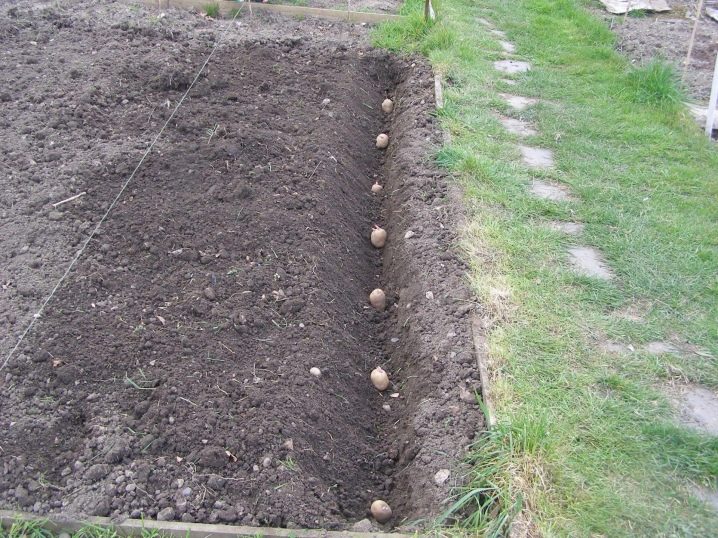
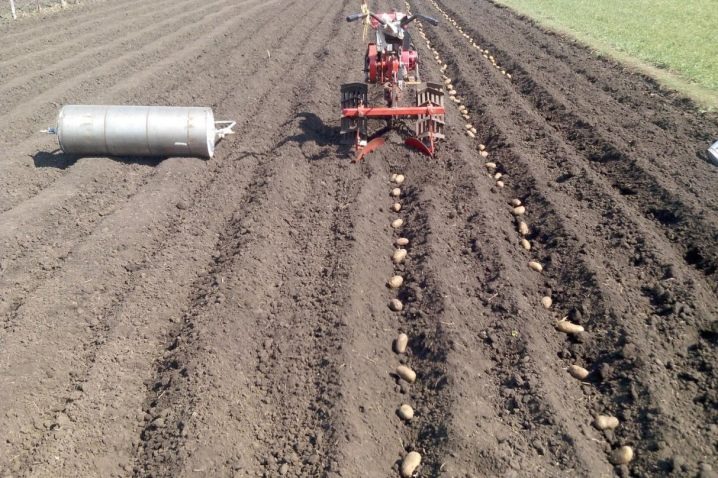
To plant potatoes in furrows, they are lowered not into holes, but into trenches (under the crest), then sprinkled with earth. In a small cottage, furrows can be made manually, but if the area is large, it is better to use a walk-behind tractor.
In order for future bushes to receive enough light, the direction of the trenches should be from north to south.
The distance between tubers within one furrow is the same as when planting under a shovel, but 70-80 cm should be left between the ridges. This should be enough to easily move between high ridges while caring for the crop. Many plantations are planted in double rows with wide aisles separating paired ridges. The double row is only 30 cm wide, that is, 15 cm goes to each strip. But the potatoes are not cramped, since they are planted in a checkerboard pattern.
New methods
People continue to improve the methods of planting potatoes in the hope of reaping large harvests in a small area. Here are some updated options.
- Method according to Meatlider. An American agronomist figured out how to save space and get a rich harvest. He made paired furrows with a width of only 45 cm, 22-23 cm were allocated for each strip. At the same time, the plant did not experience a lack of space, since the potatoes were planted in a checkerboard pattern. Wide row spacings took up about 90 cm of area along the entire length of the rows, which made it possible for elderly gardeners to take care of the plants while sitting on a stool. This method made it possible to harvest 500-700 kg of potatoes from one hundred square meters.
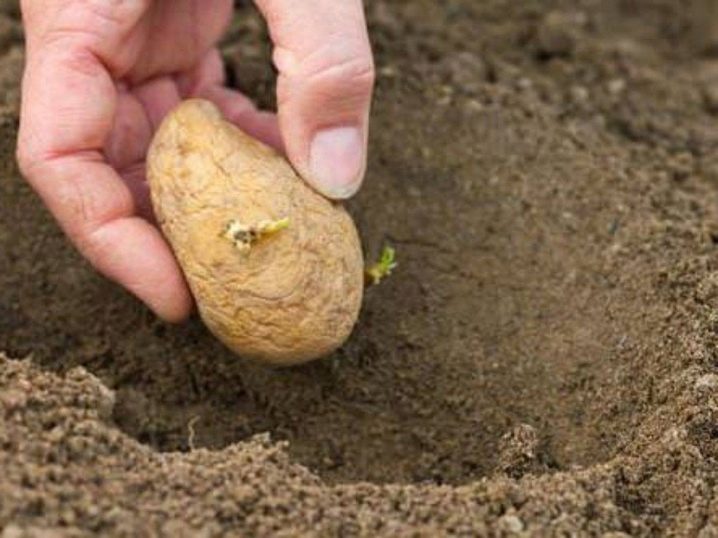
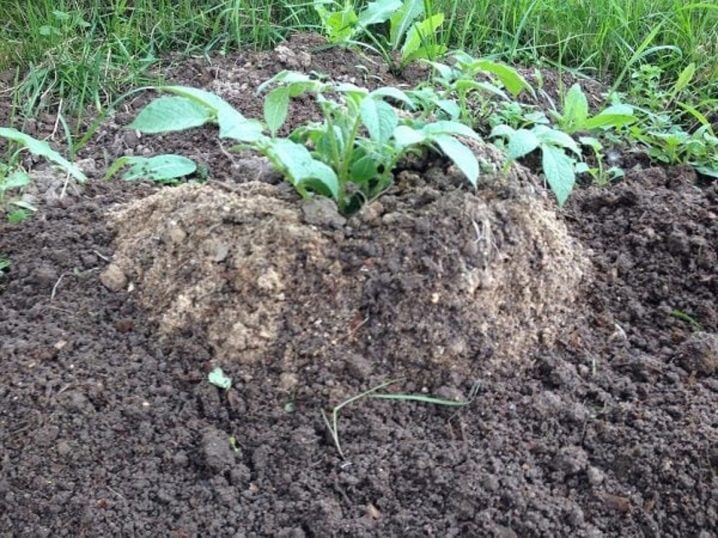
- Planting tubers according to Gulikh. This technique, on the contrary, does not save space on the site: one bush takes a square meter of area, but it turns out to be powerful and capable of producing from 5 to 15 kg of potatoes. The essence of the technique lies in superficial planting (the tuber is not buried in the ground) and in the formation of a multi-stage bush. In the center of the 1x1 m square, a humus slide is created. Having made a small depression in it, place the potato inside and only lightly sprinkle it with earth. The shrub actually begins to grow on the surface, receiving a large amount of air and light. As soon as new shoots appear, they are lightly sprinkled with earth. Then the sprouts appear again, and they are sprinkled again. This is done throughout the entire development of the plant. The result is a huge multi-tiered bush with numerous and large tubers.
Original
To simplify the hard work while planting potatoes, people have come up with many different ways to make it easier for themselves, or at least make the planting process interesting and fun. For example, the collapse method does not include hilling. Weed only once, and then spread branches, hay or sawdust in the aisle.
Another original method is called "Natural farming". The soil surface is a kind of organism with its own ecosystem.
Adherents of this method believe that it is not worth destroying it by digging, therefore they plant the tubers under a stick, which significantly speeds up the process and reduces the time for planting.
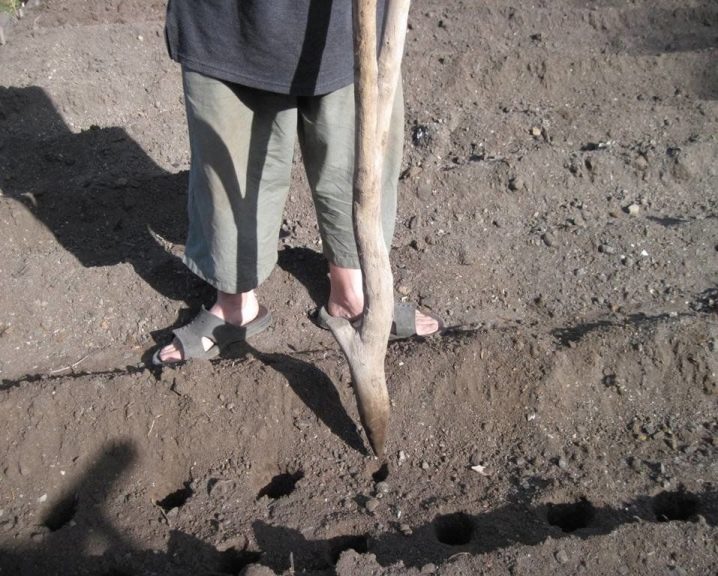
In order for the stick to perform its functions, it needs to be modified. To do this, you need to take a shovel handle or a branch according to the diameter of the planting material (5-7 cm). Sharpen one end, and on top of the edge, place a support for the leg, like on a shovel.
With such a stick, the planting process will take place without difficulty, you don't even need to bend over. The sharp end of the tool is driven at an angle into the ground to a depth of 10-12 cm. The soil is slightly raised and a tuber is thrown into the hole. Then take out the stick and lightly trample the soil. Care is usual: they spud, mulch, fight against diseases and insects.


The comment was sent successfully.