Callas: description of species, planting and care
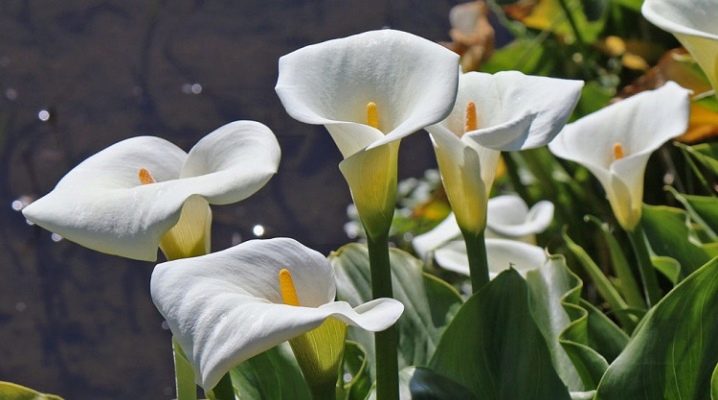
Calla lilies are one of the most recognizable and popular flowers that look good both in a flower bed and in a bouquet. This plant can often be found in gardens, and any novice gardener would certainly like to grow something similar on his site. If you follow all the necessary instructions, the task will not be so difficult.
What it is?
To begin with, it would be necessary to figure out which, in general, a plant should be called that. To begin with, this word is used to refer to at least two different genera of the aroid or arum family: zantedeschia and calla. Both species are perennial herbaceous plants and prefer swampy areas. If we are talking about the sale of flowers, where both buyers and sellers themselves may not be too sophisticated botanists, then often the same name denotes, in general, any decorative flowers of the mentioned family.
Because of its decorative properties, calla lilies, whatever the word is called, are often grown at home, but keeping such a plant at home is not always safe - the same calla is often called the flower of death, since these beautiful flowers are poisonous.
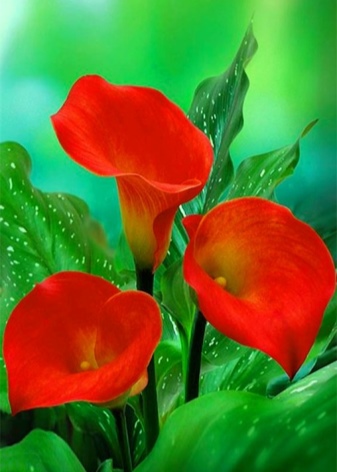
However, in this regard, zantedeschia is no better in this regard: both plants are toxic in all parts, if juice even gets on the skin or mucous membranes, severe irritation and burning are likely, and if it penetrates into the body, the consequences can be much more serious.
If we talk about aroids or aronnikovs in general, then their representatives are found in the wild all over the world. - both in the tropics and in the subarctic regions. Moreover, most varieties, up to 90%, grow in natural conditions in warm countries, and it is these species that are usually grown for decorative purposes.
Plant characteristics
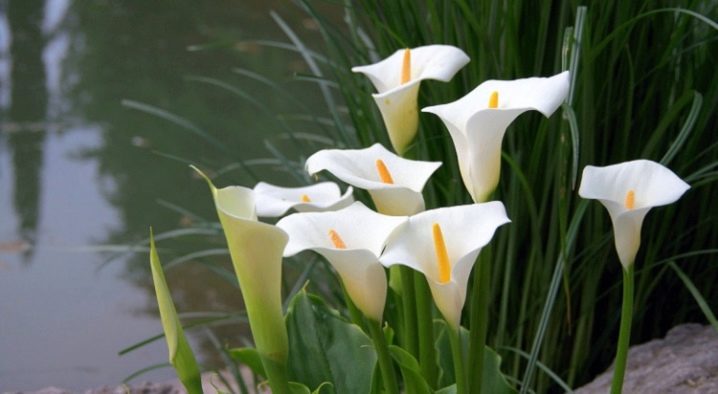
Zantedeschia got its scientific name in honor of the Italian botanist by the name of Zantedeschi - such a friendly gift was made by the German scientist Kurt Sprengel. In the wild, such flowers grow in sub-Saharan Africa, they can be found almost everywhere. This herbaceous plant looks like tall grass, reaching from 1 to 2.5 meters in height. The leaves are mainly located in the root zone, their shape is not so easy to describe. The color of such leaves is dark shades of green, in length they can reach up to 45 cm (although they are three times smaller), the normal width is usually about 20 cm.
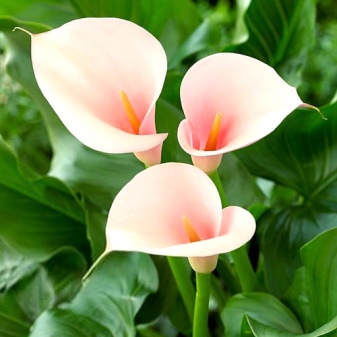
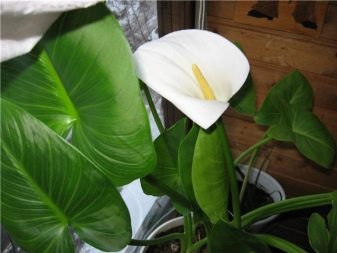
The flower, for which zantedeschia is bred, grows on a long, high-up arrow, the length of which often exceeds half a meter. The inflorescence itself has the appearance of a yellow cob, accompanied by a large tubular blanket in white, yellowish and pale pink tones.
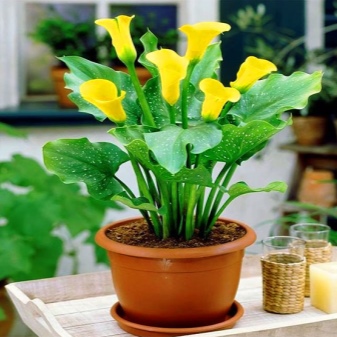
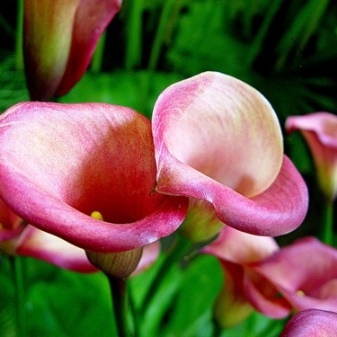
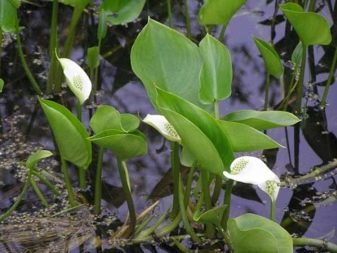
The genus calla includes only one species at all - the marsh calla, which is often also called the marsh lily, in the Urals it is known under the name of the "Mother of God". This species is distinguished by horizontal growth, its shoots spread downward, because the height usually does not exceed a rather modest 25 cm, although the rhizome is thick (up to 2 cm) and much longer - up to a meter. The leaves on the stem grow one at a time, their shape simultaneously resembles an oval and a heart with a sharpness on the outside. Leaf sizes reach from 6 to 16 cm in length and from 5 to 14 cm in width, usually 1-2 dozen of them grow on the main trunk.Flowers are usually white and very small (no more than 1 cm).
Due to the small size of flowers, marsh calla is rarely used in landscape design - it is used only for decorating water bodies, since it is an aquatic and easily growing plant.
However, purely out of curiosity, you can grow this type of calla in a pot, but nevertheless, zantedeschia is much more popular and widespread, therefore, the main attention in the article will be paid to the latter.

Types and varieties
Above, we came to the conclusion that calla is represented by only one species, and due to the specifics of its use, breeders traditionally pay attention to it in the second or even third priority. For this reason, it makes sense to consider in more detail the varieties of zantedeschia, since it is its flowers that most ordinary people associate with the name "calla".
In general, the genus Zantedeschia has 8 wild-growing species, but only 3 of them are grown as house plants. All modern varieties are bred precisely on the basis of these three types, therefore, we will briefly consider each of them.


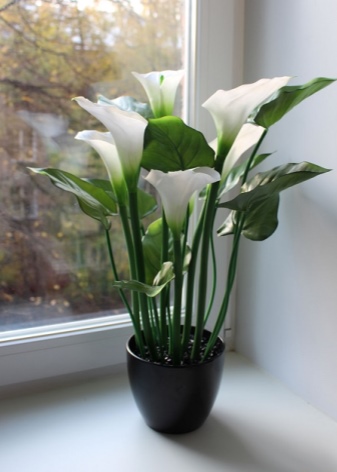
Calla Ethiopian - Probably the best known variety of zantedeschia, characterized by large white flowers that grow on arrows up to a meter in height. If the rest of the zantedeschia have a root system in the form of a bulb, then in the Ethiopian - the rhizome resembles the usual root of most plants. This plant is very fond of moisture, and although in our climate in the cool season (provided it is warm) it goes into a long state of dormancy, it does not shed leaves even then, for which it is appreciated by gardeners. The most famous varieties of such calla lilies are Pearl, Green Goddess, Nicolai and Schone Zweibruckerin.
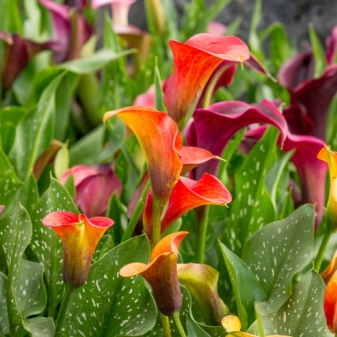
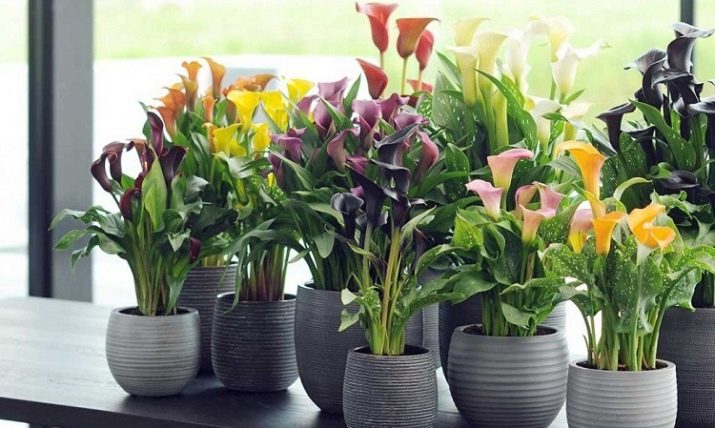
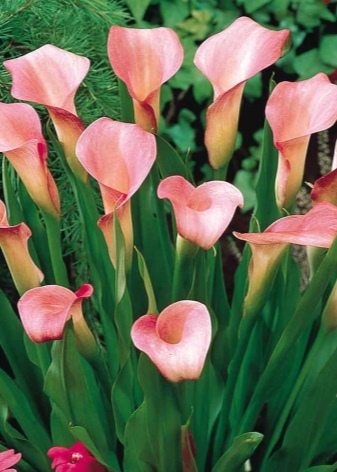
Calla Remann relatively low, its "growth" usually does not exceed 70 cm. This plant sheds leaves in the fall and goes into deep dormancy for the winter, but while it is warm, it pleases the gardener with an abundance of bright flowers, the shade of which strongly depends on the specific variety, of which there are many. For example, "Chameleon" blooms with a peach shade and can be grown even in a pot, "Evening" is striking thanks to the black-purple flowers, and "Indian Summer" is loved by everyone for its red flowers with a characteristic pomegranate tint.
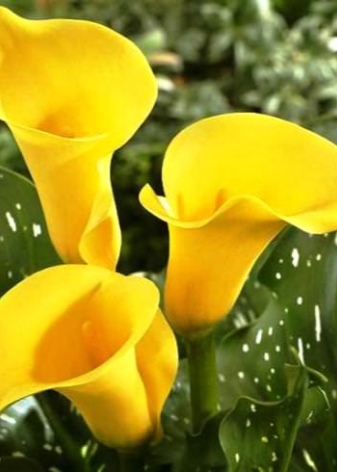
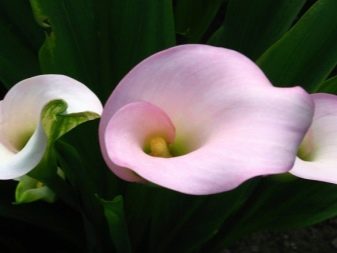
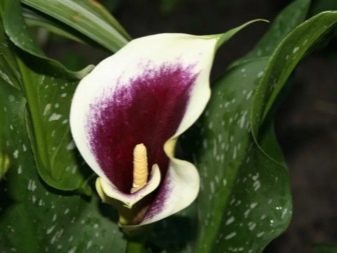
Calla Elliott on average even lower, its height usually does not exceed half a meter, in the wild, its flowers are yellow or yellowish-green, but the hard work of breeders has led to the fact that different varieties of the same species give the most unexpected shades during flowering. So, the variety "Yellow Corner" is distinguished by an emphasized yellow tone of flowers, and "Black-eyed Beauty" is much lighter, it is a kind of combination of cream, creamy and lemon shades. In terms of the variety of tones in one flower, the "Vermeer" variety stands out especially, because the outside of its flowers are crystal white, inside their shade smoothly turns into lilac and even cherry, and at the base from the inside it can already be called purple.
Some popular varieties, such as "Crystal Blush", "Picasso" or Red Alert, can no longer be attributed to a specific species - they have certain traits inherent in two or three wild ancestors.
In addition, such flowers in a flower bed or in a bouquet are often not represented by any species, not a single variety - using the variety of available colors, they make up full-fledged compositions.
Reproduction methods
There are three main ways calla lilies reproduce - by seeds, tubers, and by dividing the entire bush. Let's start by dividing the bush, as this method is pretty simple. It should be borne in mind that this option is only suitable for Ethiopian calla lilies and its varieties, while for the other two species it is unacceptable. However, if your plant meets the requirements, then everything is very simple further: in the fall, when the plant is dug out of the ground, you should separate part of the bush together with the adjacent part of the rhizome, and in this form plant it separately, in your own pot. It is necessary to plant a new plant that has grown stronger over the long winter in open ground next spring.
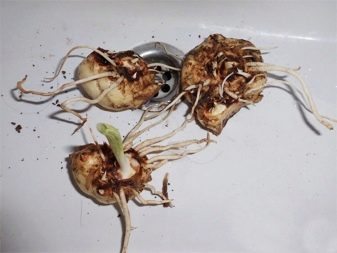

Germinating seeds is the opposite of dividing a bush in terms of difficulty, as this method is usually only used by avid gardeners who enjoy challenging tasks.Even if suddenly you do not succeed, do not be discouraged - perhaps you did everything right, it's just that the germination rate of calla seeds is a priori low. If you nevertheless decided to try your luck, first, soak the seeds in a solution of root growth stimulants - these include, for example, "Kornevin", "Epin" and "Zircon"... When the seed swells with moisture, place it on damp gauze and place in a warm place.
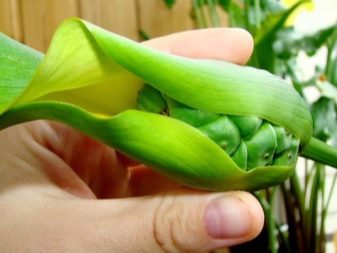
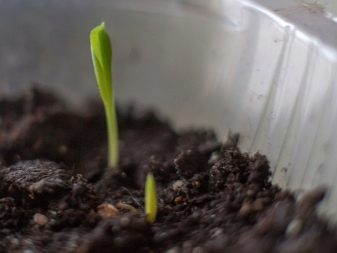
After a while, the first shoots should hatch, and as soon as they appear, the seed must be immediately transferred to the ground. Just throwing earth into a pot will not work: calla seeds at the time of planting are extremely prone to decay from excessive moisture, therefore you will have to build a wick irrigation system with your own hands... This means that the vessel must have drainage holes into which laces made of any material that conducts water well can be inserted. The container with young plants itself is placed above the water tank, while the bottom of the container should not touch the water mirror, but the ends of the wicks must be immersed in moisture. Thanks to this method, the amount of moisture in the soil inside the pot will always be normal.
If young calla lilies have lasted 2 months in this state, then it is time to plant them in individual pots.
When you are convinced that the specimen has survived the "move" normally, you can assume that you have succeeded in germinating the seeds of this flower.

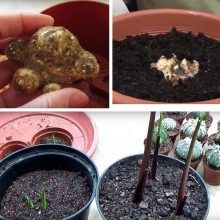
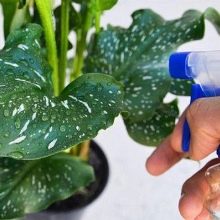
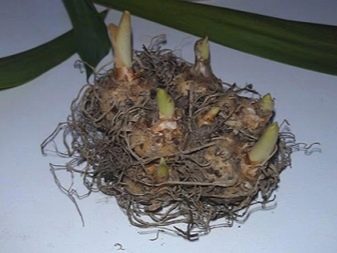
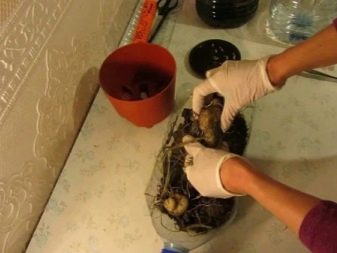
In everyday horticultural practice, reproduction by dividing the tuber is most often used, since this method is considered one hundred percent successful and is not difficult. It is also suitable for rhizomes: the latter is divided into several parts with the condition that each of them will have at least one bud, after which the cut site is dried in the open air and sprinkled with chopped coal - that's all, a piece of root can be planted in a bowl.
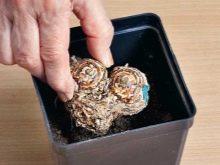
If the calla root looks like a tuber, then you can easily notice the characteristic daughter branches on it, which are separated without much effort. The optimal season for planting daughter tubers is the first half of April; it is buried literally a couple of centimeters into the ground. Initially, a new plant should develop in a pot, since it needs a stable room temperature of about +22 degrees. The first watering is not carried out immediately, as is usually the case, but only after a week, but after that the moistening should be regular so that the earth in the vessel never dries out completely.
The new calla will acquire sufficient independence to grow on the street by about June.
Growing in the garden
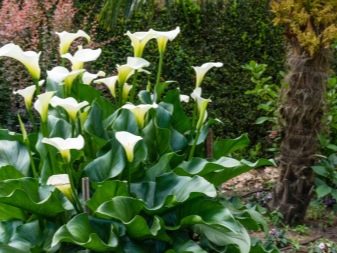
If you think that calla lilies can be a great decoration for your flower bed, it is better to plan a planting in the first half of May. Tubers are usually used as seed, which could be stored for several months (we will describe below how to organize storage correctly), because individual specimens could rot - then the excess is immediately cut off. A completely healthy tuber is kept in a solution of potassium permanganate for half an hour, due to which it is disinfected, after that, if it has a fresh wound from the removal of rot, it can be lubricated with ordinary brilliant green.
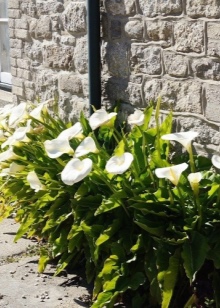
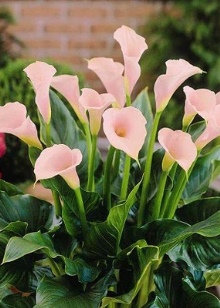
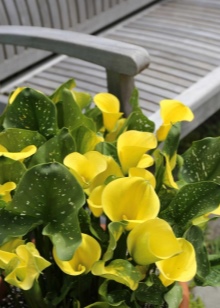
Planting is carried out on a previously dug area of soil, where complex mineral fertilizers have already been applied in a dosage of about 30-40 grams per square meter. The distance between adjacent tubers should be at least 40 cm, for each of them a hole is dug up to 10 cm deep, depending on the size of the bulb. After placing the tuber in the hole, bury it, and water the landing site well.
After that, you can forget about the plant for about 2 weeks - you don't even need to water it. Calla first forms an underground, root part, and only then the sprout will appear outside, therefore, during this time, or even for a month, you will not see any changes.Do not despair and do not try to dig up the tuber to find out the reason - this will disrupt the emerging root structure.

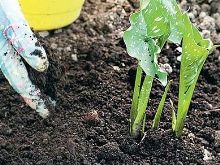

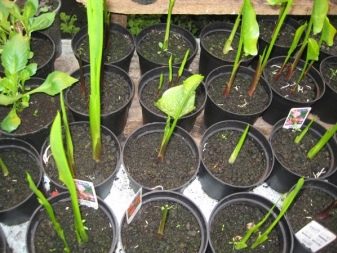
You can also transplant a ready-made plant into the ground - for this, at the end of March, collect ordinary garden soil, warm it up for 40 minutes in the oven, and then, when it cools down, pour it into pots, and dig in them to a depth of 2-3 cm bulbs. You need to water the seedling no more than twice a week, and 5-7 days before planting in the garden, start briefly opening the window closest to the pot so that the tuber gets used to it.
Caring for garden calla lilies is simple - you just need to observe the regularity of wateringusing a moderate amount of water, which increases in the heat. A prerequisite is a little loosening of the soil around the plant after each watering. It is enough to make a complex feeding only once at the time of disembarkation - then you can no longer invent anything new.
If you know that the soil does not have enough acid, you can sometimes also pour in water with a small amount of vinegar or citric acid - that's all the care.
Planting and care at home
Calla can be not only a garden, but also an indoor plant, they are often grown in pots in city apartments. The principles of care here, of course, are somewhat different.
First you need to find a place with normal conditions for the plant. In summer, 22-25 degrees Celsius are considered a suitable temperature, in winter the flower can even withstand +14, that is, it just needs to be grown in a heated room, where it is neither very hot nor very cold. At the same time, drafts pose a danger to calla lilies - they should not be. It is important to provide the plant with constant bright lighting, but the burning afternoon rays must be diffused.
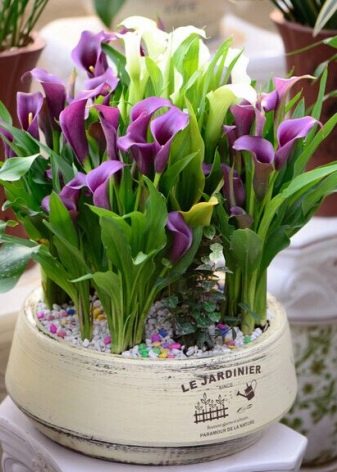
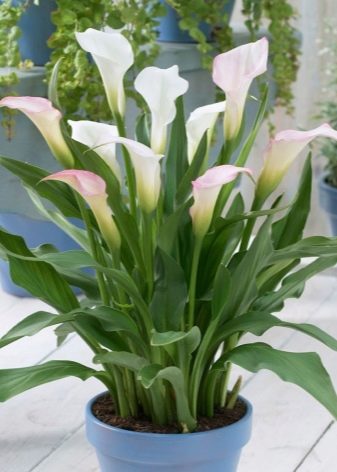
It is necessary to plant the tuber in the soil, whose acidity is approximately equal to pH 6-6; to increase the nutritional value of the soil, you can add either sawdust with peat or sphagnum to it. For home germination, tubers with a diameter of about 5 cm are usually used, while the pot should have a cross section of 25 cm or more. The seed is buried with the wider side downwards, the average depth of the fossa should be 5 cm. Disinfection from the fungus occurs already upon planting, for this the soil in the pot is watered with a fungicidal solution.
In general, caring for a houseplant is very similar to that for garden varieties, which we have already described above. When watering, you should show some restraint, otherwise the seed may simply rot, and not having time to sprout.
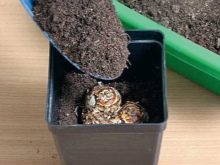
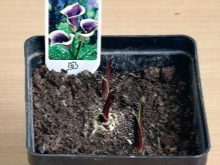
If you want the plant to bloom as quickly and intensely as possible, provide it with a clear change of day and night. To do this, in the dark, reduce the temperature to about 16 degrees, while during the day, provide bright, but diffused sunlight for at least 10 hours. If it did not work out with a heavenly body, you can and should use fluorescent lamps.
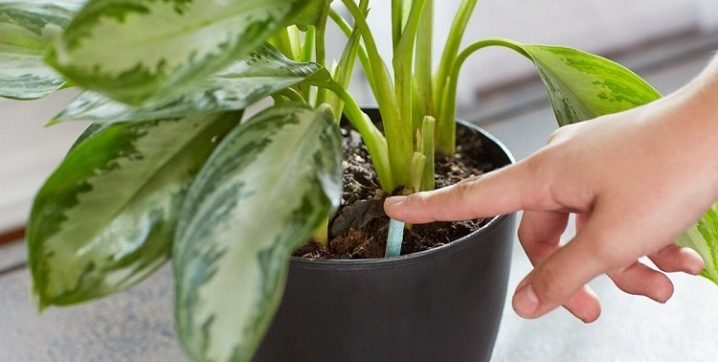
The indoor version needs much more fertilizer than the garden one. It is best suited for liquid balanced dressings, which are added to the water for irrigation.
The frequency of fertilization is usually not specific to the timing - additives are used at every fifth watering of calla lilies.
Storage rules
Although calla lilies are perennial plants, you need to understand that in their tropical homeland, our severe frosts are completely unknown, therefore, never leave even the bulbs to winter in the ground - they will die.
A typical scheme for saving garden calla lilies for the next year looks like a sequence of certain steps. In the fall, the leaves die off, and when this happened, remove both them and the stem. After that, the tubers must be carefully dug out, trying not to damage (remember at least about the poisonous juice), rinsed under running water and dipped in a solution of potassium permanganate for half an hour.
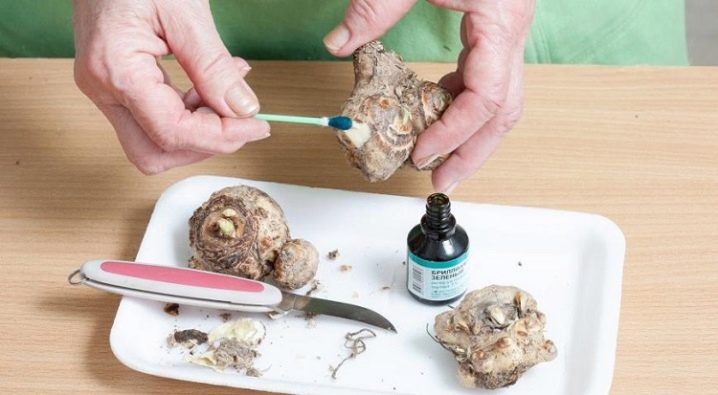
After that, the bulbs are washed again, after which you need to dry them in a dark place.In winter, it is best to store them in paper bags at the bottom of the refrigerator, where the temperature is 5-7 degrees. In the spring, they are planted again in the described way.
Ethiopian calla lilies do not have tubers, but they have rhizomes. The way of storing them is completely identical to that concerning the wintering of tubers, but in general, such material tolerates winter better and could be preserved even in a cool room.


During winter storage, certain conditions may be violated, due to which the seed will deteriorate, therefore regularly check the tubers and rhizomes for damage. If the temperature is too high, the material begins to dry out excessively, characteristic wrinkles form on its surface, and high humidity contributes to decay. If you notice the problem in time and eliminate its cause, the bulbs and roots can still be saved.
If the flower grew in a pot in the summer, you don't have to invent anything special, just take the vessel out to the cool part of the house - for example, to the loggia. In winter, calla lilies go into hibernation, and there is no need to interfere with it - just leave the plant alone. With regular watering and other types of care that stimulate active growth, you are able to deplete the plant, and then do not expect flowering next year.
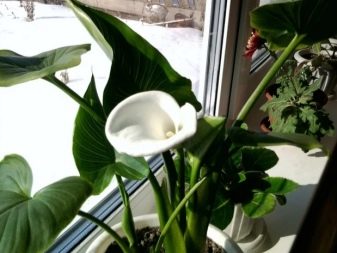
Diseases and pests
Despite the toxicity of its juice, calla remains an attractive food for many typical pests, among which it is worth highlighting the whitefly, aphids and spider mites. These enemies are well known to any gardener, as they are a big problem for almost any cultivated plant. They fight against them with specially created means - insecticides and acaricides. A consultant at a garden supply store will probably advise you on a good remedy and tell you how to use it correctly, but first try to identify the type of enemy, or at least make a list of symptoms that make you think the calla is not okay.
Sometimes the plant as a whole is healthy, and improper care is the cause of the alarming symptoms. For example, there are many reasons why calla lilies do not want to bloom - there is insufficient watering, and a too tight pot, and an excessive amount of nitrogen in the soil (it promotes the growth of leaves, not flowering), and even an insufficient deepening of the root system.
Gardeners often complain about the yellowing of the foliage. If this happens before winter, then the calla is simply preparing to "fall asleep", but at any other time of the year it indicates dry air, excessively scorching sun rays or weak watering.
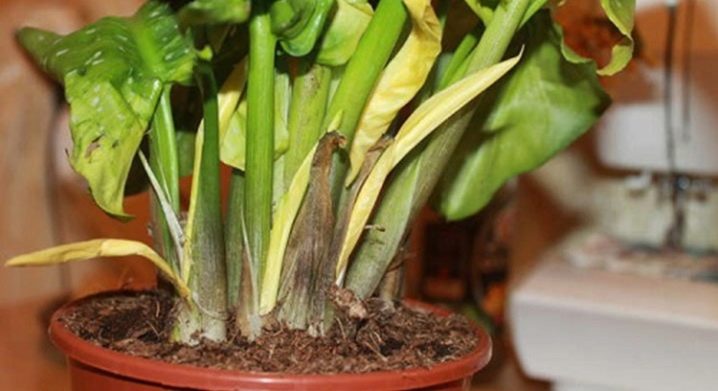
If we talk about diseases themselves, then they are usually expressed by different types of rot - gray, root or bacterial, as well as anthracnose. A typical sign of trouble is the general wilting of the plant, the appearance of brown spots, and a strange bloom. Bacterial rot is not treated, in general, calla lilies can only be destroyed, in other cases, you can try to treat the plant with fungicidal preparations, remove damaged parts, replace the soil and even take a break from the watering schedule.
For information on how to properly grow calla lilies, see the next video.
















The comment was sent successfully.