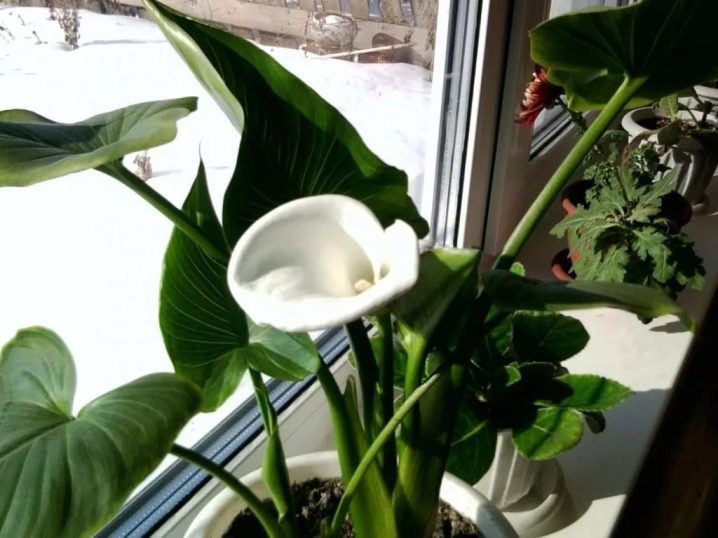
Growing calla lilies from seeds at home
Calla is a delicate and beautiful flower that leaves few people indifferent. It is native to Africa, in the wild it can be found in the same place, and also in South America. This plant requires care and careful maintenance, which, however, does not stop connoisseurs. How to grow calla lilies at home will be discussed in this article.
Description and varieties
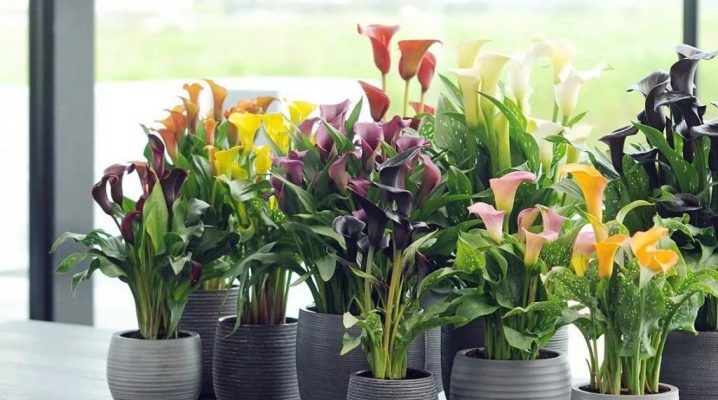
Calla is often confused with calla, but these are completely different plants. If there is a desire to grow this flower at home, the choice of varieties is not too wide. For this purpose, flower growers use Ethiopian calla lilies, Elliot and Remaney. They differ in appearance.
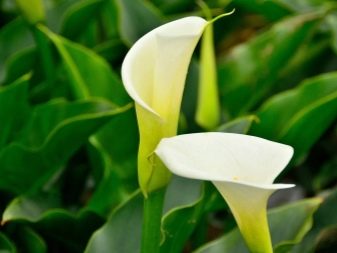
Calla Ethiopian is represented by varieties such as The Green Goddess and Childsiana. They boast long, deep emerald green leaves that swing upward. The flowers themselves are very large and white.
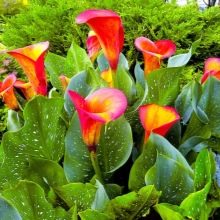
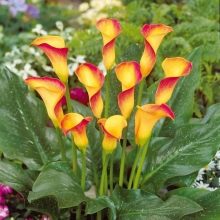
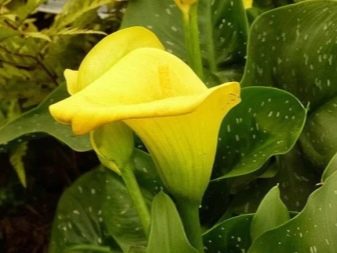
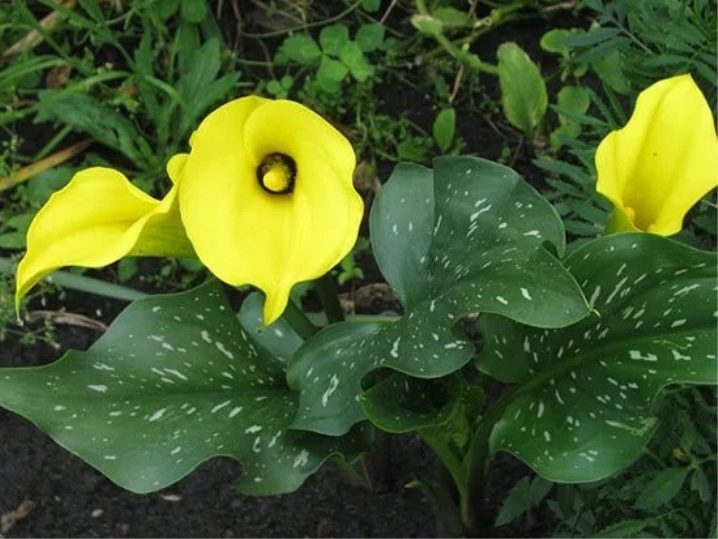
Elliot also does not leave connoisseurs indifferent. Its highlight is very large, up to 15 centimeters, flowers of an orange-yellow hue. The leaves are bright, with a small speck.
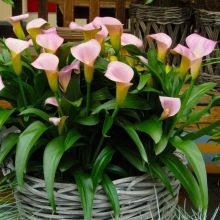
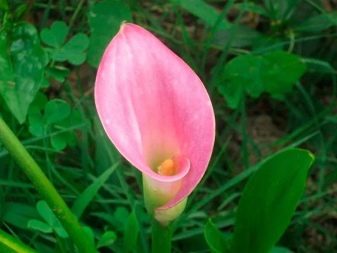
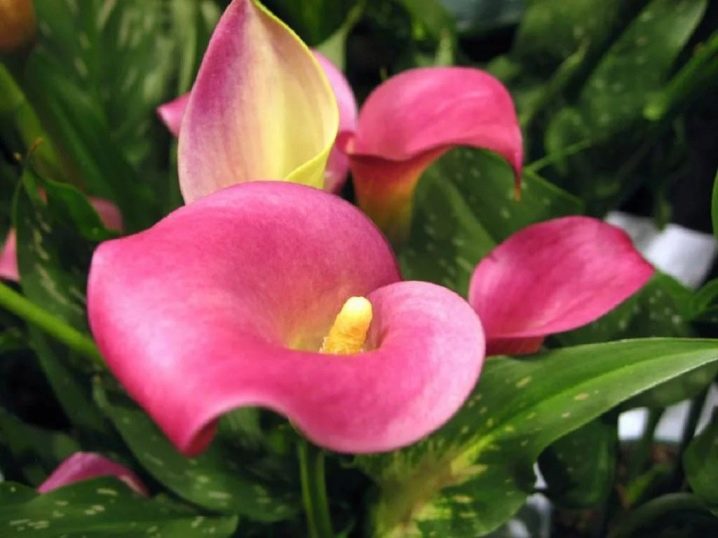
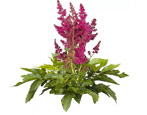
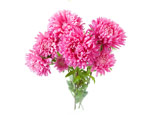
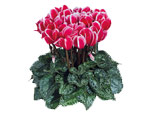
Most often, flower growers purchase calla lilies for growing at home. "Remani"... It has much smaller flowers of various shades. Among them, pink are very common. There are also red, purple and even black flowers.
Seed preparation
With prolonged storage, seeds can lose their germination. The best way out is to buy fresh seed from a specialized store. For more active development, seeds can be placed in a growth stimulator.
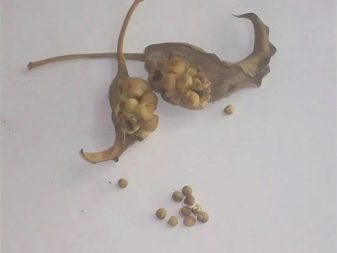
If you wish, you can start harvesting seeds at home. To do this, after the flowering period, leave the testes on the calla so that they mature, then they must be carefully cut and dried, and then the seeds must be removed.
It should be borne in mind that the peduncle is left only if the seeds of the plant are needed. Otherwise, it will lead to a weakening of the root system. It is necessary to sow the planting material immediately after drying.

Preparing the container
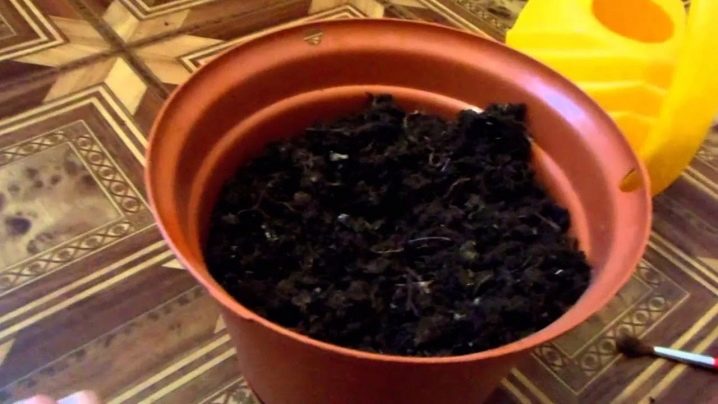
After the seeds are ready, you need to choose a container to work with them. A clay pot with drainage holes is ideal. Its diameter should be about 15 centimeters, the depth is the same or slightly less. Such a capacity will allow the root system to develop in a comfortable environment.
It is recommended to choose fertile soil for planting. Sour or slightly acidic soil is perfect, the main thing is to properly provide drainage. For self-preparation of the soil, you will need leafy soil, peat, sand and sod. All components must be mixed in equal proportions. This soil is suitable for any type of calla lily.
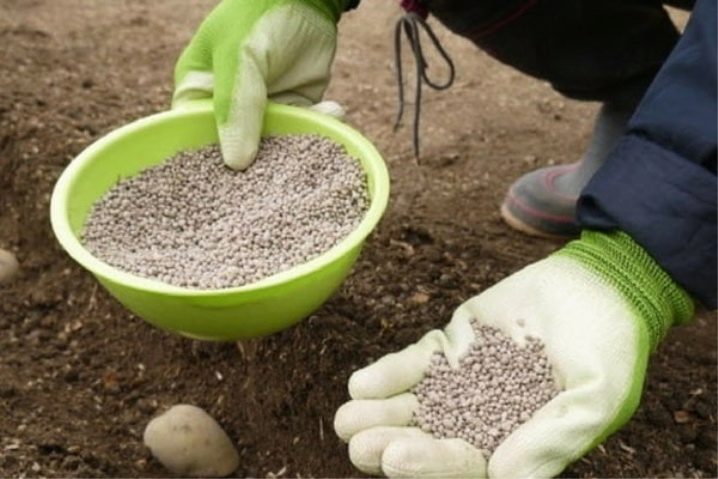
In order to saturate the soil with useful substances, you can add a little superphosphate. Optimal ratio: 1 tablespoon to 3 liters. You can also purchase special soil at retail outlets for gardeners.
Sowing
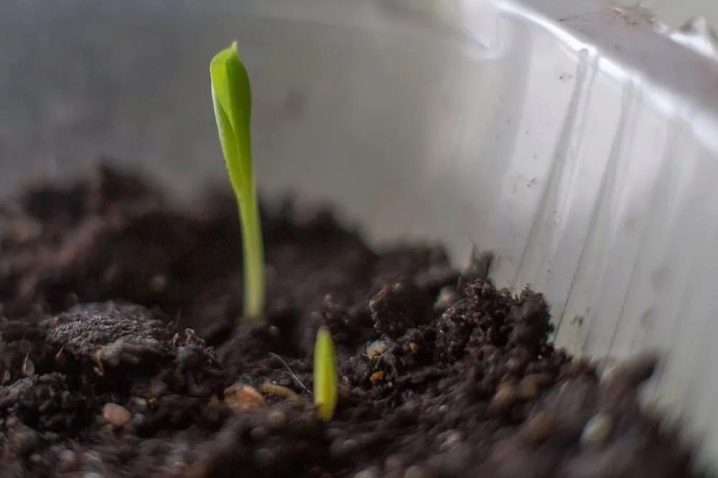
Before sowing calla lilies, you need to germinate the seeds. To do this, they are placed in warm water for 6 hours. Adding a growth stimulant will not be superfluous. After that, the planting material is placed in a damp towel or gauze, covered with it and sent to heat for about a week. When the towel begins to dry, it will need to be moistened again.
Seeds are planted as follows.Small pits are made in the prepared soil, about 3 centimeters deep. The soil is watered, seeds are placed in it and carefully sprinkled on top. If clay pots are used, the number of seeds in each should be from 3 to 5, this will ensure the emergence of seedlings.
You can also put the seeds on top, without deepening them into the ground, slightly press them into the soil. Then moisten, cover with polyethylene and remove to a room where the temperature does not exceed 20 degrees.
Planting care
Before the first shoots appear, it is necessary to moisten the soil in a timely manner and provide access to oxygen. Seedlings appear in about a month, the main thing is to prevent the seeds from mouldering.
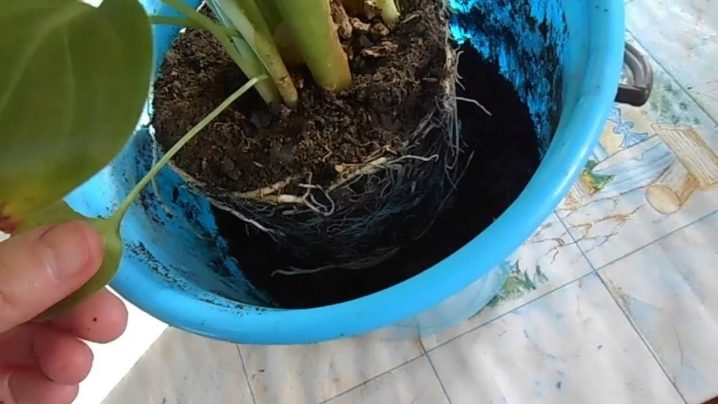
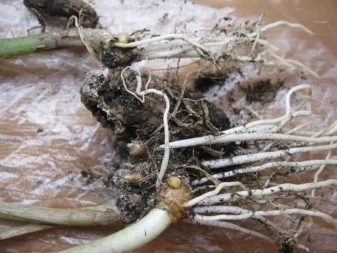
If the seedlings look healthy and there are enough of them, a pick should be made. For this, the sprout is removed from the container, its roots are washed and it is placed in fresh soil. The rhizome will need to be lightly sprinkled with soil; it should not be placed deeply.
Another important point is the selection of a container for transplantation. If it is too small, calla will actively develop greenery and flowers will not appear on it.
Conditions for development
For the active and proper development of calla lilies, it is necessary to take into account such factors as:
- lighting;
- humidity;
- temperature;
- feeding.

Let's dwell on them in more detail.
Despite the fact that the plant is quite light-loving, direct sunlight will not benefit it. The minimum daylight hours, especially during the flowering period, should be 10 hours. That's why additional lighting will be required at certain time intervals. A lack of light can lead to a lack of colors and deformation of the sheet plate.
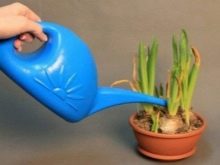
Calla lilies feel comfortable in high humidity conditions. In warmer months, the tray can be filled with water a few centimeters. Leaves will benefit from wiping with a damp cloth.
It is recommended to water the plant once a week, but before flowering, the procedure will need to be carried out more often, perhaps even daily. Dry soil brings the flower to a dormant state.
The room temperature should be kept between 18 and 23 degrees. Violation of this regime threatens the development of diseases and provokes the emergence of pests, since the soil will be sufficiently moist. Drafts should be avoided.
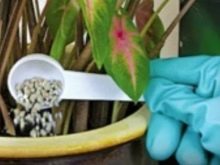
Callas need annual feeding. However, in order for the plant to delight with flowers constantly, it can be fertilized with special formulations 1-2 times a month. For the formation of greenery, nitrogen-containing substances will be required, and during the flowering period, potassium-phosphorus feeding is suitable. This issue is especially relevant when calla lilies do not have enough light.
The annual replanting will contribute to the renewal of the land. In addition, there will be more space for developing bulbs. You can replace the procedure by changing only the top layer of the soil, however, there is such a danger as damage to the roots, so the actions should be as careful as possible.
Reproduction
There are 2 options for reproduction of this plant.
- You can use seeds as well as dividing the tubers. The first option is quite complicated, we talked about it earlier. In this case, the planting material is soaked for several hours in sodium humate, after which it is placed in a damp towel and removed for a week in a warm environment with a constant microclimate. Once the seeds have germinated, they can be planted in the soil.
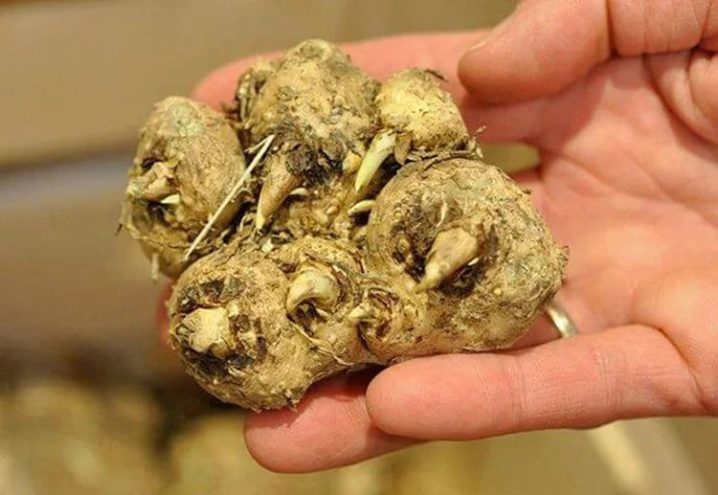
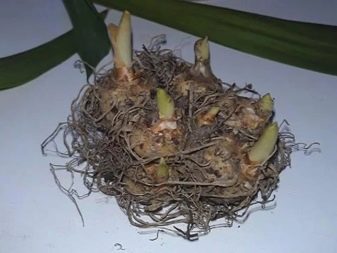
- Reproduction by dividing tubers is simpler. The rhizome bulb grows annually. If, during transplanting, it is divided into several pieces and planted in different containers, the plant will feel great. However, it must be borne in mind that for germination on the selected bulb, there must be a kidney at least in a single copy.
For information on how to properly grow calla lilies, see the next video.


The comment was sent successfully.