DIY hammam construction
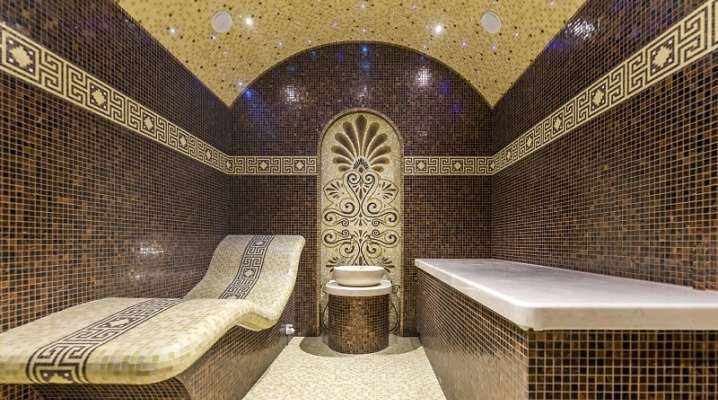
Hammam is a great solution for those who do not like too much heat. And the construction of such a Turkish bath with their own hands in an apartment or in the country is within the power of every person.
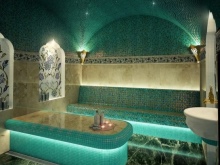
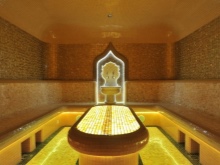
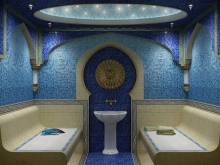
Requirements
Before drawing up any project for a hammam and any sauna, you should familiarize yourself with the requirements that apply to this type of building, wherever it is made - in a private house or in a bathroom in an apartment. For example, it depends on the room how high the ceilings will be here, whether the massage table will succeed, and how many benches can be placed.
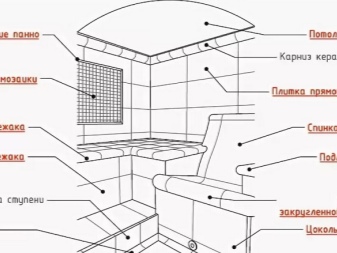
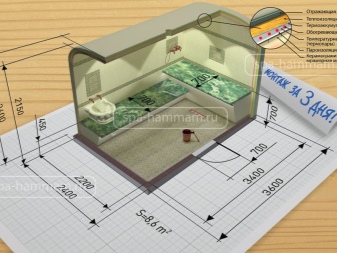
It should be decided how many people can be there at the same time. A building of this type should have a dome-type overlap to collect condensation drops so that they flow down the walls. For this reason, the upper point of the ceiling should be at a height of about 270 centimeters.
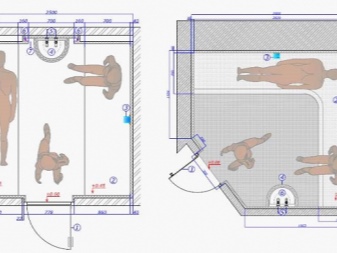

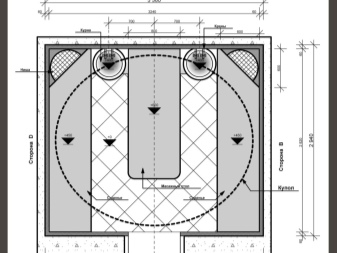
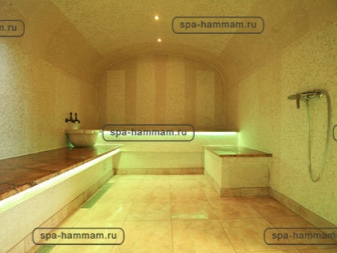
Another important requirement is the presence of at least one full-fledged bench on which you can lie. Its dimensions should be approximately 60 by 200 centimeters. It will be nice if you can also place a chebek there, a massage table with a free zone for a masseur. But this is not a requirement.
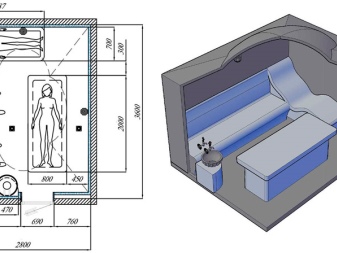
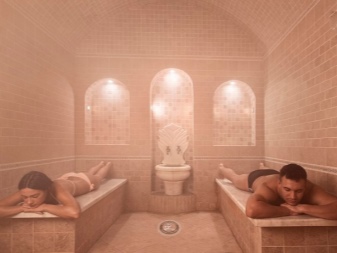
If we talk about the requirements for materials, then you will need panel elements, which are usually made of polystyrene... Such materials perfectly withstand high temperatures, exposure to fire, do not emit anything into the atmosphere and have a long service life. Yes, and finishing materials are perfectly adhered to them. In terms of finishes, you can use marble, porcelain stoneware or onyx.
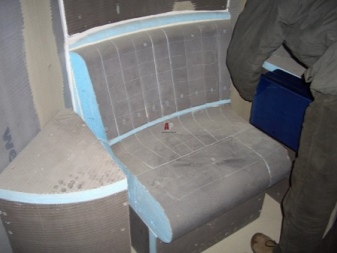
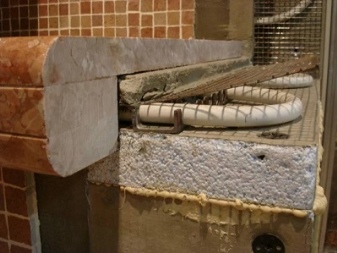
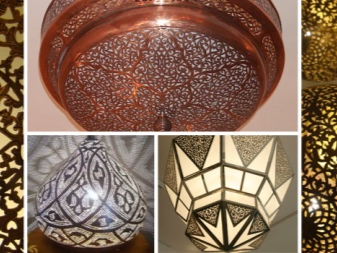
Speaking of luminaires, it should be noted that they can be placed either on the wall or on the ceiling. It is good if they are halogen or LED.
Now let's talk about some points in more detail.
Choosing a place
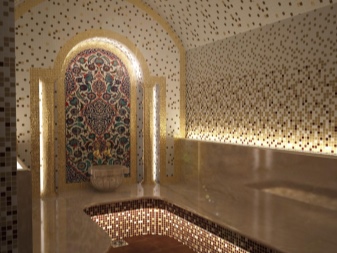
It is very important to choose the right place to place such a room. Regardless of whether a hammam is being built from scratch or an already existing room is fitted to it, certain standards should be observed:
- the floor, walls and ceiling are prepared for subsequent cladding with ceramic tiles or natural stone;
- the room must have a sewerage and ventilation system;
- ceilings cannot be lower than 250 centimeters;
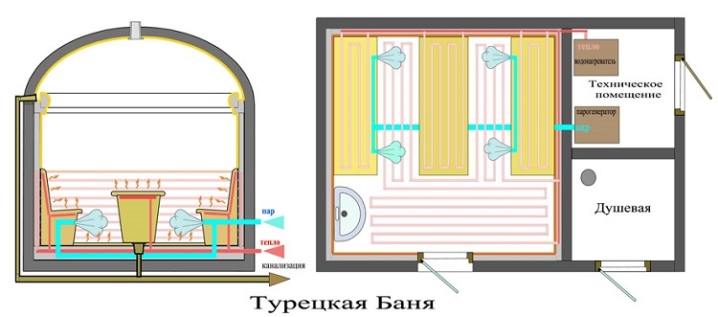
- the hammam should consist of 4 rooms - a recreation area, a technical room, a shower and a steam room.
If you want to make hammams at home, then it would be right to move the technical room away. And for the rest room, you can take any room in the apartment. If the hammam is being built from scratch, then it would be better to use a cinder block or brick.
Necessary materials
First of all, you should decide on the material that will be used for cladding. It must meet the following requirements:
- resistance to high temperatures;
- excellent strength;
- resistance to moisture.
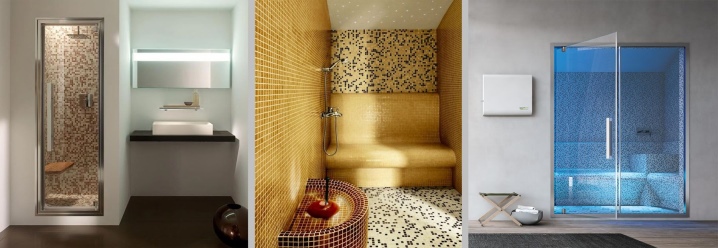
It is best to use marble to decorate the hammam. True, its cost is quite high. You can use soapstone or tiles and small mosaics called smalta.
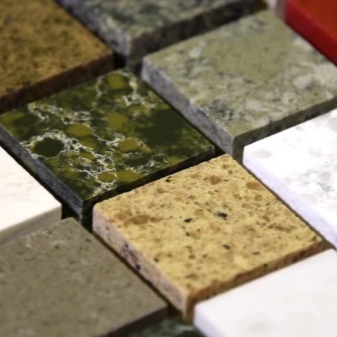
If we talk about talcum powder, then it will cost the same as marble, but its heat capacity will be higher.
Among the advantages of smalt are:
- resistance to low temperatures;
- heat resistance;
- pleasant appearance;
- no water absorption.

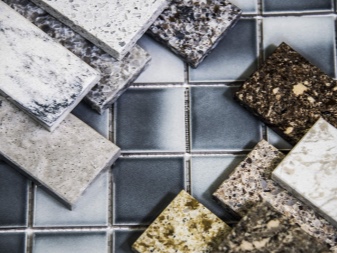
But this all concerned finishing materials. If we talk about building materials and tools, then we should name:
- sand-cement mortar;
- adhesive composition based on polyurethane;
- concrete;
- Styrofoam;
- tile adhesive;
- bars of considerable thickness;
- plaster;
- putty;
- fasteners;
- heaters;
- waterproofing material;
- bricks or foam blocks;
- Entrance door.
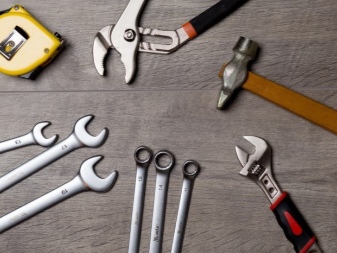
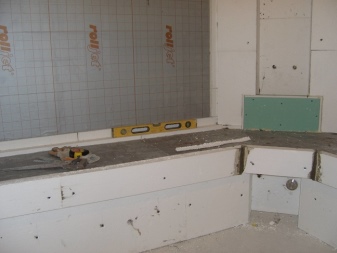
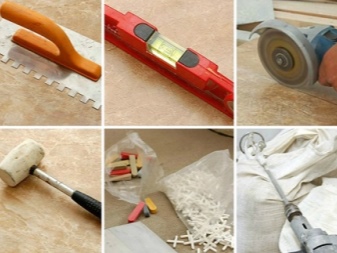
The following tools should be on hand:
- puncher;
- putty knife;
- rubber coated hammer;
- plumb line;
- building level.
Project
One of the most important elements in creating a hammam is the drafting. Even if you need to build a small hammam yourself, you should understand that such a building is a rather complex structure from an engineering point of view..
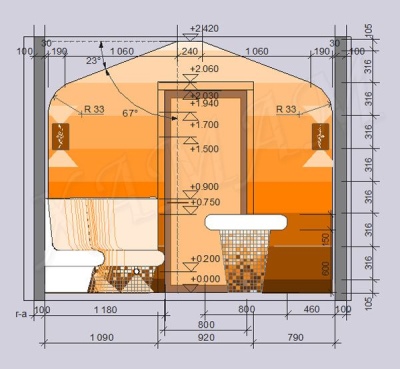
At least for this reason, the drawings should be drawn up in as much detail as possible. That is, they should reflect not only the layout of the rooms, but even such moments as the operation of the heating system and the steam supply mechanism, the layout of plumbing communications and electrical wiring.
Most often, together with the hammam, they make a sauna or bath.

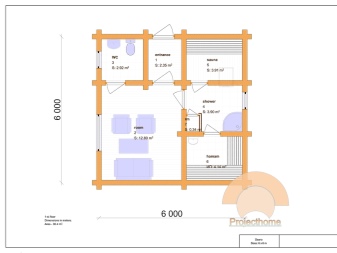
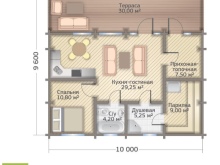
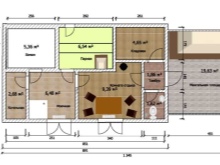
Of course, the drawings of the mini-hammam can be developed by yourself, but the problem is that the technology for creating a building of such complexity can practically not be followed by a person who does not understand this and does not have a specialized education.
For this reason, it would be better to order an individual hammam project from a construction company. The specialists of such an institution will be able to fully take into account all the specific moments of each particular case and find the best solution to a particular problem that may arise at various stages of construction. Yes, the cost of such a project will not be cheap, but it will help to avoid a lot of problems, wasted time and money.
Determining the optimal size
The required area of the hammam is calculated depending on the number of people who will simultaneously take bath procedures.
- The minimum size is usually at least 2 square meters. m. and is designed for visiting 1-2 people.
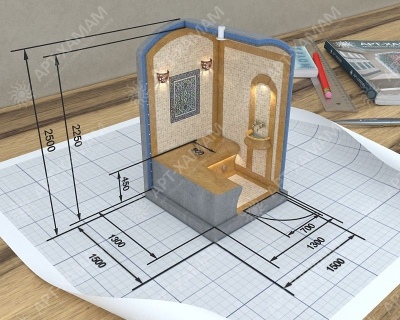
- For two people, 3 sq. m.
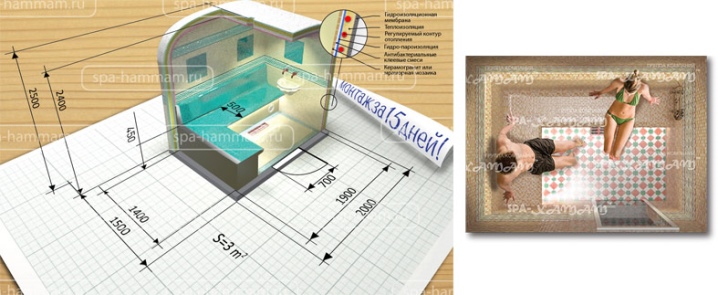
Practice shows that even in a hammam of such a small area, you can install a shower system or a small shower.
- For three people, an area of 4 square meters is suitable. m.
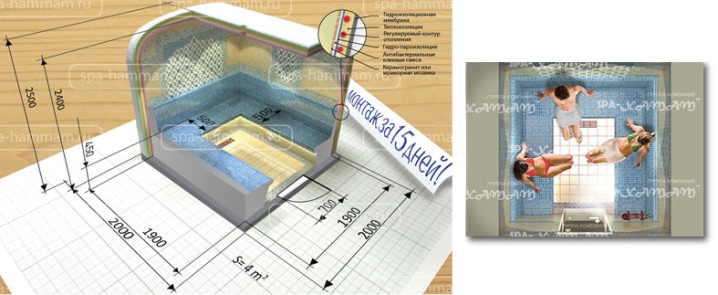
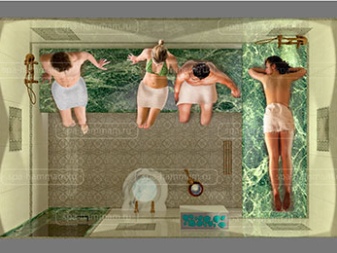
If you are planning a full-fledged massage in the best Turkish traditions, make one wide lounger, leaving free access for the massage therapist.
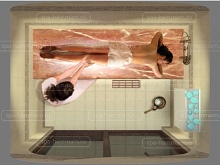
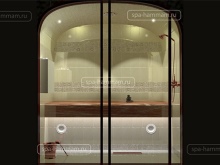
- For 4-5 people - 6 sq. m.
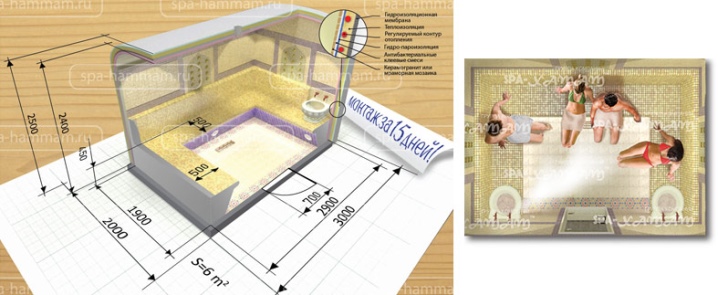
In such a hammam, you can already make two wide loungers, while there will be enough space for a massage therapist.
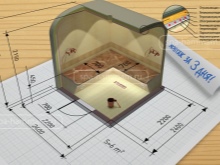
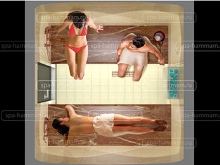
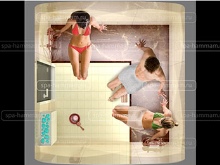
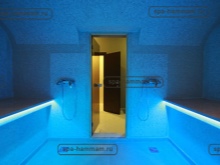
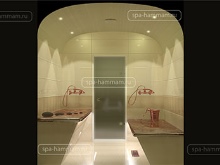
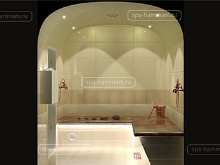
8 sq. m
To install a kurna and a shower system, it is better to plan a hammam with an area of at least 8 square meters. m.
How to build in stages?
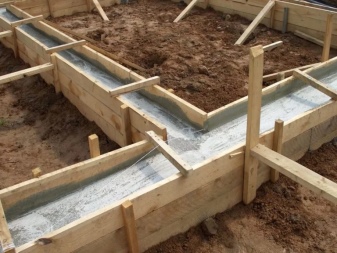
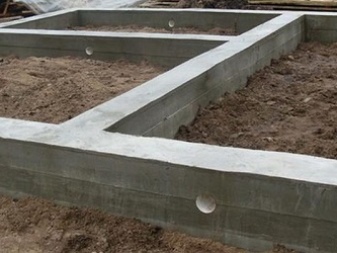
You should start by creating a foundation. To do this, you need to make a tape-type base. To create it, you will need:
- leveling the site and digging a pit;
- drive pegs into the ground according to the markings and make timber formwork;
- to carry out the installation of reinforcement rods;
- pour concrete;
- let the foundation dry for a month.
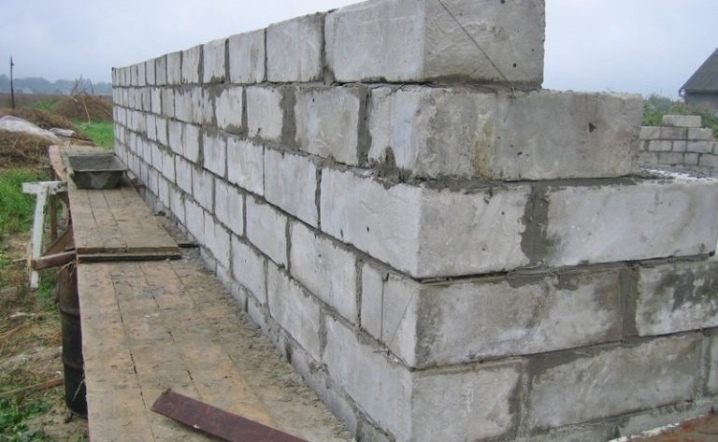
After that, the walls are created. For this we need to lay the waterproofing material on the base... 3 rows of bricks or foam blocks should be placed on the edge, forming masonry from the highest corner of the base. The seam between the blocks should be no more than 5 millimeters. After that, we lay a fine-mesh reinforcing mesh made of rods, which will significantly strengthen the walls.
Now we mount the roof. To do this, you need to create a frame from bars and attach rafters to it, after which you should make a crate from a board. Now we carry out waterproofing with roofing felt, after which we cover it with corrugated board. Now you need to install windows.
For a structure such as a hammam, it would be better to use either metal-plastic windows or glass blocks. They do not need additional waterproofing.
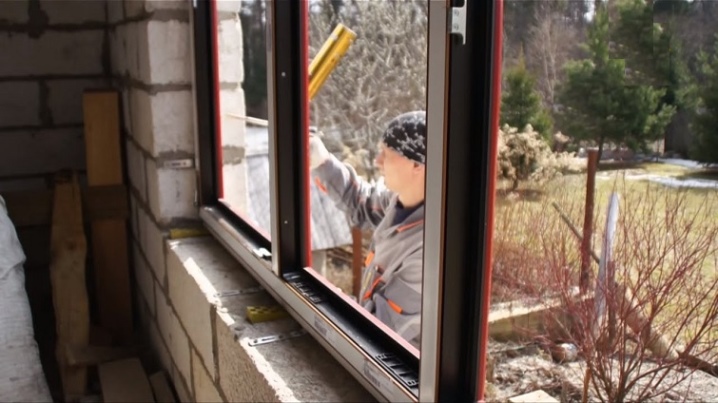
The window installation process will look like this:
- in the opening of the technical room and the rest room, it is necessary to install a window block and fix its elements using self-tapping screws with brackets, the evenness of the window will be ensured by installing beams under the bottom of the frame;
- now we fix the window in the opening using dowels and metal corners, the important point is that this must be done on the left;
- we check the verticality using the building level;
- places where there are cracks are filled with foam around the perimeter, which adheres well to surfaces and has excellent sound and heat insulation characteristics;
- we install slopes that protect the material from the effects of ultraviolet radiation;
- we mount the ebb and fix it on the window sill rail;
- we cut it to length, set it to a level and attach it to the profile;
- we process the area below with polyurethane foam;
- we put something heavy on the windowsill for a day to prevent the possibility of deformation.
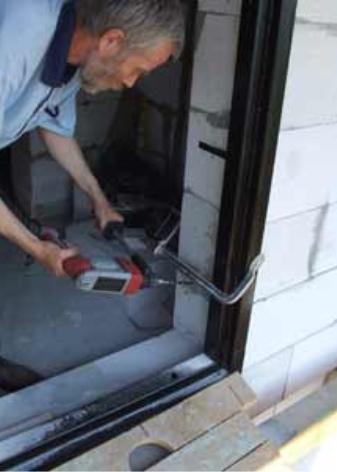
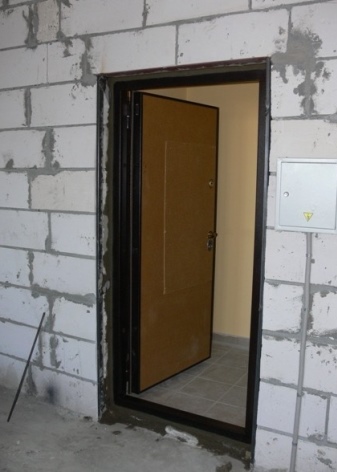
Now you should install the doors. This is done in the following sequence:
- make an opening a couple of centimeters larger than the door frame itself;
- make recesses in the frame of the door frame and carry out its installation using anchor bolts;
- blow out the cracks between the frame and the wall with foam;
- fix the door leaf;
- hang the fittings.
If we talk about the door itself, then it must have impact-resistant glass, the thickness of which is at least 8 millimeters. Thus, the hammam cabin turned out. Now it is necessary to insulate the structure.
Warming
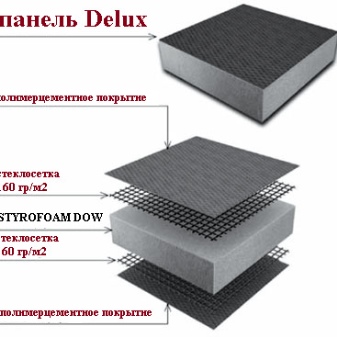
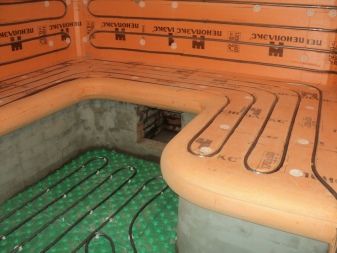
So, the insulation of walls begins with laying on them along the entire perimeter of panels made of rigid extruded polystyrene. You can use Teplofom or Deluxe products. This makes it possible to align the walls. Panels of 50 mm thickness for the inner wall and 100 mm for the outer wall will suffice. If the walls are made of stone, then first they are treated with a primer, after which the aforementioned panels are glued to them, but with double-sided reinforcement. This can be done with tile glue and self-tapping screws.
If the walls are made of wood, then you first need to make a concrete frame, then lay out additional walls made of blocks or bricks so that there is a ventilation gap between the wooden wall and the hammam partition. After that, in the brick room, we do the same actions as described above. Note that panels should be installed everywhere. Even at the place of installation of future sunbeds. Otherwise, the panel will sink onto the lounger, covering part of it. In the upper part, they should reach the level of the descent of the dome. They should be trimmed to match the lower dome profile.
Waterproofing
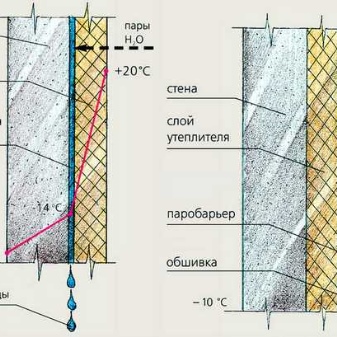
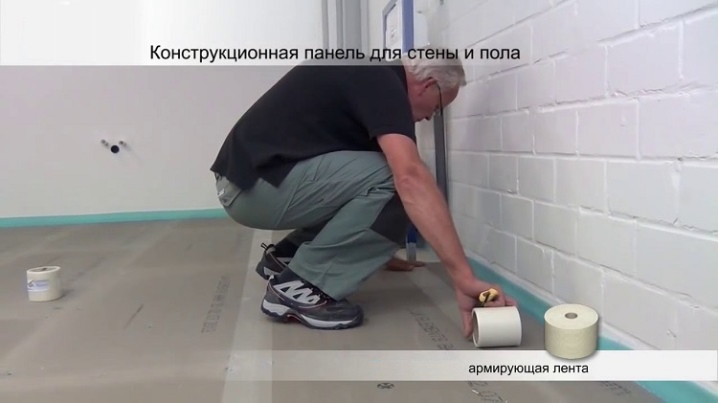
This term means waterproofing joints with a special tape. It should be said that this room in terms of humidity will be approximately the same as the bathroom... At the same time, if we talk about the amount of moisture that will settle on the ceiling and on the walls, then it will be significantly higher. The waterproofing technology will be the same as when working in a regular bathroom. The only important point to be aware of: use only professional waterproofing. In this case, you can use waterproofing materials that are usually used in swimming pools.
There are different methods, but we will focus on the option of applying waterproofing type plaster. In this case, preliminary preparation of corners and joints is carried out, after which special sealing tapes are glued. After that, the prepared solution is applied in 2-3 layers in different directions, after which the waterproofing will be considered ready.
Heating system
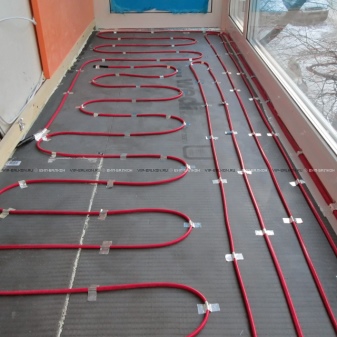
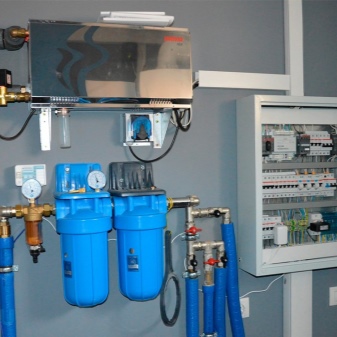
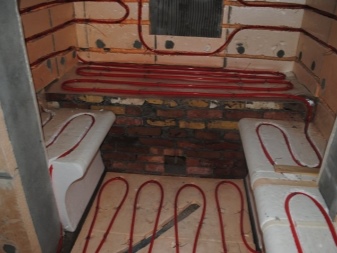
Either electric or water mechanism can be used to heat the hammam.If the water option is chosen, then, in principle, it can be made an element of the centralized hot water supply mechanism, if there is one, or a separate electric boiler can be made its source, which can be placed in a separate room not far from the steam generator. If the option of the electrical system is chosen, then it would be better to use the so-called "warm floor". It would be better to install the control panel in a technical room or in a rest room. An important point should be noted here - heating pipes or electric mats should, in the case of a hammam, not only be placed on the floor, but also on the walls of the room.
But if we talk specifically about the practical component, then the process goes like this:
- walls and ceiling are covered with a waterproofing plaster mixture;
- laying of communications is carried out, we are talking about electrical wiring, water supply, steam pipe;
- a kurna is mounted on the floor base;
- a massage table is installed.
Decorative finishing
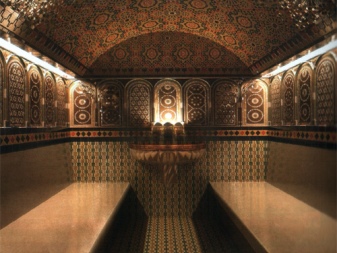
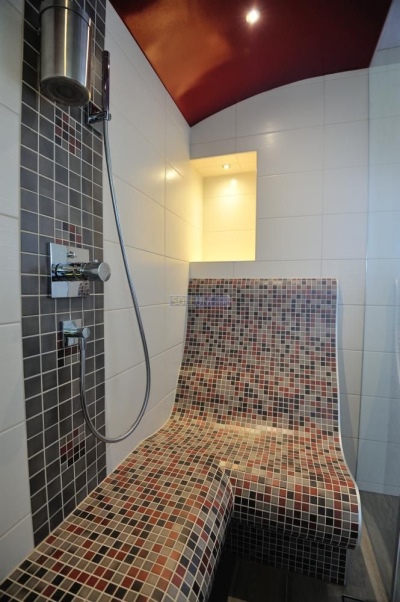
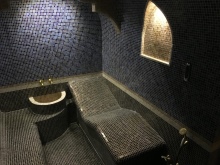
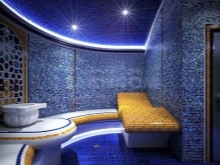
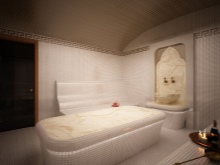
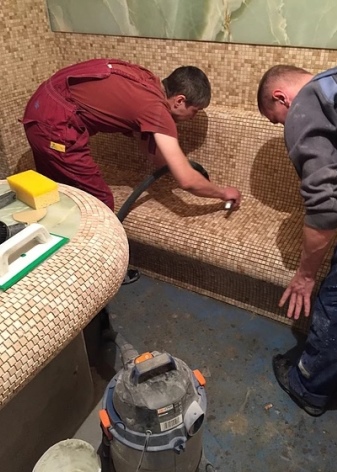
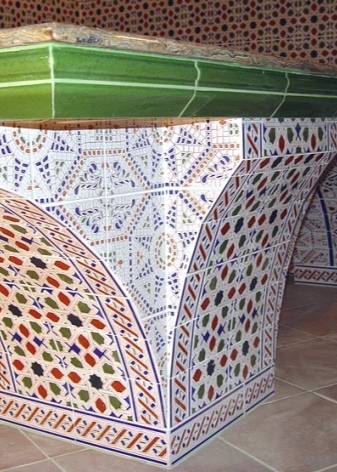
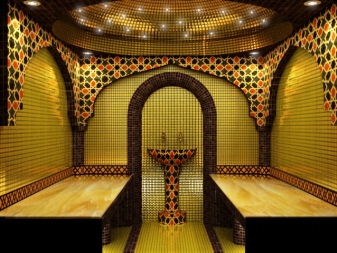
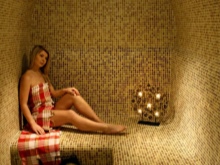
A little has already been said about decorative finishing. In the classic version, a room such as a hammam is finished with natural marble. And the bed is made of a solid slab of stone. But given the high cost of these materials, ceramic tiles are most often used now. This will make it possible to seriously save money, the properties of the hammam will remain the same, and outwardly everything will look beautiful. Another option is to use small mosaic tiles.
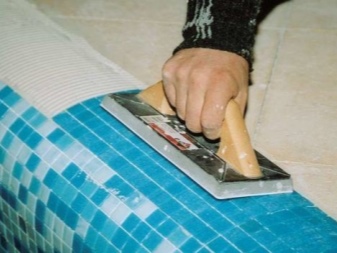
Before installing mosaics and tiles, check all walls for unevenness. If they are found, then they should be aligned. After that, a layer of a special heat-resistant adhesive is applied to the walls, on which the tiles will be glued or the mosaic will be laid out.
Lighting
No lighting devices can be used in the hammam, except for special waterproof equipment. The reason is the extremely high level of humidity in such a room. But not every waterproof lamp will fit here. Only switches, sockets and luminaires that have an IP65 protection level can be used here.
Because of this, certain requirements are imposed on the wiring. It should be performed using an exclusively special heat-resistant cable, because there is not only high humidity, but also serious temperature drops.
Functional arrangement
And it is required to say a little about some of the functional features of the hammam. These include:
- sunbed;
- steam generator;
- kurnas;
- tropical downpour.
Tropical showers are not always installed, the shower area is often taken outside the hammam and made common with the shower area of the bath or sauna.
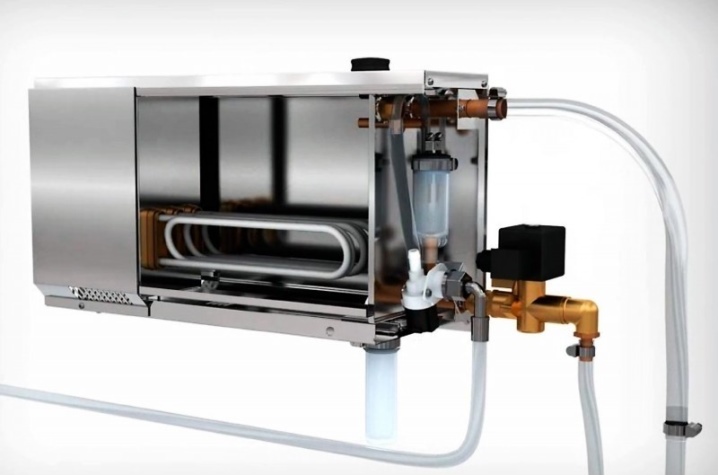
Now let's talk about each element in a little more detail. If we talk about a steam generator, then a hammam cannot exist without steam, which is why this thing is simply necessary. Usually it is mounted in a technical room, and through special channels the steam from it enters the steam room - harar. There are a lot of different models on the market, which is why everyone can choose the best solution for their hammam.
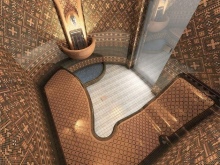
The lounger can be called almost the main one in the harar steam room. Usually it is located in the very center of the room, although sometimes such benches are installed right along the walls.
A sunbed made of stone is quite functional... The heated stone can warm up the human body, which makes it possible to relax it well. In addition, special foam procedures can be taken on it, which is an important feature of the hammam. You can use this element as a massage table, which will be an excellent solution in this case. By the way, in order to maximize the functional features of this element, its height should be no more than 90 centimeters.

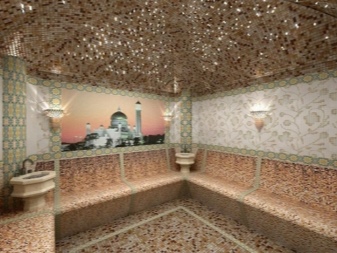
Sun beds can even be made of bricks and revetted with mosaics.
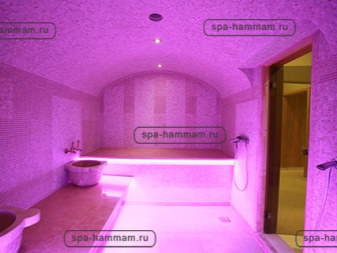
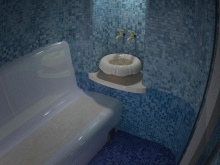
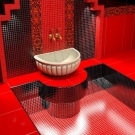
The next element is the so-called kurnas. They are special bowls, which, like a lounger, are usually made of stone. Previously, there were several such bowls.Some were hot and some were cold. But now only one such container will be enough, over which taps with hot and cold water should be installed.
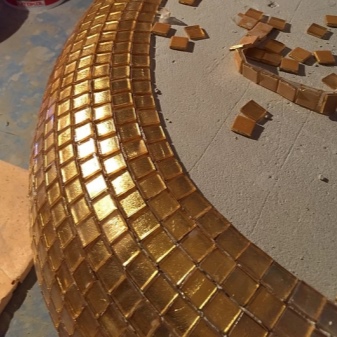
You can buy kurna in a special store or make it yourself. To do this, you need to cover the pre-cast concrete base with a mosaic made of ceramics. An important point will be that the kurna should not be connected to the sewer.
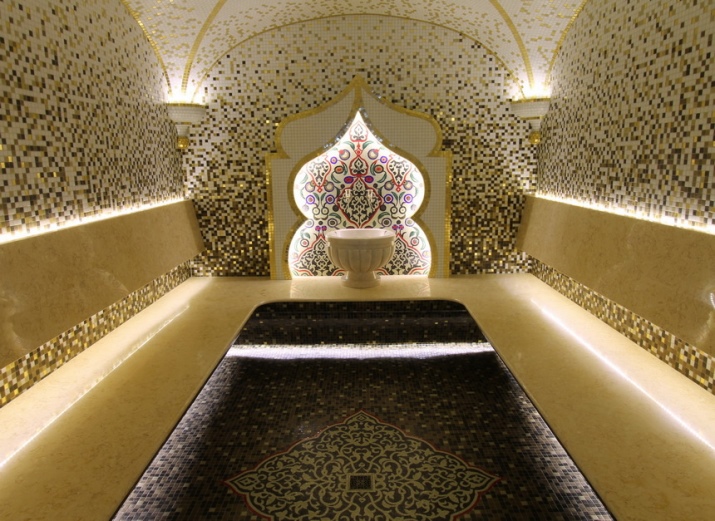
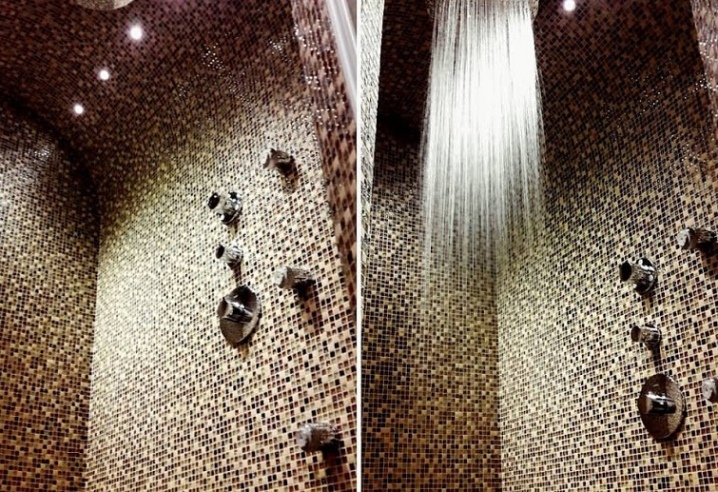
Well, the last element that will add a positive feeling is a tropical downpour. In this case, this element performs the same function as an ice hole or a pool in a Russian bath. And in the hammam, it is customary to pour cold water right in the steam room. And shower type "tropical rain" is perfect for this.
Do-it-yourself hammam construction is an extremely serious and responsible process.... In a number of moments, it is impossible to cope here without the help of specialists, especially when designing and creating drawings.
At the same time, there are many processes here that can be easily done with your own hands, which will significantly save money.
For information on how to build a hammam with your own hands, see the next video.


The comment was sent successfully.