How to grow a pear seedling from seeds?
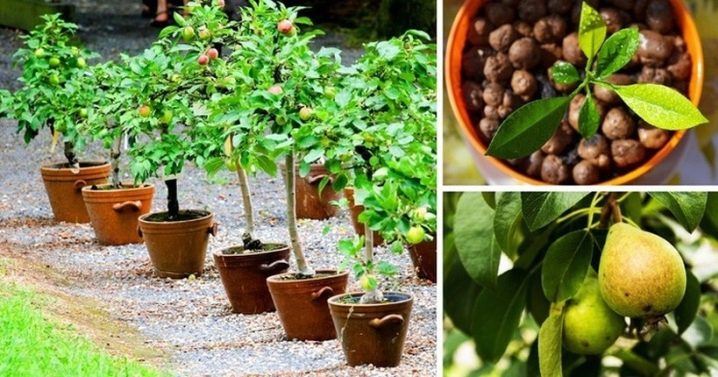
Growing a whole tree from a pear seed is a serious task. But doable. Although there are many nuances, conditions, requirements, with the proper approach, everything can be done. Choose a material, find a container and the right soil, comply with all planting requirements - that's what you have to go through. And then even organize the growing tree full care and bring it to the stage of rooting in the open field.
Selection and preparation of material
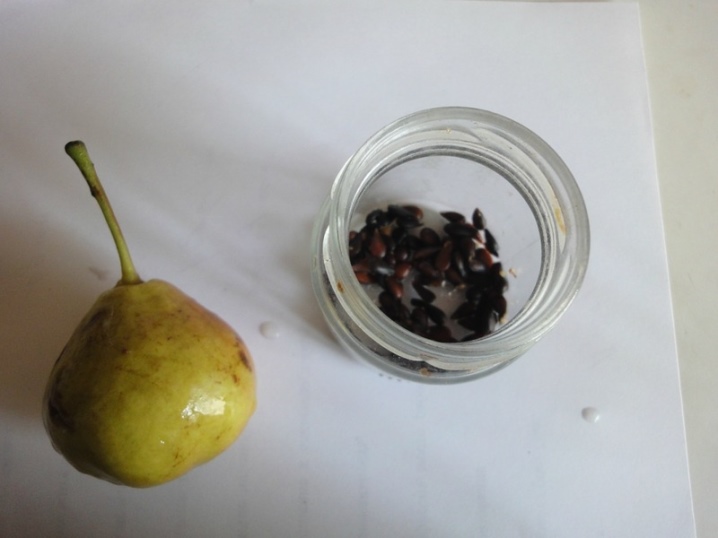
This is a slow process, the seeds themselves sprout slowly. But one fruit is quite capable of giving several seedlings, that is, the chances of success increase already at the start. To pick up the material, you need to cut a ripe and beautiful in shape, flawless pear with a knife in the fall or even in winter. Gently remove the seeds from the inside and transfer them to a clean, small saucer. Add warm (but not hot) water there, this is necessary for washing the seeds.
The next step is to check the germination of seeds. Staining with indigo carmine solution (assuming 2 g per liter of water) is a good way to do this. For a day, pear seeds are soaked in water, then the skin is removed from them with a needle, the material is sent to the solution. The grains need to be kept in it for 3 hours, and then taken out and analyzed. If the seed is strong, the solution will not take it, but the weak one will change color (completely or in places).
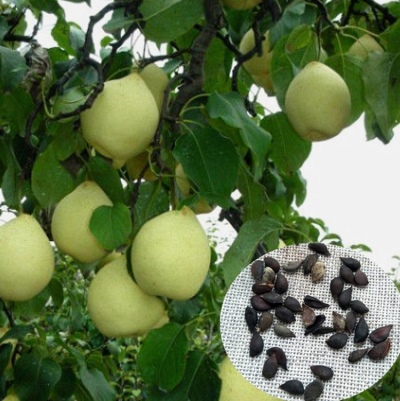
It is believed that the best seeds have properly developed fruits growing on the peripheral side of the crown. There is a better condition for the formation of ovaries, and the lighting is optimal.
We will find out what preparatory procedures are needed.
- Flushing... If it is not done, traces of juice and / or pulp will remain in the bones, and pathogenic microorganisms will "peck" on them. The latter can become an obstacle to the normal growth of seedlings.
- Drying... For 24 hours after washing, the seeds will dry. After that, it is necessary to inspect their shells, they must be intact, so that during stratification the seedling simply does not rot.
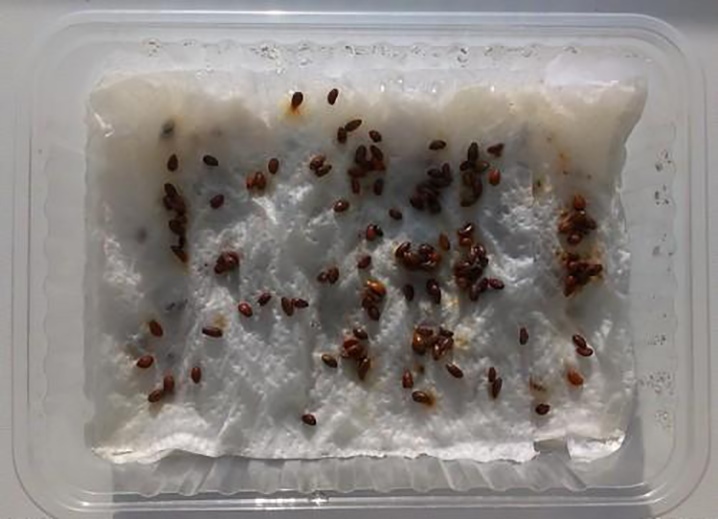
- Stratification... Again, the seeds will have to be rinsed and placed in a piece of clean, damp gauze. Only a ripe seed can be planted in a pot. At first, it will be a small container, which will be replaced by something more voluminous as the pear grows.

We can dwell on stratification in more detail. Peat, sawdust and moistened sand can be mixed in equal parts. The seeds are sent into a mixture that is comfortable for them, and as soon as it dries, it is moistened again. You can also do this: put a wet cloth in a container, put seeds on top of it. And this container is sent to the refrigerator for 3 days. Then they take it out and move it into a bag. And for a whole week, the material is moistened during drying, mixed.
The first stage - the selection of seeds with subsequent preparation - is not so difficult.
You can try this with a whole batch of seeds (that is, use several fruits), so that you can then choose the strongest, viable option.
Soil and capacity
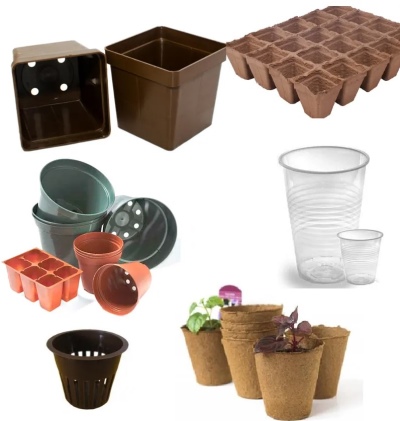
The most popular option is plastic containers. But peat pots are also becoming more and more in demand. There is a reusable container, it must be cleaned, rinsed with a manganese solution, and ventilation holes must be made. The bottom of the object is lined with perlite or pebbles. When it comes to peat pots, no manipulation is needed with them.
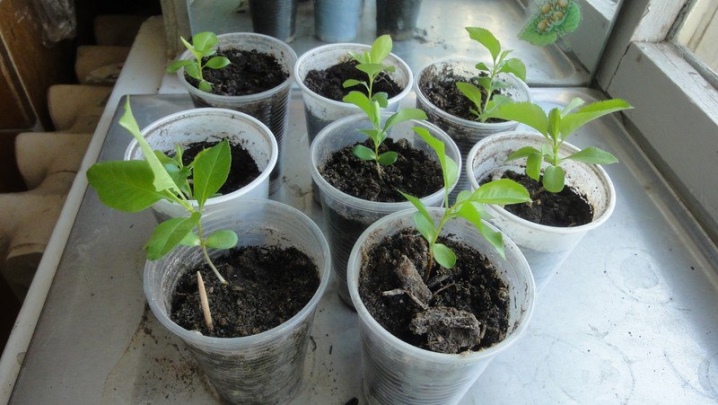
Seeds that sprout and grow will eventually be moved to the greenhouse. And if there are no special containers, even plastic glasses can be used. Clay pots will also work, only they will have to be soaked for 24 hours before use. By the way, in addition to pebbles and perlite, the bottom can be lined with clay shards or broken brick.
The pear requires light, nutritious soil that will allow moisture and air to pass through well. Such a mixture is easy to find in the special market, but you can get by with ordinary garden soil. Only it must be fertilized before use. And before fertilization, the soil must be disinfected: you can simply send it to the oven, ignite it for an hour. For 10 kg of soil, for example, 30 g of superphosphate, 200 g of wood ash and 20 g of potassium sulfate are added.
To summarize, then soil mixture is easier to buy in the store (if your own is not suitable), and peat pots are more suitable as the first containers. As soon as you have to transplant to another place, you will not need to get the seedling out of the pot - the peat container will go straight into the ground. And this is not just a matter of convenience, but also a decrease in the risks of traumatizing a plant during transplantation.
Landing
Only strong seedlings are selected for sowing. But even with the condition that only the strongest have passed the selection, they must be laid with the utmost delicacy. But before the pear goes into the ground, you first need to plant a seed and bring it to the state of a seedling, that is, all this will happen at home.
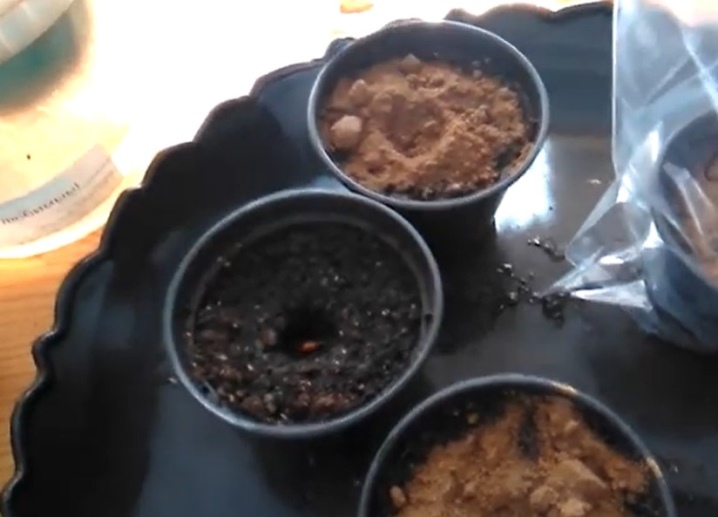
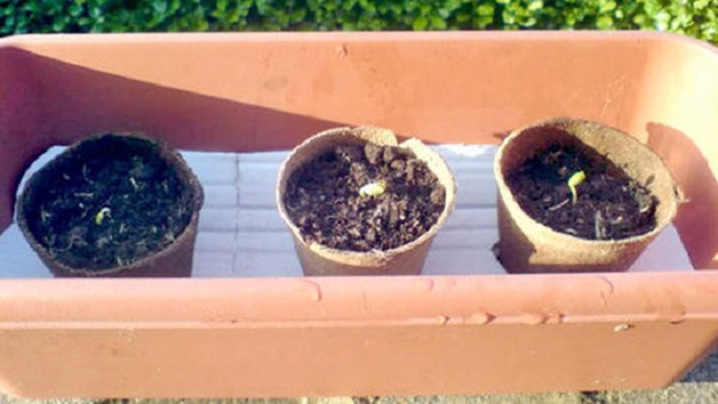
The prepared container is three-quarters filled with the substrate, then the pear seeds are placed at a depth of one and a half centimeters into the ground, an equidistant distance must be maintained between the grains - about 5–6 cm.
And in order not to forget exactly where the seed is planted, the place can be marked with a toothpick.
What to know about the further growth of seeds:
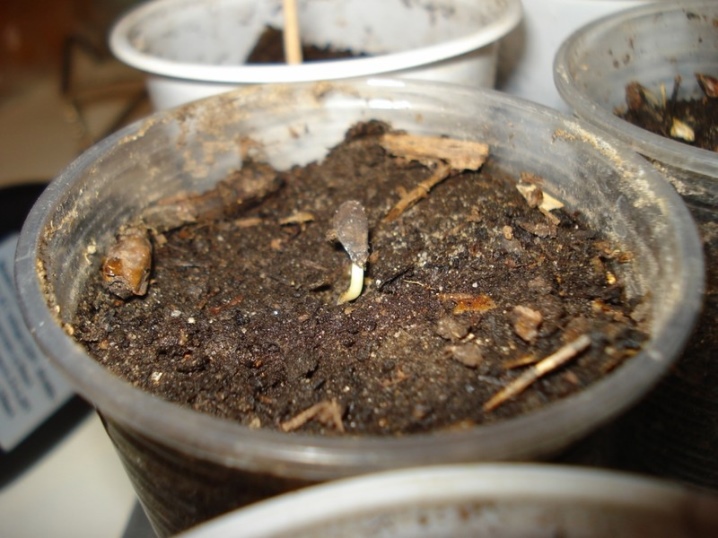
- when it sprouts it will be possible to send it from a small container to a larger pot, it must be filled with nutritious soil mixture, drained;
- when the sprouts are already visible, for the plant, you need to organize competent care: the pear must be sent to the sunny side of the glazed balcony, but the pot itself must be shaded, the air is humid and warm.
It is not difficult to germinate a pear seedling at home if a suitable place has been found for it and if the seed has undergone serious selection. And then everything will depend on leaving. In a couple of weeks, shoots will appear.
Care rules
Saplings will be most comfortable in the house at a temperature of 18–20 degrees. Humidity must be maintained at 60%, not lower. Airing the pear also does not hurt. By the way, airing also hardens the seedling, which will help it better take root in the open field. If there is not enough moisture, the container can be covered with plastic wrap.
The sun's rays should not directly hit young plants, because this is fraught with burns.
There are other features of care.
- Watering... Once the ground is dry, it's time to moisten it. It's easier to do this with a spray bottle. If you water too much, the seedling's immunity will sag. And this is fraught with fungal infection of the plant and its preliminary death.
- Top dressing... Additional substances will help the seeds develop normally. Fertilizers are usually applied after planting, but only if the soil is not sold already fertilized. Ammonium nitrate and bird droppings (it must be diluted with water: for 1 part of droppings 10 parts of water) will be good top dressing for unprepared soil.
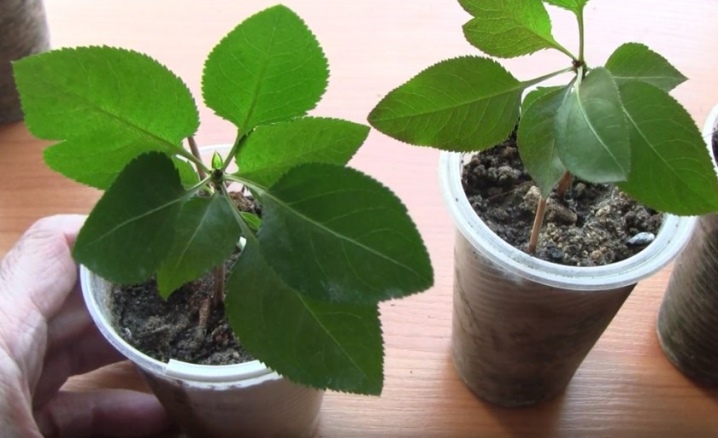
- Picking... Can be done if 4 true leaves have grown on a seedling. The cotyledons will grow first in the pear, then the leaf plates. The picking requires new, more spacious containers. Plants are moistened before transplanting, then they are taken out of the first container right with an earthen lump and transferred to the next. Sprinkle with earth.
The seedlings need to get stronger, for which they are sent out from time to time - this is how you can harden a pear.
Planting seedlings
An excellent period for planting a future tree is May - June. This is a favorable time for the better formation of a strong, developed root system. And she will just have time to become such before the arrival of frost.The land where the pear grown from the seed will be planted must be drained. She should be in the sun for at least 6 hours a day.
Pear planting notes are described below.
- A place is selected where water will not stagnate. You can do it like this: dig a hole with a diameter of 30 cm, fill it with water. During the day, every hour should be measured moisture indicators. If the level decreases by 3–7 cm, it means that the earth absorbs water well.
- You can also check the water simply by the principle of whether puddles remain there after rains. They shouldn't be in the right place.
- Since the roots of the pear tree are very strong, do not place the seedling next to other trees - they will interfere with each other's development. The optimal spacing is 7–8 m. If dwarf varieties are grown, 4–5 m.
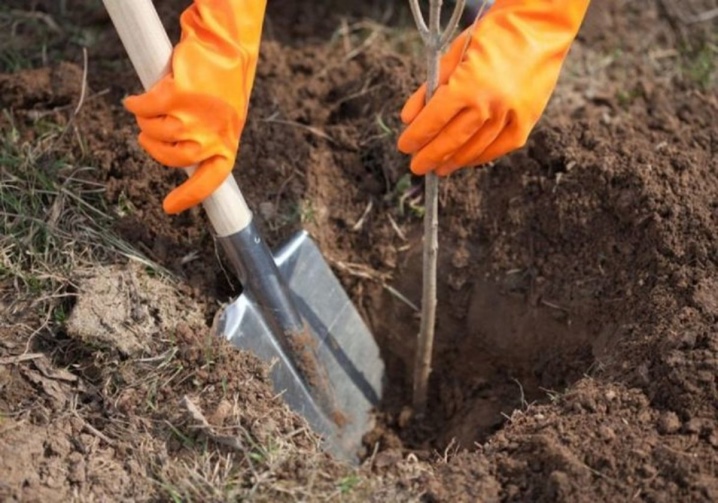
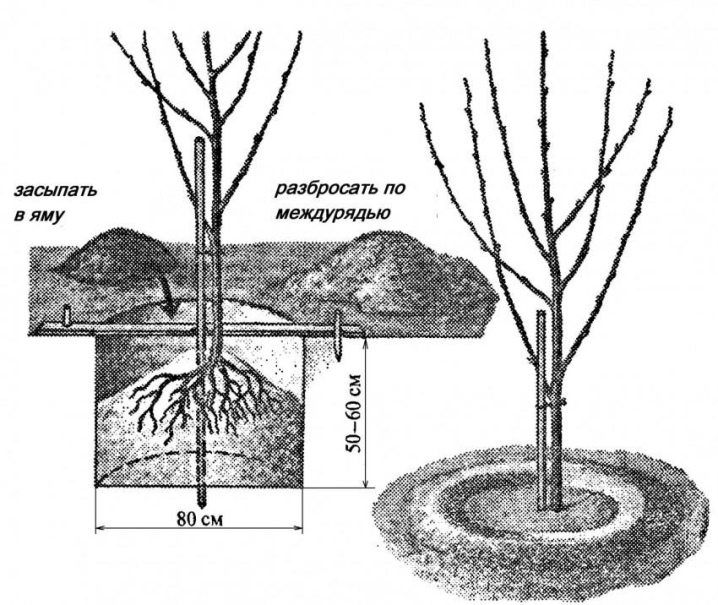
- A hole is dug to fit the size of the tree, and a gravel layer is poured onto the bottom. The pear is transferred to the pit, the roots are carefully straightened, covered with earth.
- It would be nice to identify a peg to the tree trunk.... It will be an excellent support for a plant that is still vulnerable.
- A near-stem circle is formed around the pear, after which the seedling can be watered... Until the plant is still able to extract water from the ground on its own, it needs help. In the first year, this is absolutely normal.
- Before frosts, the tree must be covered: a layer of mulch should be put around the trunk, then it is covered with snow. The barrel itself is wrapped in cloth. The material should not be synthetic - only natural.
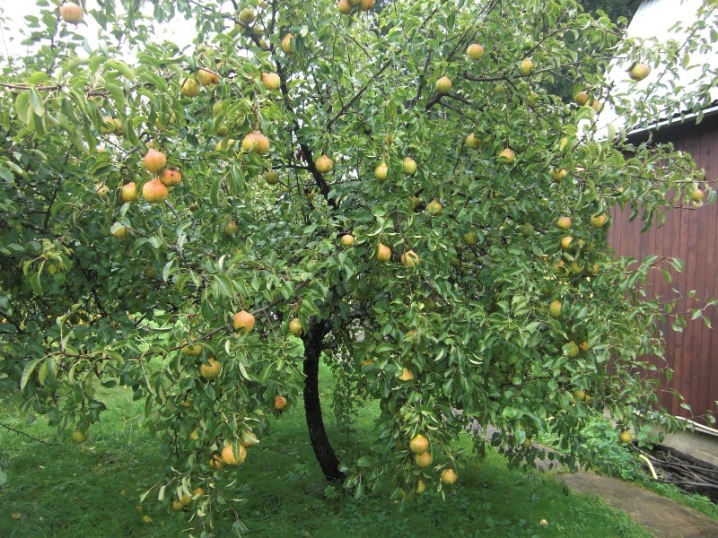
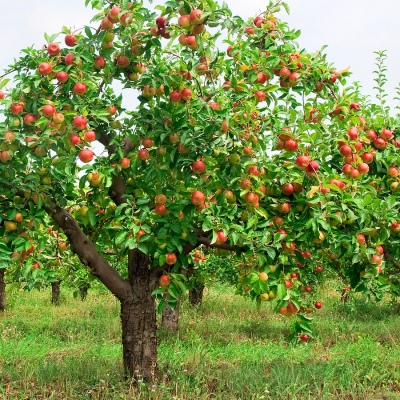
This is how, step by step, you can achieve an excellent result - from a seed extracted from a strong, good fruit, grow a young productive tree.


The comment was sent successfully.