All about gravel paths
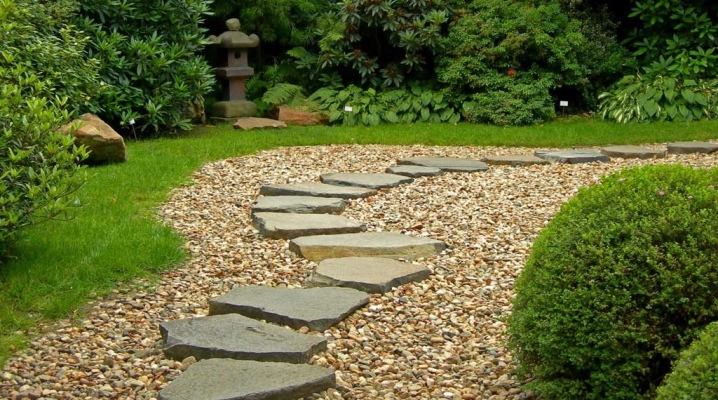
Garden plots and summer cottages have long ceased to be just a place for growing fruits and vegetables. This is a recreation area where you can have a good time, so it should be well-groomed and pleasing to the eye. Especially if we are talking about a private house, where the whole family is constantly present. To improve your local area, it will be useful to learn everything about gravel paths.

Peculiarities
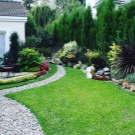
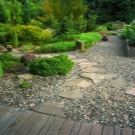
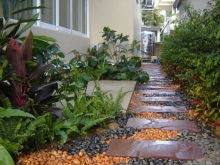
Gravel paths give the site a logical finish. They can delimit the space between flower beds, trees, beds in the country. The garden area will sparkle in a new way if you show a little imagination, and it is not at all necessary that the paths be strewn with very expensive colored material. You can get by with simple gravel, connecting flowers, herbs, conifers, large stones and much more to the overall composition. Gravel paths will only look harmonious when the whole concept of the territory design is well thought out. And for this, you first need to take a sheet of paper and draw on it everything that is planned to be placed on the site, including the paths.
Gravel comes in a wide variety of sizes and colors. There are even very bright colors that can beautify certain areas of the garden.
The peculiarity of gravel is that it can be laid in different ways - just pour it or fix it with the help of special compounds, give the paths a certain shape. It can be a flat road or a winding one. It all depends on personal preference.
Which gravel should you choose?
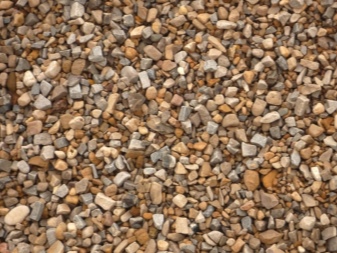
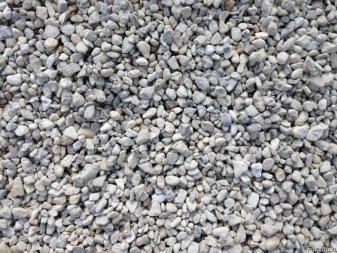
Different types of gravel differ in that it can be of different fractions, fine or coarse, usually gray, brown. Gravel chips are most often colored.
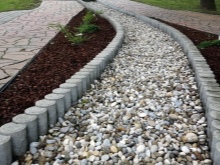
The choice of gravel depends only on design preferences. If the path will have a purely decorative purpose and be located among flowers, you can also choose colored options so that they are combined with plants and other surrounding objects. These tracks do not need polymer components for a stronger grip. These paths can be loose. It is enough to limit them with borders, which can be both noticeable and imperceptible.
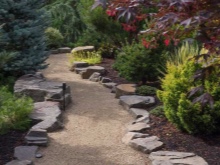
If the paths will be intended for walking, then it is worth choosing coarser gravel, paying more attention to the preparation of the base and its installation. In this case, it is better to use natural shades. Gravel still needs maintenance. If color options are treated too often with detergents or even just water, they will lose their brightness over time.
Device options
You can design a gravel path in a variety of ways, including combining gravel with other materials. All ideas that come to mind are worth considering and finding out how this or that design will fit into the landscape design.
-
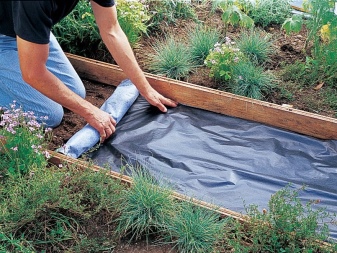
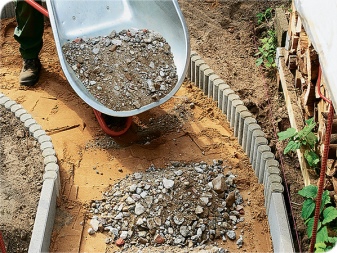
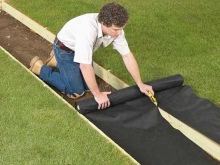
The easiest option is to dig a shallow trench, fill in gravel, and enjoy the result of your labor. But most often, any paths are made initially with geotextile at the base (or other similar material), since this helps to forget about weeds.
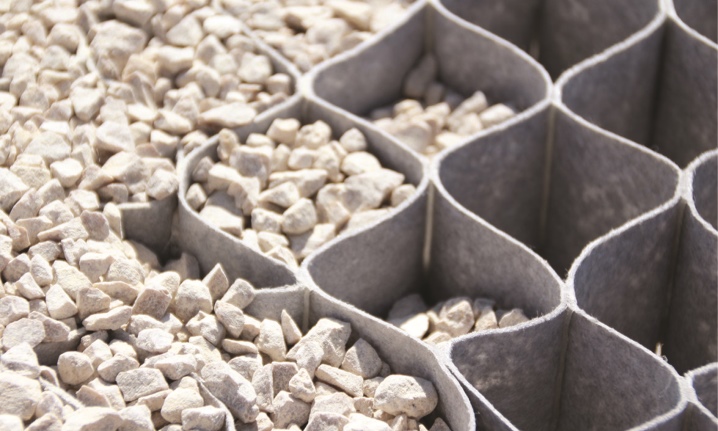
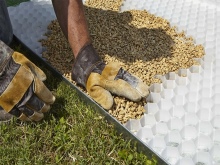
- A wider gravel road, reinforced with additional structures, requires more labor. Often, so-called mesh or crate is used on sites. Its cells resemble honeycombs.This structure is installed along the entire length of the road, and only then gravel is poured into these holes, filling so that the structure itself is not visible. This helps the road to be stronger and not to creep over time.
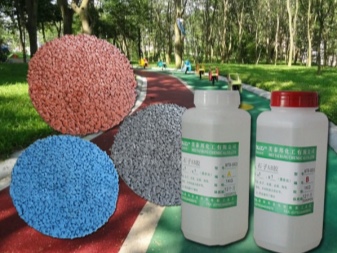
- If the path is narrow but winding, and I would like to keep it in the same form for a long time, there is an option to mix the gravel with glue or part of the epoxy resin, then lay the prepared gravel in the prepared trench. After a while, it will freeze, and the track will not creep, but will retain its shape.
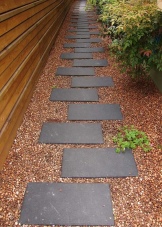
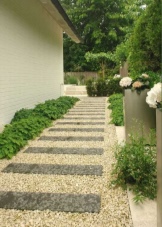
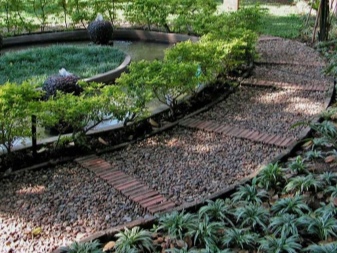
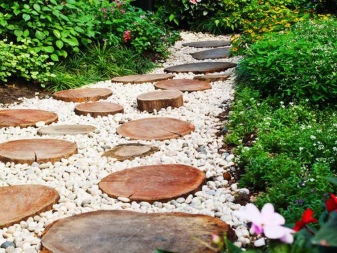
- Gardeners can use a wide variety of device optionsmaking wooden elements on the droshky (in the form of bridges, for example), using inclusions of large tiles. It all depends on the imagination of the designer and his idea.
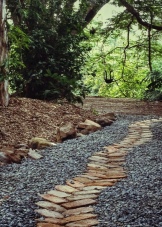
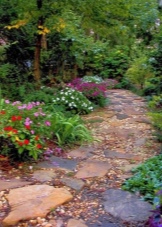
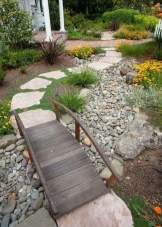
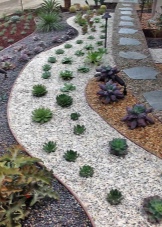
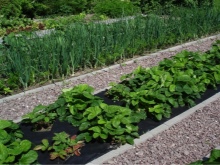
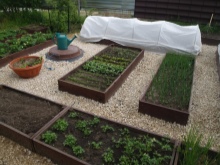
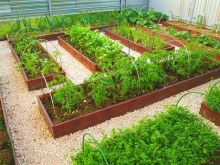
- Often gravel paths are located between the beds. This is both convenient and beautiful, for the beds themselves is also good. They are in perfect condition and are easily accessible. To prevent the ground from falling on the pebbles, fences of the desired height should be made.
Preparation of the base
In order for the track to serve for a long time and look aesthetically pleasing, decorating the territory, you should take care of its correct laying. Let's consider the sequence of actions.
-
First of all, you should outline where the future track will run. To do this, you need to take wooden pegs, drive into the ground, and pull a rope between them. It is especially important to mark the boundaries of the path if it is long and winding.
-
After that, this area needs to be cleared of debris, remove vegetation, if there is any - old stumps, weeds, and more.
-
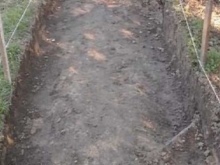
Then you should dig a trench. You should not go too deep, 5-10 cm is enough, taking into account the fact that there will be not only gravel, but also material for the base. If the path has fences, it is also worth making recesses for them, and install them around the entire perimeter. If necessary, they must be fixed with cement mortar.
-
Further, the bottom should be well tamped, filled with sand and compacted again. Then the material is laid to help keep the track intact. Weeds will no longer penetrate through it, which will save you from unnecessary manipulations when leaving. Geotextiles, membranes, road fabrics and even ordinary polyethylene can be used as the material that is laid on the bottom of the future track. But it is worth considering an important point. If weeds do not break through the dense fabric, but moisture leaves without hindrance, then water will not pass through the polyethylene and during heavy rainfall it can remain on the surface of the track until it evaporates during dry days. When choosing geotextiles or other fabric, one should take into account - the denser it is, the less chances for weeds to break out.
-
Many people limit themselves to these manipulations, and, indeed, they are quite enough for a narrow path. But if a wide design is planned, then one more stage should be added. A geogrid will help to make the road more durable and not amenable to any influences. The mesh can be a canvas with different cells - smaller or larger. You can first pour sand or earth into them, and only then gravel.
Laying technology
When the base is already ready (as we noted above, this process is very important and is also included in the concept of laying technology), it remains only to lay out the gravel. The stages of the entire laying technology are as follows:
-
marking and cleaning of the territory;
-
preparation of the foundation;
-
directly laying out gravel;
-
site decoration with additional decorative elements.
To begin with, it is worthwhile to correctly calculate the amount of gravel that will go to the arrangement of the track.

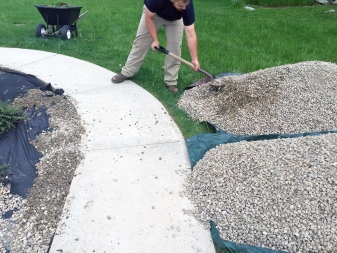
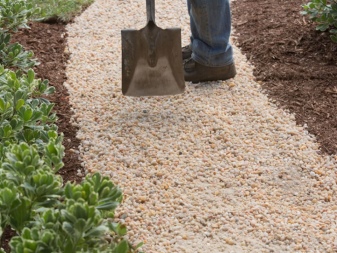
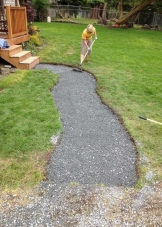
If, for example, a fraction of 5-10 mm is chosen, and the depth of the path is only 2 cm, 28 kg of gravel will be needed per square meter. Instructions for decorating the track are not particularly required, since the method of laying gravel with your own hands is quite simple.When the base is ready, all that remains is to pick up a shovel, scoop up the gravel with it and place it in the depression intended for laying out the stone. Then, when the entire path is full, you can level the gravel with a rake, or you can do it simply by hand.
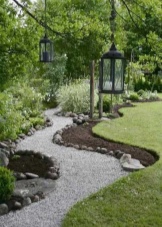
Then the tracks are already drawn up at their discretion, depending on what the initial idea was. Maybe there will be large boulders or planks imitating a bridge on the path. Another option can be a scattering of colored stones, which will be a bright accent on the path.
Care
To make garden paths pleasing to the eye and look well-groomed, sometimes you need to devote some time to tidy them up. This is not difficult to do.
-
From time to time you need to remove the debris that will be blown by the wind. It can be fallen leaves, dry grass, twigs.
-
Sometimes, even though the geotextiles are laid, weeds can make their way through the stones. They must be removed so that they do not spoil the appearance of the track.
-
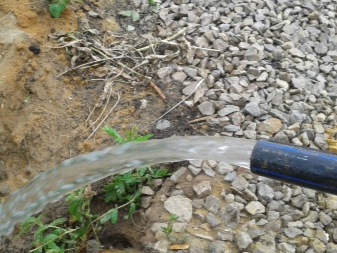
You cannot protect the paths from dust and dirt either. Therefore, it is sometimes necessary to rinse them with clean water from a hose. If desired, you can remove the top layer of pebbles, soak in water and detergent for an hour, then rinse and put back.

Sometimes, after a few years, the top layer is simply removed, replacing it with a fresh one. It happens that new ideas come up, something changes in the design - for example, you may need to change the color of the track cover. But this is possible when gravel is simply poured into the trench. If it is mixed with adhesive and the track hardens, replacement of the top layer is not possible.
But you can always sweep and wash the surface.
Beautiful examples
It is always pleasant to design recreation areas on your site. This can turn into a very exciting experience. The main thing is to stock up on a couple of ideas that are easy to bring to life - and you can get to work.
-
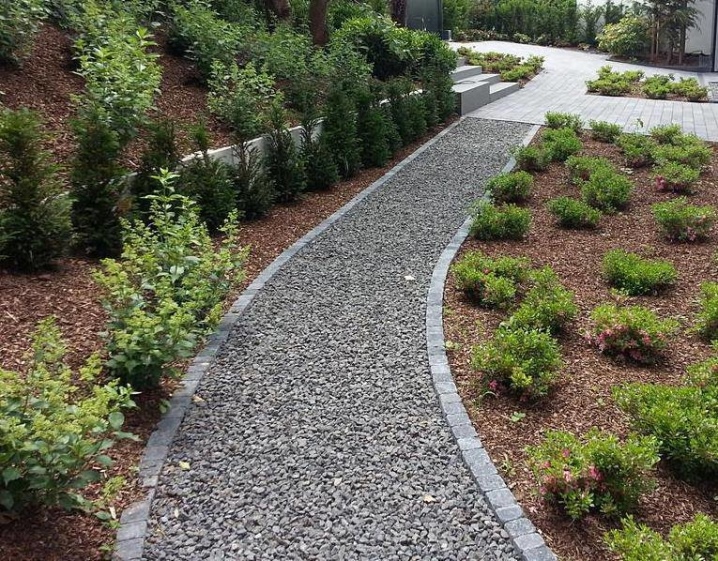
A neat gravel road, framed with a curb, divides the site. The gray gravel road stands out against the brown gravel of the area, where junipers, bushes and trees are located. In general, the territory looks well-groomed and neat precisely due to the gravel.
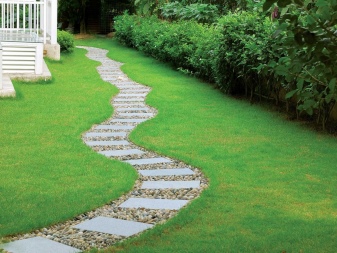
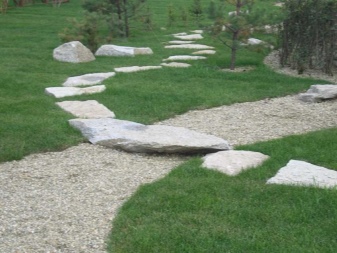
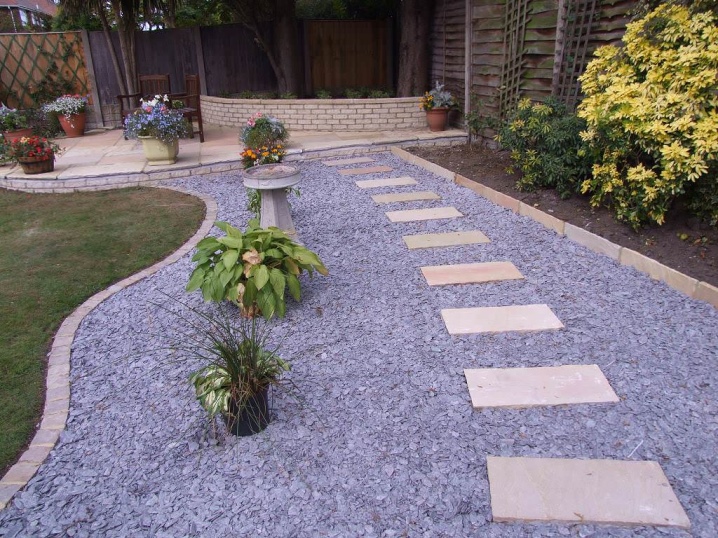
- The winding path on the lawn looks very interesting. Large tiles located over the entire surface of the structure give it originality.
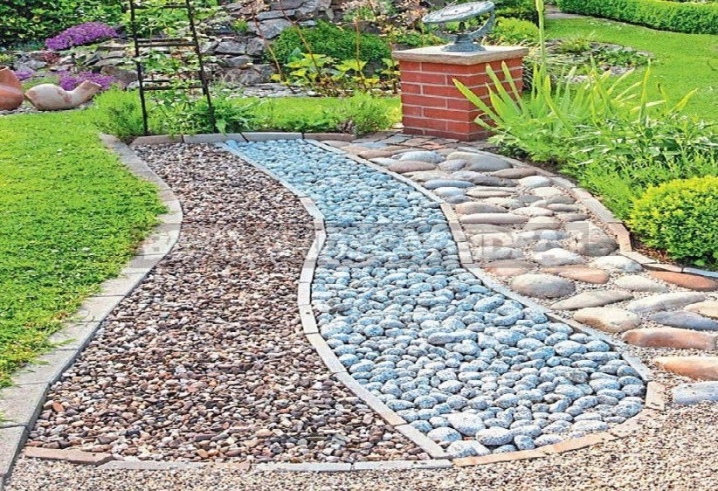
- The gravel path can be part of a composition. In this case, it is planned to make three of them. One of them is made of large stones fastened together. The other two are presented in options of different colors and small fractions.
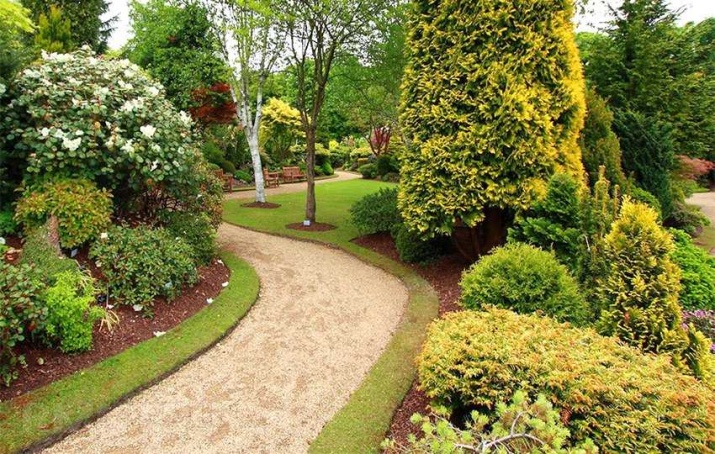
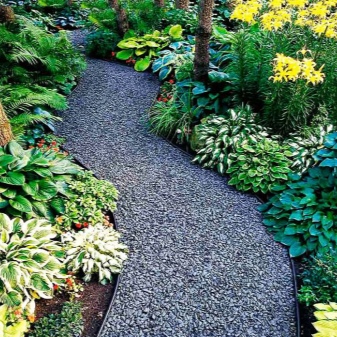
- The gravel road, framed by flowering plants and green bushes and trees, looks very beautiful.
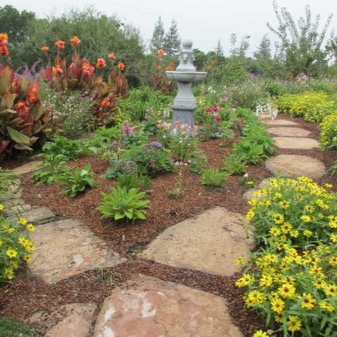
- On a wide surface lined with gravel, additional elements can also be located, for example, flowers in flowerpots or pots.
-
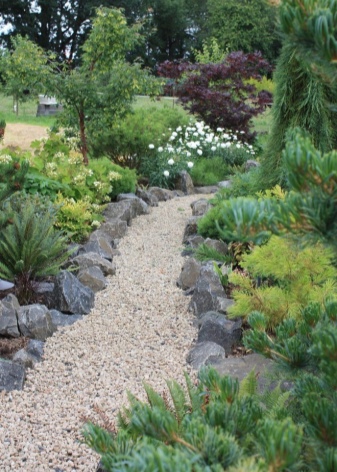
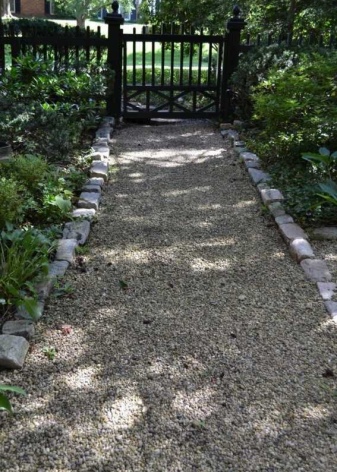
Large stones can also be used as fences on a gravel road. This will give the decoration a natural beauty, especially when combined with flowers and shrubs that are located around the edges.
Watch a video on how to make a gravel track with your own hands.


The comment was sent successfully.