How to grow hydrangeas from seeds?
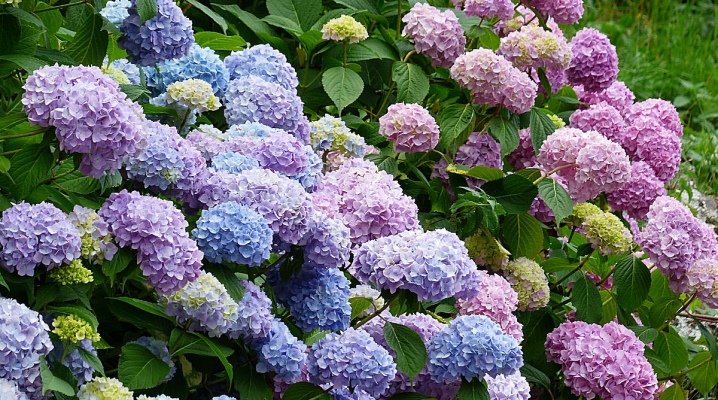
One of the breeding methods for garden hydrangeas involves the use of seeds. Gardeners usually resort to this method when they do not have the opportunity to purchase planting material in the form of cuttings, rooted shoots or divisions. What should be considered when planning to grow these flowering perennial shrubs from seeds?
Collection, storage and selection of seed
When growing hydrangeas in this way, gardeners use both store planting material and self-collected seeds. The collection of seeds is carried out at the end of the season before the onset of frost. Collect planting material in dry weather. Prior to sowing, seeds are stored in a dry, well-ventilated, dark and cool room. Throughout the entire storage period, the room maintains a stable temperature at the level of + 10 ... + 15 ° C with an air humidity of no more than 50%. To store the planting material, use bags of thick paper or bags made of natural fabrics.
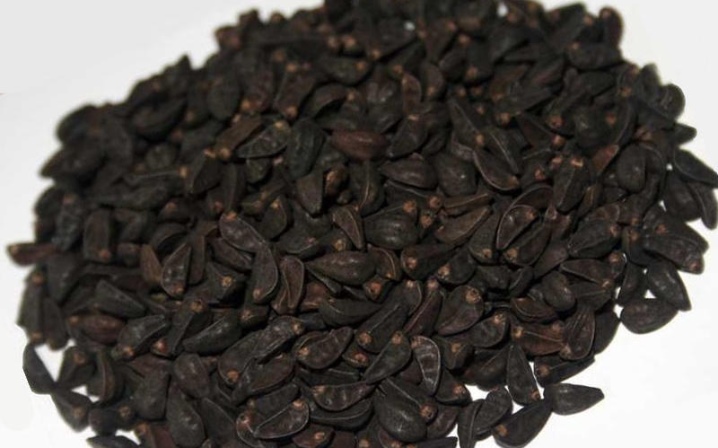
Ripe hydrangea seeds, suitable for germination, are small in size, with a relief surface, dark brown or brown-black in color. Light color of seeds indicates insufficient maturity. For germination, it is not recommended to use too old, moldy, frozen, rotten or damaged seeds.
The germination rate of such planting material, as well as the probability of obtaining healthy viable seedlings from it, is extremely low.
Many gardeners for growing hydrangeas in the described way use store planting material brought from China and Japan. Observations show that the use of such seeds often gives very good results. In these countries, hydrangeas grow in natural, most favorable conditions, so their seeds have time to fully ripen by the time of harvest and accumulate a maximum of nutrients necessary for germination.
When choosing seeds of hydrangeas for further germination, it is necessary to study in detail the description of the variety you like. Attention should be paid to such important characteristics of the plant as winter hardiness and frost resistance. In many respects, the survival rate and success of adaptation of young seedlings in a new place after transplanting into open ground will depend on these qualities. Experienced gardeners, when choosing hydrangea seeds, recommend giving preference to the products of reputable agricultural companies. When buying planting material from sellers with a dubious reputation, the risk of failure increases significantly.
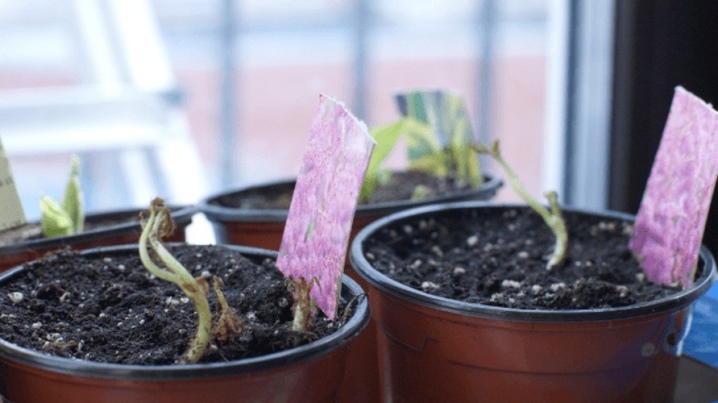
Seed preparation
Proper preparation of seeds for sowing can significantly increase the percentage of their germination and reduce the likelihood of developing diseases in germinated seedlings. The technique of carrying out the preparatory stage depends on the form in which it is planned to sow the seeds - dry or germinated. It is recommended to soak dry seeds before sowing for several hours in a solution of manganese-sour potassium. This procedure will disinfect the planting material, destroy pathogens of fungal, bacterial and viral infections. After disinfection, the seeds should be soaked in the Epin growth stimulator solution for 10-20 hours.
If the seeds are planned to be sown in a germinated form, it is necessary to place them between two layers of clean gauze a few days before the sowing date and soak them in a saucer with warm, settled water. Before the emergence of seedlings, you need to regularly change the water in the container and check the condition of the planting material. If clots of transparent or translucent mucus with an unpleasant odor are found on the gauze, rinse the seeds thoroughly and soak them again in clean water. When tiny white roots hatch on the swollen seeds, they begin to sow.
Depending on the season, seeds are sown in containers or open ground.
Landing dates and rules
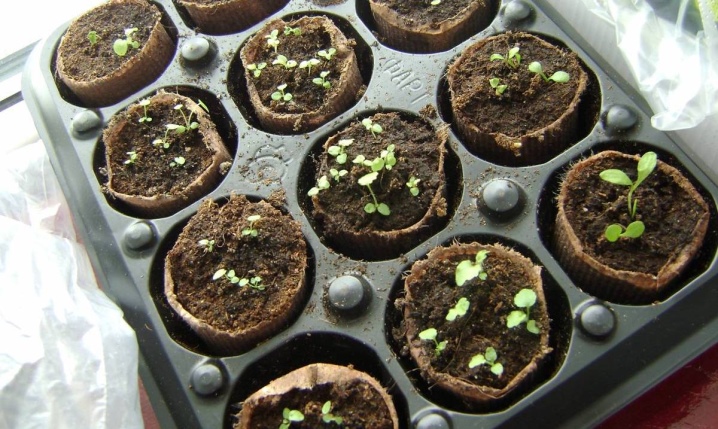
The best time for sowing dry and germinated seeds of hydrangeas at home is February - early March. For sowing at home, use shallow wide containers or wooden boxes filled with nutritious soil. As a substrate, it is recommended to use fertile garden soil with the addition of peat, leaf humus, sand, turf. The soil mixture should be loose, light and airy, not crumbling into lumps and dense layers.
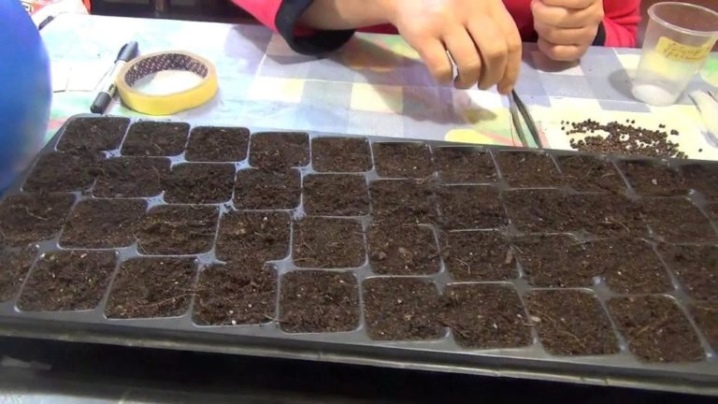
Before sowing, the substrate in containers is disinfected with a hot solution of potassium permanganate, cooled and spilled with water. Then, seeds are laid out in rows on the surface of the substrate, keeping a distance of several centimeters between them. After laying, the seeds are lightly pressed into a moist substrate and sprinkled on top with a thin layer of fine sand. Next, the crops are moistened, and the container is covered with glass or tightened with transparent plastic wrap. Before emergence, the container with crops should be regularly ventilated, and the substrate should be sprayed from a spray bottle.
It usually takes at least 2-3 weeks for the first shoots to appear. In some cases, sprouts appear after 1-1.5 months. In spring, dry and germinated hydrangea seeds can be planted outdoors. The recommended time for sowing is April - May. Seeds of fast-growing varieties of hydrangeas are allowed to be sown in early June. Before sowing, a place with light penumbra, sheltered from wind and drafts, is determined on the site. You can plant seeds in the garden, where later young plants will be protected from the scorching sun. Sowing in direct sunlight is not recommended.
Having determined the place for sowing seeds, they begin to arrange the beds. To do this, the soil is carefully dug up, debris, stones, roots and weeds are removed. Then, a mixture of sand, peat, leaf humus or compost is introduced into the cleaned and dug soil. The garden bed for sowing hydrangea seeds is made high - this will prevent heat loss from the soil in the evening and night hours. The surface of the bed is slightly loosened and leveled with a rake.
Then the seeds are laid out on the surface of the earth in rows, after which they are slightly pressed into the depths with your fingers and sprinkled with a thin layer of sand. The surface of the bed is abundantly moistened using a watering can with a diffuser. It is recommended to stretch a plastic wrap over the garden bed, which will prevent moisture evaporation. In addition, the film will protect the germinating seeds from the fluctuations of day and night air temperatures.
After the first shoots appear, the film is removed from the garden bed.
Growing seedlings
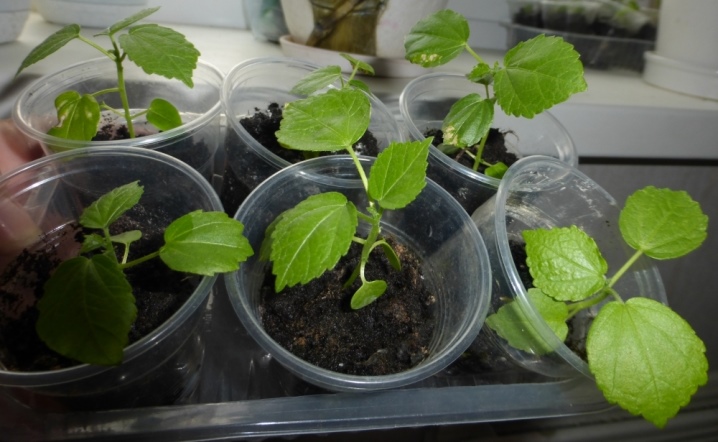
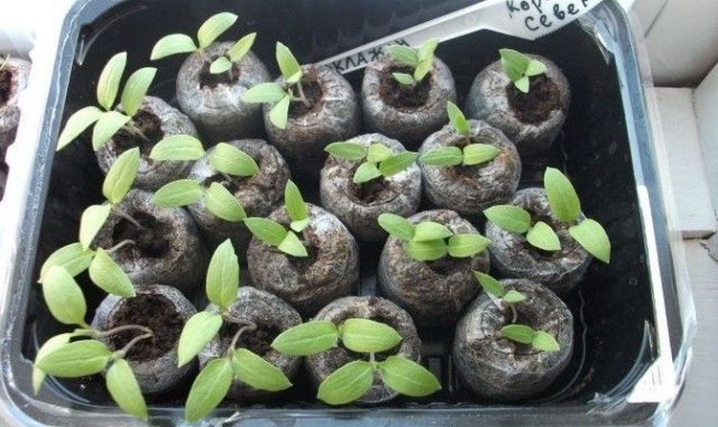
In order for the fragile seedlings of hydrangeas to quickly grow stronger and turn into full-fledged seedlings, they need to be provided with competent and delicate care. It includes the fulfillment of the following conditions:
- regular watering and soil moistening;
- optimal lighting;
- comfortable temperature conditions;
- top dressing;
- hardening;
- picks.
Watering and moisturizing
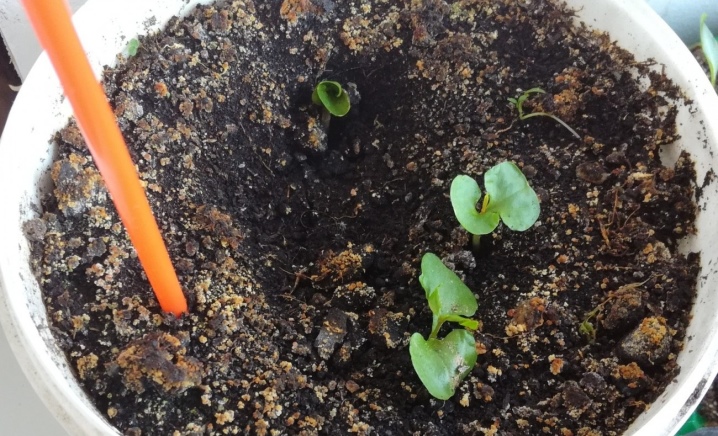
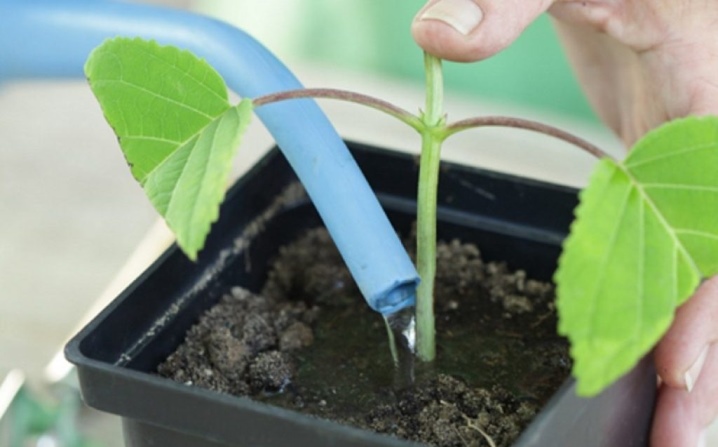
The soil in containers with hydrangea seedlings is regularly moistened, preventing the upper soil layer from drying out. Additionally, young plants are periodically sprayed with water from a spray bottle. Spraying will not only replenish the plants' need for moisture, but will also help maintain optimal air humidity. At the same time, water should not be allowed to stagnate in a container with sprouts. The excess water in the sump with seedlings must be drained after each watering. Seedlings are watered only with soft, settled water at room temperature. The best time to water is in the morning.
Lighting
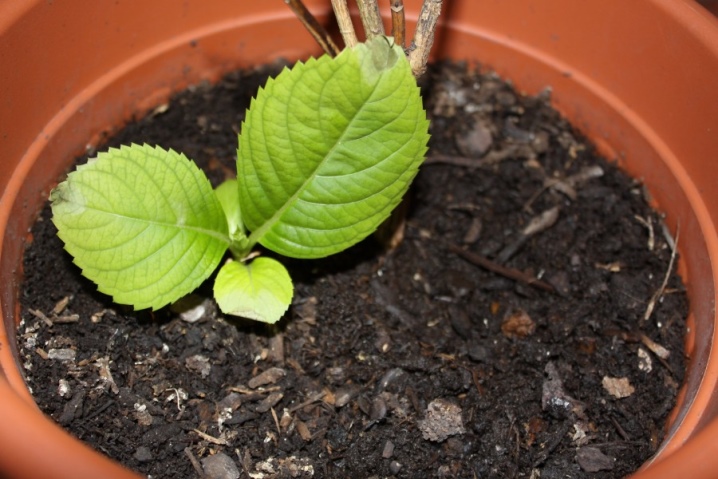
Young hydrangeas require abundant, but soft and diffused lighting for full development and growth. Seedling containers are best placed on windowsills in the east, west, south-east, or south-west of the house. It is not recommended to place boxes with seedlings of hydrangeas in places where the plants will be in direct sunlight for a significant part of the day. If the hydrangea bushes look weak, drooping or wilted at the end of the day, this may indicate that they are overheating. In this case, the seedling pots should be moved to light partial shade.
Temperature
Seedlings of hydrangeas, germinated from seeds, painfully tolerate changes in air temperature. In order for young plants to feel good, the air temperature in the room must be maintained at + 15 ... + 20 ° C. It is important to take into account that a sharp drop in temperature for unhardened seedlings can be disastrous, as well as the effect of drafts. Both young seedlings of hydrangeas and adult plants should be protected from drafts.
Top dressing
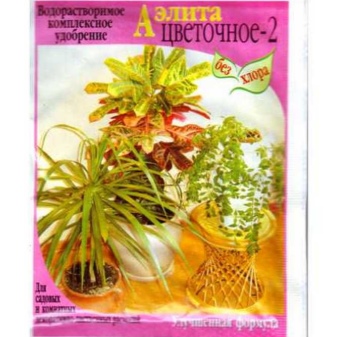
Before transplanting into open ground, it is recommended to periodically feed the seedlings of hydrangeas. Top dressing is carried out during the period of growth and development of green mass, using full complex fertilizers ("Aelita-Flower", "Fertika Lux", "For hydrangeas and rhododendrons" from Pokon). It is advisable to feed young plants 1-2 times a month.

Hardening
Before planting in open ground, hydrangea seedlings should be hardened. This procedure will increase the endurance of young plants, enhance their resistance to low temperatures. The hardening process is carried out gradually. To do this, containers with young plants are put out on the balcony for several hours every day. Over time, the duration of the stay of the seedlings on the balcony increases, removing it only for the night.
On warm, windless nights, containers with hardened hydrangea bushes are left on the balcony or taken out into the street.
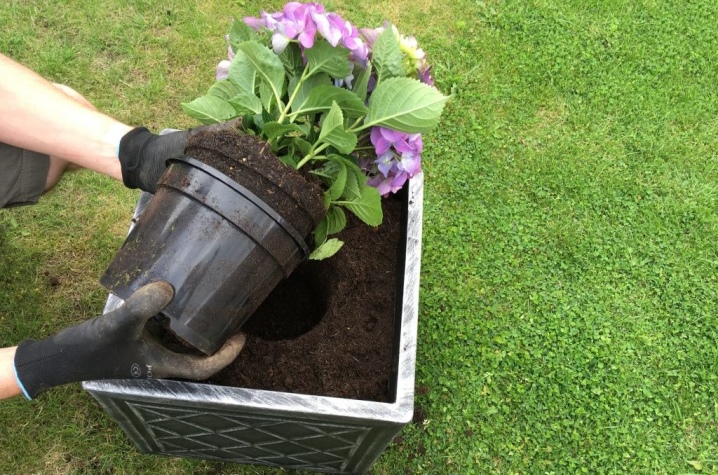
Picks
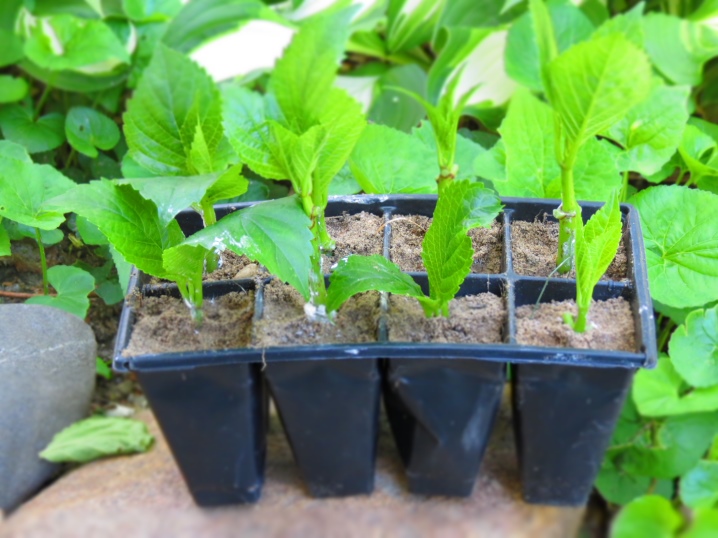
Growing hydrangea seedlings from seeds involves 2 picks. These procedures are necessary for the full development of young plants, active growth of their green mass and root growth. In the absence of picks, the seedlings will begin to stretch upward, weaken, oppress and shade each other.
The first pick is performed after the seedlings have 2 developed cotyledon leaves. At this stage, the plants are planted in containers at a distance of 10-12 centimeters from each other. The second pick is carried out at the end of spring. During this period, young bushes begin to actively build up green mass, requiring a sufficient amount of free space. At this stage, the seedlings of hydrangeas are planted in separate pots.
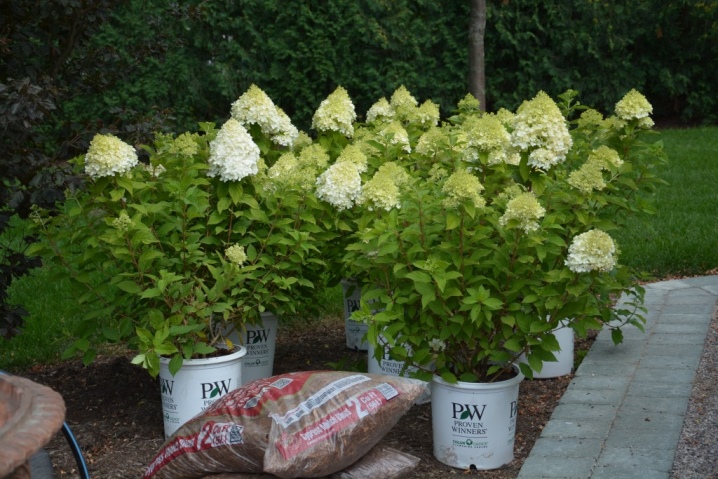
Transplant to open ground
Young hydrangeas are transplanted into open ground after they reach the age of 2 years. The recommended transfer time is from May to September. In advance, for seedlings, a dimly lit, but not shady place, protected from wind and drafts, is determined on the site. The soil at the planting site is pre-dug up and a little high-moor peat is introduced into it.
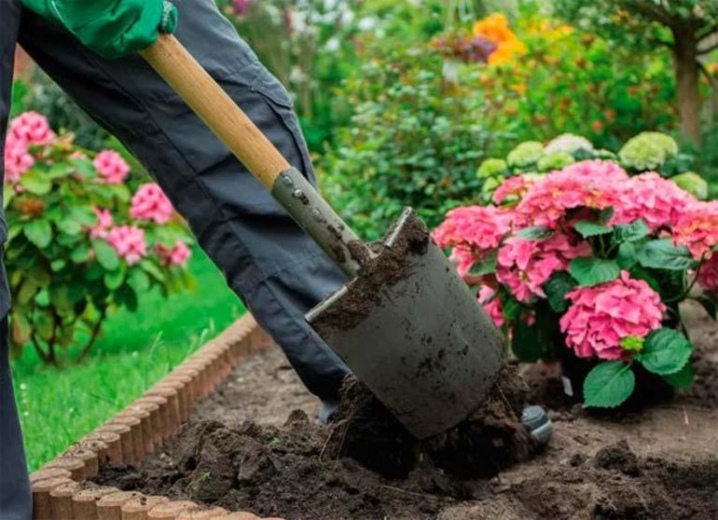
After digging the soil, planting pits are arranged at the landing site, placing them at a distance of 1-1.5 meters from each other. The interval between the pits is calculated based on the varietal characteristics of the seedlings. The size of the planting pit should exceed the size of the root ball by about 2-2.5 times.To fill the planting holes, a nutritious soil mixture is used, consisting of fertile soil, leaf humus, sand, turf. You can use store-bought soil mixtures designed specifically for hydrangeas and rhododendrons to fill pits.
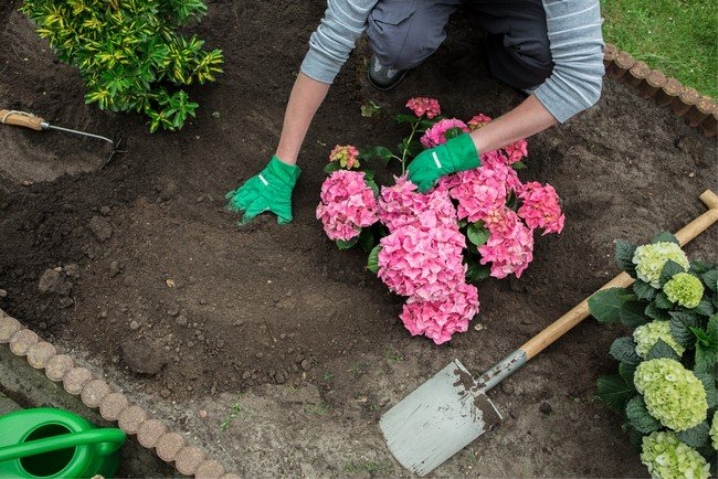
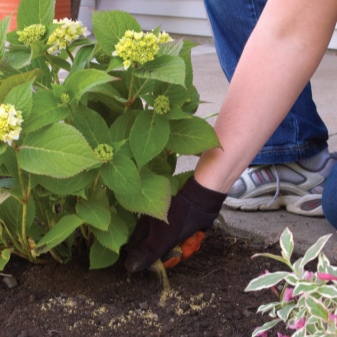
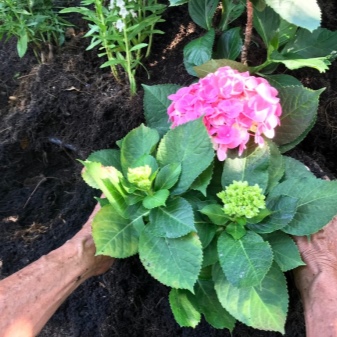
Young bushes of hydrangeas are planted in turn. Each bush is carefully removed from the pot, after which, holding the plant upright, it is placed in the hole. The roots of the plant are gently straightened and covered with prepared soil mixture. The root collar of the bush is not deeply buried when planting. At the end of planting, the surface of the earth in the trunk circle is compacted with palms, and the bush is watered abundantly. After watering, the surface of the earth around the plant is mulched with humus, peat or wood chips.
Further care
Young bushes of hydrangeas after transplanting into open ground require increased attention and delicate care. Watering the plants after planting is necessary regularly, but not too abundantly. After each watering, the soil in the near-trunk circle is loosened superficially and covered with a layer of fresh mulch. Loosening is an important agricultural technique that ensures optimal gas exchange in the soil and oxygen access to the roots of shrubs. However, when carrying out this procedure, it is important to take into account that the root system of hydrangeas is superficial. For this reason, loosening the soil in the trunk circle should be done at a shallow depth.
It is not necessary to feed the plants in the first year after planting. Gardeners claim that during the adaptation period, young hydrangeas will receive a sufficient amount of nutrients from a fertile soil mixture. Top dressing can be applied if the bushes do not take root well, slowly and reluctantly build up the green mass and form shoots. As a top dressing, ready-made organo-mineral complexes for perennials are used. A full-fledged feeding regimen is usually started a year after planting. Observations show that hydrangeas grown from seeds begin to bloom at 3 or 4 years of age.
Timely top dressing at this stage allows you to stimulate the first flowering.
So, the first feeding is carried out in early spring after the snow melts, using a solution of bird droppings or rotted manure. The second time hydrangeas are fed during the budding period, using potassium-phosphorus preparations. The third dressing is done during flowering using mineral fertilizers. The final fourth feeding is carried out at the end of summer, using complex fertilizers designed specifically for hydrangeas.
For information on how to grow hydrangeas from seeds, see the next video.


The comment was sent successfully.