How to tie peas?
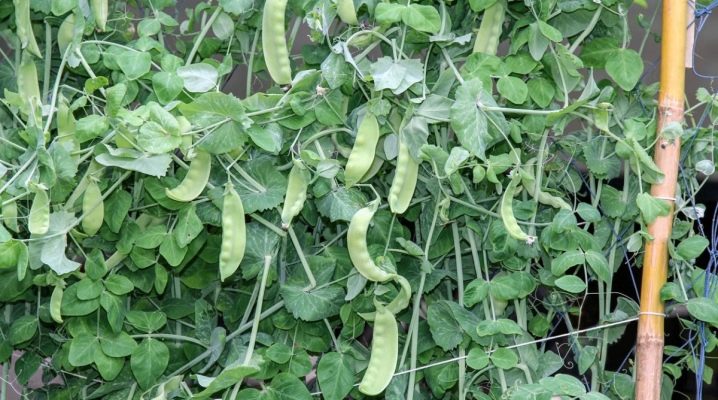
The pea garter makes it possible to obtain the maximum crop yield. It is worth considering in more detail what the procedure is needed for, how it is carried out, and what peas are usually tied to.
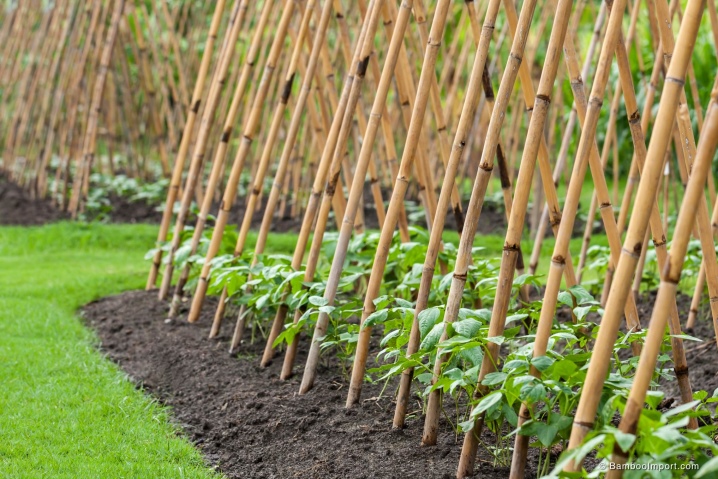
The need for a procedure
There are several reasons why you need to tie the peas. Here are the most common ones.
-
Preventing rot. The plant has weak stems that twist along the ground if not tied. Therefore, an untimely garter of peas can lead to rotting and subsequent loss of yield.
-
Lack of light. The pods hidden under the leaves and stems of peas receive insufficient light and air, which prevents them from developing and forming large peas. The result is an unevenly ripening crop of poor quality.
-
Difficult search for pods. Fruits covered with foliage can be difficult to find, and they are lost, which leads to overripe peas and premature wilting of the plant. The pods begin to ripen and the plant dries quickly.
-
Active reproduction of pests. If the stems are not raised in time, bruchus, a pest dangerous for legumes, will pick up on them, which releases toxic cantharidin into the pods, which leads to the impossibility of further use of the crop.
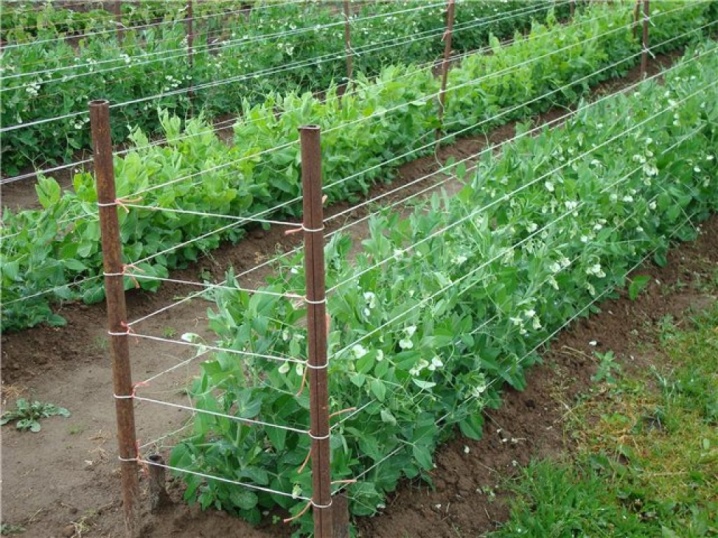
Tying peas not only improves the quality of the crop, but also speeds up the harvesting process, ensures timely ripening of the peas. In addition, the tied stems look aesthetically pleasing.
Finally, a garter is necessary so that the peas do not find a reason to cling to other plants. Close proximity leads to the death of both crops or at least a decrease in the quality of the crop. This is explained by the struggle of the peas and the neighbor for nutrients and the desire to survive.
It is best to start caring for the legumes right away to improve the quality and quantity of the pods.
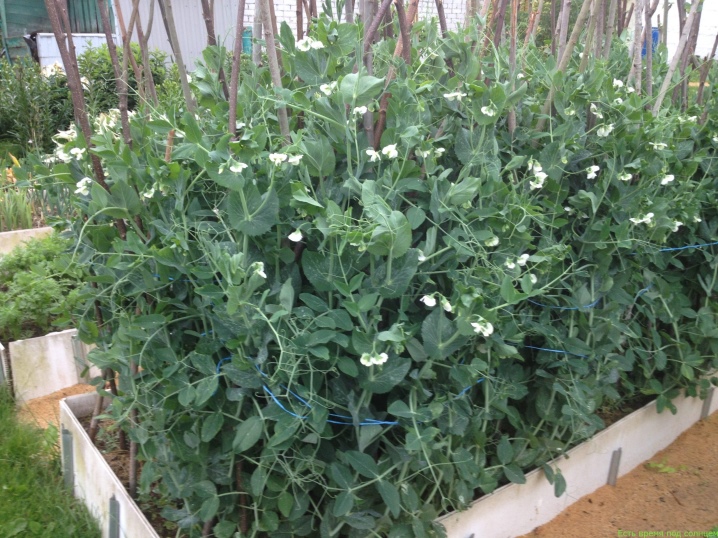
Garter methods
The option for securing peas depends on a number of factors, among the main ones:
-
grade and quantity;
-
the method of planting a crop - in the open field or in a greenhouse;
-
type of mounting supports;
-
kind of garter material.
The best solution would be to install supports that do not require additional pea garters. However, in the case of growing peas with massive bushes, you cannot do without the use of auxiliary material.
Using the grid
A simple option involving the use of mesh tapestries made of plastic or metal materials. Such supports are sold both in horticultural farms and in ordinary hardware stores. When buying, you should give preference to plastic products, since metal ones can do harm.
Mesh installation diagram.
-
Stakes in the amount of 3-4 pieces up to 2.5 m long are fixed in the ground, distributing the elements evenly with the same pitch.
-
The mesh is stretched along the installed supports.
-
The material is secured with wire or clamps.
After placing the support, the gardener can start planting the peas. The seeds should be distributed in a checkerboard pattern so that they are located on both sides of the support. When the crop grows up, the mustache will begin to cling to the bottom of the net, and in the future, the peas will quickly and without additional help pull up.
If the bed is located near the fence, the grid should be turned 60 degrees towards it.
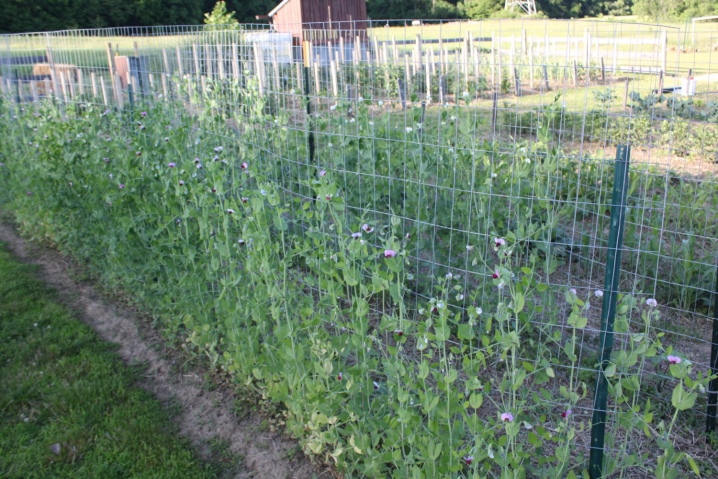
Often, meshes are used for the construction of arched structures. Materials that will be required to create it:
-
metal-plastic pipes up to 4 m long;
-
net;
-
wire or clamps.
When all the materials are ready, you can start building the arch. It will be necessary to make arcs from the pipes, which will remain fixed in the ground - this is the frame necessary to connect the ridges with peas. Next, you will need to throw mesh material over the pipes and fix its position with clamps. The peas will grow beautifully, wrapping around the net and forming a tunnel.
The average service life of pipes is 10 years, the mesh is also able to withstand this period if it is properly used and maintained.
Pegs
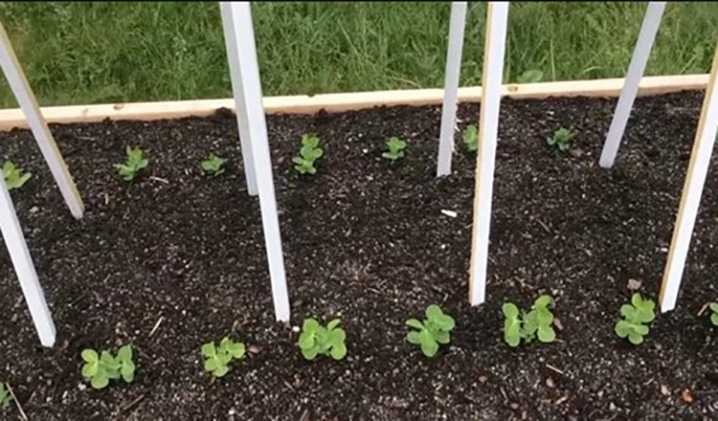
The first option is more suitable for fixing large amounts of peas. When there is not so much space in the garden, and a small space is allocated for the pea beds, you can get by with standard pegs. The installation of such supports can be carried out regardless of the stage of plant growth.
-
Pegs 0.8-1 m long are carefully stuck into the ground near the stem.
-
Peas are tied to stakes with fabric strips or special horticultural wire.
-
Wrap a long mustache around the peg.
The peas will gradually hook themselves onto the support and begin to grow upward.
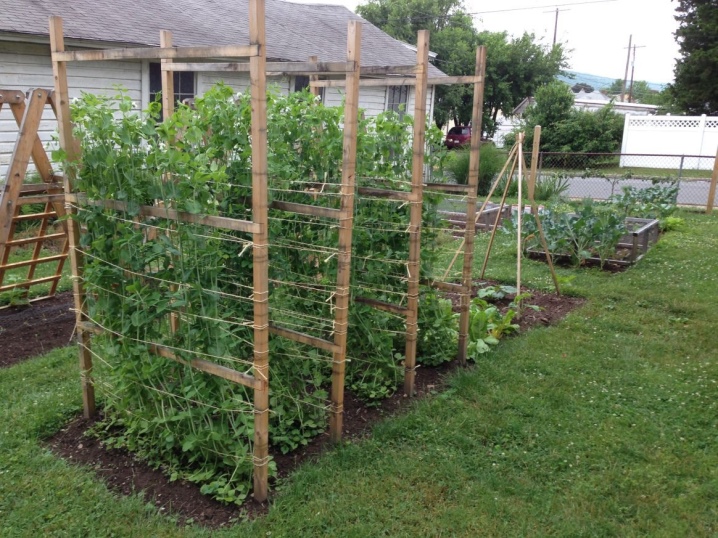
With trellis
When choosing this method of garter, you should immediately take into account that peas cannot be grown in one place for more than two seasons in a row. Therefore, it is necessary to provide that the trellis can be rearranged in the future. To install it, you must first prepare the materials:
-
timber up to 2.5 m long - 4-5 pcs.;
-
slats - 8 pcs.;
-
twine;
-
screws.
The latter will provide a reliable connection of vertical posts located at an angle and forming a triangle. And you will also need standard construction tools to assemble the structure.
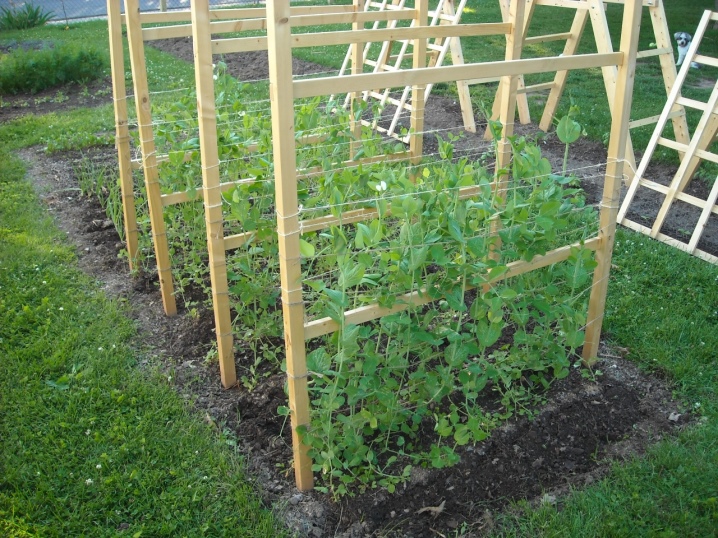
Installation diagram.
-
The slats are installed in the ground at an angle.
-
Combine them into a triangle with screws.
-
They are connected to each other using crossbars.
-
The horizontal bars are connected with a rope using the principle of a ladder and maintaining a distance of 30 cm between the rungs.
The installation of the trellis should be carried out either before sowing the seeds, or after, but soon after planting the peas.
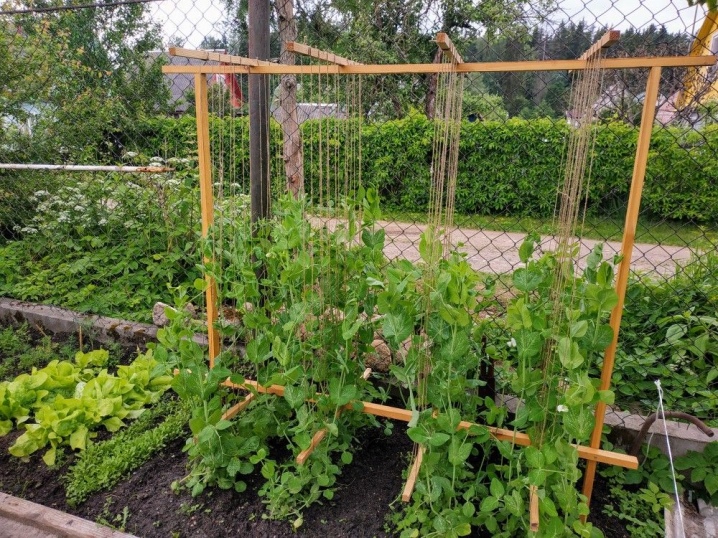
Construction in the form of a hut
Not the most common, but quite a good option, which will not only serve as a support for the peas, but also give the site a unique look. To assemble a hut, you will need to perform a number of actions.
-
Take stakes up to 2 meters long and drive in from the outer sides of the beds, forming the letter "L". A distance of 1 m must be maintained between the stakes.
-
Secure the pegs at the top with a sturdy rope or twine.
-
Connect the stakes in pairs using a rail to form a frame mount.
If desired, a hut can be erected even from sticks or branches; thick rods are also suitable. Such designs will raise the peas and improve the quality of the crop.
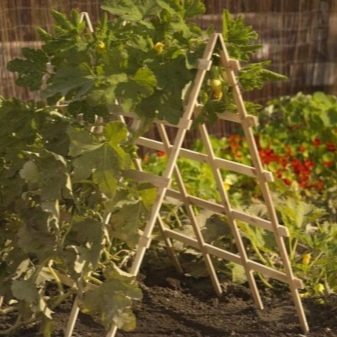
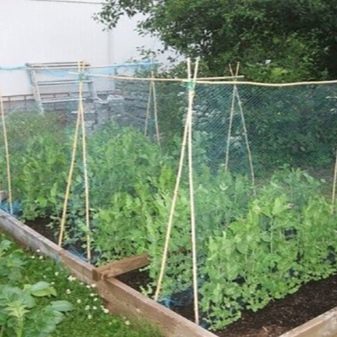
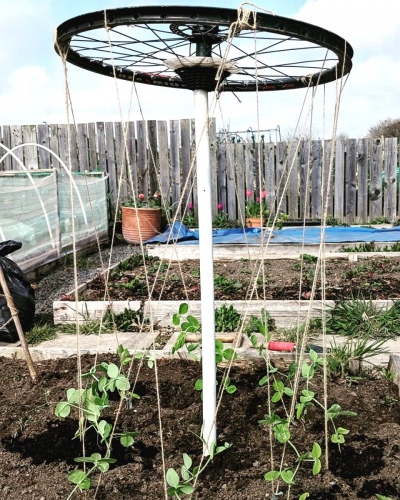
Bicycle rim support
An original way that gardeners often use. One trellis is enough to tie up 25 stems.
Here's how to assemble a bike rim support.
-
Take 2 rims and remove all spokes from the element. This is enough for one homemade trellis.
-
Measure the rims to determine the diameter.
-
Assemble the crosspieces from wooden slats, ordinary bars of small thickness are also suitable.
-
Place the crosspieces on the metal circle using the spoke holes.
-
Nail a stake up to 2 m long, setting it perpendicular to the cross.
-
Fix the other end of the stake on the second rim to form a "wheel pair".
-
Pull a strong rope between the rims using the holes.
-
Place the structure, fixing it vertically.
After that, it remains to sow seeds from the outside and inside of the frame.
To increase the stability of the structure, you can additionally fix the lower rim with tourist pegs.
Wigwams
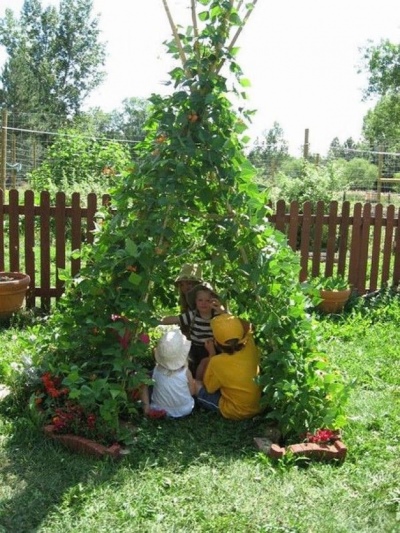
The principle of construction is practically the same as that of a hut. The only difference is the installation in the center of the pole, the length of which reaches 2 m.After that, stakes are driven in in a circle with a diameter of 0.7 m, which are collected in the upper part to the center and connected with a rope. Peas are sown on both sides of the support.
The wigwam is an interesting support option that will add attractiveness to the site. Many gardeners prefer this particular method, since standard designs no longer look so unusual.
Fences
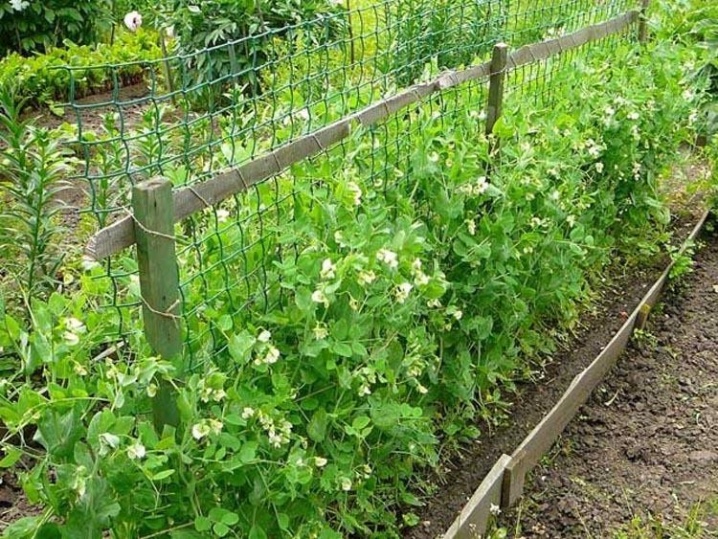
Garden owners often plant peas near fences or fences. The advantage of such a solution is in saving space and money for the purchase of additional materials for the device of the supporting structure.
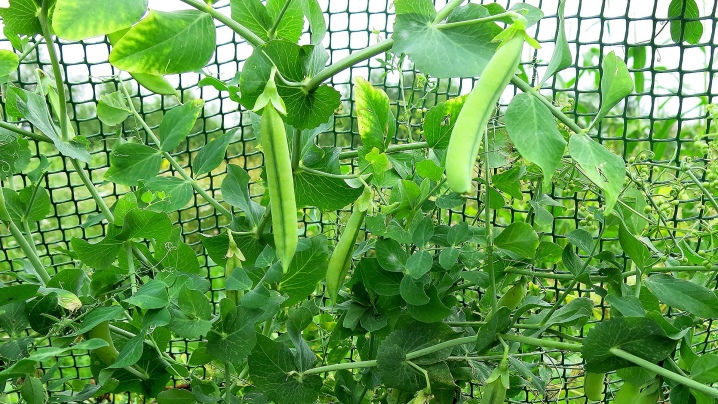
A good option for peas is wooden fences that do not heat up in the sun and do not harm the plant. The tendrils will prefer the mesh-netting, which perfectly supports the crop stems and provides a sufficient amount of sunlight.
It is not recommended to tie peas to metal fences. Such a decision will ruin not only the harvest, but also the culture as a whole. The fact is that the metal heats up a lot in the sun, which makes it likely that the peas will simply dry out.
Useful Tips
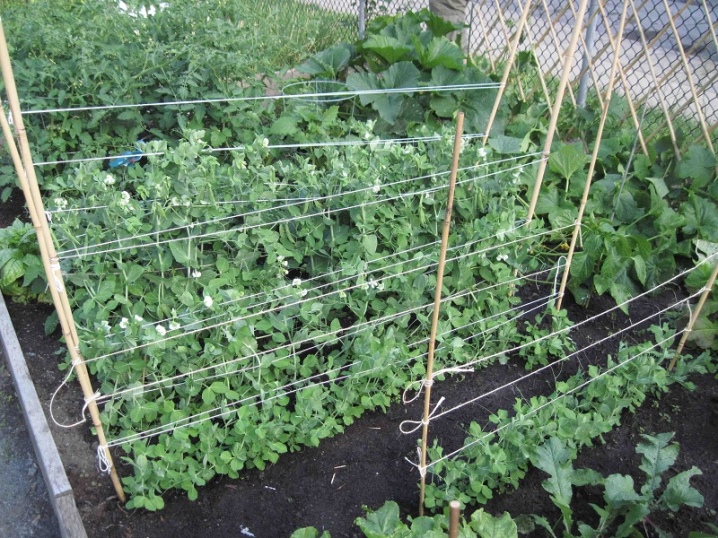
It is recommended to tie peas when the sprouts reach a height of 20 cm and the first antennae appear. In this case, fixation should be carried out as carefully as possible so as not to harm the stems or leaves. As soon as the main work is done, the peas will crawl up on their own and begin to curl along the base.
Additional tips for garter peas.
-
Do not use metal wire to attach the culture to the support. Rough materials harm the green parts of the plant, and the metal under the sun heats up and dries the stem and leaves.
-
It is better to put supports before planting peas, if the construction of complex structures is planned, installation of which will be impossible after the appearance of the first shoots. In addition, this option allows you to avoid additional binding, since the stems will immediately begin to curl along the support, additionally holding each other.
-
Tying the grown culture is possible only when stakes are installed. In other cases, it is not necessary to additionally fix the stems, it is better to install the structure and sow the garden bed. The peas will do it themselves.
-
Not tying peas at all is also impossible. Of course, you can let the culture grow without supports, but then the yield will be lower both in quantity and quality. Also, picking ripe pods will be difficult.
-
You should not plant peas near tall plants, believing that they will serve as an excellent support. This is a bad solution, which while saving materials, time and effort, but at the same time reduces the crop's resistance to pests and does not provide both plants with sufficient sunlight. In addition, densely adjacent crops begin to struggle for nutrients, which also negatively affects the quality of the crop.
-
Garter stakes can be made from any type of wood except willow. In almost most cases, when using it, a young tree will appear from the peg. And also when choosing supports, it is worth checking them for diseases, rot, pests, so as not to infect all plantings.
-
The garter material should not be rigid, so as not to harm the stems of the plants and not reduce the yield. The best option would be a wide piece of fabric. You can also use clips, clamps, or soft thread cords available from your gardening store.
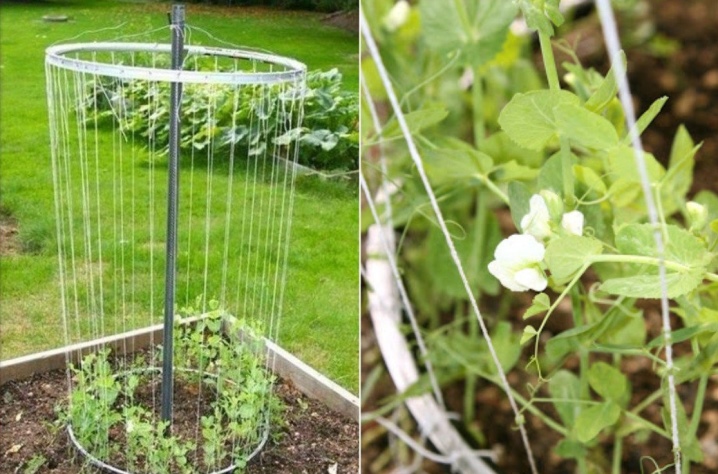
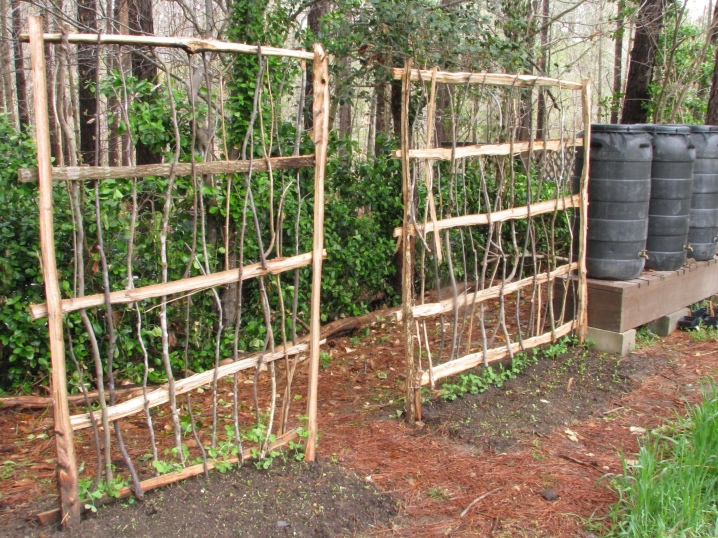
Garter peas are possible on different types of bases, except for metal ones, which can heat up in the sun and harm the culture.
Supports for a plant are seasonal and long-term, the choice depends on the planting area, the preferences of the owner of the site.


The comment was sent successfully.