Planting and caring for gladioli
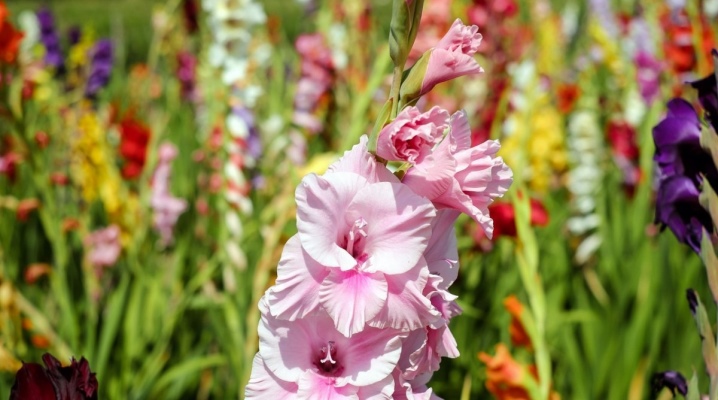
Gladioli is a plant whose magical power Pliny sang in his ancient treatises, and the bulbs of the legendary peduncle served as the basis for baking bread. Nowadays, traditionally, these beautiful flowers annually delight us on September 1 with their beautiful and solemn appearance.
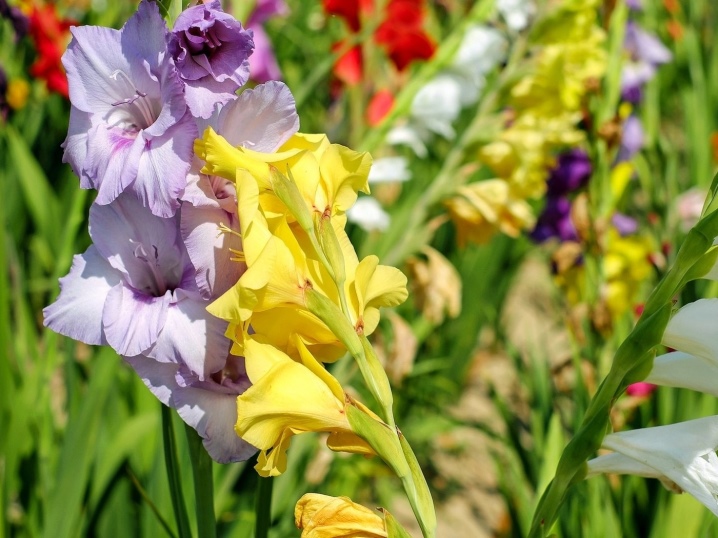
Description of culture
Gladioli, also called a sword, - perennial plants with rounded corms of light or light cherry color... The stem system is single, straight, up to 1.5 m high. The leaves are elongated (up to 0.8 m), often sword-shaped. The leafy sheaths, closing around the stem, strengthen the plant.
The flowers are grouped into inflorescences of various structures and lengths. The funnel-shaped perianth forms 6 different lobules, connected by bases of different sizes and shapes. The fruit is represented by a tricuspid capsule with many rounded brown seeds.
Reproduction method - bulbs and tuberous buds (children). Cut inflorescences can stand in water for up to 12 days.
It is known that back in 300 BC. NS. skewer bulbs were eaten, used as a product for making flat cakes... Later, flour from them was used to bake bread.
We also find references to gladioli in the treatises of Pliny (1st century AD), where their magical abilities are described, which save the warriors from defeat, and bring victorious triumph. Apparently, therefore, the ancient plants carried the bulb with them as an amulet.
Wild plants (Gladiolus segentum) were described by Dioscorides around the 1950s. NS. They have been used in horticulture since the 16th century. In the period of the XVII-XVIII centuries, they began to be used in medicine as a diuretic and to soothe toothaches.
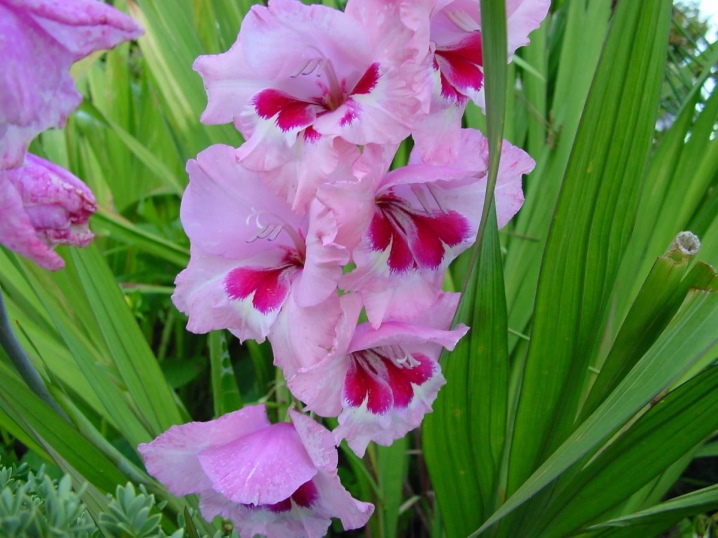
The ancestors of modern varieties are gladioli from South Africa, which appeared in Europe in the 17th century. The first plant hybrids were obtained in 1807 by W. Herbert, who crossed a number of South African species. From that moment on, the decorative pedigree of wonderful flowers began. Their further selection was actively continued in Belgium - Ghent, primrose and many other varieties appeared.
Gladioli grown in gardens are bred by crossing. It is for this reason that all varietal flowers are classified as hybrid species. As new varieties were obtained, their typology branched out, and in its present form it includes 5 classes (according to flower size), 10 classes (according to the main types of color).
The total number of varieties today reaches more than 5000.
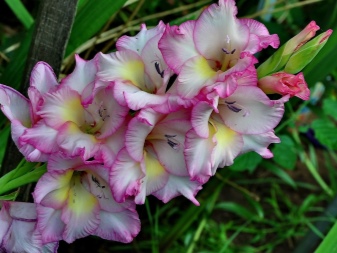
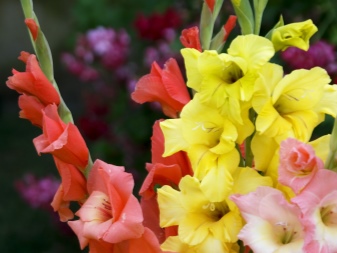
Optimal disembarkation time
The most suitable dates for planting gladiolus are in the spring - the end of April-May. Gardeners are usually guided by the weather and the condition of the soil, which should warm up to about 10 degrees to a depth of 10 cm. It is important to beware of late frosts.
Gardening practice shows that, focusing on the weather, in the Moscow region, plants are planted from the last decade of April to 20 May. To plant the plants earlier, the garden bed is prepared in advance and the soil is specially warmed up.
Weather conditions near Moscow often suggest periods of autumn rains, which begin around mid-September. High humidity leads to the occurrence of diseases of fungal origin, which are the main enemies of the flower.
Therefore, early varieties are planted in mid-May, and late ones - at the end of April.In Siberia and the Urals, the skewer is usually planted in the middle or at the end of May.
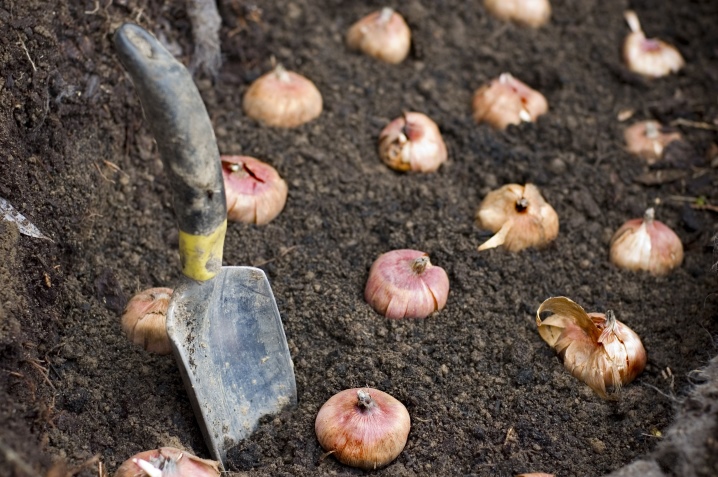
If there is a significant number of tubers of the same variety, they are planted sequentially, within 1-2 weeks. This increases the likelihood of composing a festive bouquet of your own flowers for school holidays.
Many years of experience of gardeners was expressed in the famous folk wisdom - the skewer tubers should be planted when the birch leaves reach the size of a five-kopeck piece coins.
Preparing the bulbs
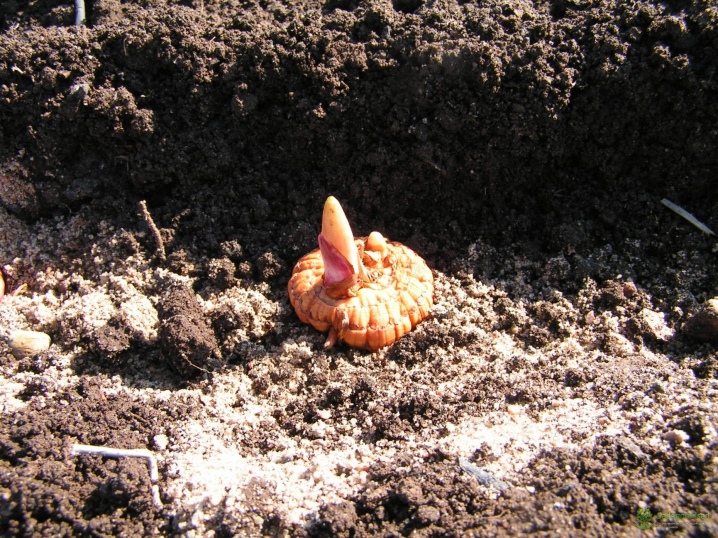
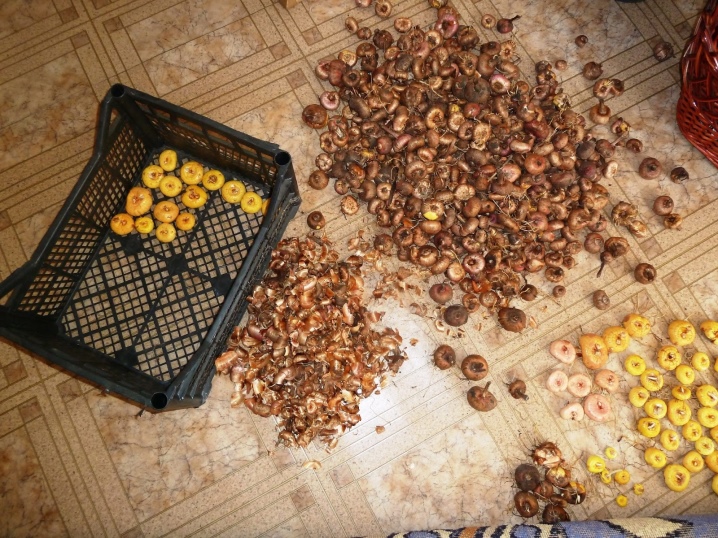
20-30 days before planting the bulbs, the time comes for their pre-planting preparation. For this purpose, the scales are carefully removed from them, avoiding injury to delicate sprouts. Before this, the bulbs are sorted out, eliminating the affected specimens. Tubers not too affected by scab or other diseases are left, carefully removing the infected areas, treating the cut sites with an antiseptic. The finished tubers are placed in a well-lit and well-heated place, distributing them in 1 layer with seedlings upward for further effective germination.
Immediately before planting tubers, as a preventive measure, they are treated with antifungal compounds, manganese solution (0.3%), where they are soaked for 1-2 hours. For this purpose, Fundazol is often used (0.3%).

Choosing a place on the site
Areas for growing a plant should be selected carefully, taking into account its characteristics. Planting sites should be sunny, draft-free and well-drained soil. Shaded areas are bad for crop development. However, in southern areas, slight shading is allowed.
Places with groundwater close to the surface are not suitable for growing skewers. The site should be flat or with a slight slope (up to 5 degrees) to the south, which will ensure the drainage of excess moisture.
An important element of site selection is the degree of soil acidity, since the culture prefers slightly acidic soil. (from 5.6-5.8 pH). With a higher level of acidity, the ends of the leaves of the skewer darken and begin to dry out, the process of opening flowers slows down, and the bush itself is quickly affected by fusarium.
In alkaline soil in the foliage of the plant, the process of chlorophyll production slows down, which contributes to its yellowing. To get rid of excessive acidity during digging, add dolomite flour, chalk or eggshells (150-200 g per 1 m2 of plot) to the soil.

The skewer develops excellently on the soil of structural chernozems, sandy loams and light loams. In the case of heavy loams, sand is added, and the excess sand in the soil is leveled with clay with the addition of rotted manure.
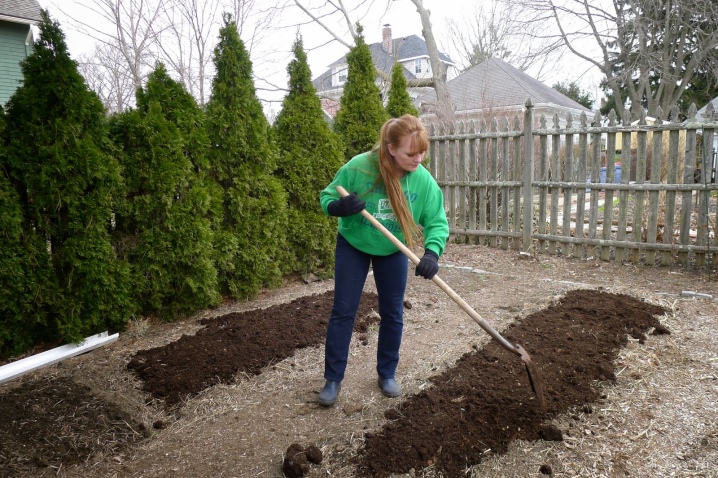
A well-heated area is dug up shortly before planting the skewer. In regions with frequent droughts, digging is carried out in the fall to preserve water reserves. In the spring, the soil on the site is preliminarily subjected to loosening. The preferred planting sites for skewers are areas where legumes and vegetables or perennial grasses were previously grown. The soil where asters and root crops grew are not accepted by gladioli.
How to plant?
It is customary to plant a crop in separate holes and in a common furrow. The planting depth is determined by the dimensions of the tuber and corresponds to its diameter multiplied by 3. Therefore, it is more convenient and more productive to plant batches of bulbs of the same size.
An approximate planting scheme for novice gardeners:
- in a trench: distance between tubers - 15-20 cm, between trenches - 30-40 cm;
- in holes - 15-20 cm, row spacing - 25-30 cm.
When planting a crop in open ground, the ridge is formed at the rate of 1–1.2 m in width. The soil is preliminarily enriched with dry potash (per 1 m2 - 30-40 g of potassium chloride) and phosphoric (per 1 m2 - 100 g of superphosphate) additives, and then digging is carried out. Before digging up the garden beds in the spring, the soil is enriched with potassium magnesium. Spring digging is carried out to a depth of about 10 cm less than the autumn one.
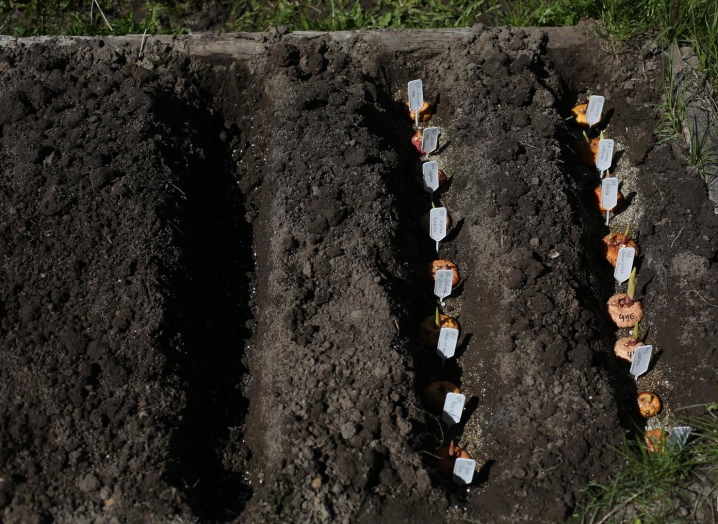
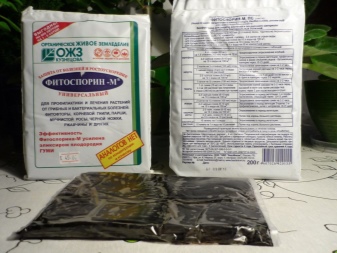
The planting depth of the bulbs is usually 8-10 cm (for small ones), 10-15 cm (for large ones). The distance between small tubers should be 7-8 cm; between large up to 15 cm. The row spacing is maintained in the size of 20-25 cm. The planting furrow is preliminarily shed with Fitosporin solution or water. Then the bottom of the furrow is covered with sphagnum or river sand (layer thickness is about 2 cm). Then they spread and add the onions there. Sphagnum helps prevent rot and retains beneficial moisture in the soil.
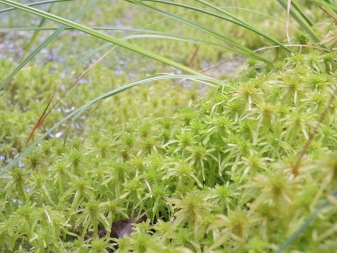
Often, in practice, it becomes necessary to transplant gladioli. Such an operation is usually required if the flowers were previously contained in containers or there was simply a reason to transplant them to another place. You can transplant them, following the recommendations and advice of experienced gardeners. In these cases, the skewer should be dug out with a clod of earth, carefully, avoiding damage to the root system. Placing the tuber in the hole, it is watered. Then, after absorbing moisture, it is necessary to mulch the soil with a layer of dry earth.
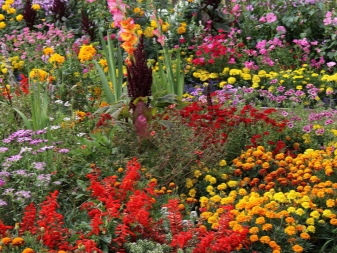
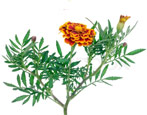
In order to beautifully and correctly organize a flower bed, it is recommended to plant bushy unpretentious annuals (marigolds, petunias, calendula) together with a skewer. The branches of the plants should be tied up.

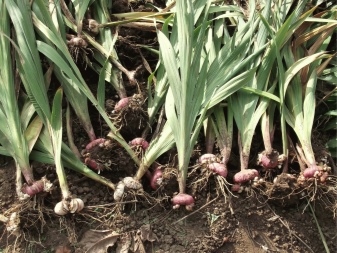
Digging up a plant is done for 2 main reasons.
- The bulbs do not tolerate frost extremely well and die from hypothermia. In addition, their autumn harvesting allows you to avoid diseases and pests, to preserve the most viable specimens.
- During the wintering period, there is a great danger of infection of the bulbs with fungi. Therefore, knowledgeable gardeners, as a preventive measure, after digging up, immediately start sorting and processing the tubers, preparing them for subsequent storage and planting next year.
How to care?
The successful growth of the skewer is ensured by caring for it. The main operations for the care of the crop are carried out regardless of where they are grown - in the country or at home.
Watering
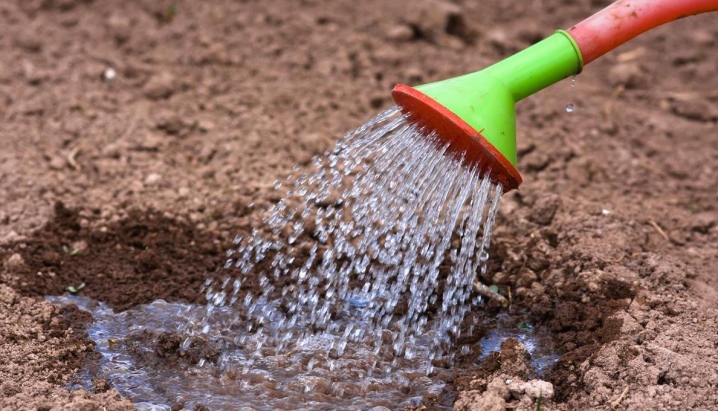
The average frequency of watering the crop is once a week, and in summer, on hot days, once every 3-4 days... Watered in the morning or evening, using about 10-12 liters of water per 1 m2. Watering is carried out in specially prepared inter-row furrows, deepened to 30-50 mm so that drops of water do not fall on the leaves of gladioli. Flowers will wilt quickly without regular watering. At the end of the procedure, the bushes are spud. Once a decade, the soil must be loosened.
Sprouts that have reached 10 cm signal the knowledgeable owner that it is time to mulch the soil. Usually, for this, the surface of the soil is sprinkled with a layer of humus - up to about 50 cm thick. After such an operation, the soil is guaranteed not to dry out and overheat, and during watering, the tubers will receive high-quality nutrition.
Top dressing
Different stages of flower growth require different mineral fertilizing, which also depends on the quality characteristics of the soil. When fresh 2-3 sheets appear, nitrogen fertilizers are added (25–35 g of ammonium nitrate, or 25 g of ammonium sulfate or urea per 1 m2 of area). Nitrogen deficiency leads to blanching of the leaves, and its excess leads to the active development of greenery to the detriment of the peduncle. Bushes become vulnerable to fungi.
The next top dressing - potassium-nitrogen-phosphorus, is carried out when 5-6 sheets are drawn up. 10-20 g of ammonium sulfate, 15-20 g of superphosphate and 10-20 g of potassium sulfate are added to the soil per 1 m2 of the garden. Before the buds appear, phosphorus-potassium fertilizer is added (15–20 g of potassium chloride and 30–40 g of superphosphate per 1 m2 of the garden).
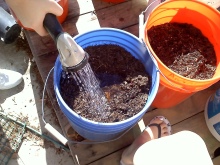
For direct nutrition of the root system of the culture, liquid organic matter is placed in the soil, for example, a solution of poultry droppings, which is infused for 10-12 days (for 30 liters of droppings up to 50 liters of water).
The resulting composition is diluted with water (1: 10) and used as with conventional watering. Further, the soil is loosened, and the bushes are spud.Groundbait is done every 18–20 days, but stops with the arrival of mid-August.

Garter
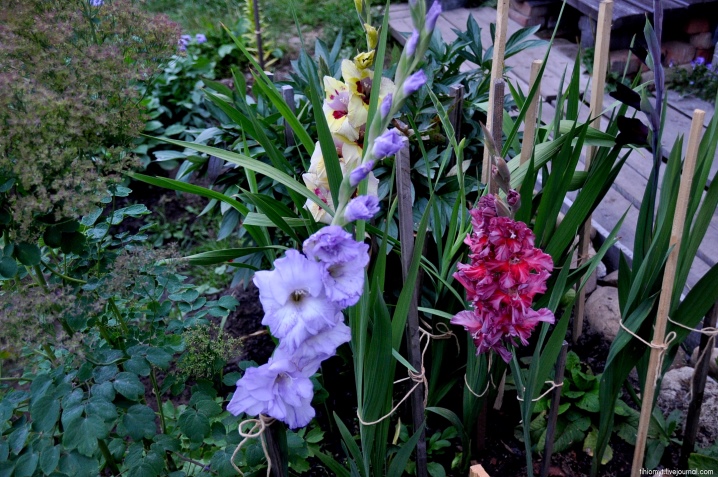
The garter of plants is carried out after the formation of buds. Along with the garter, fading flowers are eliminated, which interfere with the further normal development of the bushes.
Weeding and loosening
Weeding is a traditional and necessary activity for the care of shrubs. Weeding is usually done 3-4 times a season. It is especially relevant at the time of the emergence of sprouts. Your autumn holiday can be ruined if the bushes drown out the weeds, because a significant amount of weeds contributes to the rapid reproduction of pests and the occurrence of diseases. With weeds, it is unlikely that it will be possible to grow full-fledged flowers.
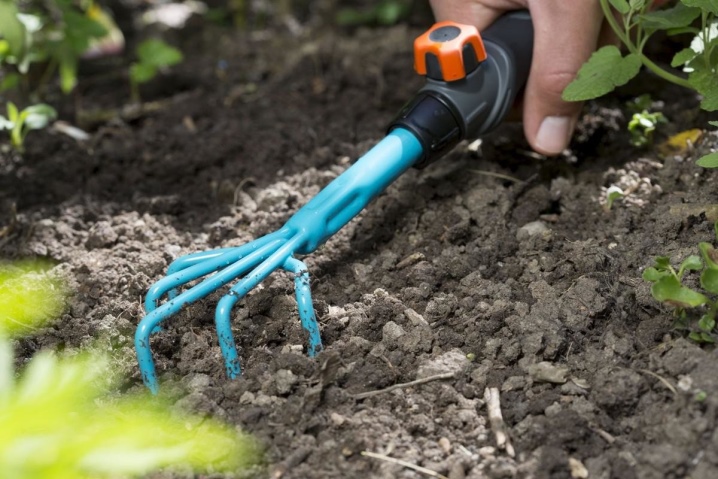
Correct cut
The traditional operation of cutting the skewer is carried out in September and is necessarily carried out with a sharp instrument, in the evening or in the morning. After the operation, the rest of the skewer should be in the depth of the leaf blades, of which at least 4 are left on the plant. This order allows the tubers to develop normally in the future.
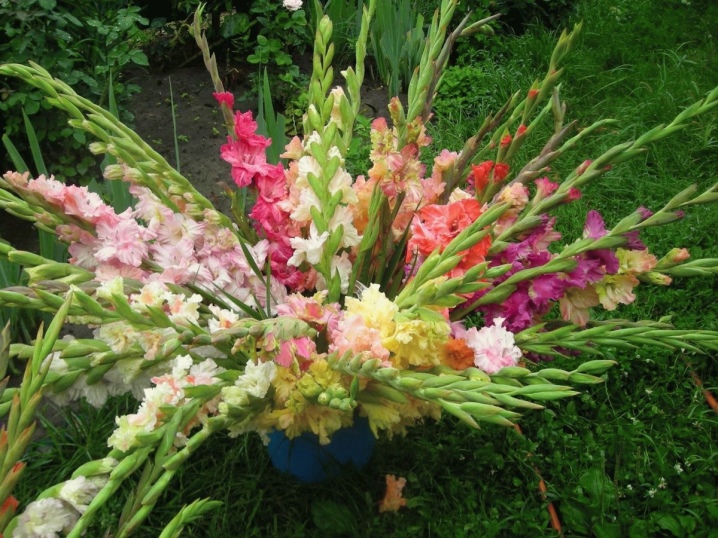
How to accelerate or delay flowering?
The flowering of a culture can be accelerated by planting it early in pots, greenhouses or on window sills. Plants planted in this way bloom one month earlier. This means that they bloom in August. For this usually use early varieties of skewer with hard shoots... Growing at home or in greenhouses requires mandatory standardized watering.
Early planting is convenient to carry out in greenhouses, thanks to good lighting, tubers can be planted in flowerpots in March. After the appearance of inflorescences, abundant irrigation of the plant is mandatory - this accelerates the flowering process.
Delayed flowering is achieved when early tubers are planted in pots at the end of June. These varieties usually require a more limited amount of light. The containers are covered with peat and soil. The culture transferred to the greenhouse blooms in October-November.
However, this method is used in glass, heated structures. It should not be forgotten that during the transplanting of a skewer, which had previously grown in another place, it should be transplanted into the greenhouse with a lump of "native" soil.
How to prepare for winter?
Preparing for winter is a set of measures that starts with digging out tubers.
How to dig up tubers?
The tubers are dug out in the fall, 35-45 days after the end of flowering. Tubers ripe for digging have root scales, and children are covered with dense scales.
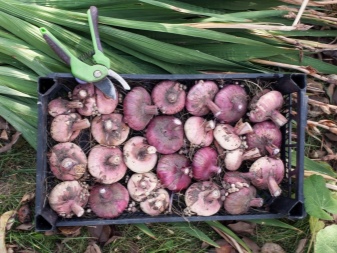
Dig them out in dry weather, starting the process with earlier varieties. To facilitate the process, the skewer can be mowed or a pruner can be used, which is convenient for cutting the roots. Then, the remaining soil is removed from the bulbs and the children are separated.
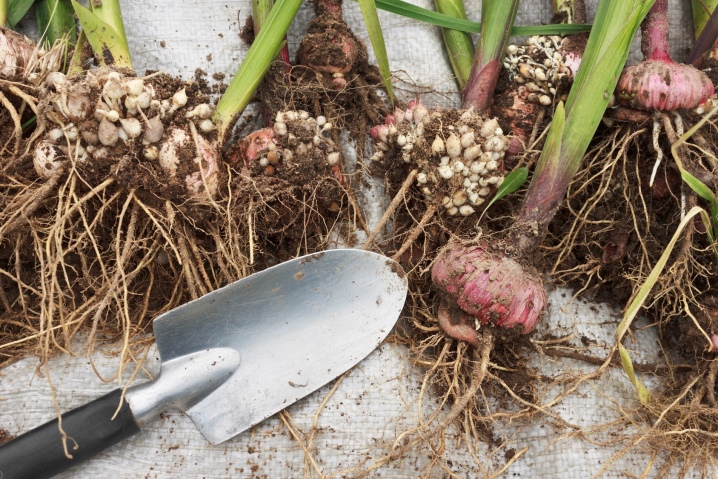
In the future, the tubers are placed according to types in boxes, preferably with a trellised bottom. Later followed by washing the tubers in water and disinfecting them, for which a 1% composition of "Fundazol" is used, where they are kept for 20-30 minutes. After the next washing, the tubers are treated with 3% potassium manganese composition and dried for 2-3 days. The dried material is distributed in boxes with paper laid at the bottom and placed in a warm (25-30C) storage place.
It is important to turn the material over regularly during storage. After 1.5-2 weeks, the tubers are transferred to colder conditions (18-22C).
After 1.5 months, the tubers are cleaned, removing contaminated scales, and sorted.

Storage rules
When preparing plants for winter storage important to remember:
- the less time it takes to dry, the better the bulbs are stored;
- undried bulbs should not be stored;
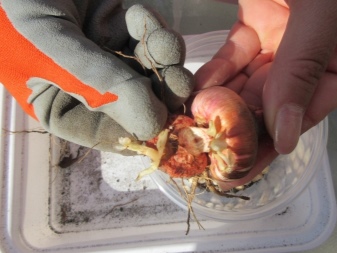
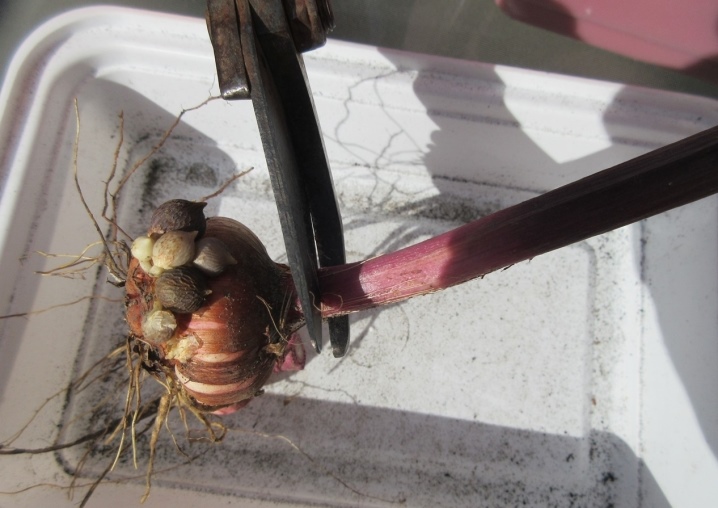
- the babies are carefully separated from the dried mother corms, and then the dried stem is twisted.
It is required to prepare the bulbs for storage in compliance with a number of rules:
- storage of corms is carried out at a temperature of 5-8C, in a dry and dark place, preferably in a container with an open lid;
- after peeling, it is recommended to process the bulbs by soaking them in a fungicide solution for about 30 minutes or simply sprinkle them with insecticide and fungicide;
- only well-formed tubers are subject to storage, waste is destroyed;
- storage space and boxes (cardboard can be used) must be clean;
- it is important to ventilate the storage room regularly;
- detected pests should be immediately destroyed;
- the tiny bulbs should not be thrown away as they can be used for propagation.
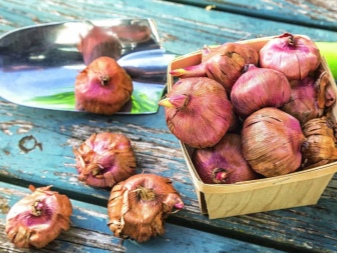
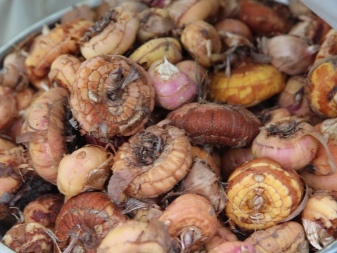
Storage boxes should be bulky so that it is convenient to shake them, stirring the tubers during the drying process. To store several varieties, it is quite possible to use plastic nets from kiwi or other fruits.
The state of the planting material is monitored throughout the winter. If the damage to the bulb is insignificant, then the affected part is cut off, and the remaining 15 minutes is kept in an antiseptic solution. After drying, such specimens are stored separately.
Tubers are sorted by size and variety. Large children reach 8 mm or more in diameter, medium? not less than 6 mm.
They are placed in paper bags for storage in a room with a temperature of no more than 5-6C. They can be placed in the refrigerator.
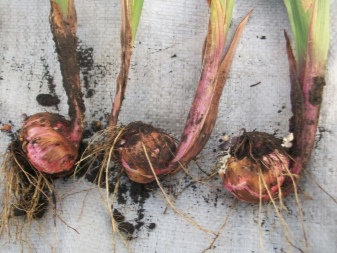
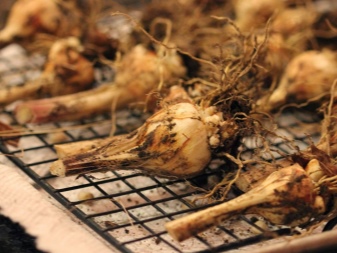
The duration of the natural resting time in the skewer is about 35–40 days. At the end of this period, the likelihood of sprouting increases. Therefore, for proper preservation, they are placed in a room (5-10C) with a humidity level of 60-70%. For greater safety, several cloves of garlic can be placed in a box with tubers. It is necessary to inspect the material 1-2 times a month, while removing spoiled tubers and replacing the garlic cloves.
The best place to store these plants is in a ventilated cellar or a cool basement. It is best to put tubers in boxes with a mesh bottom for good ventilation. The boxes are usually placed on racks.
When storing tubers in the refrigerator, choose the lower, vegetable shelf, placing them in tightly closed containers (to protect the bulbs from dehydration). It is advisable to pre-wrap each tuber in paper.
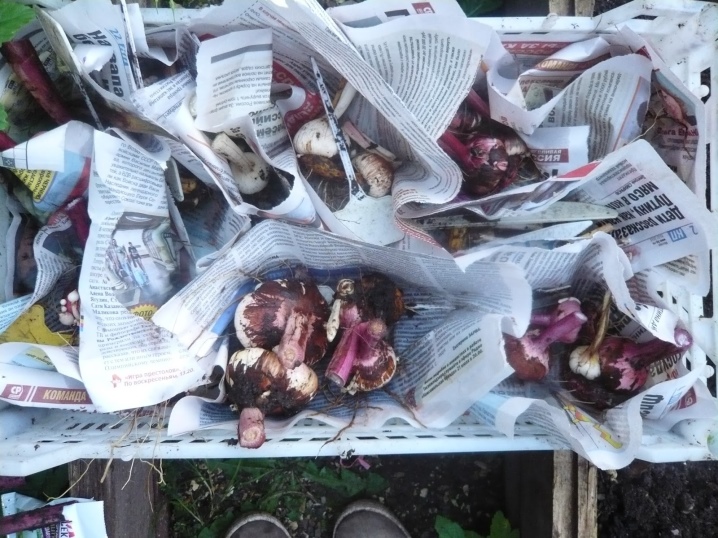
Towards the end of winter, the tubers begin to "breathe", releasing moisture, for this reason, they should be periodically removed from the paper. After such drying, the paper wrapper is changed and storage is continued in the container.
In areas with warm winters, the skewer is stored on insulated balconies, after placing the tubers in boxes, which are placed on special wooden supports. With the expected strong cold snap, the planting material is insulated with a thick blanket.
Sometimes tubers have to be stored in a room. In such cases, they are laid out in one layer so that they do not come into contact with each other.
Closer to the spring period, the tubers may dry out, so before planting it is useful to soak them for a while in a growth stimulant solution.
Diseases and pests
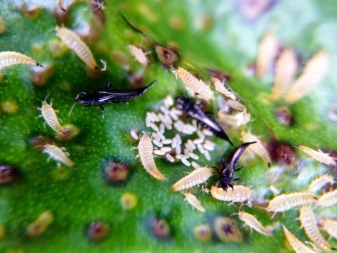
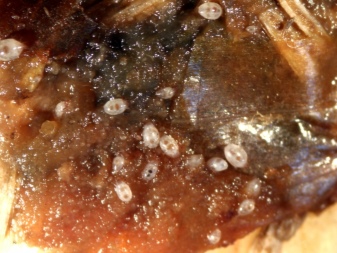
Gladioli are susceptible to fungal, bacterial and viral diseases. Therefore, treating them with fungicides means saving most of the tubers. The most common pests are thrips, root mites (Rhizoglyphus echinopus).
Often, bad predecessors transmit diseases and pests to the skewer. Gladioli should not be planted in one place for several years. They should not be planted in beds where other bulbous plants grow and next to tuber crops.
They will not get along well next to cucumbers, tomatoes, tobacco, beans. The risk of plant infection is increased by planting asters, freesias, lilies and phloxes nearby.
For planting and caring for gladioli, see the next video.


























The comment was sent successfully.