How to grow a gladiolus from a baby?
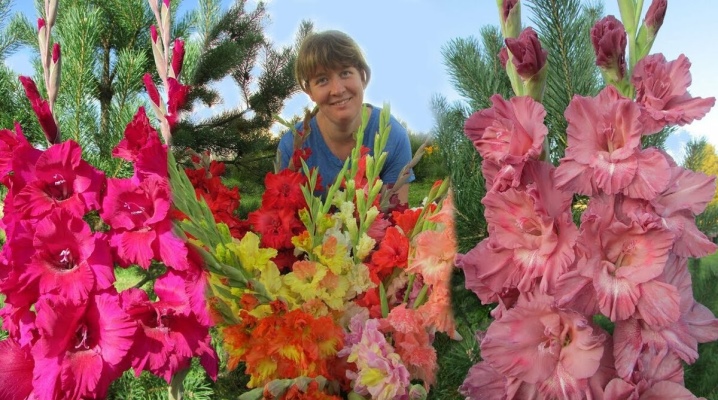
Gladioli are considered noble and proud flowers. They decorate many flower beds and lawns. They make exquisite bouquets. It's a shame that caring for them is a bit of a hassle. Many gardeners are convinced of this. You can plant a bulb and after a few months admire the plant that has grown from it, and next year you will not wait for the long-awaited flowering. And so I want to look at the unusual beauty every season. What to do to make your wish come true? Just learn all the tricks of growing these beautiful flowers.
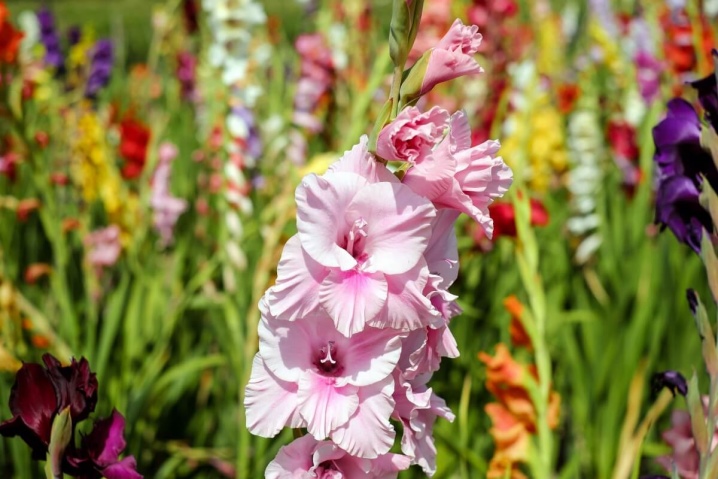
What it is?
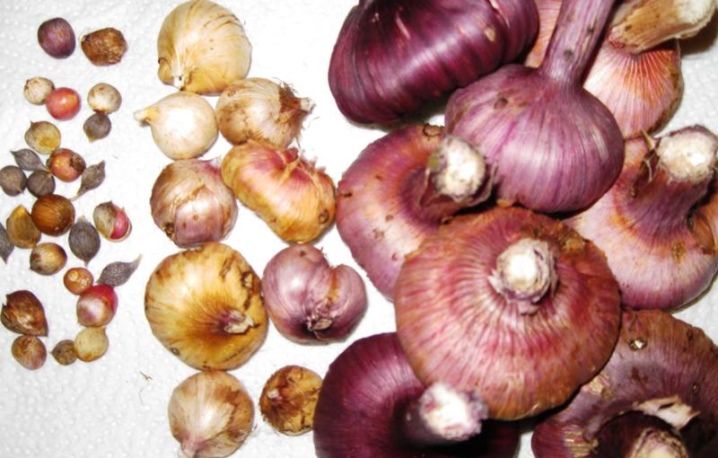
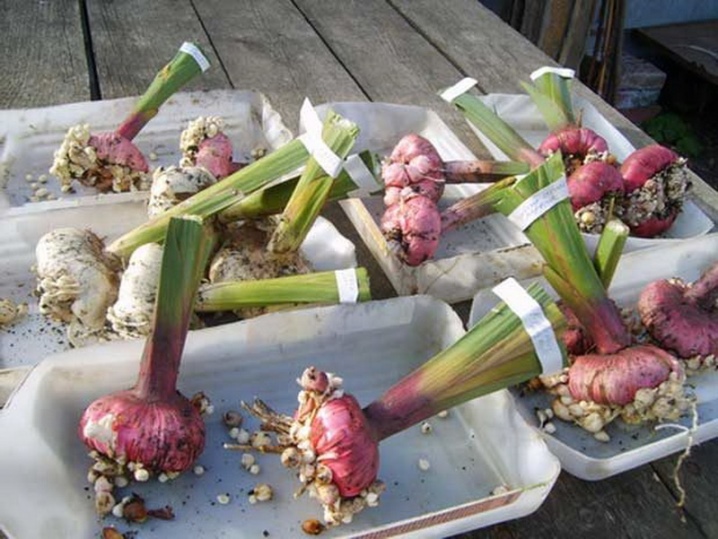
Reproduction of gladioli is not an easy task, but quite feasible. Usually gladioli reproduce with bulbs and so-called babies. What are the latter? The baby looks like a small tuber with a dense and dry shell, which protects the interior of this unit from external factors during rest. Each such unit, similar to small potatoes, has its own specific size. However, it is necessary to start the story about the reproduction of gladioli with corms. And you need to know that its subsequent flowering depends on the parameters of the gladiolus corm. Consider these very sizes and find out how they affect the future beauty and size of the flower.
- Only that corm that has the size more than 3 centimeters in diameter, can give several peduncles at once. The flowers will be large and beautiful, as they will open completely. Their color will surprise you with their richness.
- The same unit, only slightly smaller - 2 to 3 centimeters, is considered to be of the second class. From her, you will also wait for a lush flowering.
- Further, the size only decreases. Small specimens with sizes from 1.5 to 2.5 centimetersare considered a good option. But they begin to bloom much later than the previous ones, about 2-3 weeks. Moreover, the flowers will not open so intensively.
- The units of the fourth analysis are considered to be of the lowest quality. They have sizes from 1 to 1.5 centimeters... Such crumbs bloom late and bloom very poorly. But if you show perseverance, then you can get good results from such specimens.
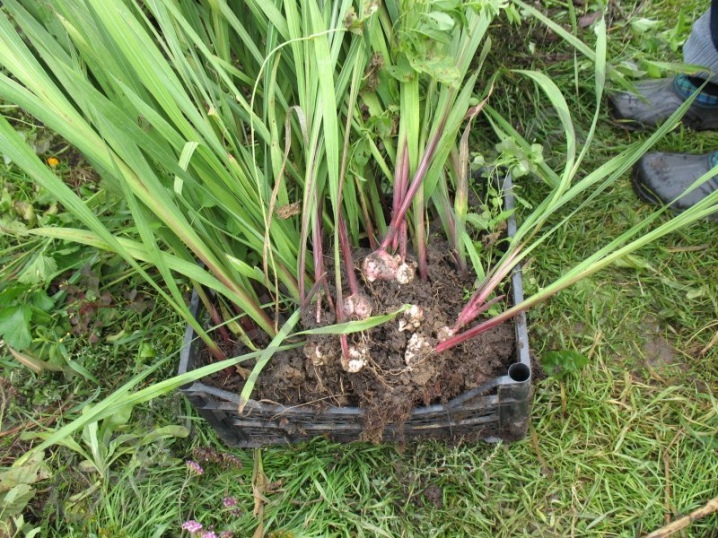
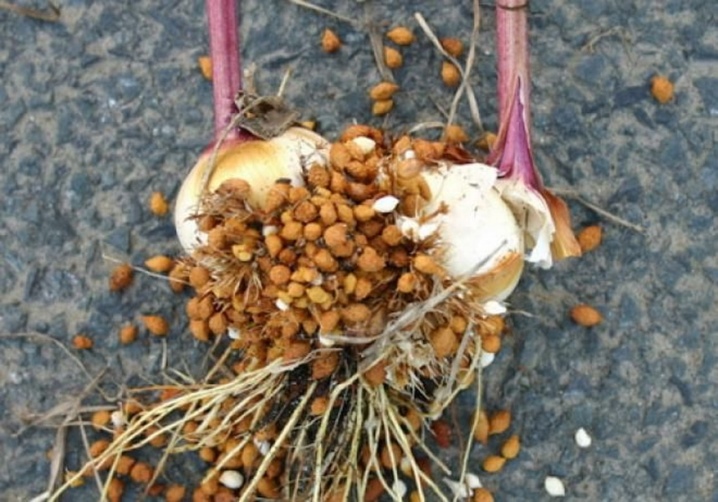
When digging up a corm, you can notice very small coils at its very base - these are tubers or so-called babies. Imagine that they also have their own sizes and are divided by parameters.
- The children in the first place have sizes from 6 to 11 mm. With subsequent care, they can produce first-class corms. With their help, the plant is easy to propagate.
- Second-class tubers have dimensions from 2.5 to 5 mm. From them you will receive small corms.
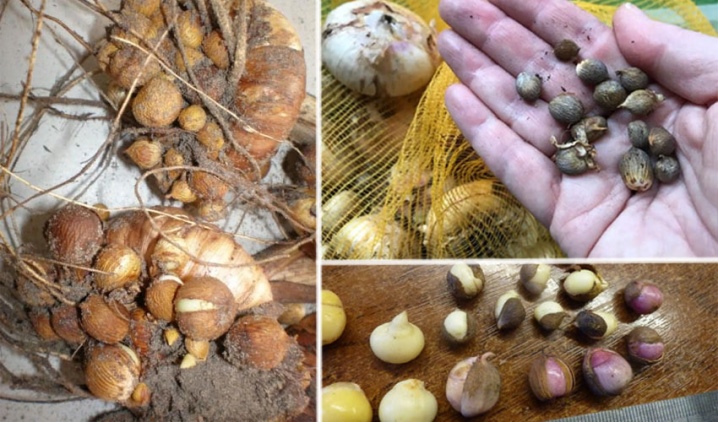
Baby gladiolus promotes vegetative reproduction. Such units retain all their qualities very well during the winter period during storage. Therefore, their germination rate is always 100%. Children have the following advantages.
- They can be multiplied to the state of flowers. This is how the personal seed fund is preserved.
- You will get a 100% healthy plant, as the babies were grown on your soil, which has its own characteristics.
When to collect and how to store?
Definitely, after the summer period, the corms are dug up with the children of gladioli. It is necessary to carry out this process when they are fully ripe. How to determine full maturity in the first year? Experienced people count down the time from the end of flowering. It can be about a month. If late varieties grow on your site, then this period can be increased to 1.5 months.
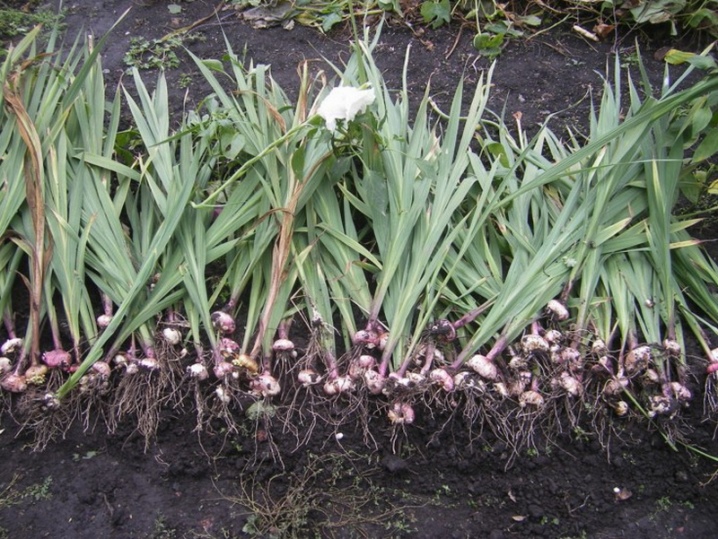
What to do after they have been dug up? It is necessary to rinse and dry the corms. The same is done with the children of gladioli. When, after drying, you begin to sort out the seed, then try not to throw anything away. Better to distribute them by size. So you get a huge amount of planting material. And remember, babies survive much better than the bulbs themselves.
However, it is necessary to create conditions for them. The room should be ventilated and the temperature should not exceed 8 degrees. Remember that planting material must be viewed in winter (discarded rotten and dried out specimens) and shifted from time to time. And before that, the children of gladioli must be treated with special preparations that preserve the planting material.
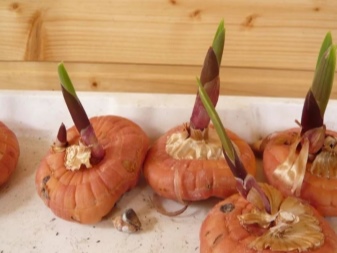
So, you need to learn two rules.
- In the fall, the children are dug up, sorted out, dried and placed in winter storage. Keep in mind that the unripe corm has a light gray color, and the ripe ones have a brown shell (they merge in color with the soil, so it is difficult to get them out of it).
- In the spring, the children get out and begin to prepare for planting. And this period is the most troublesome. It must be taken seriously.
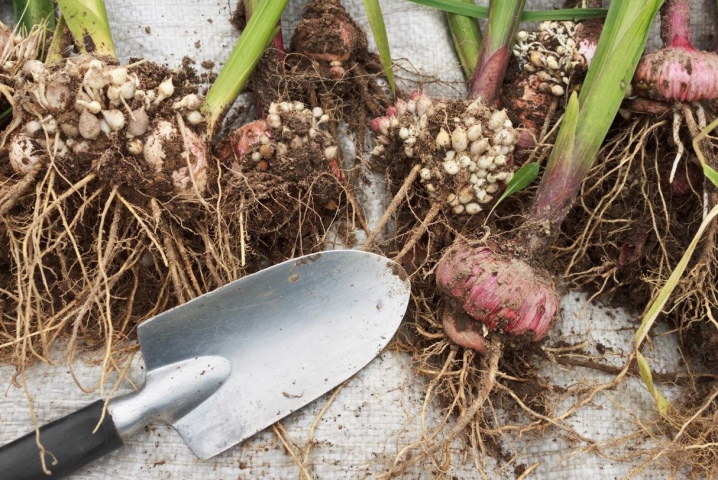
How to prepare for landing?
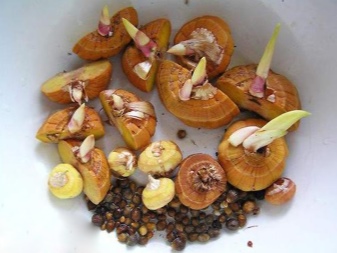
After winter, the babies of gladioli are ready to plant. You need to get them and do some manipulations that will allow you to get lush flowering in the future. First of all, consider the planting material. You will see that each baby is wearing a very tight shell. It retains useful substances, protects the unit from harmful factors, at the same time, this shell can contribute to the fact that your baby will not germinate well.
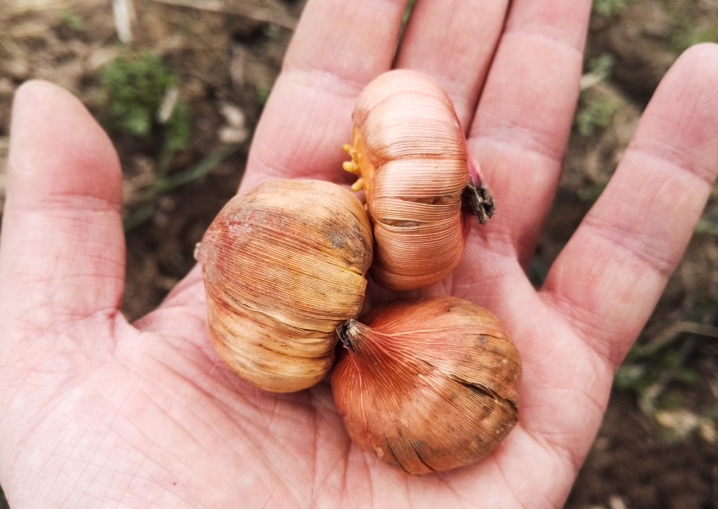
What to do to prevent this from happening? It is necessary to slightly break the dense shell. Of course, this process is very difficult. It is quite difficult to destroy a strong shell by hand. In addition, you can damage the inside or even crush the specimen. However, you still have to perform these actions.
If, after digging, you did not receive such a large part of the planting material of the units, then the process of breaking the dense shell will not be so laborious. If you have a large number of children available, then you have to go for some tricks. An effective and natural way is to germinate the planting material. This kind of work can be done at home. To do this, about a month before planting, the children of the gladiolus are laid out on the flooring, which is in a warm and bright place for 3 weeks.
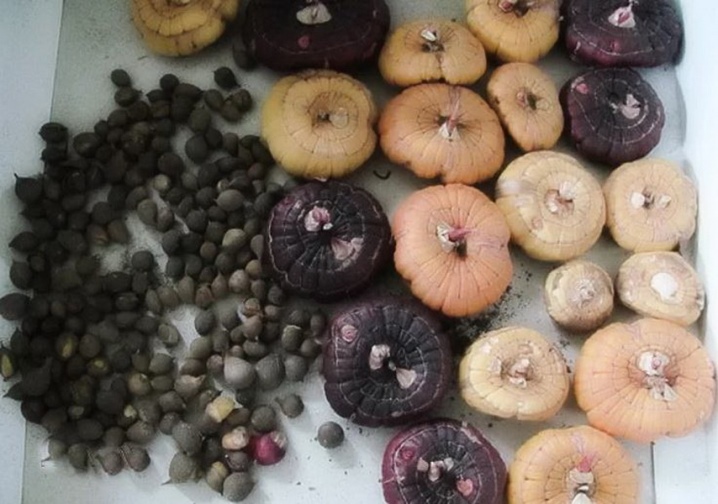
After that, the children should be sorted out and arranged in size and grade in separate containers. To do this, you can use plastic bags or disposable cups (they are covered with cellophane). After you spread the planting material in containers, a little water should be poured into them (it is advisable to add a little potassium permanganate to the water so that it becomes slightly pink). Remember that jars or bags cannot be closed very tightly. It is necessary to make sure that air is constantly flowing into them.
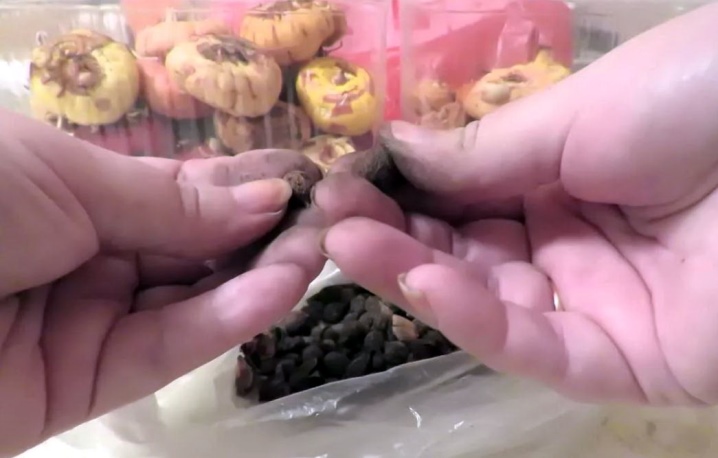
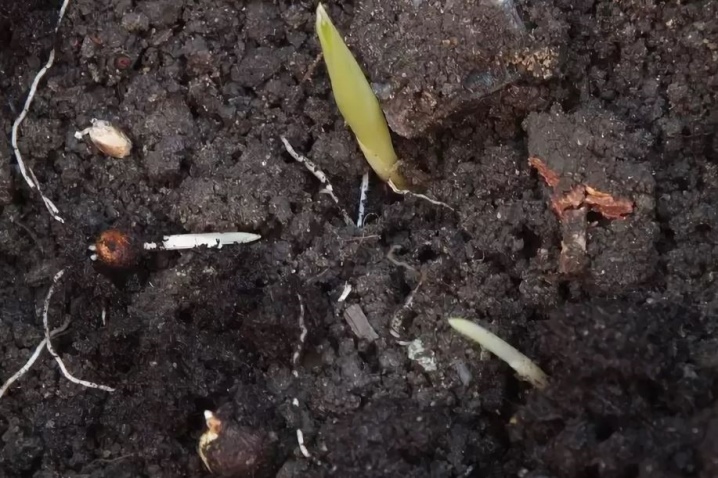
Separately, it should be said about water. There should not be too much moisture. Otherwise, your planting material will start to deteriorate and rot. If you do everything right, then in 2 weeks your babies will release small roots and give the first shoots. Some growers, if they do not have much planting material, put bags with children in the refrigerator. The effect exceeds all expectations. This method promotes rapid plant growth and good subsequent flowering.
How to grow seedlings?
In winter or early spring, you can use baby gladioli for seedlings. Note that the largest ones can be used to grow larger bulbs. All this can be done at home, and you will succeed.Be aware that this will take a lot more time, but the result will please you. By and large, this is about how many gardeners plant tomatoes for seedlings from seeds. Only instead of seeds you will "sow" future gladioli. To do this, you need to do this.
- After germination, each individual baby should be immediately planted in a small separate container (it is better to take a plastic cup). As a result, you will not damage the roots when replanting the young in the open field. Although you can plant in a box. Only in this case, you need to be careful when transplanting.
- The seedlings should be kept in a room where the temperature will be kept within 10-15 degrees. The basement is best suited for germinating gladioli.
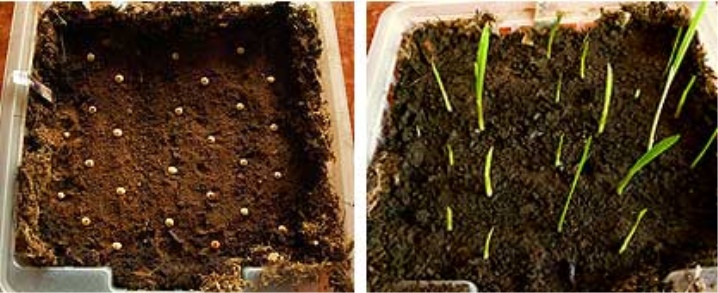
Place cups or cassettes with future seedlings on a large pallet. Pour water into it. This will ensure proper watering. Be sure to provide your seedlings with light if you keep them in your basement. To do this, you can use energy-saving lamps. Then you can get good shoots.
Transplant to open ground
Drop off location
Gladioli love the sun. Therefore, for their planting, choose the most illuminated areas. If you plant this flower in a darkened part of the space, then your pet will not bloom luxuriantly. In addition, you cannot plant a capricious flower all the time in the same place. Landing sites need to be changed every 3 years. Gladioli grow best in beds where vegetables used to grow. In general, any soil is suitable for them. If the soil is too loose, then water more often, and if the soil is heavy, loosen more often.
Instructions
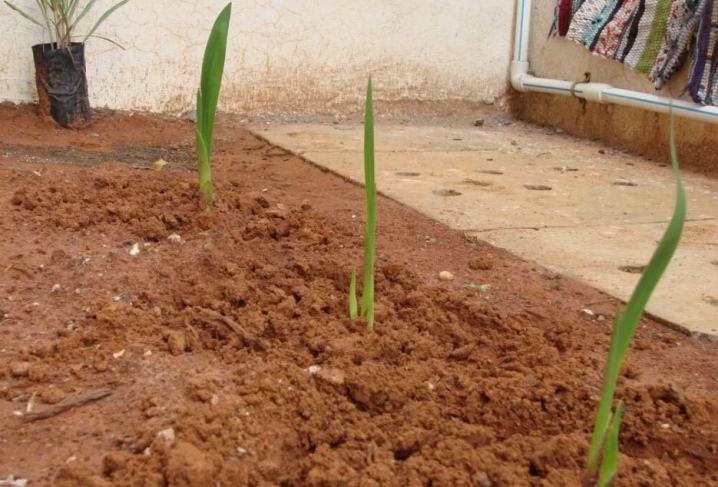
In general, planting gladioli resembles planting potatoes.
- A separate hole must be dug for each unit. The diameter of the hole is selected for its size. If the seed specimen has a diameter of more than 3 cm, then the hole should be 10 cm in diameter.
- Try to plant the bulb as deep as possible. Flowering depends on this. In addition, sand should be poured into the hole, filled with water with manure diluted in it and treated with "Fitosporin".
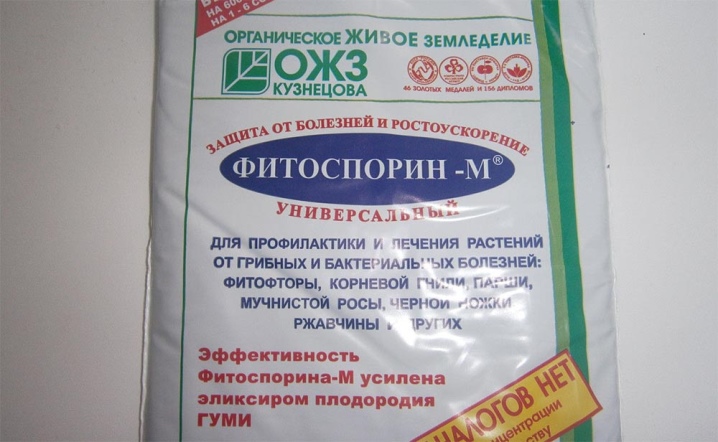
This way you will get excellent flowering and many gladiolus babies. Therefore, the most correct distance between the holes should be more than 20 cm. Cover the planting site with earth, and sprinkle it with sawdust on top. Then they act like this.
- In autumn, the soil under the gladioli should be dug up. If the soil is clayey, add sand. If on the contrary, add clay. The soil needs to be fertilized. Apply phosphorus-potassium fertilizers.
- Dig up the soil additionally in the spring. Make a bed about 10 cm high. Before planting gladioli, treat the soil with Fitosporin.
Follow-up care
Excessive watering for gladioli is harmful, especially if the summer is rainy, otherwise your gladioli will get rotten. Therefore, ensure soil drainage near the roots. Like all plants, gladioli need to be fed with fertilizers (manure, compost). These flowers require regular loosening of the soil. We need to actively fight pests. All the main chores begin in about 2 weeks, when the first shoots appear.
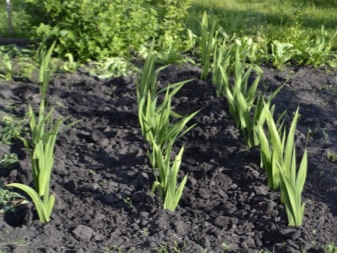

From this point on, the sprouts need to be watered abundantly until impregnated 4 cm deep. It is required to do this once a week. As soon as the shoots get stronger, the flower needs to be fed with a mullein. The first feeding should be done at the end of May, then in July (fertilizers can be potash, phosphorus and nitrogen) and in August (fed with potassium-phosphorus fertilizers).
Disease is best prevented. Therefore, treat your flowers with fungicides. The main enemy of gladioli is thrips. For this problem, gladioli are required to be processed in advance - when you see the first damaged 3-4 leaves. Chemical solutions help, but if you do not accept them, then treat your flowers with various decoctions of celandine or yarrow. This method is not very efficient, but it can help.
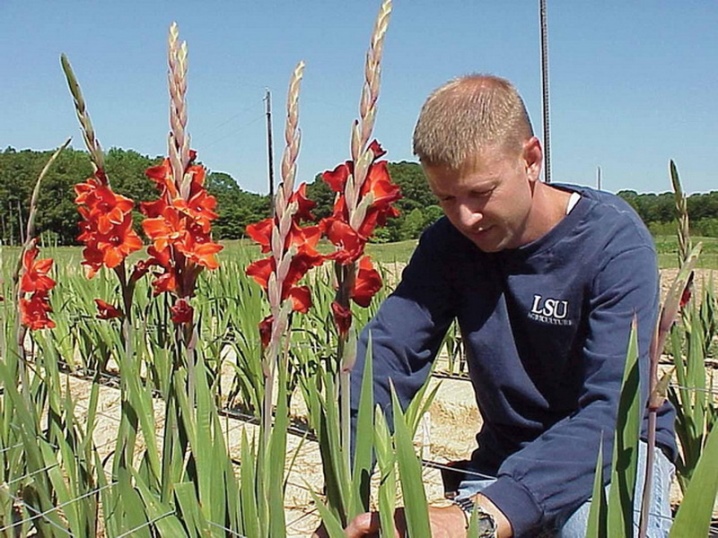
When gladioli gain strength and give persistent shoots, they must be tied up so that they do not break with gusts of wind. After the beginning of flowering, when the first 3 flowers bloom, cut off the shoot. Put it in water. The rest of the flowers will bloom on their own. Remember that the cut of gladioli must be appropriate. Before cutting off the shoot, you need to disinfect the knife. Dip it in potassium permanganate. Then count about 6 pairs of leaves and prick with a knife. Then unscrew the stem of the flower.
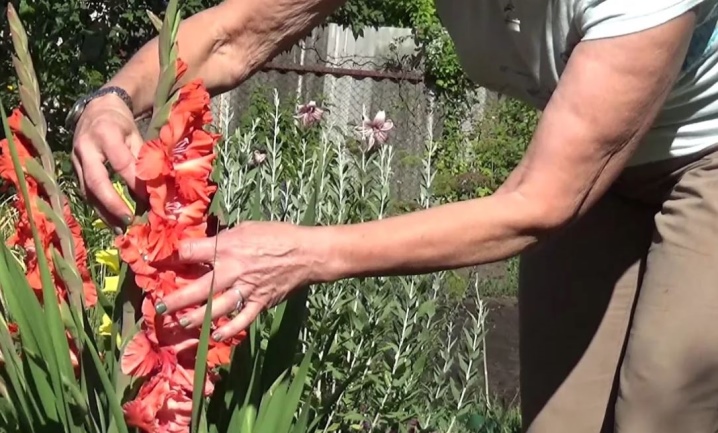
For information on how to properly grow a gladiolus from a baby, see the next video.




















The comment was sent successfully.