How to make a generator with your own hands?
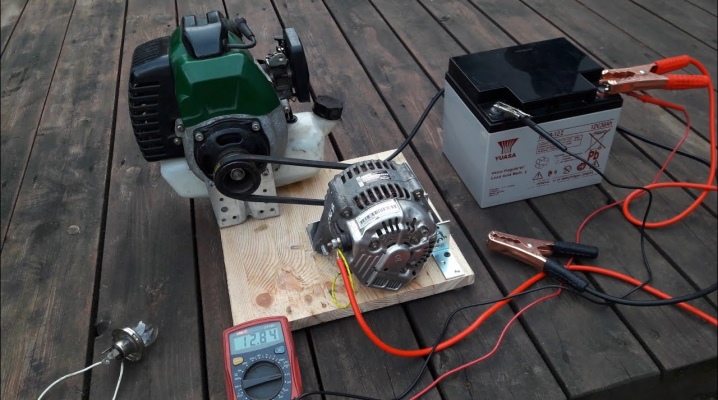
Electricity from the nearest power transmission line is not always supplied uninterruptedly. In suburban settlements, where power outages for one or several hours are a frequent occurrence, generators help to eliminate interruptions in the power supply. If you have some skills, you can do them yourself.
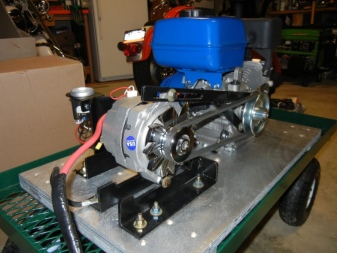
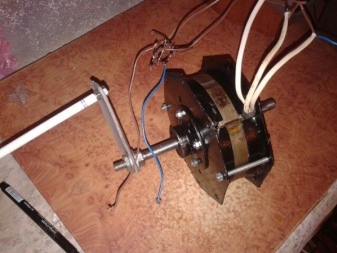
Features of homemade generators
The main feature, due to which many users of all kinds of gadgets decide on such a "homemade product" - the ability to bring the generator to power, which is enough not only to recharge a mobile phone, but also to supply a laptop, TV and even a homemade mini-freezer, not to mention a dozen LED lamps. As a rule, the variant of the device with the highest output efficiency and the least applied effort is chosen.
In any case, the basis is a reversible engine that works not only to convert electricity into kinetic (mechanical) energy, but also vice versa.
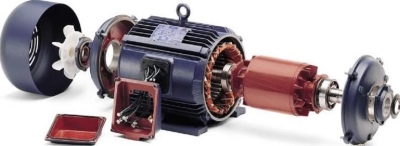
To make such a device, the user must have the following knowledge.
- Understand wiring diagrams, be able to read them... According to one of them, a similar device is being assembled.
- Have an understanding of how an electric generator works. Its work is based on Faraday's law: the number of magnetic lines of a permanent magnet piercing the circuit must change, otherwise electricity will not be generated.
- Possess the skills of electrical installation and plumbing work, be able to handle power tools. Earlier, in Soviet times, not only physics, but also materials strength (a section of science on the strength of materials) was a compulsory part of the educational program. The fact is that the incorrectly selected elements of the supporting structures, which are not connected to each other in the way required, quickly deform under active load.
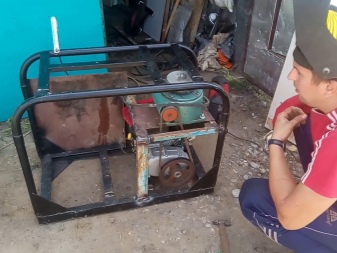
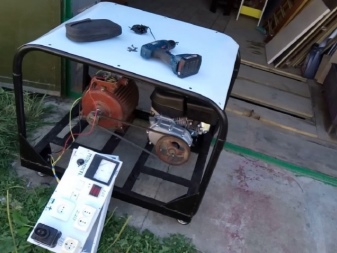
With all the above knowledge and desire, the user can easily assemble a device that saves (in comparison with an industrial one) several tens of thousands of rubles.
Manufacturing
It is not difficult to make an electric generator at home with your own hands. A simple magnetic generator is assembled on the basis of any of the ready-made motors: collector, stepper, etc. You can also assemble such a "homemade" from scratch by fixing the magnets on a rotating axis and placing them in a rectangular coil that generates an electrostatic field as they rotate.
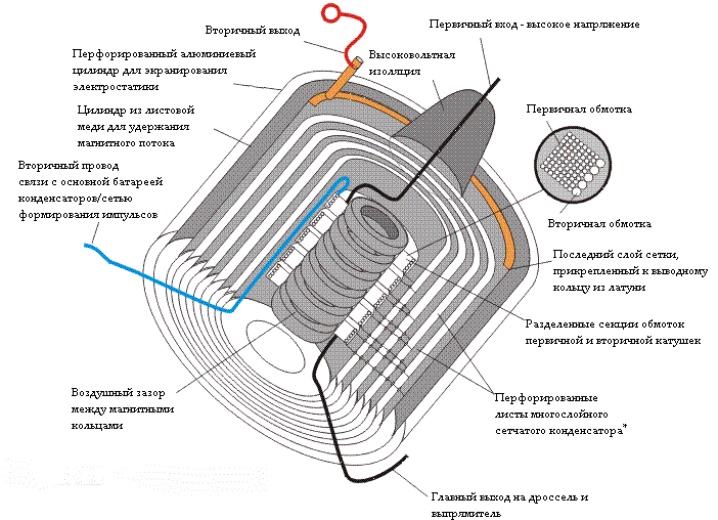
A wood-fired electric generator is, in fact, a stove (including a camping one), on the walls of which Peltier elements are fixed, closed by radiators. The essence of the Peltier effect is that plates from different conductors are heated on one side and cooled on the other. This leads to the appearance of an electric current at the poles of such a plate. Best of all, such a generator furnace works in frost: the greatest temperature difference on each side of the plate leads to the development of the maximum power.
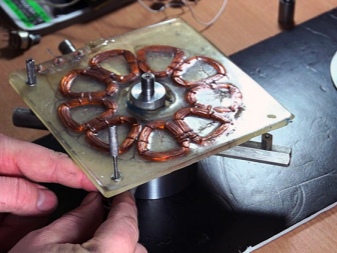
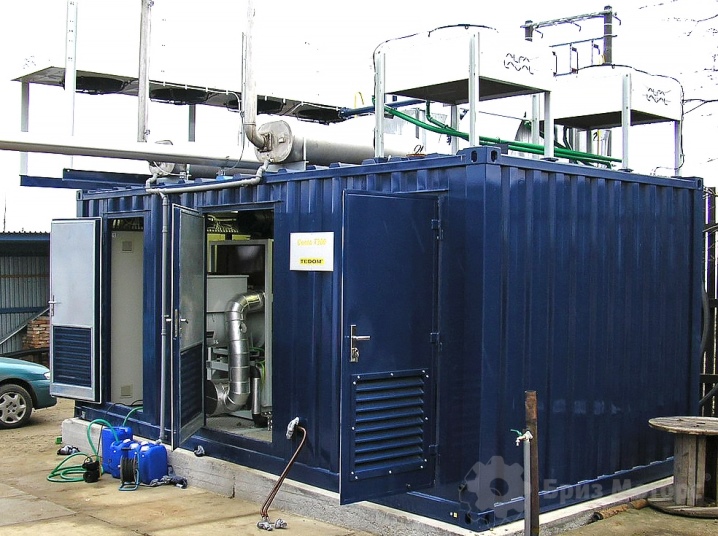
The steam generator is a classic thermal power plant in a mini version... A water loop furnace generates steam that is fed to the turbine blades. The thermal energy of the steam forces the turbine to turn the motor-generator, whose shaft is rigidly connected to the shaft of the turbine itself. Such a system is closed: it requires periodic monitoring from the outside, as well as the presence of a cooling circuit in which the steam is recondensed back into water.
Such an installation is very massive, you will not take it with you on a hike.
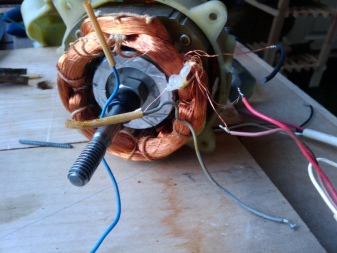
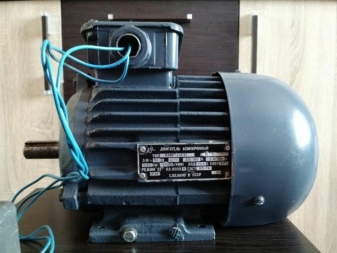
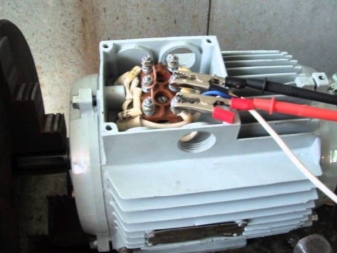
Generator based on an asynchronous motor powered by 220 volts Is a device with three spaced stator windings (fixed part of the motor). Since the motor itself operates from 220 or 380 (in a three-phase network) volts, then it will generate the same voltage, one has only to spin its shaft up to at least 50 revolutions per second. There is no need to assemble it: in order to use the finished unit, you just need to connect additional capacitors to the windings.
Tools and materials
A suitable engine is taken as the working module of the electromagnetic (mechanical) generator. Motors of several types are used: collector (brush), brushless, stepping (brushes and rings are not used), synchronous and asynchronous. Depending on what current is generated, the following parts and assemblies are used.
- Rectifier diodes. Converts alternating current to direct current. High-power diode bridges are on sale, designed for currents of tens of amperes and voltages up to 50 V.
- Polar capacitors... Designed for direct current. They play the role of a smoothing filter that evens out DC voltage ripples.
- Additional board with USB port - converts the voltage of 1.5-20 volts to the required smartphones, tablets and most laptops 5. Ordered on AliExpress and other online stores.
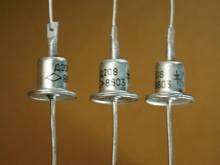
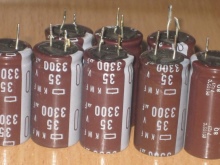
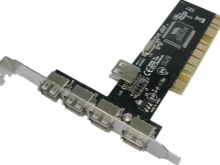
All these radio components are needed when the motor-generator produces no more than a couple of tens of volts.
Using, for example, an asynchronous motor will require connecting your gadgets and other devices as usual - like from a household outlet.
Auxiliary materials can be any, since they play the role of a supporting structure:
- wooden blocks;
- metal fittings;
- profiles;
- fasteners (bolts with nuts and washers, clamps, brackets, clamps, brackets, screws);
- pipes of any diameter, etc.

The following products are used as power tools.
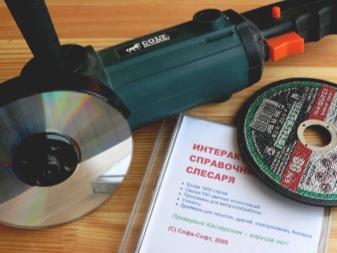
- Bulgarian with a set of cutting discs (for metal and wood) and a grinding disc (supplied in the form of an emery wheel or a universal hard disc).
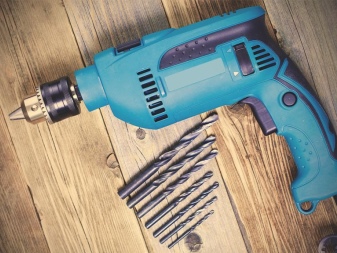
- Electric drill with a set of drills for metal. If, for example, a wind turbine is installed with a support on the wall of a house, then a standard hammer drill with a set of hammer drills and / or concrete crowns may be required. The hammer drill can also be equipped with an adapter for simple or conical drills and wood crowns.
- Screwdriver. It will be required when the structure is massive, and you need to screw in self-tapping screws in quantities of several dozen. It can be completed with heads for an adapter-wrench or a universal head for nuts, reminiscent of an adjustable wrench.
Having prepared the necessary equipment, let's proceed to the process of making a generator set.
Assembly diagram
An asynchronous generator has the property of self-synchronization: turning on the rotor winding without power supply, in which a constant magnetic field is excited. Self-excitation of the squirrel-cage rotor winding is carried out due to the phenomenon of residual magnetization. To assemble an asynchronous generator, follow the instructions below.
- Place the motor and transfer drive on one supporting structure.
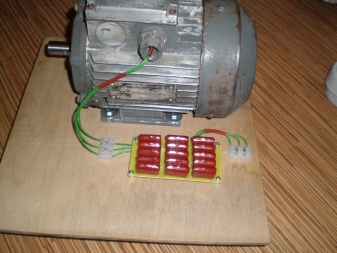
- Connect variable (non-polar) capacitors to the windings... The windings themselves are included according to the "star" scheme: some of their ends converge in the center (onto the body), while others are brought out separately.
- Capacitors are connected according to the "triangle" scheme: free ends of the windings are connected to its tops... Motor power - 2-5 kilowatts, capacitor capacity - 28-138 microfarads. Choose such a capacity so that the generated voltage does not decrease - depending on the load that you plan to use.
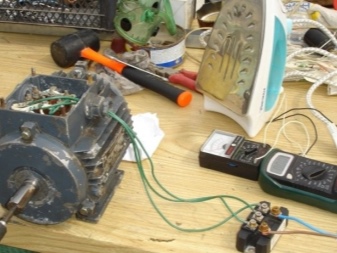
Test the generator before starting it. The test can be performed using a conventional incandescent light bulb of several tens of watts. The task is to ensure uninterrupted supply of the generated voltage. You will need a setup capable of delivering 3000 rpm.For example, a powerful wind turbine with a gearbox (or chain drive), a fuel engine from any unit, a water turbine on a river, etc.
The fact is that a person alone will not be able to spin any motor-generator to a power of more than 150 W, no matter what efforts he makes. Here his possibilities are limited.
Making an asynchronous generator is the simplest alteration of the circuit of a ready-made engine of the same type. There is no need to re-sharpen the rotor for neodymium magnets, which cannot be said about a car generator, in which the rotor winding is powered by a battery. By the way, most modern car generators are based on a synchronous motor, in which the number of revolutions per minute is rigidly related to the frequency of the generated current. To get rid of the need to power the rotor winding, you can remake the motor by removing this winding and cutting the rotor axis under the flat magnets.
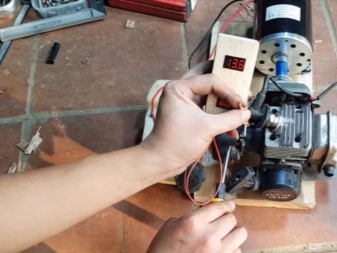
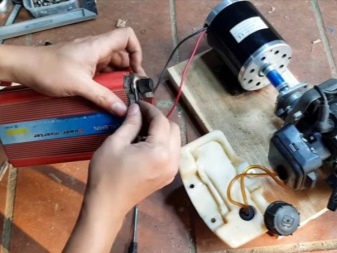
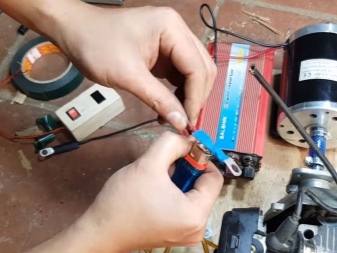

To assemble a wood-fired generator, do the following.
- On the wall of a stove or pyrolysis oven place the radiator with the spikes inward.
- Mount on it one or more Peltier elements, focusing on the area of the radiator.
- Attach to element Peltier is another radiator.
- Place the unit on the shady side of the house in a designated area. The wall should not have insulation, and also be too thick at this point, since access to the outside cold is needed. The ideal option is a technical room-compartment for such a stove, in which there is a suction ventilation duct for burning firewood. The radiator is placed next to it on the cold side.
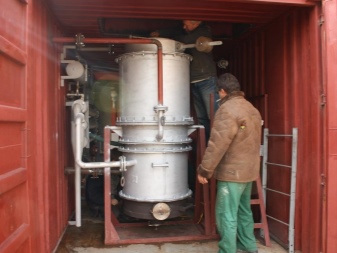
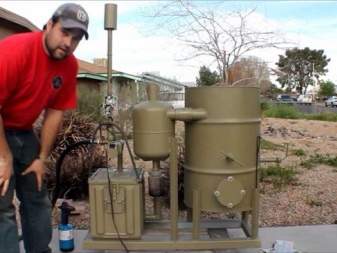
The start of such a generator is carried out when the firewood is ignited. When the wood is on fire, the Peltier element will deliver maximum power. It will be cooled by cold air coming from the street. The heating process will be provided by the wall of the stove.
It is recommended to use the following instructions to assemble the collector generator.
- Place the brushed motor on a base frame or other structure.
- Connect a DC smoothing capacitor and a converter board (DC inverter) to its terminals.
- Connect the USB port to the output of the DC-board (if it is not supplied with one).
- Place the generator on the bike frame or make a "wind turbine" for it (for example, from parts from a fan with a failed engine). In the latter case, for the convenience of the "windmill", a shank-vane is placed, turning the structure in the direction the wind is blowing.
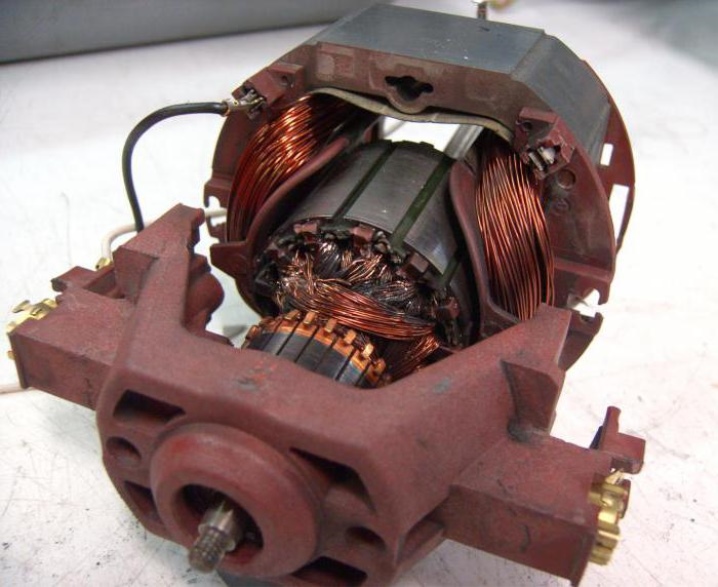
Connect your smartphone, tablet, cell phone, smart watch or other device. A motor from a printer, for example, generates up to several watts of power: for example, at 12 volts for which it is designed, the current can reach 600 milliamperes. Disadvantages of collector motors: low efficiency and frequent replacement of brushes.
Working for several hours every day, the brushes will last a maximum of 2-3 months.
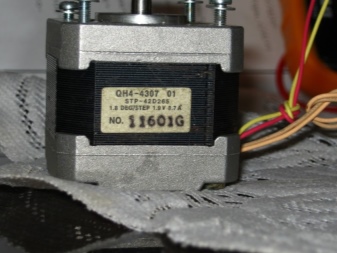
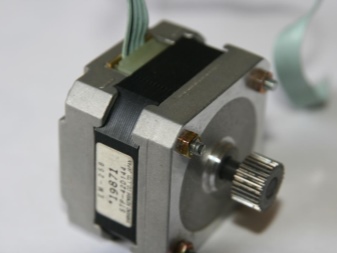
Use a stepper motor instead of a collector motor: its efficiency is much higher, it can last for more than a dozen years. Online stores are full of models that give a voltage of 12 volts and a current of 1.8-4.2 amperes. The stepper motor can have 2, 3 or 4. windings. By switching them on in series, you get 24, 36 or 48 V. Parallel connection will give a proportionally higher amperage. It will be more difficult to "overclock" the generator to the required voltage rating.
Recommendations for use
A generator used in outdoor conditions (wind farm for a private house, bicycle generator) is recommended to be protected from rain, road dirt and other foreign particles by placing it in a separate housing.
The device, operating in outdoor conditions in the mode of many hours of daily load, needs regular (at least once every six months) lubrication of the bearings. They, in turn, are in every motor-generator.
Do not short-circuit the motor leads and auxiliary electronics. It is several times more difficult to spin a closed motor due to a force that is proportional to the load that inhibits the rotation of the rotor.Windings that are short-circuited while the shaft is rotating may burn out. Semiconductor electronics (solar cells, Peltier elements) also quickly fail, being closed.

How to make a generator with your own hands, see below.


The comment was sent successfully.