The nuances of installing a gas hob
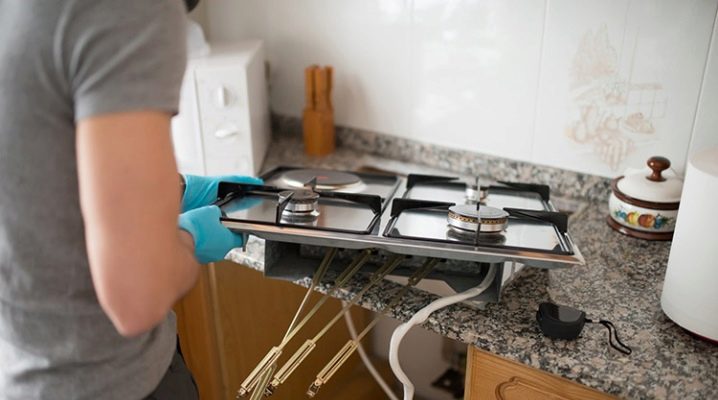
Modern technologies make it possible to minimize the size of household kitchen appliances. Increasingly, instead of a full-size stove, a gas hob is being installed, which allows significant savings in usable space. But it is not enough to purchase such a variant of technology. It still needs to be installed. How to integrate the gas hob into the worktop correctly?

Features and nuances of installation
The installation rules prescribe that any work on connecting or transferring the location of the gas equipment must be carried out in accordance with the current standards and rules, warning the gas services about replacing the heating device. When buying a panel, it is better to immediately clarify how it is attached to the countertop. The material of the base itself also matters, if you can cope with chipboard on your own, it is better to entrust the insert into an artificial stone to professionals.
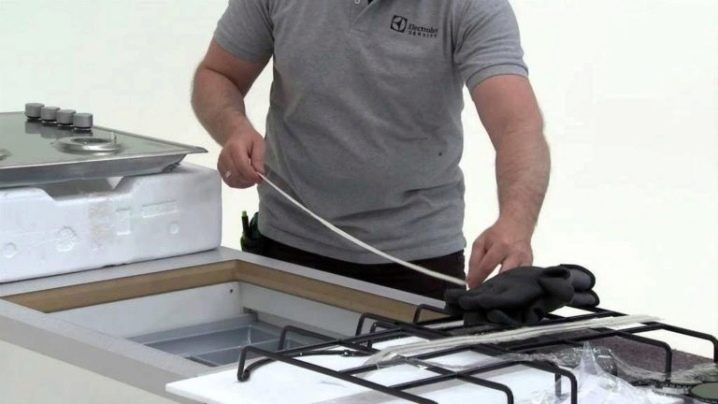
The hobs can be easily built in by yourself. The main thing is to correctly mark the tabletop on which the installation is performed. If the panel is bought for a ready-made headset, it is worth measuring in advance the available width and thickness, especially when the furniture module is non-standard, created to order. Typically, installation dimensions range from 55-57 cm. There are other important points to consider:
- the connection to the pipe should be connected before installing the headset - this will simplify the fastening of the nuts;
- the installation of the bellows hose should not be carried out directly through the valve, but through a fitting or a plumbing squeegee;
- when a connection is formed, a linen winding is necessarily applied, it is coated with a gas paste;
- in the presence of electric ignition, the point of connection to the network should be deduced in advance;
- to increase the level of safety, you can embed a valve with a thermal shut-off element in the pipe, which is triggered when the temperature reaches 80 degrees Celsius;
- the hole cut out in chipboard or wood must be carefully greased with sealant along the sides;
- By default, the set of hobs includes jets for the main gas supply; to connect to a cylinder / gas holder, they must be purchased separately.


Worktop insert: measurements and cutting
Before cutting the technological hole, it is worth examining the documentation provided by the manufacturer. For branded hobs, the marking process is detailed in it, a template or cut size is given. To work with wood, it is worth preparing a jigsaw and a drill with a drill. After drawing the contour, holes are drilled in its corners that exceed the width of the cutting blade, a file of the required length is immersed in them.


The easiest way to shape the outline is to attach the panel to the worktop. The contours are drawn with a pencil, after which the cut is made. A more complex option will require calculating the center from which the axles will be laid to accurately fit the gas cooking platform.
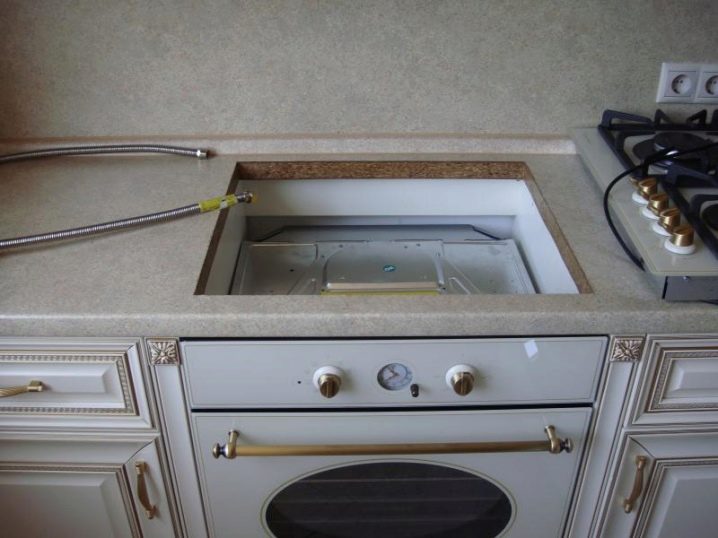
Before starting sawing, the edges at the place of cutting are pasted over with masking tape in order to exclude the formation of chips. From below, to prevent falling through, incandescence of the material in the area of its sawing, it is necessary to install and fix clamps. Sawing is best done using a laser level to accurately measure the line. The jigsaw is carried out in a straight line, from corner to corner.
How to fix it?
Before inserting the gas hob into its intended place, it must be properly prepared. The nozzles included in the kit are installed in the technological holes, a sanitary corner with a sealing gasket is attached. A nut is fixed at the entrance, a flexible hose is attached to it (it must be passed through the cut). Further, special mounting strips included in the package are fixed on the panel, and installation is performed according to the following scheme:
- the edges of the cut are processed with sanitary sealant, laid with a sealant;
- the hob is placed in place (in the cut), leveled;
- the fasteners located below cling to the tabletop, tighten;
- the excess seal is cut off with an edging knife;
- after checking the reliability of fixation, commissioning can be carried out.


It is important to remember that all cuts and technological holes in the headset structure are made before the panel is mounted, and not after it, otherwise there is a great risk of encountering the problem of access to the inner surfaces of the cabinet.
How to carry out a test run?
After the gas hob is installed in its intended place, connected to the mains, care should be taken to start it up and check the tightness of the formed connections. To do this, open the gas valve (shut-off valve), check for leaks by ear and smell. If no problems are observed, you can start alternately turning on the panel burners. It is important to take into account that air comes out of the burners at first.


The line pressure is not too high, therefore it is worth counting for up to a minute, after which gas should flow from the burner. After all the valves have been checked for operability, you can install a supporting grid on the surface to place the dishes and use all the capabilities of the cooker in normal mode.
If there is an electric fire ignition system, additional connection of equipment to the power system may be required... To do this, a waterproof outlet should be provided in the access area to ensure uninterrupted power supply.

The main criterion for the correct and accurate installation of the hob is compliance with safety requirements. It is necessary to position the built-in gas equipment in such a way that it can be connected to the main pipeline. The distance between the panel and the pipe can be varied by using a flexible hose. At the same time, the distance from the riser is not regulated, but the standards provide for:
- maintaining a distance of at least 20 cm from the side of the heating source to the point of attachment of the shut-off valve;
- with standard wiring, the connecting nipple should be located at the same level as the place where it is tapped into the pipe;
- when connected to the top, the height of the valve shutting off the gas supply must be at least 1.5 m from the floor.

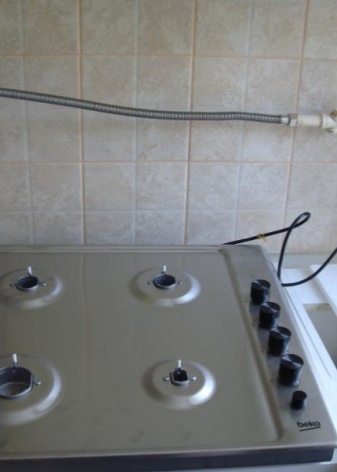
Norms and distances
During installation, a special bellows hose in a metal braid, with special clamping nuts and gaskets, must be used. Additionally, special winding and pipe sealants are used.
When tightening the nuts, the applied force should be monitored. The use of flexible joints, the use of wire twisting or the connection of girders with metal clamps is excluded.

What do you need to know?
When installing the gas hob in a worktop, it is imperative to maintain a distance to the edges of the surface. It must be at least 5 cm on each side, otherwise a too thin wall can be destroyed when sawing. The thickness of the countertop itself also matters. It is not recommended to mount built-in equipment in structures thinner than 38 mm due to low load-bearing capacities.
To check the tightness of the connections when starting the gas, a soap solution is used. They are thickly covered with all nuts and joints, checking these places for the presence of blowing bubbles - they indicate a leak.

Before starting the full-scale operation of the stove, you should check its operation with different adjustment modes. In none of them should the flame be extinguished - it is very dangerous. If, when trying to check the change in combustion intensity, the adjustment does not change the supply of blue fuel, you need to turn off the stove, contact the service center or the seller. Defective goods are possible. Correctly carried out in an apartment or a private house, the installation of the gas hob in the worktop allows you to comply with all standards and ensure the efficient operation of the equipment.

How to properly install the gas hob is described in the video below.


The comment was sent successfully.